
My neighbor called me in a panic one July afternoon. Her backyard was the size of a parking spot, she’d just bought six strawberry starts, and she had nowhere to put them. “Can I just shove them in a pot?” she asked. I laughed, because I remembered asking myself the exact same question the spring I moved into my first rental house with zero garden beds and a landlord who would have lost his mind if I’d dug up the lawn.
The answer, by the way, is yes — but you can do so much better than “just a pot.” Strawberries are one of the most forgiving, compact, and ridiculously productive plants you can grow in containers. I’ve crammed them into gutters, old rain boots, wooden pallets, and a cracked colander I found at a garage sale for fifty cents. Most of those experiments worked beautifully. A couple were disasters. I’ll tell you about both.
Here are 11 strawberry planter ideas that actually work — including some you can build for next to nothing.
1. The Vertical PVC Tower Planter for Strawberries
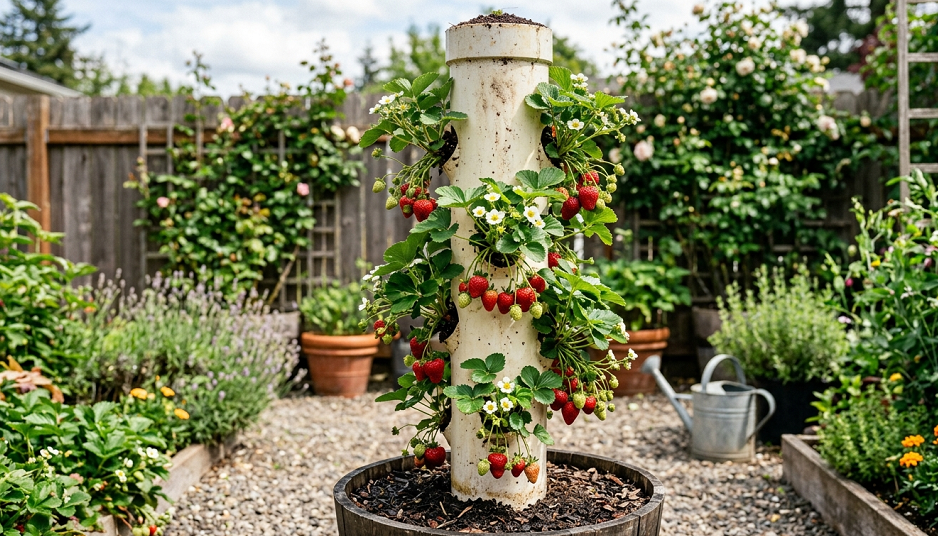
This is the one people always stop and photograph over my fence. A vertical PVC pipe tower lets you grow 20 to 30 strawberry plants in the footprint of a single pot. You drill evenly spaced holes around a length of 4-inch PVC pipe, cap the bottom, and fill it with a mix of potting soil and compost. Each hole holds one plant.
I built my first one from leftover plumbing pipe a neighbor was tossing. Total cost: zero dollars. I cut the pipe to about five feet, drilled 2-inch holes in a spiral pattern every six inches or so, and dropped it into a five-gallon bucket filled with gravel for stability.
The key thing people miss — and I learned this the soggy way — is irrigation. You need a smaller perforated pipe running down the center to get water all the way to the bottom roots, otherwise the top plants thrive and the bottom ones silently die. Stuff that inner pipe with gravel and pour water directly into it. Every plant gets a drink.
Strawberry tower planters work best with everbearing or day-neutral varieties like Albion or Seascape. June-bearers produce one giant flush, and by the time the bottom plants are producing, the top ones are done. Everbearers keep things moving all season.
2. Upcycled Wooden Pallet Strawberry Planter
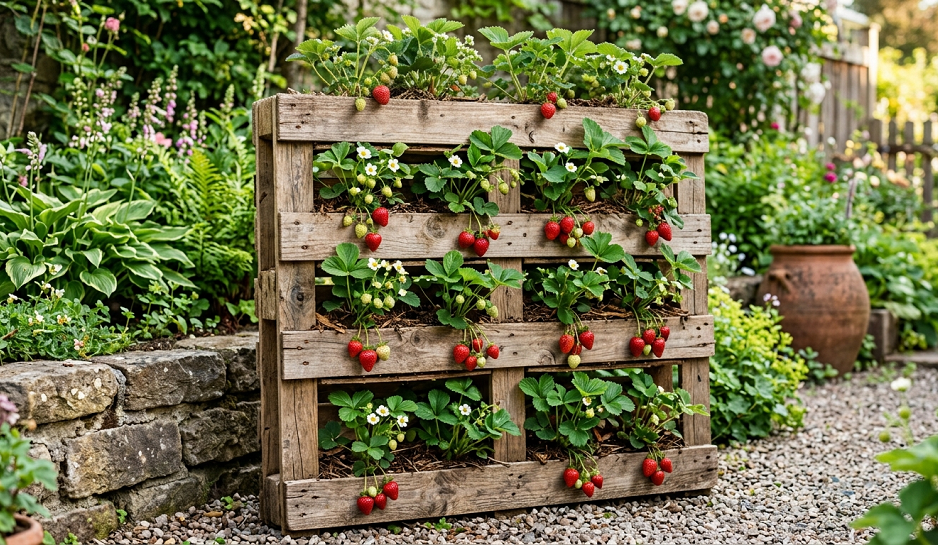
Pallet planters are everywhere on Pinterest, and I’ll be honest — most of the tutorials I’ve seen are wrong. They tell you to tip the pallet on its side, staple landscape fabric to the back, stuff it with soil, and call it done. What they don’t tell you is that the soil dries out in about four hours on a hot day, and half your plants will be dead by August.
My fix: use a deeper pallet if you can find one, line the back AND sides with landscape fabric, and mix in at least 25% moisture-retaining material — coco coir works great. Then mount the pallet on a slight backward lean against a fence rather than perfectly vertical. That angle slows down drainage just enough.
The other thing nobody mentions is pallet safety. Look for a heat-treatment stamp (HT) on the wood. If it says MB anywhere on it, walk away — that stands for methyl bromide, a fumigant you absolutely do not want touching your food plants. HT pallets are safe. Unmarked pallets are a gamble I wouldn’t take.
When I set up my pallet planter, I chose Alpine strawberries because they’re smaller, more drought-tolerant, and honestly taste like candy. They filled in the gaps beautifully within about six weeks.
3. Hanging Basket Strawberry Planter — The Right Way to Do It
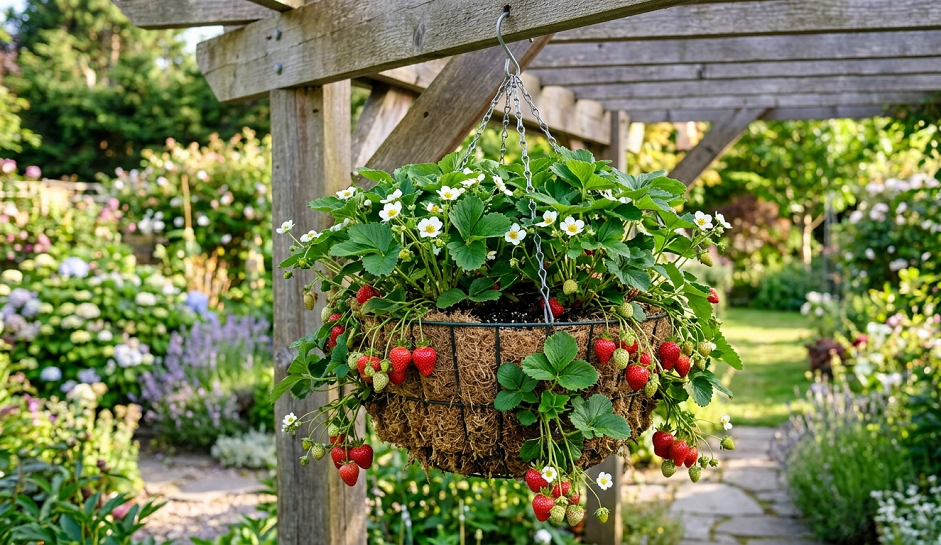
Hanging baskets are probably the most common way people grow strawberries in small spaces, and they’re also probably the most common reason people give up on container strawberries entirely. The problem isn’t the concept. The problem is that most hanging baskets dry out faster than a puddle in the Sahara.
Here’s what I do differently: I use a 14-inch or larger coco liner basket, not the cheap plastic ones with the drip tray attached. Then I press a coffee filter or a piece of burlap into the bottom before adding soil to slow drainage slightly. My soil mix is one-third potting mix, one-third coco coir, one-third compost. No perlite — perlite in hanging baskets just accelerates drying.
Water every single day in summer. I know that sounds extreme. Do it anyway. I once went on a three-day weekend and came back to a hanging basket that looked like beef jerky. Those plants never fully recovered.
The payoff, though, is real. Strawberry runners cascade down the sides of a hanging basket like a living waterfall, and when the berries form, they hang freely, which means better air circulation and almost zero slug damage. Bonus: you can move them under cover if late frost threatens.
4. Repurposed Rain Gutter Strawberry Planter for Fences and Walls
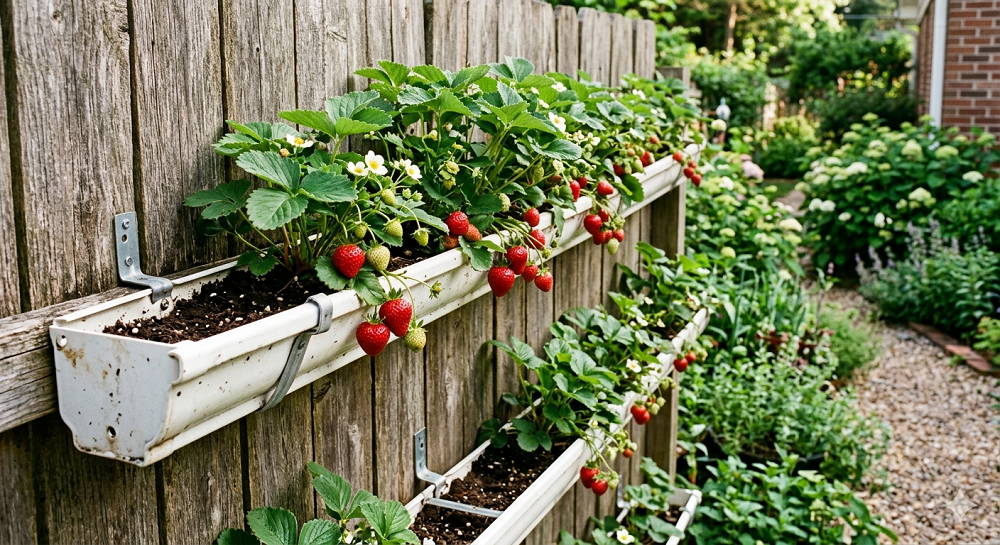
This is my personal favorite for renters and small-space gardeners. Vinyl rain gutters cost almost nothing at a hardware store, and they mount directly onto a fence using standard gutter brackets. You can stack three or four rows vertically on a six-foot fence and grow a serious amount of strawberries in what was otherwise dead space.
Drill drainage holes every six inches along the bottom — this is non-negotiable. Without drainage, strawberries will develop root rot within a season. Cap both ends, fill with a lightweight potting mix, and you’re in business.
The biggest limitation is depth. Gutters are shallow, which means they dry out quickly and limit root space. I combat this by watering twice on hot days and mixing water-retaining crystals into my soil. I also choose compact varieties: Temptation and Mignonette are both excellent in shallow containers.
One gutter row holds about eight to ten plants. Three rows on a six-foot fence section gives you roughly 25 plants. That’s a lot of strawberries on what used to be a blank fence.
5. DIY Strawberry Pyramid Planter from Garden Lumber
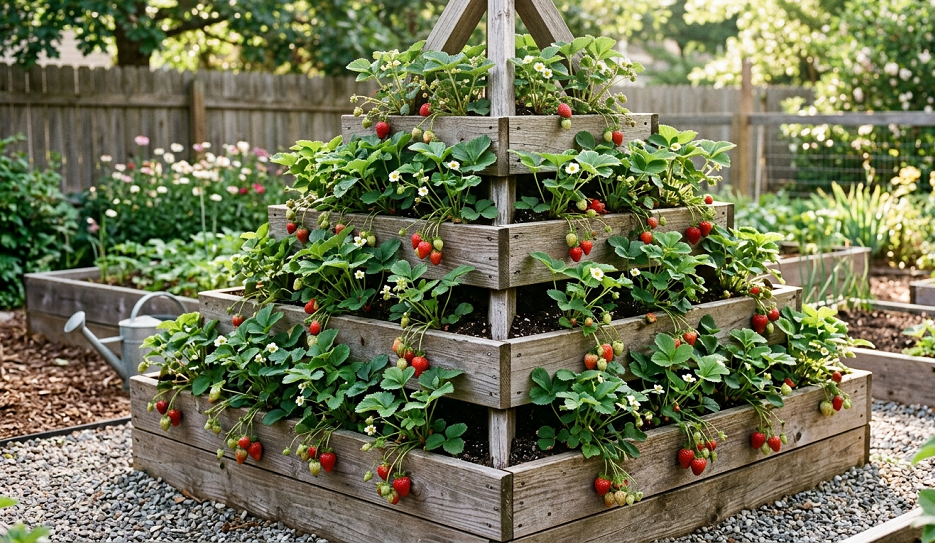
If you want something that looks genuinely impressive in a garden and don’t mind spending a Saturday with a saw and drill, a tiered wooden pyramid planter is worth every minute. The design is exactly what it sounds like: stacked rectangular frames, each one slightly smaller than the one below, creating planting tiers on all four sides.
I built mine from untreated cedar — not pressure-treated lumber, which leaches chemicals you don’t want near edibles. Cedar is naturally rot-resistant and will last five to eight years without any sealer. Each tier is about six inches tall and eight inches deep. Deep enough for roots, shallow enough to maximize planting space.
Fill each tier before stacking. I learned the hard way that trying to fill from the top after assembly is a muddy nightmare that takes twice as long. Start from the bottom tier, plant it, stack the next frame on top, fill and plant that one, and so on.
A three-tier pyramid in a four-foot-by-four-foot base holds roughly 40 to 50 strawberry plants. The structure looks gorgeous, it’s incredibly productive, and your neighbors will absolutely ask you where you bought it. Tell them you built it. You deserve that.
6. Repurposed Colander Strawberry Pot — Quirky, Cheap, and It Actually Works
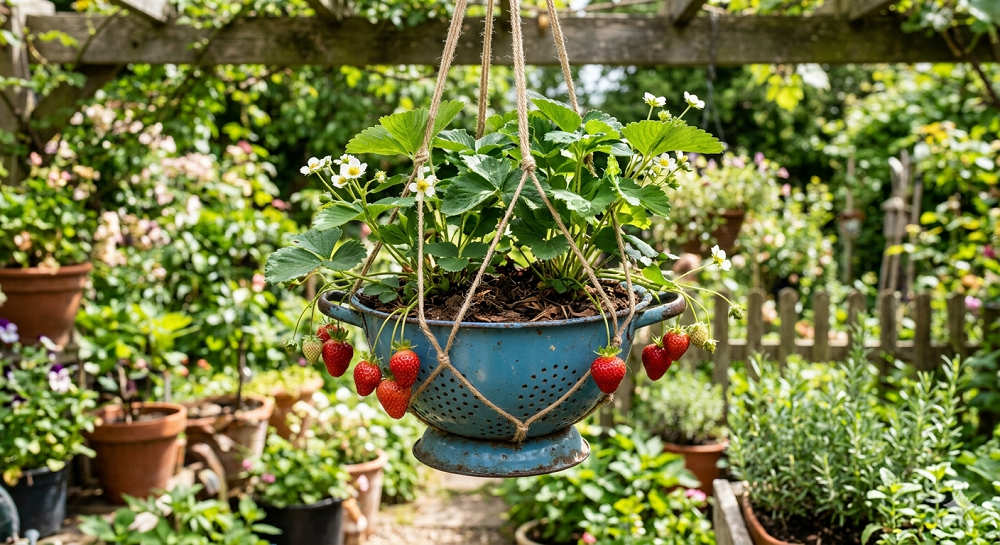
Before you scroll past this one: I know it sounds ridiculous. But the summer I planted strawberries in an old enamel colander from a thrift store, those plants produced more per square inch than almost anything else in my garden. The colander’s holes provide drainage that is genuinely hard to replicate in any other container.
The key is to line it with sphagnum moss before adding soil. Pack the moss tightly around the inside — about an inch thick — then fill the center with your potting mix. The moss holds moisture while still allowing drainage through the holes. Plant a few strawberries through the side holes as well as the top, and within a few weeks, you’ll have a lush, overflowing ball of foliage.
Colanders dry out fast. I won’t sugarcoat that. They need daily watering in summer, and if you go away for a weekend, you’ll come back to problems. But if you’re around to keep up with watering, the results are spectacular and the setup cost is usually under two dollars at a thrift store.
7. Upcycled Wooden Crate or Wine Box Strawberry Container
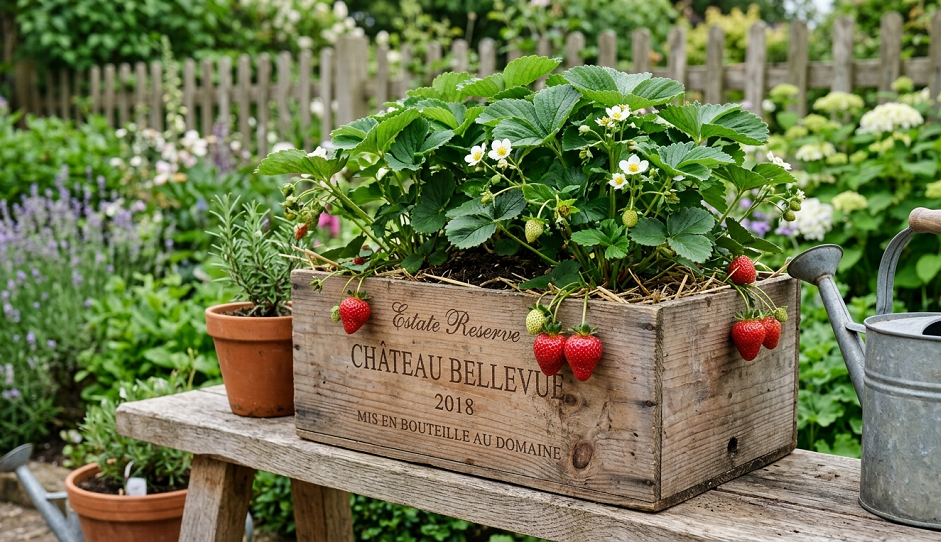
Wooden wine crates and produce crates are perfect strawberry containers. They’re typically eight to twelve inches deep — right in the sweet spot for strawberry roots — and they look charming on a patio or deck. Most grocery stores, wineries, and florists will give them away for free if you ask.
Line the inside with landscape fabric before adding soil. This stops soil from falling through the gaps while still allowing drainage. I also brush the interior wood with a thin coat of raw linseed oil to extend the crate’s life. It’s not a perfect waterproofing solution, but it buys you two to three extra seasons before the wood starts to break down.
Plant three to five strawberry plants per crate, depending on size. Don’t cram them in — strawberries need good airflow to prevent fungal diseases. Space them about eight inches apart.
A word on staining your deck: wooden crates will leak tannins and soil when wet. Slip a waterproof saucer underneath, or set the crate on pot feet to allow airflow and protect your surfaces.
8. Tiered Terracotta Strawberry Planter Stack
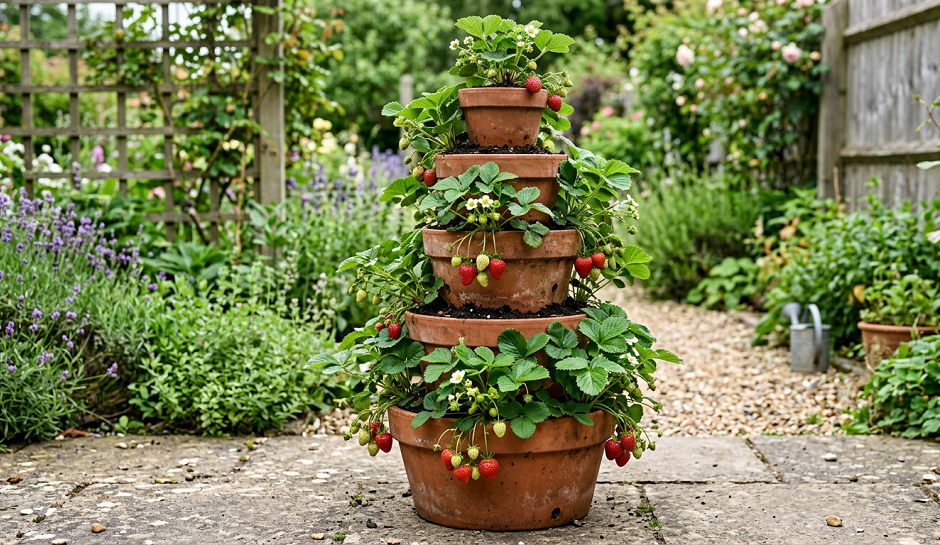
Classic terracotta strawberry jars — the ones with the little side pockets — are beautiful but genuinely frustrating to water correctly. The center column dries out, the pockets get waterlogged, and the whole thing becomes an exercise in uneven growing conditions. I gave up on them after two seasons of mediocre results.
What actually works better: stacking three different-sized terracotta pots on top of each other to create a tiered planter. Use a large pot on the bottom, a medium pot in the center (filled partway with soil and set on top of the large pot), and a small pot at the top. Plant the edges of each pot with strawberries, and the runners cascade down beautifully between tiers.
The advantage here is that each pot can be watered individually and correctly. No mystery about whether water is reaching the middle. No fighting with pocket geometry. And terracotta’s breathability means roots stay healthy and rarely waterlogged.
The stack looks fantastic. More importantly, it works.
9. Repurposed Metal Washtub or Stock Tank Strawberry Planter
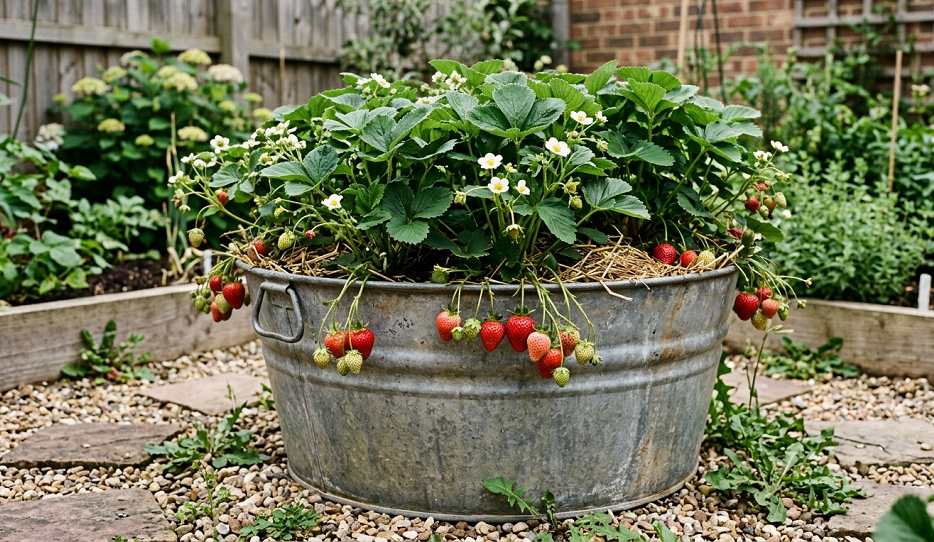
Old galvanized metal washtubs and livestock stock tanks are having a genuine moment in the gardening world, and for good reason. They’re deep, they hold moisture well, they’re nearly indestructible, and they look amazing on a farmhouse-style patio.
Drainage is the only real concern with metal containers. Drill several half-inch holes in the bottom before you do anything else. Without them, the water table inside the tub will sit too high and rot the roots.
The other thing worth knowing: metal heats up fast. In full summer sun, the sides of a galvanized tub can get hot enough to cook roots along the container walls. I solve this by painting the outside of my tubs with a light-colored exterior latex paint or wrapping them with burlap. Both reduce heat absorption significantly.
A full-sized stock tank — we’re talking the 100-gallon oval type — holds somewhere around 30 strawberry plants comfortably. That’s serious production. I know someone who grows all the strawberries her family eats from June through September from a single stock tank on her back patio.
10. Upcycled Grow Bag Strawberry Planter — Underrated and Underused
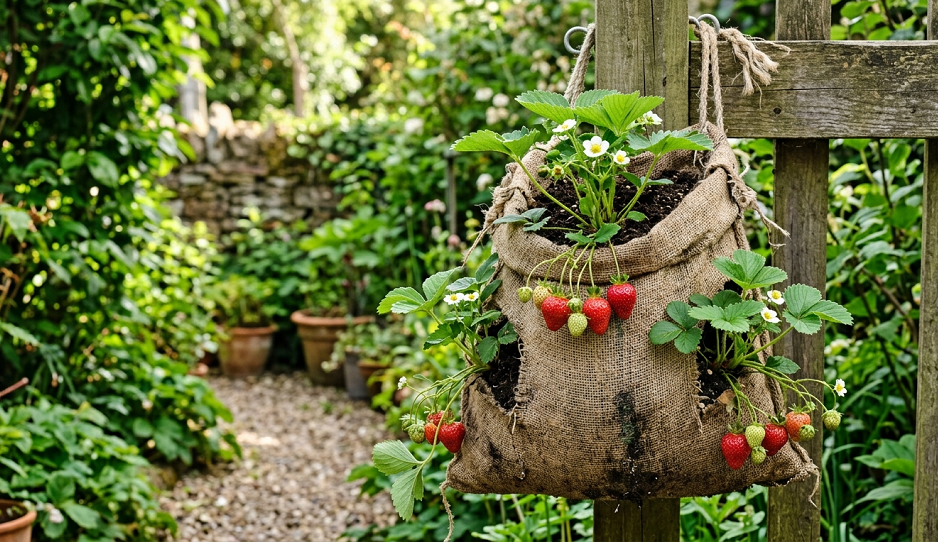
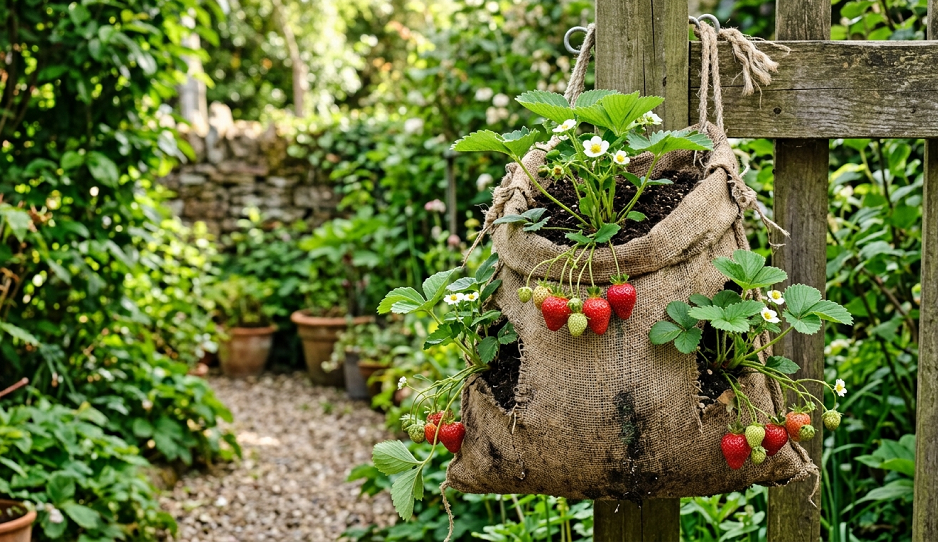
Fabric grow bags don’t get enough credit. They’re lightweight, cheap, easy to store in winter, and they do something no hard-sided container can: air prune the roots. When strawberry roots hit the breathable fabric wall, they stop growing and branch instead, which creates a denser, more fibrous root system and a healthier, more productive plant.
I use five-gallon fabric bags for three plants each, or I line them up along a fence edge. A ten-gallon bag can hold five to six plants. At the end of the season, I shake out the soil, rinse the bags, and fold them flat in a storage bin. No cracked pots, no winter storage headache.
The honest downside: fabric bags dry out faster than almost any other container. In peak summer, they may need watering twice a day. If you’re not home often or you’re forgetful about watering, pair them with a simple drip irrigation system on a timer. Problem solved.
11. Vertical Hanging Shoe Organizer Strawberry Planter
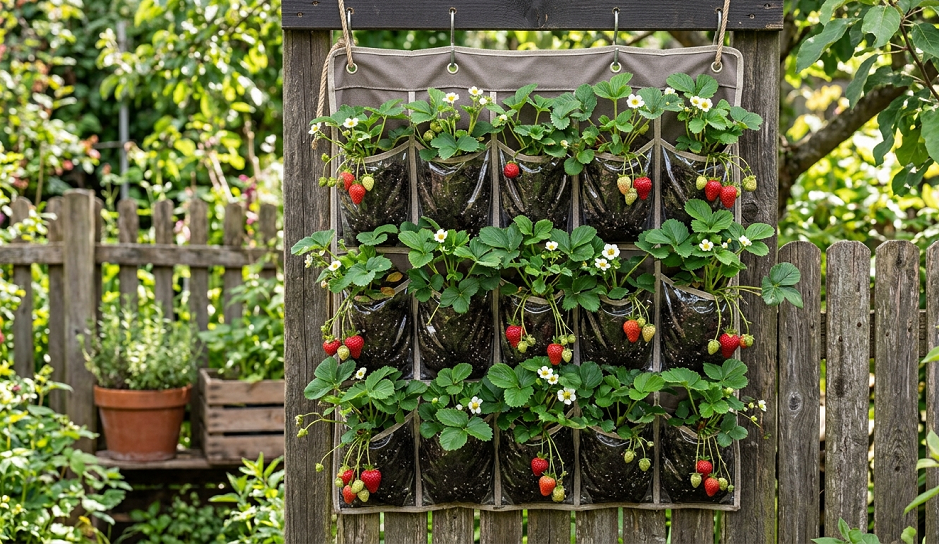
A quick side note that I can’t not include because it genuinely surprised me: a canvas over-the-door shoe organizer makes a shockingly effective strawberry planter for tiny spaces. Hang it on a fence or wall, fill each pocket with potting mix, and plant one strawberry start per pocket. A standard 24-pocket organizer gives you 24 plants on a completely vertical footprint of about two square feet.
This setup works best with a soaker hose laid across the top so water trickles down through all the pockets. Without that, watering by hand is tedious. With it, this becomes one of the most space-efficient setups I’ve ever tried.
One caveat: shoe organizers break down. Even the heavy canvas ones start to deteriorate after one or two seasons outdoors. Think of this as a one- or two-year solution, not a permanent installation.
Real Talk: What’s Not Worth Your Time (And What Can Go Wrong)
Let me save you some headaches.
Terracotta strawberry jars with pockets are, in my opinion, a waste of money despite looking gorgeous on Instagram. The watering geometry is genuinely hard to get right, and after two seasons of fighting them, I tossed mine. If you already own one, insert a central watering tube — a piece of PVC pipe with drilled holes — to get water to the bottom pockets.
Containers smaller than six inches deep will frustrate you. Strawberry roots need room. Anything shallower than that leads to constant wilting, poor fruit production, and early plant death.
Pressure-treated lumber in any food-growing application: I’ve already said this, but it bears repeating. The chemicals used to treat that wood are not ones you want in your soil or your food.
Overwatering is just as deadly as underwatering. New container gardeners almost always err toward overwatering. Strawberries in containers need consistently moist soil, not soggy soil. Stick your finger two inches into the soil. If it feels damp, wait. If it’s dry, water thoroughly.
And finally: don’t plant June-bearing varieties in vertical towers or pocket planters. Their growth habit is too unpredictable and too clustered. Go everbearing in containers. You’ll thank me in August.
Parting Wisdom
Strawberries are one of the most forgiving plants you can grow in a container. I’ve grown them in buckets, gutters, cracked pots, an old wheelbarrow that lost a wheel, and a pair of rubber boots I found at a garage sale. They almost always find a way to produce — as long as you give them decent soil, enough water, and full sun (at least six hours a day is non-negotiable).
The container you choose matters less than the care you give the plant. Start with good-quality potting mix, not garden soil — it’s too heavy and drains too slowly in containers. Feed every two to three weeks with a balanced liquid fertilizer once plants are established. Remove runners unless you want the plant to spread, because runners steal energy from fruit production.
Most importantly: don’t overthink it. Pick a container from this list, grab a few starts from your local nursery or order bare-root plants online, and get them in the ground (or the pot, or the gutter, or the shoe organizer). The first time you eat a sun-warm strawberry you grew yourself, everything clicks into place.
What’s the most creative container you’ve ever grown strawberries in? Drop it in the comments below — I’m always looking for my next experiment, and I’d love to hear what’s worked for you (or spectacularly failed). Questions welcome too. No such thing as a dumb gardening question around here.

About Syprose Kiche
Syprose Kiche is the creator and writer behind My Besuited Home, a practical home and garden website covering DIY projects, gardening, lawn care, landscaping, home improvement, and outdoor living. She focuses on turning everyday homeowner questions into clear, practical guides backed by careful research and useful real-world considerations.