13 Pothos Climbing Ideas That Turn Your Plants Into a Living Wall of Green
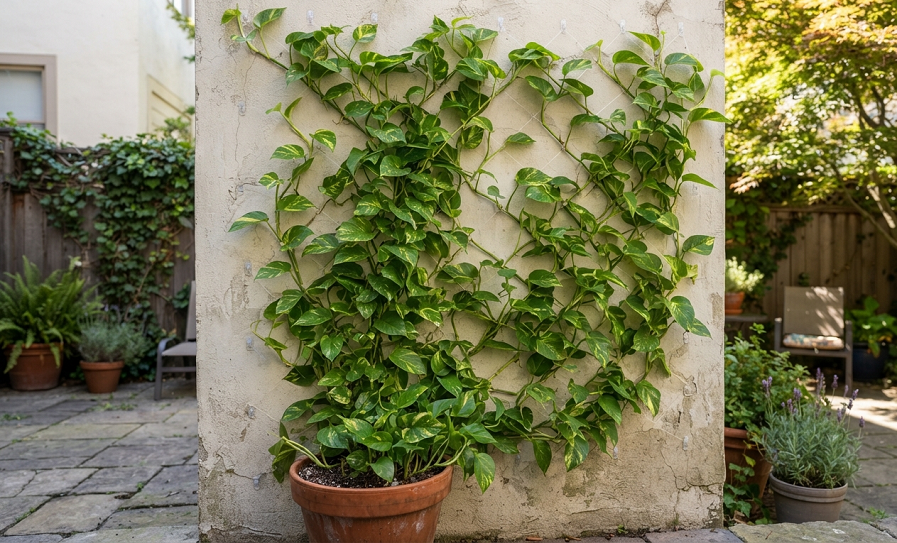
My pothos used to sit in a plastic hanging basket on top of my fridge, doing absolutely nothing with its life. Every few months I’d trim the vines back because they were dragging in the cat’s water bowl. It felt like a waste of a genuinely great plant. Then a … Read more