
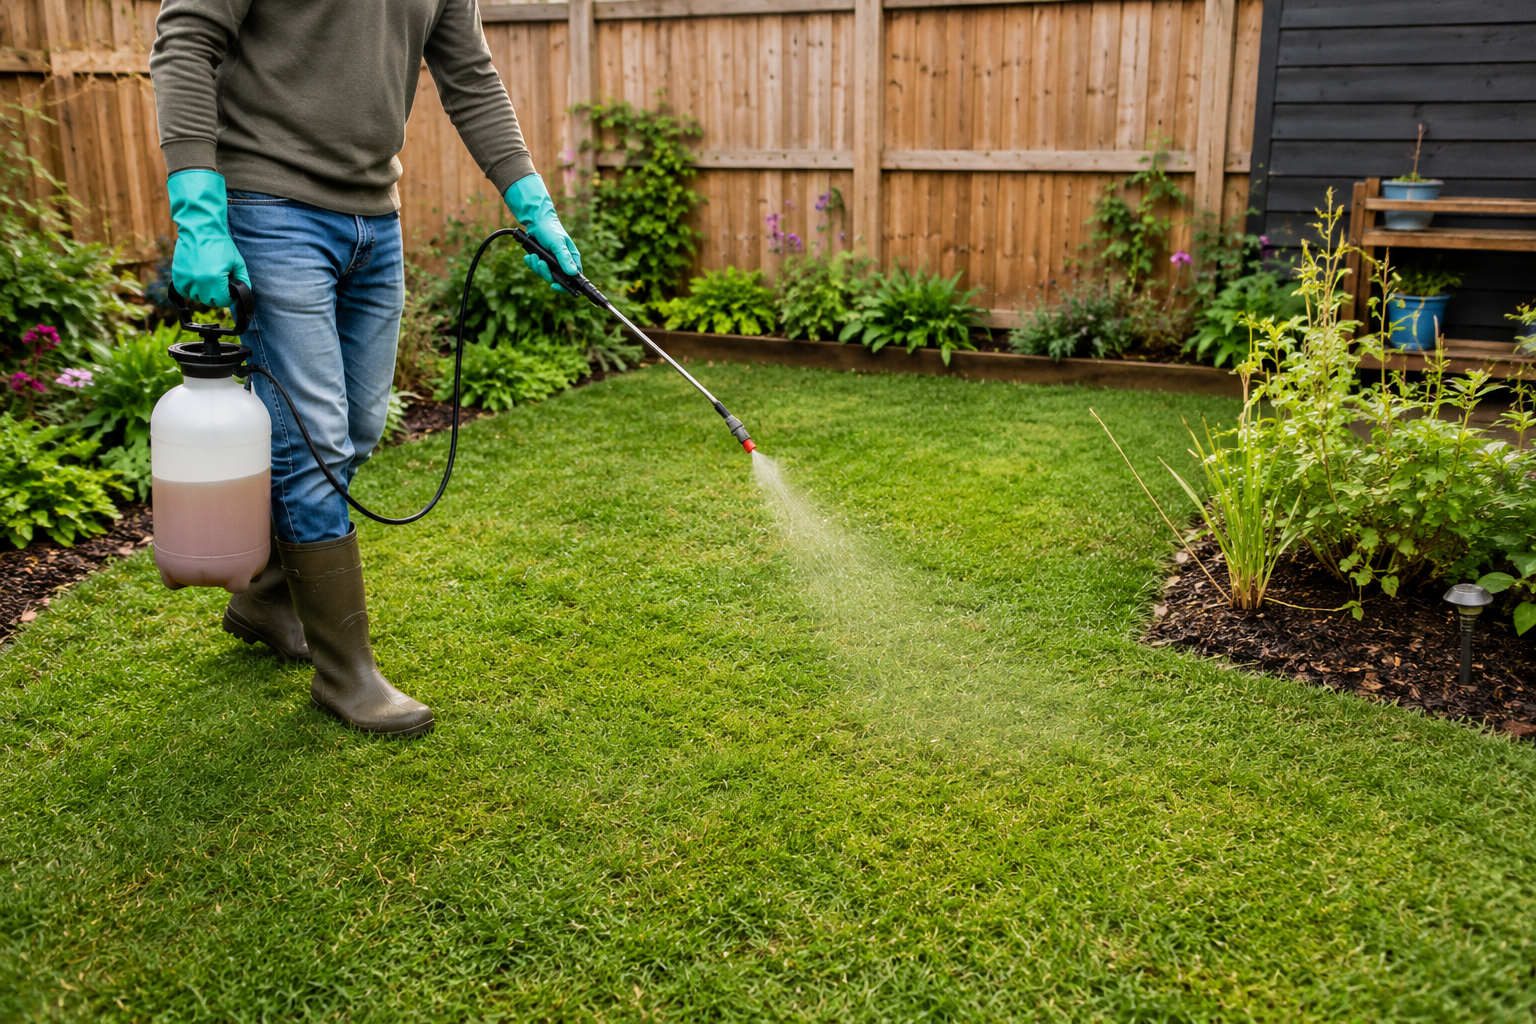
Push a screwdriver into your lawn right now. If it stops an inch down and you have to lean on it to go further, you’re looking at the actual problem behind that thin, tired-looking turf — not a nutrient deficiency, not the wrong grass seed, but soil so compacted that air, water, and roots can’t move through it. Fall is when a lot of homeowners notice this, because it’s also when foot traffic from a summer of barbecues, kids, and dogs finally catches up with the lawn, right as cooler weather makes it the best time of year to do something about it.
Renting a core aerator is the standard fix, and for good reason. But it’s also the reason a lot of people never get around to fixing compacted soil at all — the machines are heavy, awkward to transport, and cost $60–$100 for a few hours’ rental. That’s led to a wave of interest in “liquid aeration”: spraying a mixture on the lawn instead of pulling plugs of soil out of it. Some of that interest is justified. Some of it is marketing dressed up as science. This article walks through what a homemade liquid aeration mixture can actually do, what it can’t, how to mix and apply one, and when you’re better off just renting the machine.
What “Liquid Aeration” Actually Means
Commercial liquid aeration products and the DIY versions people mix at home are built around the same basic idea: a surfactant — something soap-like — reduces the surface tension of water so it spreads out and soaks in rather than beading up and running off. Compacted soil, especially clay-heavy soil, often develops a kind of water repellency at the surface. Water hits it, pools, and drains away sideways instead of down. A wetting agent counteracts that.
Most commercial liquid aerator products list ingredients like sodium laureth sulfate or ammonium laureth sulfate (soap-type surfactants), liquid humates (a concentrated form of organic matter, often derived from decomposed plant material), and sometimes a “biostimulant” like molasses or kelp extract meant to feed soil microbes. A homemade version does the same job with a bottle of plain dish soap and a hose-end sprayer.
Here’s the part that’s easy to miss in most articles on this topic: university extension research has specifically looked at whether these products reduce soil compaction, and the consistent finding is that they don’t — at least not in any way that’s been measured. Colorado State University Extension has stated plainly that it’s wishful thinking to believe a diluted surfactant or humic acid solution will change a compacted soil’s bulk density, and Nebraska Extension has said essentially the same thing: there’s no evidence these products have been scientifically evaluated, and no reason to expect a soap solution to physically loosen soil that a machine would otherwise need to punch holes through.
That doesn’t mean a DIY liquid mixture is useless. It means it’s doing something different than what “liquid aeration” implies. It’s improving water penetration into soil that’s already resistant to water — which genuinely helps a compacted lawn breathe a little better, since a lot of the stress compacted turf shows (wilting between waterings, shallow roots, water running off instead of soaking in) comes from water simply not reaching the root zone. It is not physically creating pore space the way a core aerator’s hollow tines do when they remove a plug of soil and leave a hole behind. If you go into this expecting the second thing, you’ll be disappointed. If you understand it as the first thing, it’s a reasonable, low-cost step — just not a replacement for mechanical aeration on a genuinely compacted lawn.
Confirming You Actually Have a Compaction Problem
Before mixing anything, it’s worth ruling out that the issue is something else. Compacted soil and a few other lawn problems look similar from a distance.
The simplest test is the screwdriver test mentioned above: push a standard flathead screwdriver into moist soil. If it slides in easily to 6 inches, compaction probably isn’t your main issue. If it stops well short of that and takes real effort, you’re dealing with compacted soil. Try it in a few spots — along a path where people walk, near a gate, under a swing set — since compaction is rarely uniform across a whole yard. It tends to concentrate exactly where traffic concentrates.
Other signs worth checking for alongside the screwdriver test:
- Standing water after rain that takes hours longer to disappear than it does elsewhere in the yard.
- Thin or bare patches in high-traffic zones — the path from the back door to the garage, the strip along a driveway, anywhere people or pets cut across regularly.
- Roots that stay shallow when you pull up a small plug of turf to look, rather than extending several inches down.
- Grass that wilts faster than the rest of the lawn after the same watering, because water isn’t reaching the deeper root zone.
If none of that matches what you’re seeing, and the problem is more like patchy yellowing, weed encroachment, or thinning that follows no particular traffic pattern, compaction may not be the driver — a soil test for pH and nutrients, or a look at your watering schedule, is a better next step than a liquid aeration mixture.
The DIY Liquid Aeration Recipe
This is a straightforward version built around the same active ingredient commercial products rely on — a surfactant — without the proprietary blends and markup.
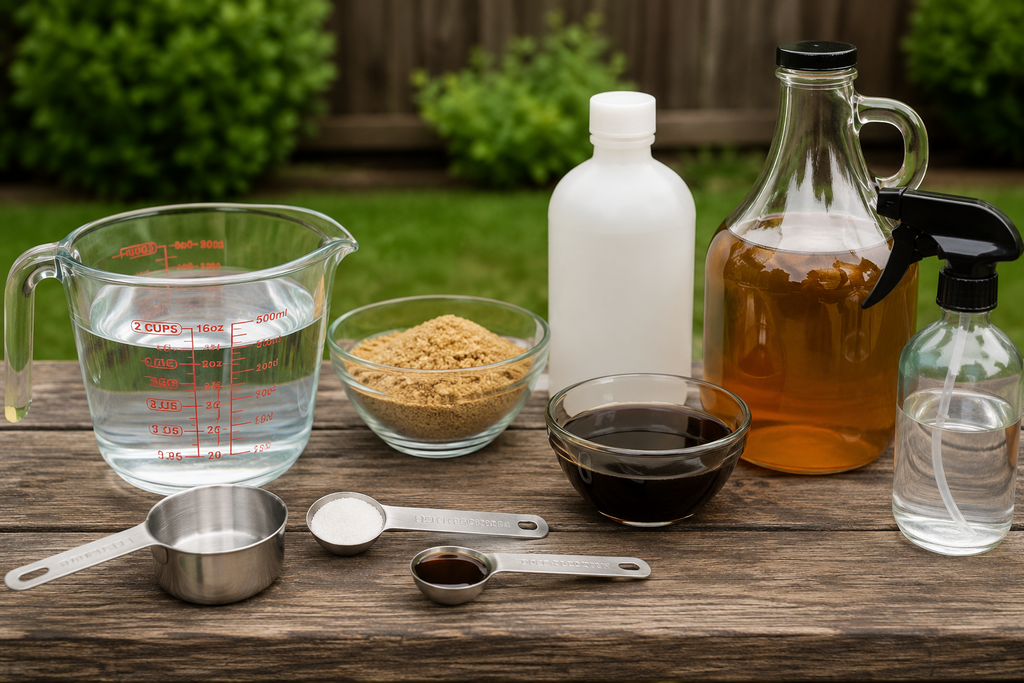
Basic mixture, per gallon of water:
- 2 tablespoons plain liquid dish soap (unscented, dye-free, and specifically not antibacterial)
- Optional: 2 tablespoons liquid humic acid or liquid humate concentrate, available at garden centers and farm supply stores
That’s it for the core mixture. A gallon treats roughly 500–1,000 square feet, depending on how heavily you spray — a light, even coating is the goal, not saturation.
Why these two ingredients and not the others you’ll see in “lawn tonic” recipes: A lot of homemade lawn mixture recipes floating around online — the ones built around a can of beer, a cup of ammonia, a cup of mouthwash, and a cup of soda — are fertilizer and pest-control folk recipes, not aeration recipes, even though people sometimes use the terms interchangeably. Beer and molasses feed soil microbes with sugars; ammonia supplies a fast-acting form of nitrogen; mouthwash is sometimes added on the theory that its alcohol content deters insects. None of that addresses compaction, and mixing ammonia into a home lawn treatment introduces a chemical that needs real caution around: household ammonia should never be combined with any bleach-containing product, since the reaction produces toxic chloramine gas, and it’s an eye and respiratory irritant on its own in concentrated form. For a mixture whose actual job is loosening compacted soil, the dish soap is doing the useful work. Everything else in those forwarded-email recipes is solving a different problem, or not solving anything measurable at all.
Why plain dish soap, specifically: Antibacterial dish soap contains compounds like triclosan that are designed to kill bacteria — which is precisely the microbial life in the soil you don’t want to suppress. A basic, unscented dish soap (something without added moisturizers, dyes, or antibacterial agents) does the surfactant job without that side effect.
If you add humic acid: Humates are organic matter in a concentrated, water-soluble form, and there’s better evidence for their role in improving soil structure over time than there is for surfactants alone — though the effect is gradual, tied to improving soil’s cation exchange capacity and organic matter content, not an immediate physical loosening. Think of it as a long-term soil-conditioning addition rather than something that will show results in a week.
How to Mix and Apply It
Step 1 — Water the lawn first. Apply the mixture to soil that’s already been watered, ideally the day before or a few hours ahead of application. Dry, hardened soil resists any liquid, including this one; pre-watering gives the surfactant something to work with rather than fighting the same water repellency you’re trying to solve.
Step 2 — Mix in a hose-end sprayer or watering can. A hose-end sprayer set to the correct dilution ratio is the fastest way to cover a full lawn; for smaller areas, a watering can or pump sprayer works fine. Mix only what you’ll use that day — dish soap mixtures don’t store well and can separate.
Step 3 — Apply in the cool part of the day. Early morning or early evening is better than midday, especially if any sun is out. Soap solutions on wet grass blades in direct, hot sun can occasionally cause leaf-tip burn on some grass types, similar to what happens with any surfactant-based spray.
Step 4 — Water it in. Run a sprinkler or hose over the treated area for 15–20 minutes immediately after applying, enough to carry the mixture down into the top few inches of soil rather than leaving it sitting on the surface or on grass blades.
Step 5 — Repeat every 2–4 weeks through the fall if you’re using it as an ongoing soil conditioner, rather than expecting one application to resolve compaction. This is consistent with how even the commercial liquid products are meant to be used — as a repeated treatment, not a one-time fix.
Where This Fits in a Fall Lawn Care Routine
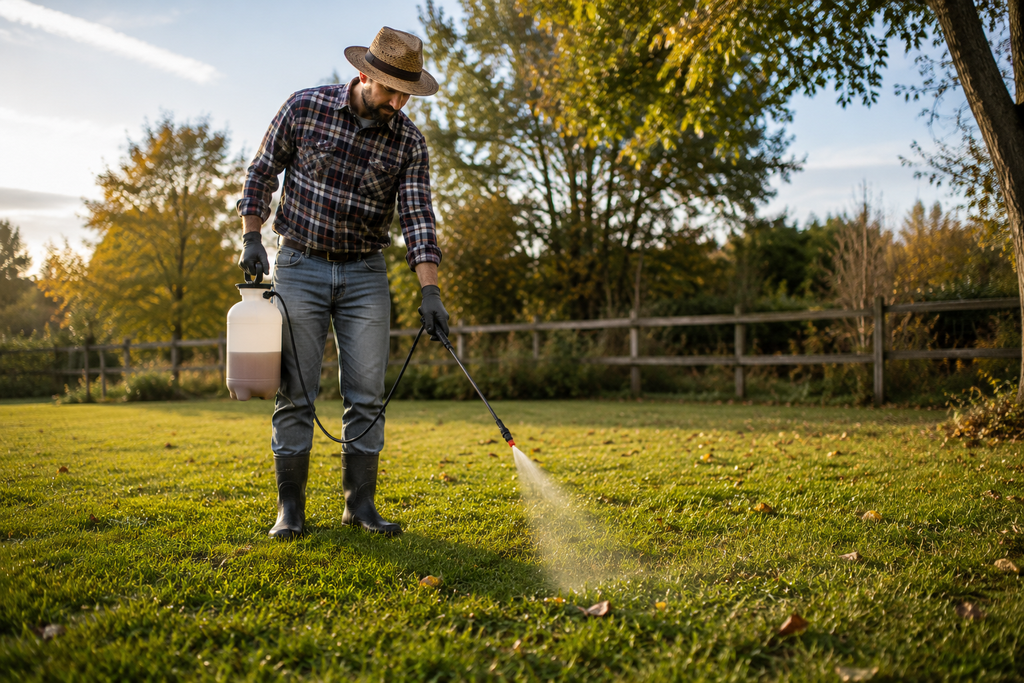
Fall is a genuinely good window for this kind of soil work on cool-season lawns — tall fescue, Kentucky bluegrass, perennial ryegrass — because the grass is shifting energy into root growth as temperatures drop, and rainfall is typically more consistent than in summer, which means less reliance on you to keep the treated area watered. If you have a warm-season lawn — Bermuda, zoysia, St. Augustine — fall is the wrong season for this kind of work; those grasses are heading into dormancy, and any soil treatment aimed at improving root growth is better timed for late spring through mid-summer when they’re actively growing.
A liquid mixture like this is most useful in one of two situations: as a lighter-touch option for lawns with only mild surface compaction, where you’re mainly trying to improve water penetration rather than fix serious hardpan; or as a complement to core aeration, applied a few days after you’ve physically pulled plugs, so the surfactant can help water and any follow-up fertilizer move down through the holes and surrounding soil more effectively than it otherwise would. Using it that way — after mechanical aeration, not instead of it — is where the surfactant’s real benefit (better water movement into soil) actually compounds with something that did physically address the compaction.
If your lawn showed hard, resistant soil in the screwdriver test above, especially in high-traffic zones, a liquid treatment on its own is unlikely to get you where you need to be. That’s not a matter of doing the recipe wrong; it’s a mismatch between what a surfactant can do and what physical compaction requires. Renting a core aerator for an afternoon, or hiring a lawn service to do a single pass, is the more reliable fix for anything beyond mild compaction — and it’s worth budgeting for every 1–2 years on a lawn that gets regular foot traffic, rather than treating it as a last resort.
Common Mistakes That Make This Less Effective
- Applying to bone-dry soil. A surfactant needs water to move through the soil profile. Spraying it onto hard, dry ground and hoping it soaks in on its own usually just leaves it sitting on top, where it does little besides wet the grass blades.
- Using scented or antibacterial dish soap. Fragrances and antibacterial agents are formulated for kitchen use, not soil biology, and the antibacterial versions specifically work against what you’re trying to encourage — active microbial life in the root zone.
- Expecting a single application to fix hardpan. Especially with clay soils that have been compacted for years — under a former patio, a driveway extension, or simply decades of mowing with heavy equipment — no surfactant treatment, at any frequency, is going to substitute for physically breaking that structure up. This is the point where the extension research cited earlier is most relevant: the claim that a spray-on product can “replace” core aeration doesn’t hold up for genuinely compacted soil.
- Spraying in full midday sun. Beyond the small risk of leaf burn, the soil surface itself may already be hot and dry at that point in the day, working against absorption.
- Skipping the pre- and post-watering steps. The mixture’s job is to help water move into soil — it can’t do that job on soil that’s dry going in and left dry afterward.
- Treating this as a substitute for addressing why the soil got compacted. If the same path across the lawn gets compacted every year, consider a stepping-stone path, a mulched route, or rerouting foot traffic slightly, rather than relying on an annual fall treatment to undo it every time.
A Few Realistic Limitations, Stated Plainly
It’s worth being direct about what this recipe won’t do, since a lot of the material written about liquid aeration overstates it:
- It will not measurably reduce soil bulk density or physically create air channels the way a core aerator does. Extension research specifically contradicts that claim.
- It will not reach the depth a core aerator’s tines do — typically around 3 inches — since it depends on water carrying it down rather than mechanical penetration.
- It is not a fast fix. Any real benefit, particularly from the humic acid component, accumulates over repeated applications and seasons, not a single treatment.
- It won’t correct heavy clay soil’s underlying structure on its own. For that, working in organic matter — compost topdressing, for instance — alongside mechanical aeration does more than a liquid treatment by itself.
None of that makes it not worth doing. A cheap, low-effort surfactant treatment that improves water penetration is a reasonable thing to add to a fall lawn care routine, especially on a lawn with only mild compaction or as a complement to core aeration you’ve already done. It’s just not the machine-free replacement for aeration that some of the marketing around commercial versions implies.
Safety Notes Worth Reading Before You Mix Anything
Dish soap and water are about as low-risk as DIY lawn treatments get, but a few things are worth keeping in mind:
- Keep pets and kids off the treated area until it’s watered in and the grass has dried, as a general precaution with any lawn spray, even a mild one.
- Never add household ammonia or bleach-based products to a soap mixture. If you come across one of the “lawn tonic” recipes online that calls for ammonia and you’re tempted to combine it with a dish soap mixture, keep the two separate and never combine ammonia with any bleach-containing cleaner — the resulting chloramine gas is genuinely hazardous to breathe.
- Wear gloves when handling concentrated dish soap or humic acid concentrate if you have sensitive skin; both can be mildly irritating in undiluted form, though neither requires the precautions a stronger chemical would.
- Store any leftover mixture out of reach of children and pets, labeled, rather than in an unmarked container.
- If you’re using a hose-end sprayer, check that it has a backflow preventer so nothing siphons back into your home’s water supply — most hardware store models include one, but it’s worth confirming before the first use.
Frequently Asked Questions
Does liquid aeration actually replace core aeration? No, and this is worth being clear about even though some commercial products market themselves that way. University extension research has specifically evaluated this claim and found no evidence that surfactant or humic acid solutions reduce soil compaction the way physically removing plugs of soil does. A DIY liquid mixture is better understood as a wetting agent that helps water penetrate compacted soil, which is a genuine benefit, but a different one than what “aeration” usually implies.
How often should I apply this in the fall? Every 2–4 weeks through the fall growing season is a reasonable interval if you’re using it as an ongoing soil conditioner, rather than a single fix. There’s no established research pinning down an ideal frequency, so this is a practical range based on how these treatments are typically marketed and used, not a scientifically validated schedule.
Can I use this on a warm-season lawn like Bermuda or zoysia? You can, but fall isn’t the right season for it. Warm-season grasses are heading into dormancy as temperatures drop, so any treatment aimed at supporting root growth does more good in late spring through mid-summer, when the grass is actively growing.
Is this safe for a lawn with kids or pets who spend a lot of time on it? Once the mixture has been watered in and the grass has dried, a diluted dish soap and humic acid solution doesn’t pose the kind of risk that stronger lawn chemicals do. Still, it’s sensible to keep kids and pets off the lawn while it’s wet and being watered in, as you would with most lawn treatments.
Can I combine this with fertilizer in the same application? You can apply them separately on the same day, watering between the two, but combining them into a single mixed batch adds a variable neither ingredient was tested for together, and it makes it harder to tell which one caused any unexpected reaction on the lawn if something looks off afterward. Keeping them as separate steps is the simpler, more predictable approach.
The Bottom Line
A homemade dish soap and humic acid spray is a reasonable, inexpensive way to help water move into soil that’s resisting it — and that’s a real, useful thing for a lawn showing mild compaction going into fall. It is not a substitute for physically pulling plugs of soil out of the ground on a lawn with genuine hardpan, no matter what a product label claims. If the screwdriver test told you your soil is genuinely hard several inches down, spend the money on a core aerator rental or a single professional pass this fall, and save the liquid mixture for the weeks afterward, when it can help water and any fertilizer you put down actually reach the root zone through the holes you’ve already made.

About Syprose Kiche
Syprose Kiche is the creator and writer behind My Besuited Home, a practical home and garden website covering DIY projects, gardening, lawn care, landscaping, home improvement, and outdoor living. She focuses on turning everyday homeowner questions into clear, practical guides backed by careful research and useful real-world considerations.