
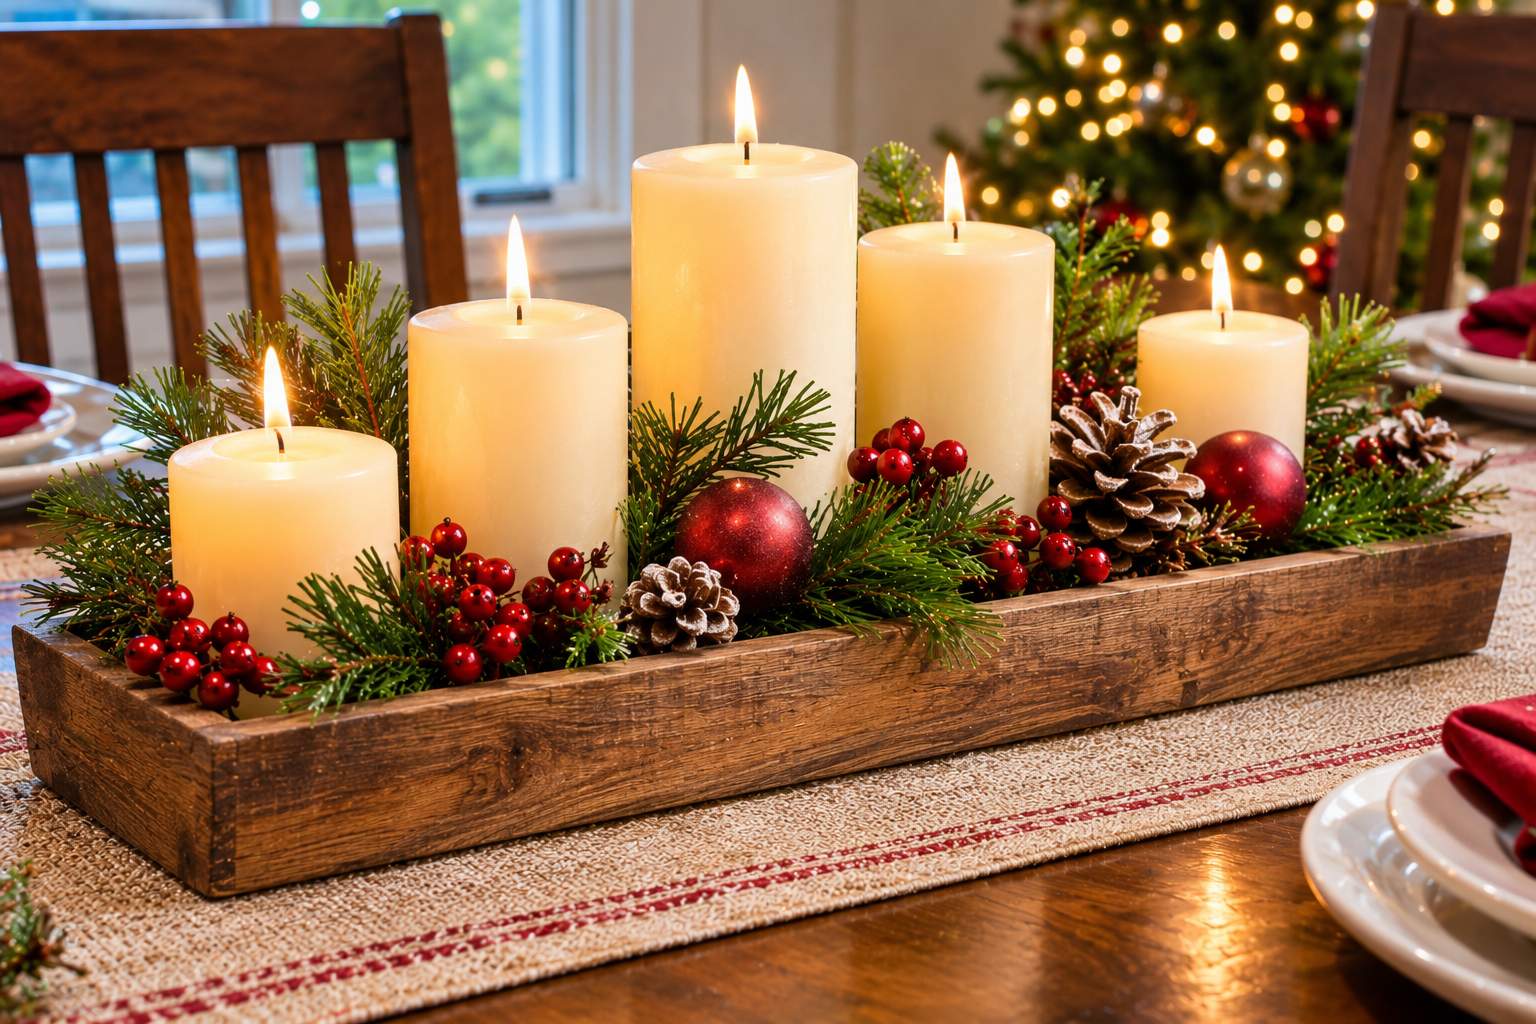
Most Christmas tables fail in one of three ways. The centerpiece is so tall that guests can’t see the person across from them. The candles sit close enough to the greenery to scorch it. Or the decorations take up so much room that the serving dishes have nowhere to go. All three are easy to avoid when you plan around the dinner itself, not just the photo of the table.
The ideas below are all things you can make at home with craft-store, grocery-store, or backyard materials. Some take ten minutes and others need a few weeks of lead time, so each one notes what it needs and where it can go wrong. Start with the planning section, because a few measurements will save you from rebuilding a centerpiece the afternoon of the meal.
Measure the Table Before You Make Anything
A standard place setting needs roughly 20 to 24 inches of table width per guest, which is more than most people expect. On a 72-inch table seating eight, that leaves little spare room once plates, glasses, and bread plates are down. Whatever you build for the middle has to fit in the strip that remains.
A useful rule: keep a centerpiece narrower than about 10 to 12 inches on a typical dining table, and leave at least 12 inches of clear space between the centerpiece and the nearest plate edge when you can. If the table is small, skip one big arrangement and use a line of small ones that can be moved when the dishes arrive.
Height matters as much as width. Arrangements should either sit low (under about 12 inches) or rise above eye level on a slim stem or vase (roughly 20 inches or more), so conversation flows underneath. The awkward middle zone, around 14 to 18 inches, is where faces get blocked.
Pick a palette of two colors plus a metal. Red and green is classic. Cream and gold, or deep green with copper, reads as more deliberate. Limiting the palette lets you mix handmade pieces from different projects without the table looking chaotic.
Think about scent. Strongly scented items such as paperwhites, heavily spiced candles, and clove-studded fruit compete with the food. Keep fragrance low on the dinner table and save the cinnamon and pine for the entryway.
Candle and glue safety
The National Fire Protection Association advises keeping candles at least 12 inches away from anything that can burn. Dry greenery, paper, cinnamon sticks, and ribbon all qualify. If a design places real flame close to those materials, switch to flameless LED candles, which now come in convincing warm-white flicker versions. Hot glue guns reach temperatures that cause real burns, and low-temperature glue guns are a gentler choice if kids are helping.
Centerpieces That Work on a Crowded Table
1. A Low Evergreen Trough
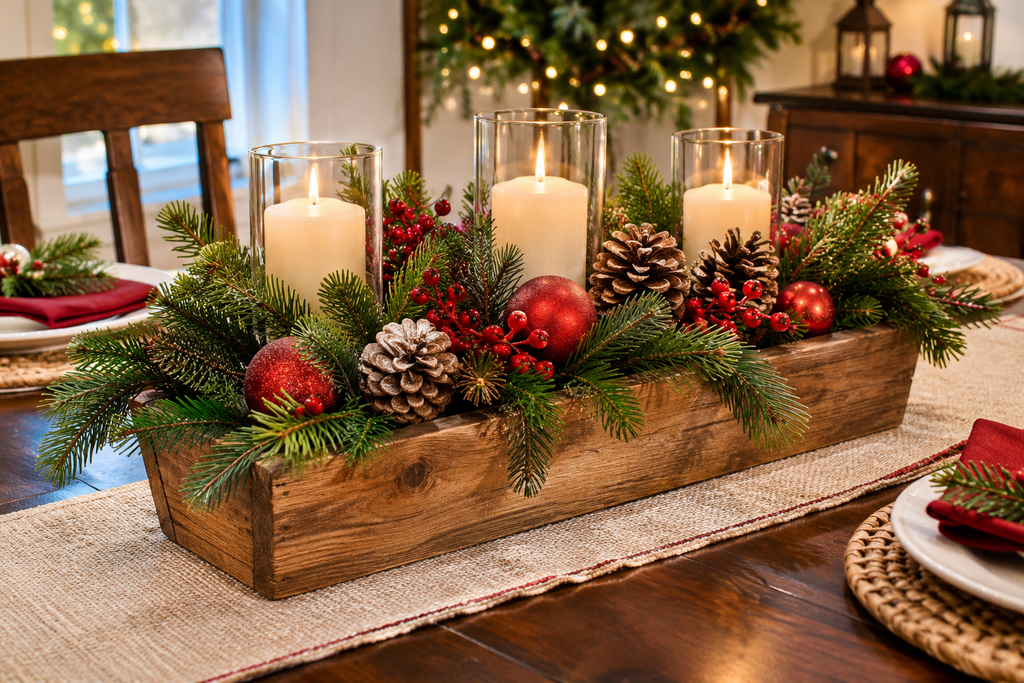
A long, narrow arrangement follows the table’s length and leaves the sides free. A loaf pan or a narrow wooden planter box works as the container.
You’ll need: a loaf pan or narrow box, chicken wire or a crisscross of floral tape across the opening, cut evergreens (fir, cedar, boxwood, or pine), and a few accents such as berries, pinecones, or small ornaments.
How to build it: Crumple a piece of chicken wire into the container so it forms a springy mesh, fill the container with an inch or two of water, then push stems through the wire at angles. Place the longest pieces first, working outward along the length, then tuck in accents. Chicken wire holds stems more flexibly than single-use green floral foam, which can’t be recycled and sheds small plastic particles as it breaks down.
Watch for: fresh-cut greenery usually lasts a week or more in a cool room but dries out faster near heat sources. Keep it away from candle flames, and top up the water.
2. A Cranberry-Filled Hurricane Vase
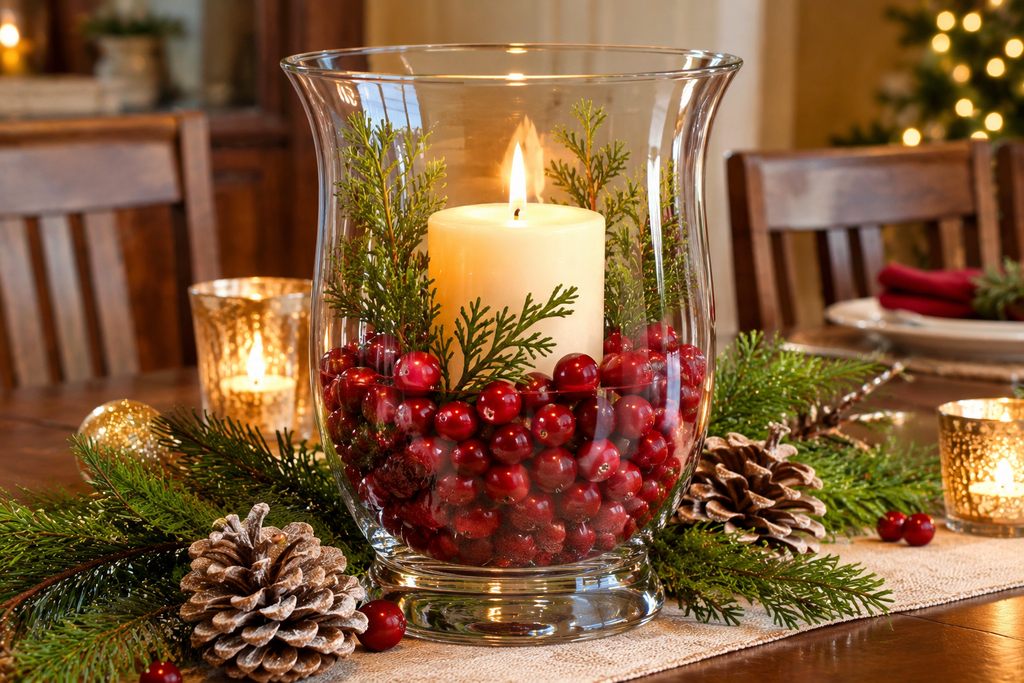
This is one of the quickest options: a clear vase, fresh cranberries, and water, with a floating candle or an LED floater on top.
Fill the vase about two-thirds full of cranberries, add cold water until they just begin to float, and set a floating candle on the surface. Because cranberries are buoyant, they will rise, so a taller vase with berries layered in the middle looks better than one packed tight. Fresh berries hold their color for a few days to a week; the water goes cloudy as they age, so assemble this within a day or two of the dinner.
Use a floating candle only if the vase is wide enough that the flame stays well clear of the glass rim. A pair of low vases at different heights looks better than one large one.
3. Mason Jar Lanterns With a Snow Finish
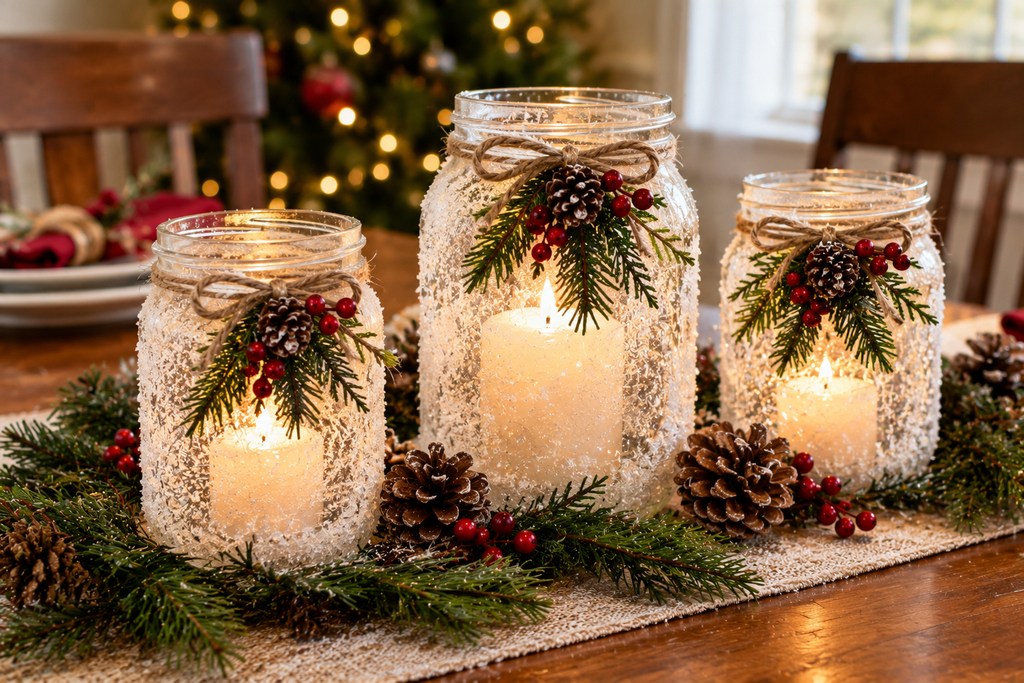
Plain jars become winter lanterns with a coat of faux snow. Brush a thin layer of white craft glue on the outside of clean jars, roll or sprinkle on Epsom salt (it looks like frost and is inexpensive), and let it dry fully, usually a few hours. Tie twine or a strip of ribbon around the neck and drop in an LED tea light.
Because the Epsom salt coating is not flame-rated, treat these as battery-light lanterns only. Cluster three to five jars of varying sizes along the table’s center line.
4. A Pillar Candle Tray
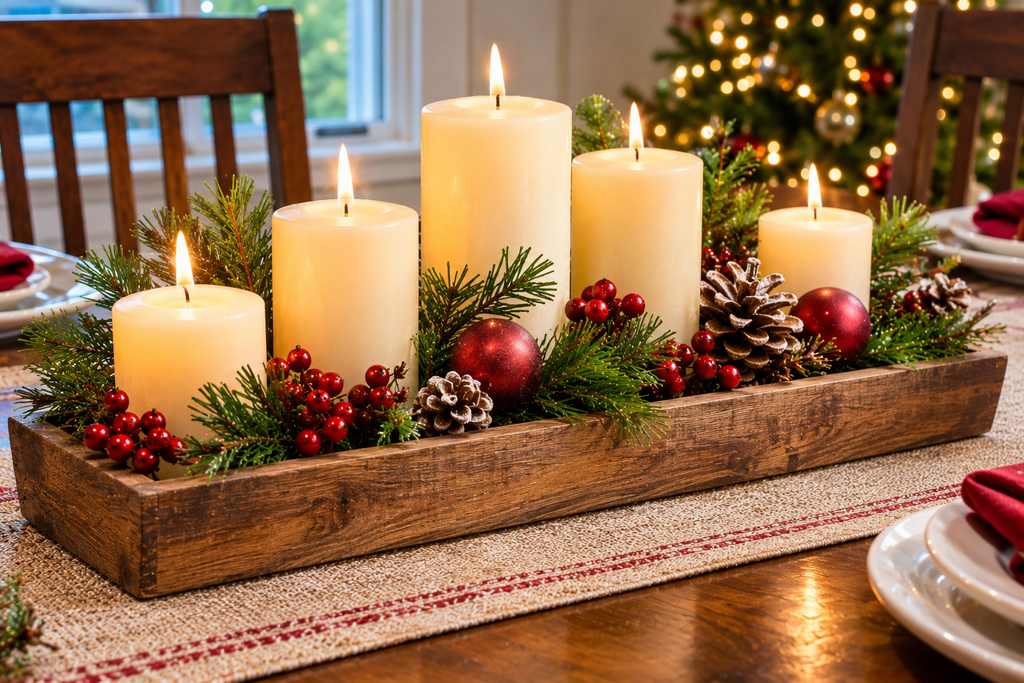
This one suits anyone who wants an arrangement that can be picked up and moved when the main course arrives. Use a long wooden tray, a mirror tile, or a baking sheet covered in burlap. Group three pillar candles of different heights and fill the gaps with pinecones, small ornaments, and a few sprigs of cedar. Keep the greenery pieces outside of arm’s reach of the flames, ideally a hand’s width or more away, and stop adding filler once the tray looks full. A mirror base doubles the glow.
5. An Ornament Bowl Under Glass
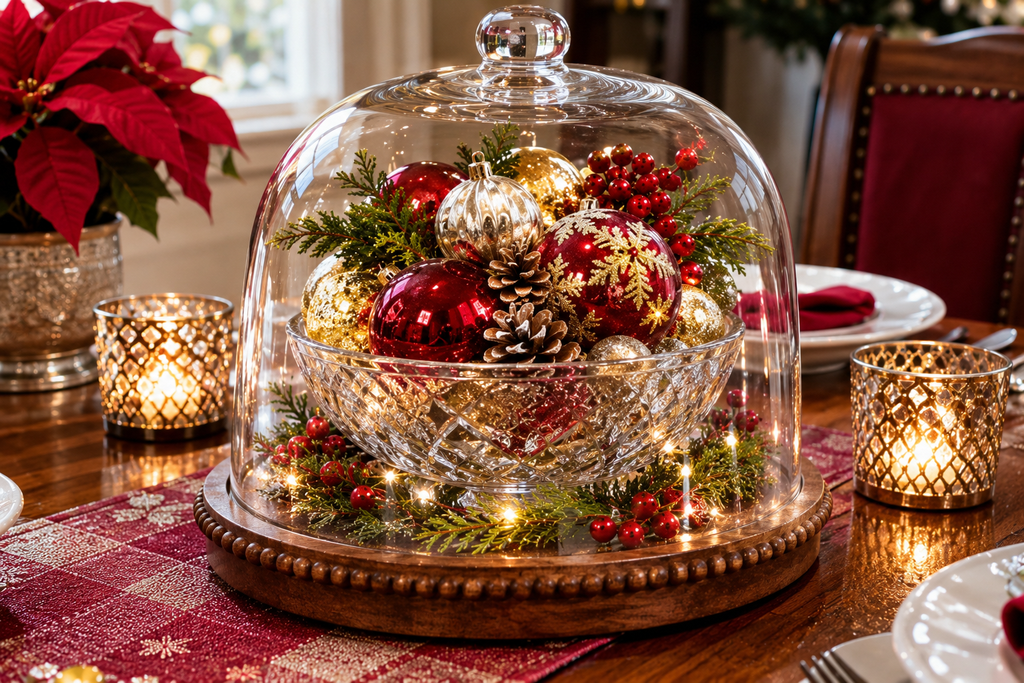
A glass cake stand with a cloche, or a clear apothecary jar, becomes a centerpiece with nothing more than ornaments. Pick one color family, mix matte and shiny finishes, and vary the sizes. Add a handful of loose greenery or a pinecone or two as filler. The glass keeps kids’ hands and dog tails from knocking ornaments off, and it takes about five minutes.
6. Bare Branches With Hanging Ornaments
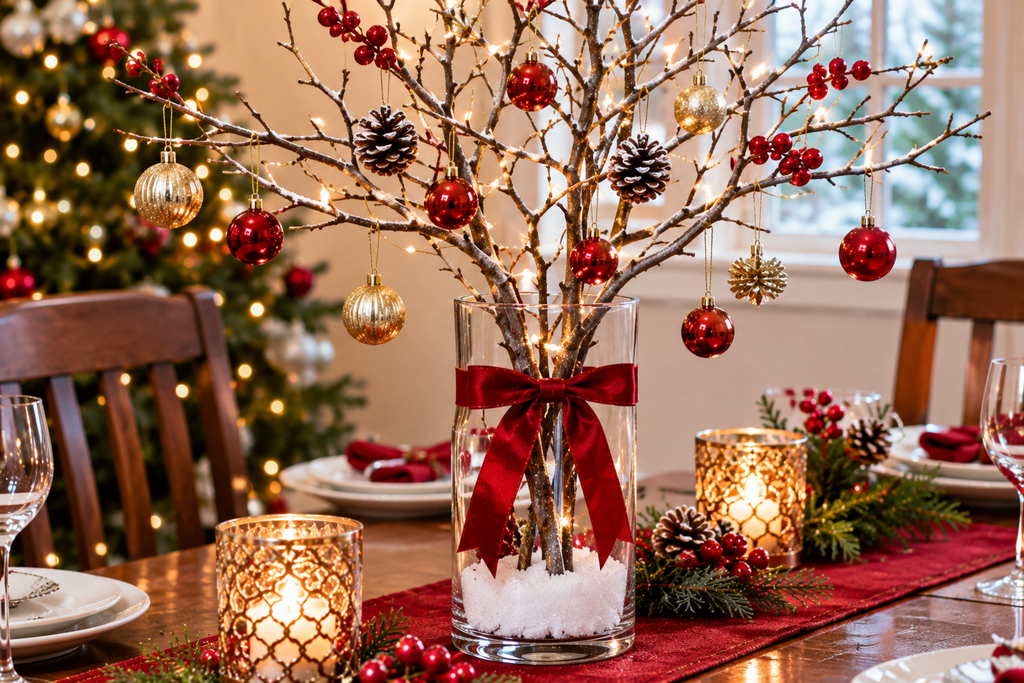
Tall and airy, this satisfies the “above eye level” rule. Cut three to five branches (birch, dogwood, or any bare stem that looks interesting) to about 24 to 30 inches, place them in a heavy vase weighted with stones or marbles, and hang lightweight ornaments from thin ribbon or clear thread. Spray-paint the branches white or gold ahead of time, outdoors and with ventilation, and let them dry fully before arranging. A string of battery fairy lights wrapped through the branches adds glow without a flame.
7. Forced Bulbs in a Pot
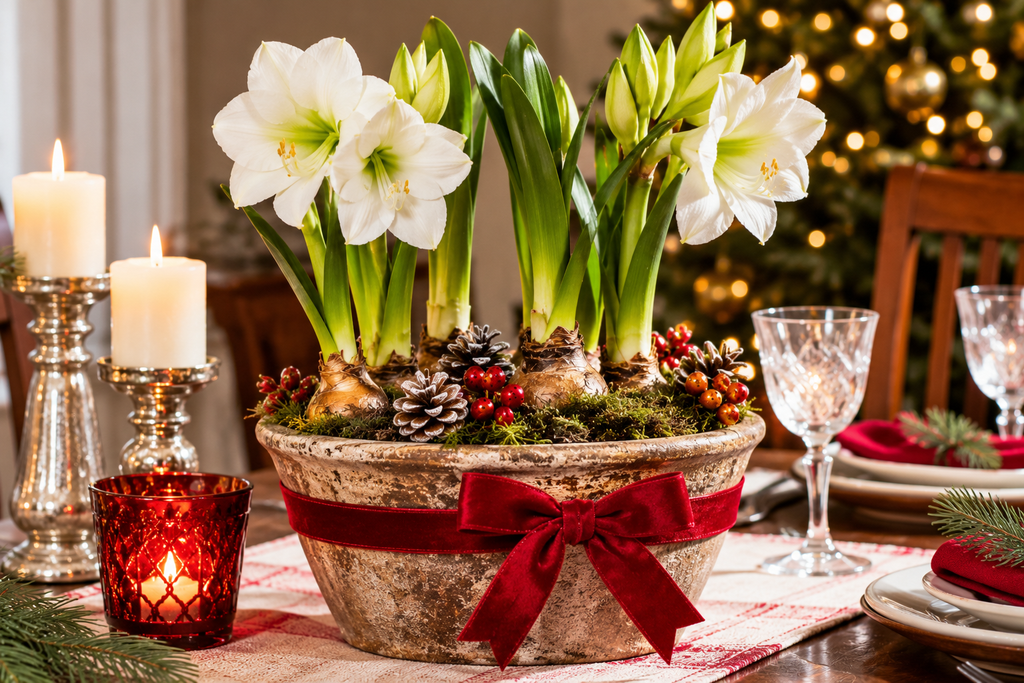
Paperwhites and amaryllis bloom indoors in winter, but they need planning. Paperwhites generally flower within roughly three to five weeks of planting, and amaryllis often needs six to eight, so start in mid-to-late November for a Christmas dinner.
Set bulbs in a container with pebbles or potting mix, covering the lower half of paperwhites and leaving the top third of an amaryllis bulb exposed. Keep paperwhites in a cool, bright spot so they don’t flop. They have a strong scent that some people find overpowering at a dinner table, so consider moving them to a sideboard. Both plants are toxic to cats and dogs if chewed, so households with pets should choose another option.
8. A Cluster of Tabletop Trees
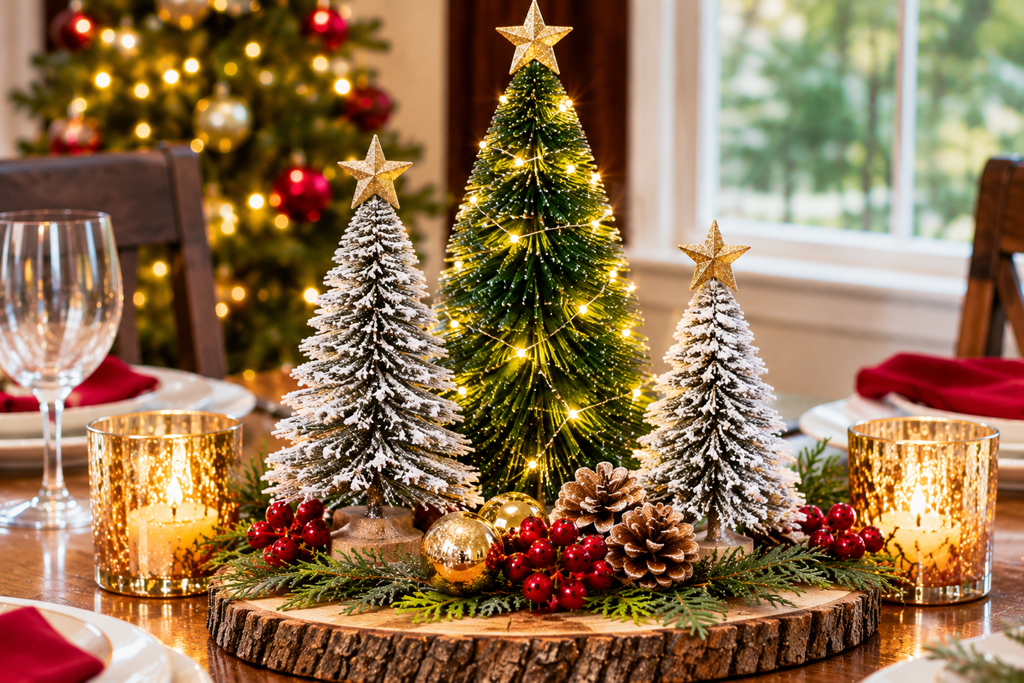
Small trees add height variation without needing flowers. Options include paper cone trees made from patterned scrapbook paper, felt trees, or small live rosemary topiaries, which are widely available at grocery stores in December and have a pleasant but mild scent. Group an odd number of three or five trees at different heights. Paper and felt trees suit any room, but live rosemary needs bright light and a bit of water, so move it back to a window after the meal.
Candlelit Ideas That Won’t Cause Trouble
9. Candles in Hollowed Apples or Pears
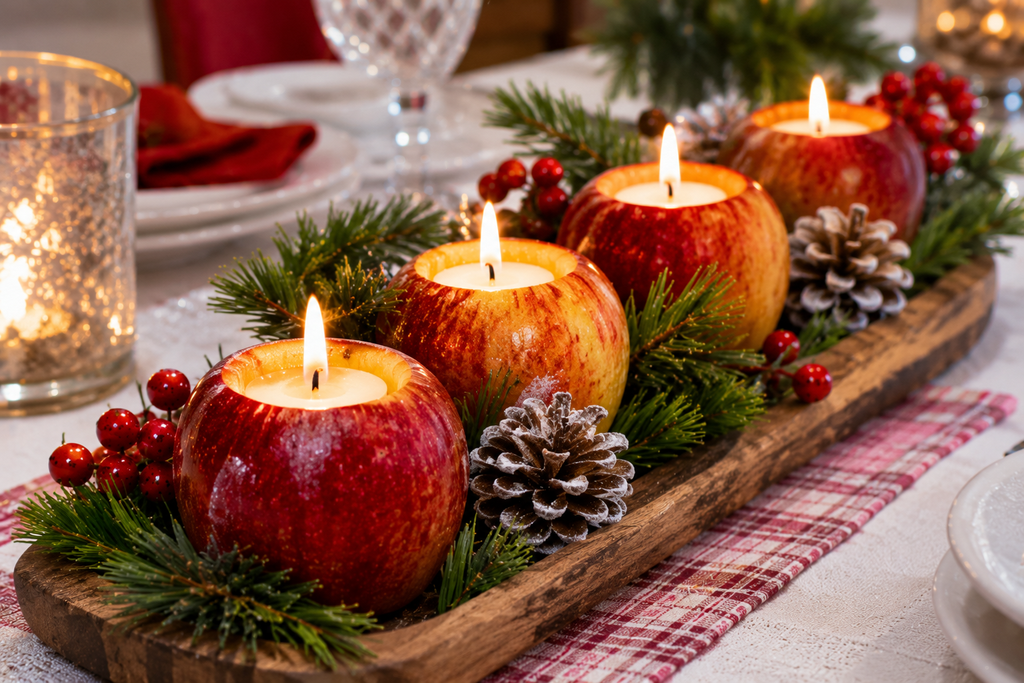
Cut a small hollow in the top of a firm apple or pear, big enough to hold a tealight in a metal cup. The fruit’s weight keeps the candle steady, and the color suits a rustic table. Slice a thin piece from the base so it sits flat, and brush the cut surface with lemon juice if you want to slow browning.
Use a metal-cup tealight so the flame never touches the fruit directly, and don’t leave these burning unattended. LED tealights are a reasonable swap.
10. Taper Candlesticks From Everyday Objects
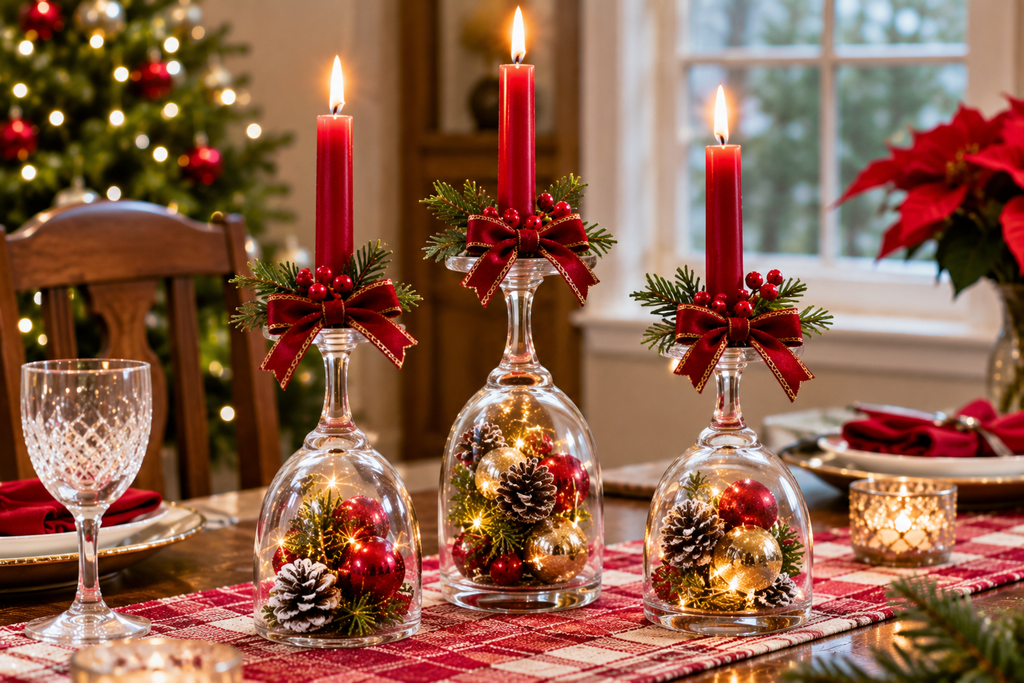
Tapers look elegant, but candlesticks can be expensive. Heavy-bottomed glass jars, short vases filled with cranberries or coarse salt, and clean wine bottles can all hold them. For the wine bottle method, choose bottles whose necks fit the taper snugly, or wrap a bit of floral tape or tape around the base of the candle until it holds. Wax will drip, so put each bottle on a small plate or a folded cloth square.
11. Clove-Studded Citrus in a Bowl
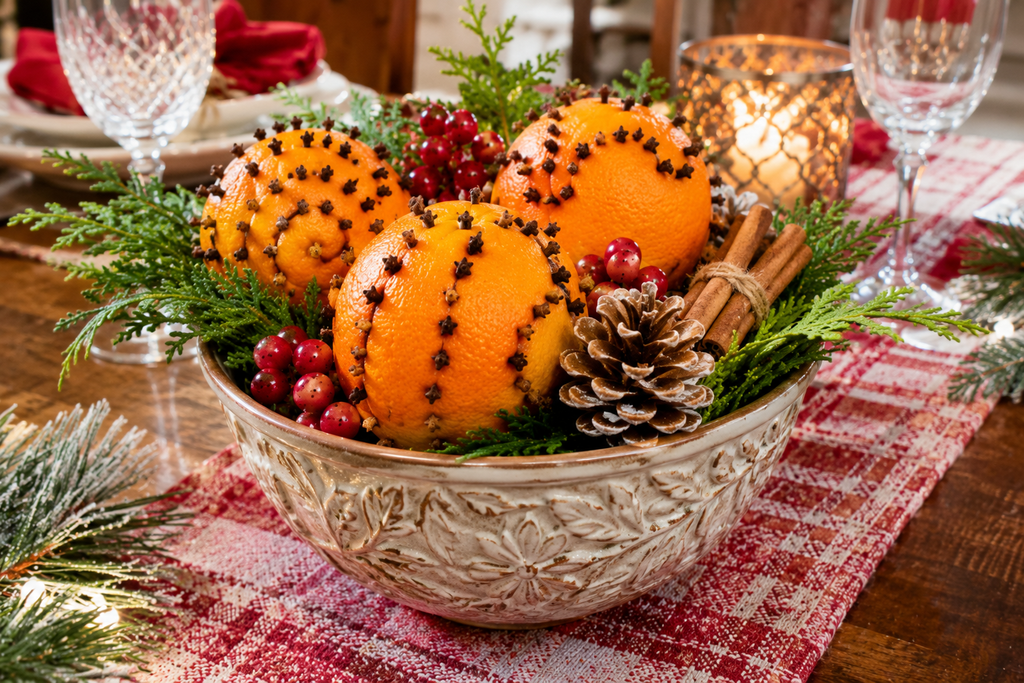
Press whole cloves into oranges or clementines in patterns, working in rows or spirals. A small skewer or toothpick makes starter holes in the skin and prevents bent cloves. Pile the fruit in a shallow wooden bowl with fresh cedar. This is purely decorative; the fruit is not for eating once pierced. As noted earlier, the scent is strong, so a sideboard or hall table may be a better spot than the dinner table.
12. A Votive Ring of Cinnamon Sticks
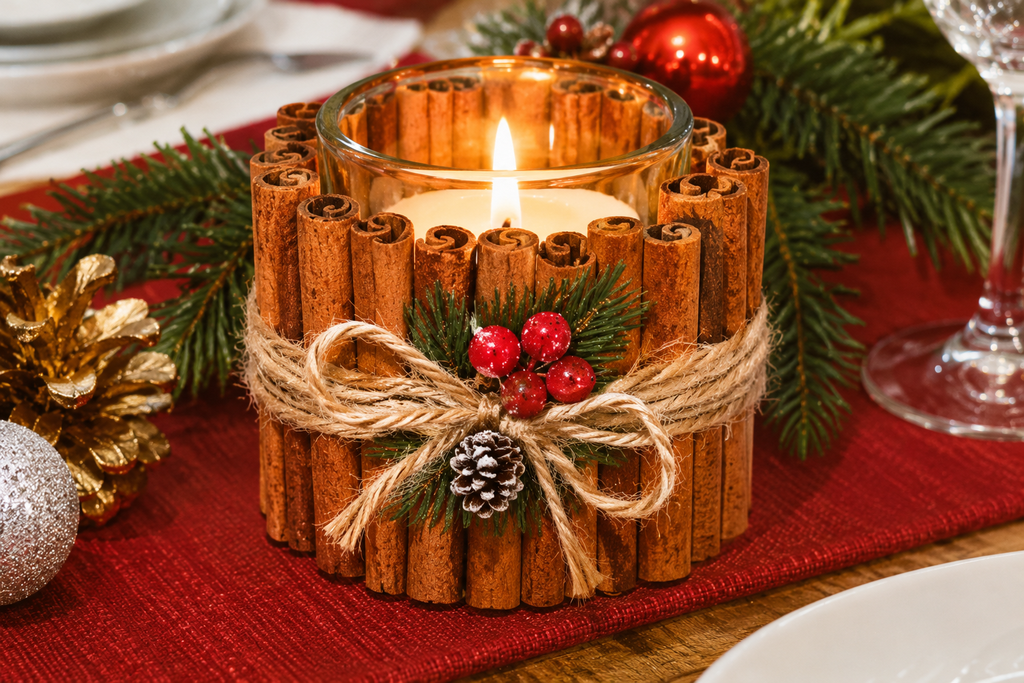
Wrapping glass votives in cinnamon sticks tied with twine looks warm and gives off a faint scent. Cinnamon sticks are dry and can ignite if they get too close to a flame, so use only flameless LED candles inside, and don’t use real candles even in glass holders. Tie sticks with twine in a snug band and finish with a sprig of rosemary.
Place Settings That Make Each Seat Feel Considered
13. Rosemary and Twine Napkin Rings
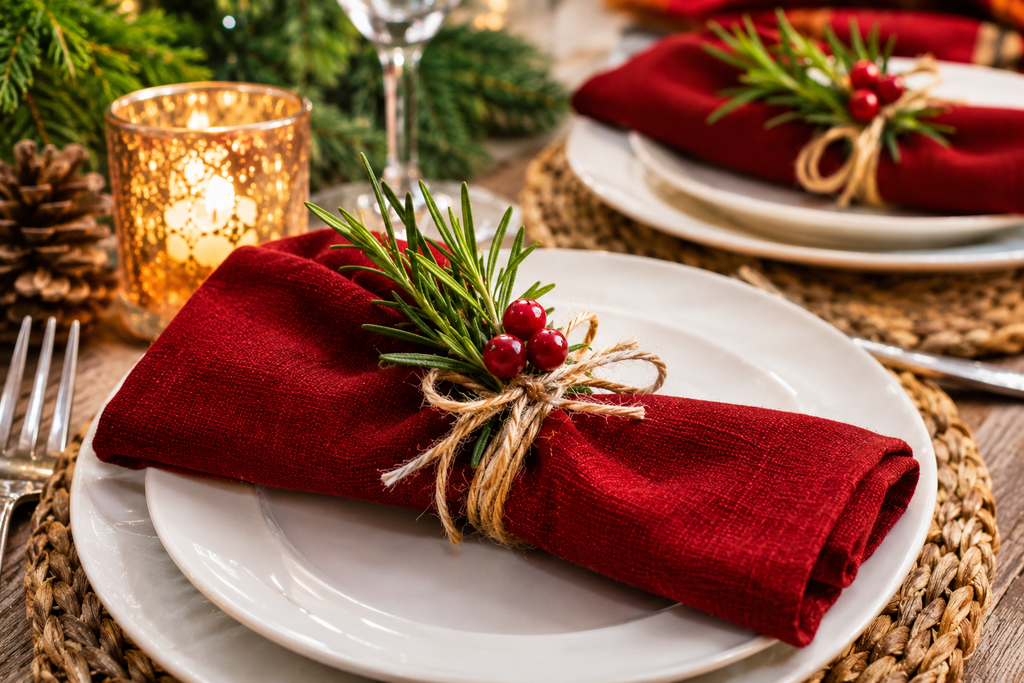
These cost almost nothing. Fold each napkin, wrap a single rosemary sprig around the middle, and tie it with twine, then tuck in a small berry or a cut citrus wheel. Rosemary stays fragrant, holds its shape when tied, and is easy to find. Make them the same day as the dinner, since the sprigs droop after a day or two out of water.
14. Dried Orange Slices as Napkin Toppers
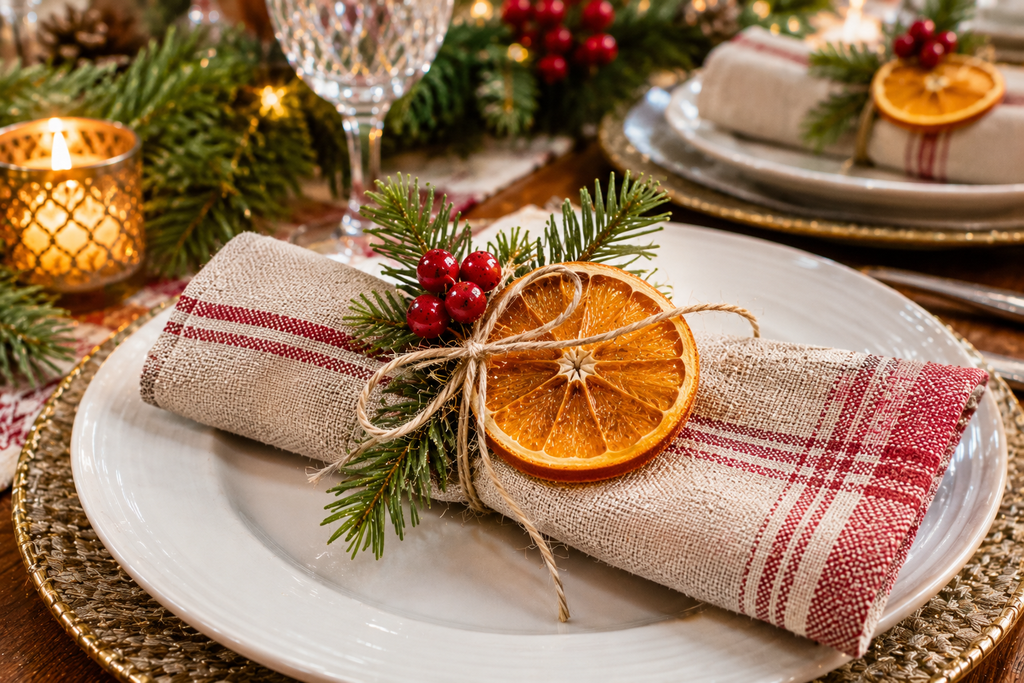
Slice oranges about a quarter inch thick with a sharp knife, pat them dry, and bake on a parchment-lined sheet at around 200°F, flipping once, until the slices are dry and slightly translucent. Timing varies with the thickness and juiciness of the fruit, anywhere from about two to four hours, so check every 30 minutes toward the end. Let them cool fully, since they crisp as they cool.
Thread a loop of twine through each slice and lay one on top of every folded napkin, or tie a slice onto each napkin ring. Stored in an airtight container, they keep their color for weeks, which makes them an easy item to prepare early.
15. Kraft Paper Place Cards With Greenery
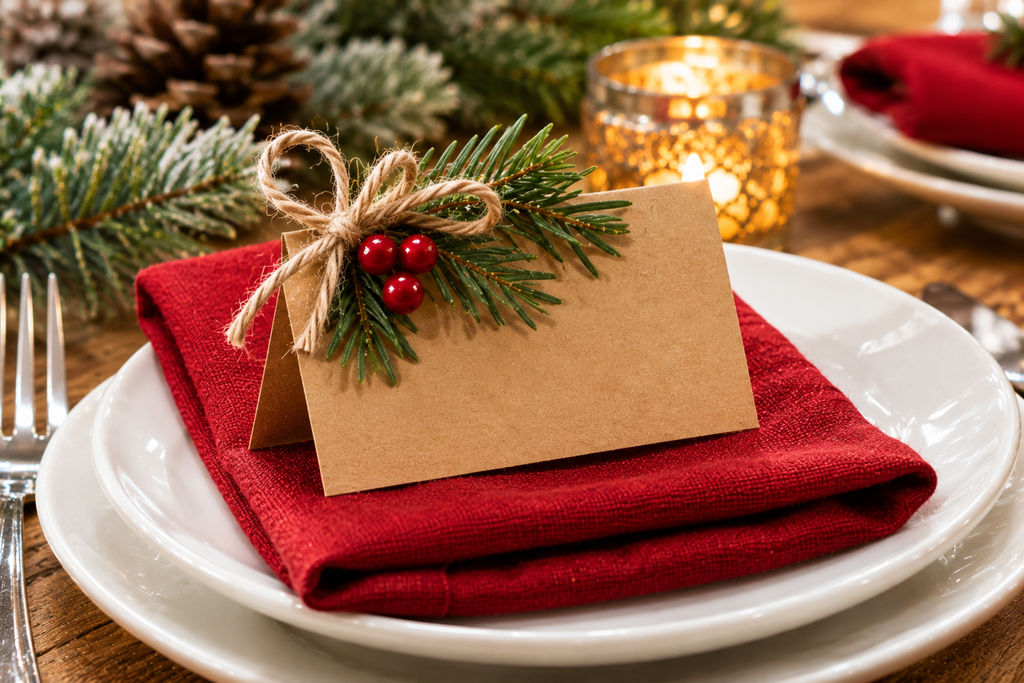
Cut kraft paper or heavy cardstock into 3 x 4-inch rectangles, fold in half, and write each guest’s name in a marker or paint pen. Slide a small sprig of fir or cedar into a slit cut across the middle of the card so the greenery appears to be tucked behind the name. They are flat and sturdy, and a metallic pen on dark kraft paper reads well in candlelight.
16. Salt Dough Ornament Place Cards
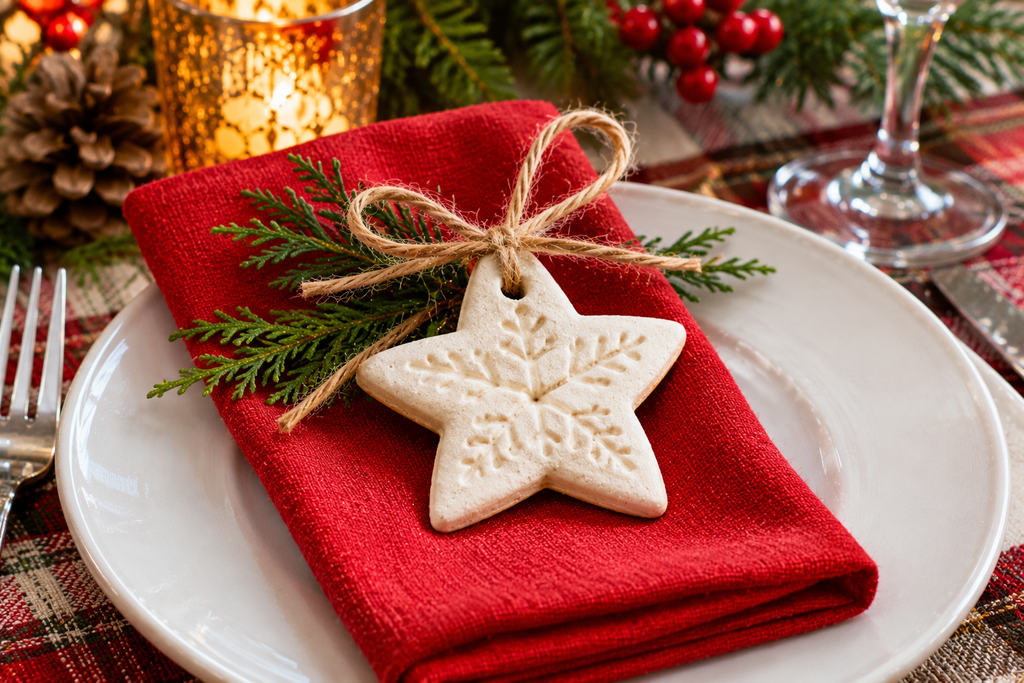
A basic salt dough uses two parts flour to one part salt to one part water. Mix and knead until smooth, roll to about a quarter inch, cut shapes with cookie cutters, and use a straw to make a small hole for the ribbon. Bake at a low temperature, around 250°F, until fully hard, which commonly takes two to three hours depending on thickness; thicker pieces take longer, and cracking usually means the oven was too hot.
Let them cool, write each guest’s name with a paint pen, and tie them to the napkin or glass. Guests can hang them on a tree afterward. They are not edible and should be kept away from pets and small children, since the salt content can be harmful if eaten in quantity.
17. Wood Slice Chargers or Coasters
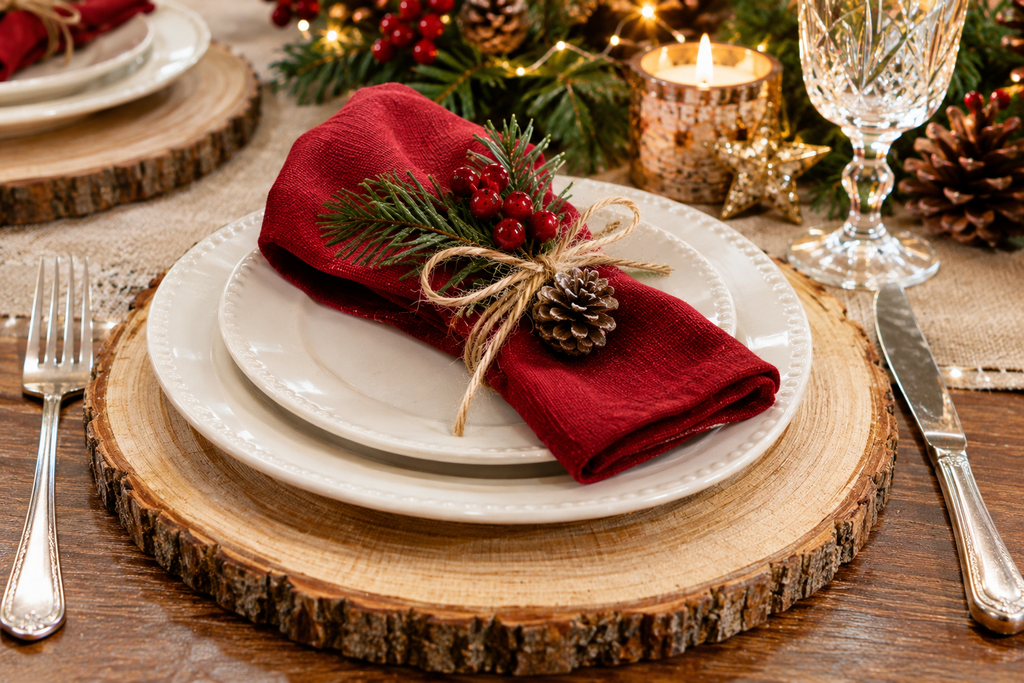
Craft stores sell pre-cut wood slices in several sizes, and larger ones (about 10 to 12 inches) work as rustic chargers beneath plates. Sand any rough edges, seal with a clear food-safe finish if plates will sit directly on them, and let them cure fully, since many sealants need a day or more. Smaller slices make coasters. The bark edge adds texture that suits a forest-themed table.
18. Wrapped Cutlery Bundles
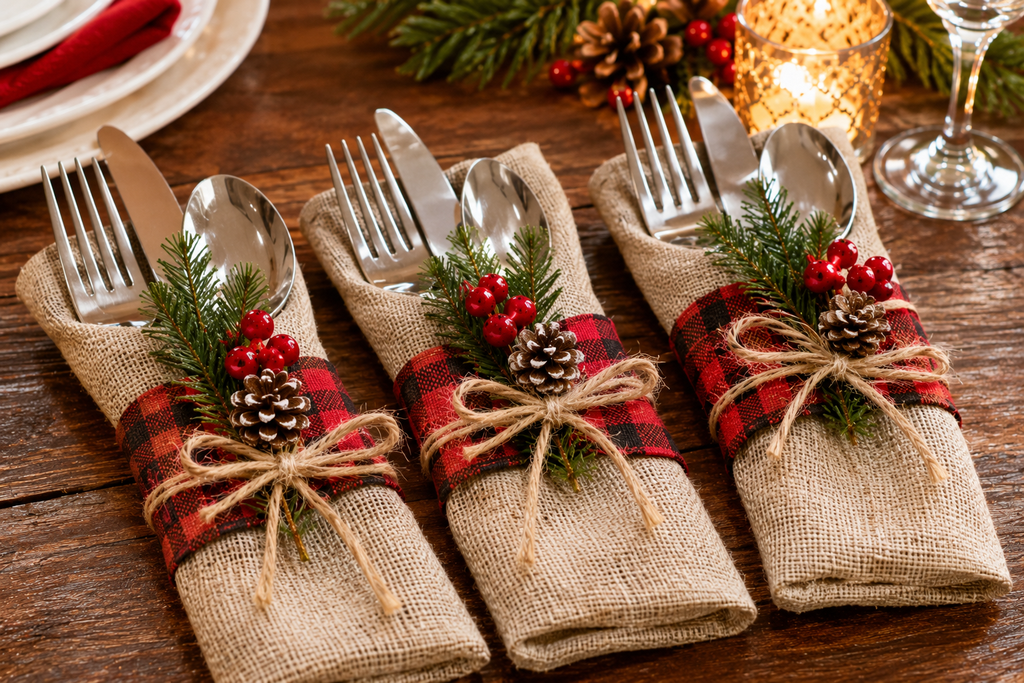
Bundling the fork, knife, and spoon in a napkin or a strip of fabric frees up space on the table and gives you a spot for a sprig of greenery. Fold a linen napkin around the set, wrap a length of ribbon or thin leather cord around the middle, and slip in a small sprig. Put the bundle on the plate or to the side, depending on how many courses are served. It is faster than ironing every napkin into complicated folds.
Table Surfaces and Overhead Touches
19. A No-Sew Fabric Runner
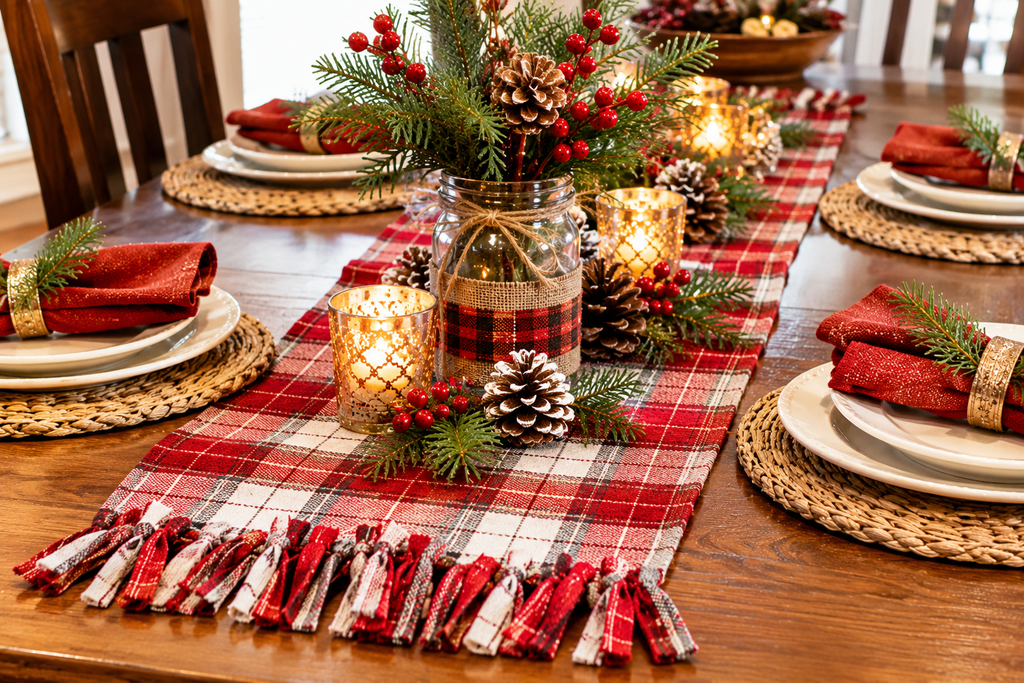
A yard or two of linen, burlap, or velvet becomes a runner without a sewing machine. Cut it to the length of the table plus 8 to 12 inches of overhang at each end, and 14 to 16 inches wide. Use iron-on hem tape to finish the long edges, or fray the edges on purpose for a relaxed look. Velvet shows creases and pressure marks from candle bases, so lay it down only at the end if you use it. Wash and dry fabric first so it doesn’t shrink after you cut it.
20. Scatter: Cranberries, Star Anise, and Pinecones
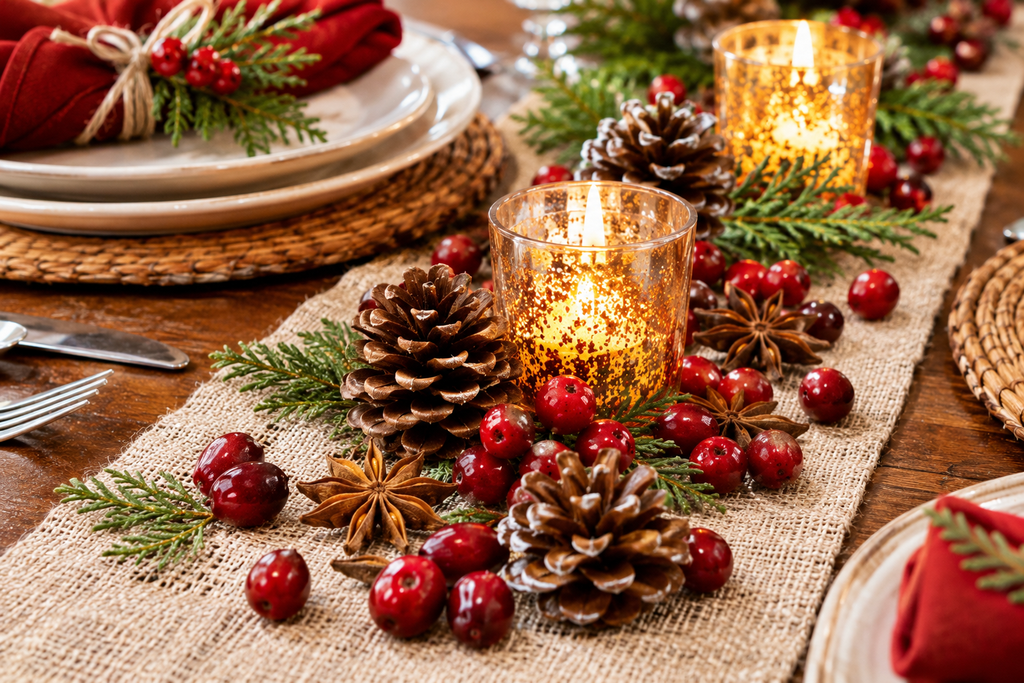
Loose items spread along the runner fill gaps between larger pieces. Whole star anise, fresh cranberries, mini pinecones, and small gold ornaments work well, but keep the scatter sparse. Too much clutter leaves guests moving things off their plates. Skip anything small enough for a toddler or a pet to swallow if either will be at the table, and note that holly berries and mistletoe are toxic if eaten, so leave them out entirely if children or pets are present.
21. Ornaments Suspended Above the Table
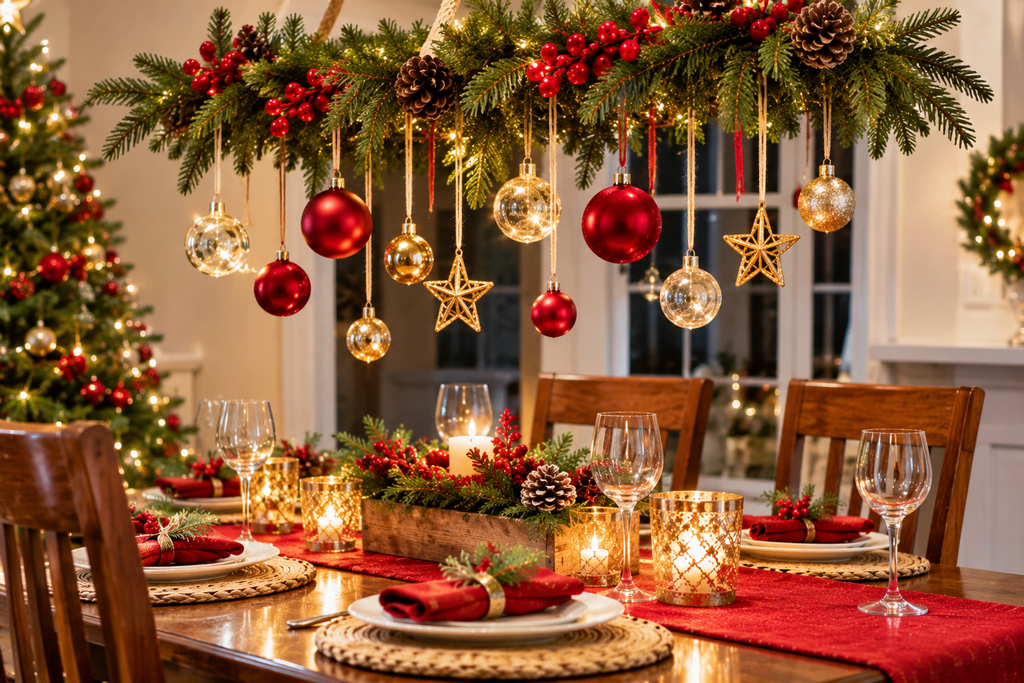
If there is a light fixture over the dining table, hanging lightweight ornaments at different heights from clear fishing line or thin ribbon adds drama without using any table space. Tie each one to a sturdy point, such as a hook on the chandelier or a ceiling hook, and make sure nothing hangs near a bulb that gets hot. Keep the lowest ornament at least 30 inches above the tabletop so guests don’t bump their heads. Plastic or shatterproof ornaments are safer than glass here.
Questions People Often Ask Before the Dinner
How far ahead can I make these?
Dried orange slices, salt dough shapes, cinnamon-wrapped votives, paper place cards, and the fabric runner can all be done weeks early. Fresh-greenery arrangements, rosemary napkin rings, and cranberry vases do best within one to two days of the meal.
Can I use real candles with fresh greenery?
Yes, but keep the greenery well away from the flames. NFPA’s guidance of 12 inches from anything combustible applies. Fresh greenery dries out the longer it sits, so risk increases over the evening. For anything close to the flame, LED candles are the safer route.
What if the table is small?
Use a set of small items, such as three bud vases or a single line of votives, in place of one large arrangement. Use the hanging ornaments in idea 21 to add visual impact without taking up tabletop.
Key Takeaways
Measure the table first, then choose decorations that leave at least a foot of clear space around each plate. Keep centerpieces under about 12 inches tall or above 20, keep any real flame well away from greenery, paper, and cinnamon, and use LED candles wherever there’s doubt. Prepare the dried and baked items early, and save the fresh greenery and cranberries for the final day or two. A palette of two colors and one metal will tie handmade pieces from different projects together.

About Syprose Kiche
Syprose Kiche is the creator and writer behind My Besuited Home, a practical home and garden website covering DIY projects, gardening, lawn care, landscaping, home improvement, and outdoor living. She focuses on turning everyday homeowner questions into clear, practical guides backed by careful research and useful real-world considerations.