
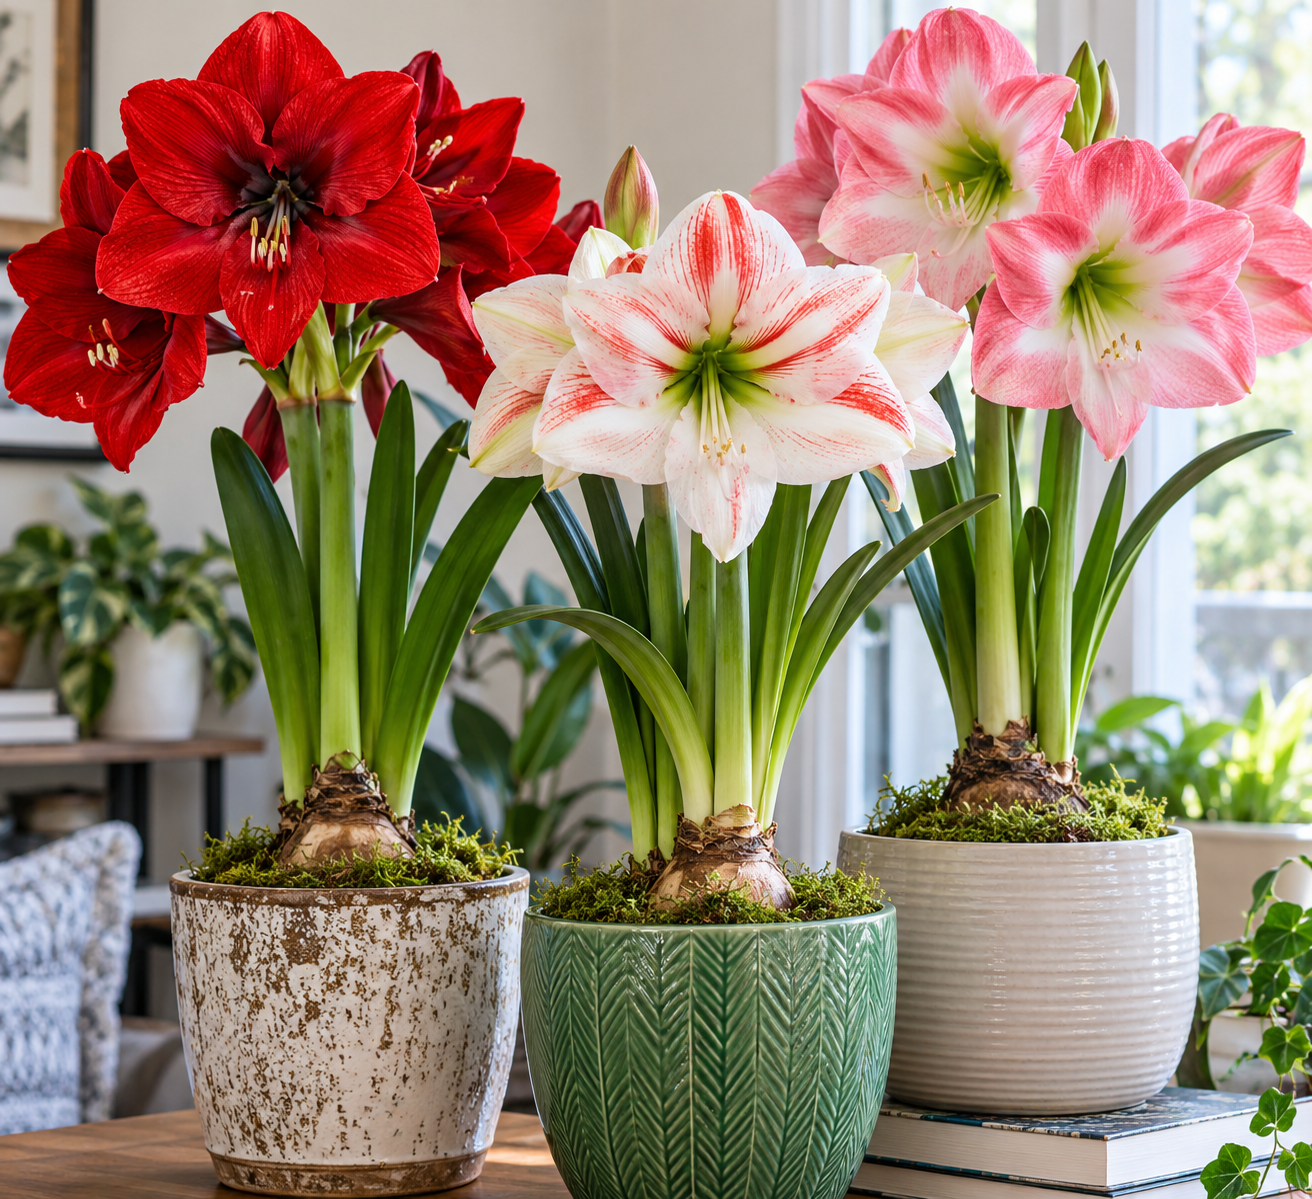
A bulb the size of a softball and a bulb the size of a golf ball can look nearly identical in a garden-center bin, and they will not produce the same flowers. The large one has already stored enough energy for two or three flower stalks, each carrying four to six blooms. The small one may send up a single stalk with a few modest flowers, or nothing. Most disappointing amaryllis results are decided before the bulb ever touches soil, and most of the rest are decided by a handful of habits: how deep it’s planted, how much it’s watered in the first weeks, and whether it gets enough light once the stalk appears.
This guide follows the order in which you’ll actually make decisions, starting at the store and finishing with getting the same bulb to flower again next year.
Choosing a Bulb That Can Produce Huge Blooms
Size is the best predictor
Amaryllis bulbs are sold by circumference, measured around the widest part. Larger bulbs have more stored food, and stored food is what fuels the flower stalks. Bulbs sold as “jumbo” or “mammoth” by specialty growers are usually around 34 cm in circumference or larger, and they tend to produce more stalks than the 26 to 30 cm bulbs sold in many holiday kits. Treat those figures as typical trade sizing rather than a fixed standard, since grading varies between suppliers.
For a first purchase, a bulb that fills your palm and feels heavy for its size is a better bet than a small bulb in an attractive gift box. Kits are convenient, but the bulb inside is often at the lower end of the size range, and the pot supplied is frequently too light and too small.
What a healthy bulb looks like
Pick the bulb up and press it gently. It should be firm all over, like an onion. Avoid bulbs with:
- Soft or squishy patches, which usually indicate rot
- Visible mold, especially around the base
- A hollow or papery feel
- Deep gashes or crushed areas
Dry, papery brown outer scales are normal. A little green showing at the tip is fine too, and often a good sign. Some bulbs sold in winter have already begun to sprout, which means they’ll bloom sooner.
Roots matter. Bulbs sold bare-root should have fleshy, white or pale roots at the base, not brittle or blackened ones. Dried-out roots can be soaked and trimmed, but a bulb with a solid, plump root system will establish faster.
Waxed bulbs are a different product
Waxed amaryllis bulbs, sold with no soil and no water requirement, flower using only the energy already in the bulb. They put on a good show once, but they can’t take up water or nutrients, so there is nothing to feed the bulb afterward. Most people treat them as disposable decorations. If you want a bulb you can keep and rebloom, choose an unwaxed one.
Choosing a variety
Large-flowered hybrids, often sold under names like ‘Red Lion’, ‘Apple Blossom’, or ‘Minerva’, are the standard for dramatic blooms with flowers 15 to 20 cm across. Double-flowered types have layered petals and look fuller, but they sometimes produce fewer or slightly less sturdy stalks. Miniature types such as the Cybister group have narrower, spidery petals and a more delicate look. Flower size differs a lot between these groups, so if “huge” is the goal, look for a large-flowered single hybrid in the jumbo size.
Pot Size: Smaller Than You’d Expect
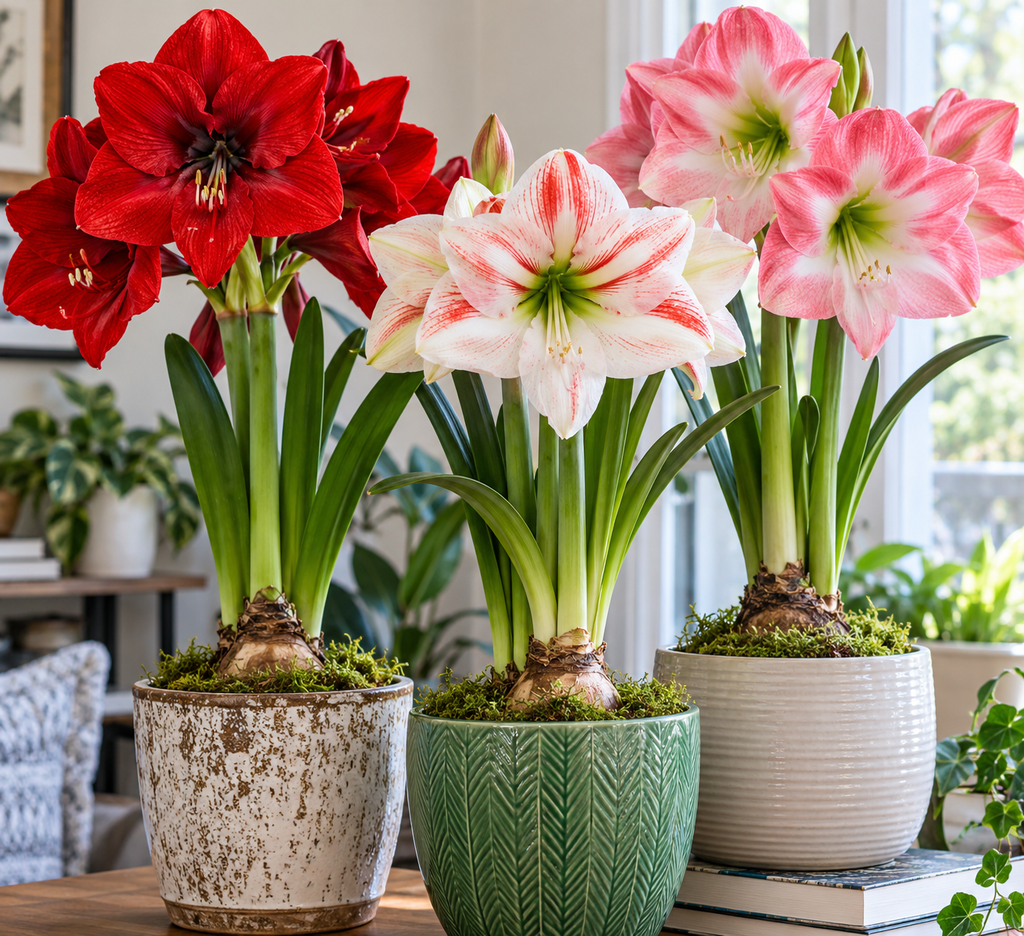
Amaryllis flower best when slightly crowded. A pot that’s too large encourages leaf and root growth at the expense of flowers and keeps the soil wet for longer than the bulb can use.
A common rule is to choose a pot only about 2.5 to 5 cm (1 to 2 inches) wider than the bulb at its widest point. Another way to put it: you should have roughly a thumb’s width of space between the bulb and the pot wall all the way around.
Depth matters as well. Amaryllis roots grow downward and form a thick mass, so the pot should be deep enough to leave several centimeters of soil below the bulb, usually 15 to 20 cm in total depth for a large bulb.
Weight and stability
A fully open amaryllis is top-heavy. Stalks can reach 45 to 60 cm, with several large flowers on top, and a lightweight plastic pot can tip over the first time the plant leans toward a window. A heavier terracotta or ceramic pot offsets that. Terracotta also wicks moisture from the soil, which helps if you tend to overwater.
Drainage is not optional
Choose a pot with at least one drainage hole. Decorative cachepots without holes work only if you keep the plant in a plain nursery pot inside and empty any water that collects at the bottom after each watering. Standing water around the base is the quickest route to bulb rot.
Soil: Fast-Draining and Loose
Amaryllis bulbs are sensitive to wet, heavy soil. The bulb itself stores water, so the roots don’t need to sit in moisture constantly.
A good indoor mix is a standard, well-draining potting soil with extra drainage added. One practical mix is roughly two parts potting soil to one part perlite or coarse sand. Peat-based or coir-based mixes both work provided they drain well. Avoid garden soil, which compacts in pots and can introduce pests or disease.
Skip any “moisture-retaining” potting mixes that contain water-holding crystals. For this plant they tend to keep the lower portion of the pot wetter than it should be.
Is a pH adjustment needed?
Commonly cited guidance suggests a slightly acidic to neutral range, around pH 6.0 to 7.0. A standard potting mix usually falls inside that range, so for most indoor growers there’s nothing to adjust.
Planting Depth: The Top Third Stays Above the Soil
This is the step most often done incorrectly. Amaryllis are not buried like tulips.
Plant the bulb so that about one-third to one-half of it sits above the soil line, with the pointed neck and shoulder exposed. Burying the whole bulb keeps moisture around the neck, where rot can start, and may delay flowering.
Step by step
- Soak the roots (not the bulb). If the bulb has bare roots, rest it in lukewarm water with only the roots submerged for a few hours, no more than overnight. Soaking the whole bulb for long periods can encourage rot.
- Trim damaged roots. Cut off any mushy or dried-out roots with clean scissors. Leave healthy ones.
- Add soil to the pot. Fill partway, leaving enough depth to set the bulb with its roots spread out.
- Set the bulb, pointed end up. Hold it in place and add soil around the sides, pressing lightly so it’s stable.
- Check the final height. The upper third to half of the bulb should sit clear of the surface.
- Water once, lightly. Moisten the soil, then let the excess drain.
If the bulb is already sprouting, plant it the same way and keep the green tip uncovered.
Planting time
If you want blooms for the holiday season, plant the bulb about six to eight weeks ahead. Bloom time varies with bulb size, variety, and room temperature, so treat that as a range rather than a promise. Many bulbs flower within four to eight weeks of planting, and cooler rooms slow things down.
Watering: Less at First Than Seems Right
Watering is where most good bulbs get ruined.
Before growth begins
After the first watering, hold back. A newly planted bulb with no leaves or stalk uses very little water, and damp soil around a dormant bulb invites rot. Water sparingly, perhaps only when the top few centimeters of soil are dry, until you see the stalk or first leaves emerging.
Once the stalk is growing
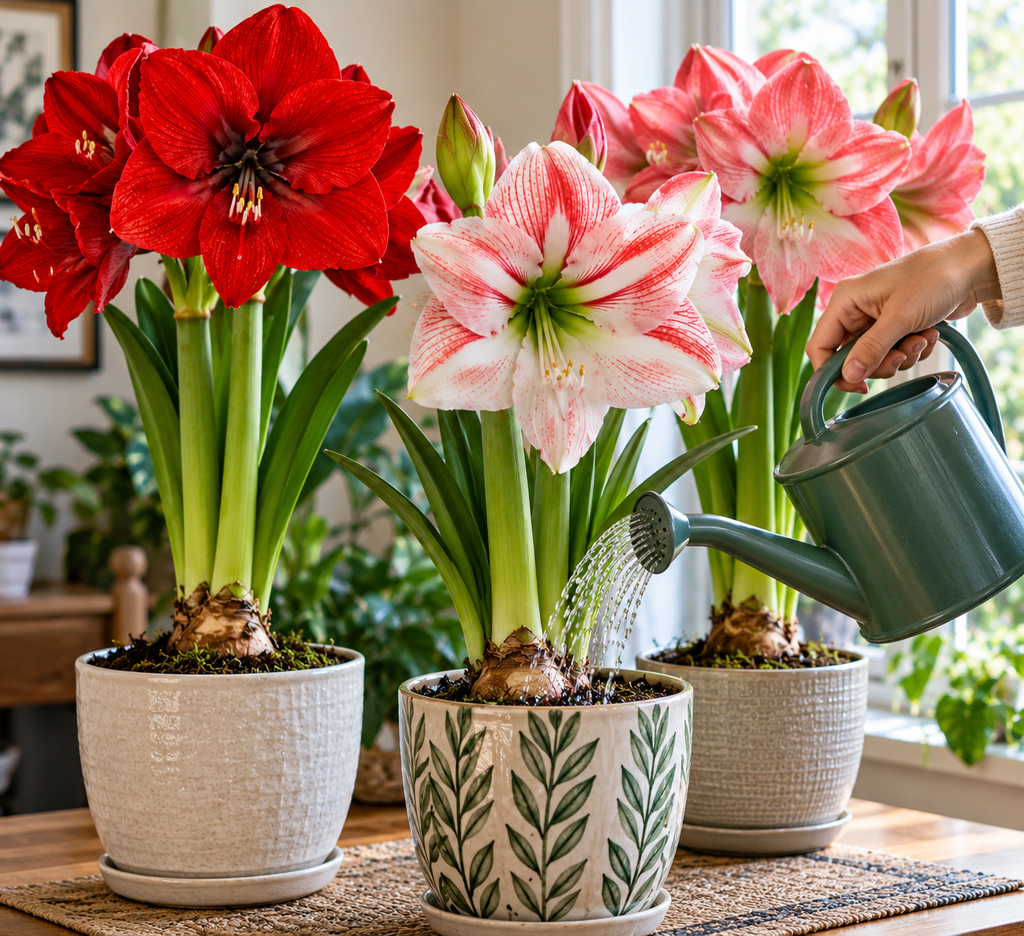
When green growth is visible, move to a steady rhythm. Water when the top 2.5 cm (an inch) of soil feels dry, and water thoroughly so the excess drains out of the bottom. Then let the pot drain completely.
Water the soil, not the bulb. Pour around the edges so the exposed shoulders stay dry.
Signs you’re overwatering
- Yellowing leaves that appear early
- A soft or darkened bulb base
- A sour smell from the soil
- Fungus gnats hovering around the pot
- Stalk growth that stalls
If the bulb feels soft at the base, rot may already be underway. Unpot it and check. Firm, white tissue is healthy. Soft, brown, or foul-smelling tissue should be cut away with a clean knife, and the bulb allowed to dry before replanting in fresh mix. Severely rotted bulbs usually can’t be saved.
Signs of underwatering
Drooping leaves with dry, shrunken soil that pulls away from the pot edges indicate thirst. A thorough soak and a draining period fix it, and the plant generally recovers.
Water temperature
Room-temperature water is best. Cold water straight from the tap isn’t harmful in small amounts, but there’s no advantage to it.
Light: Bright for Growth, Cooler and Dimmer to Keep Blooms Going
Getting the stalk started
A warm spot speeds sprouting. Many growers put a newly planted bulb in a room around 21 to 24°C (70 to 75°F) until the stalk emerges. Bottom warmth from the top of a refrigerator or a heat mat can help, but avoid placing pots directly on radiators or heating vents, where soil can dry out or overheat.
Keeping the stalk straight
Once the stalk is a few centimeters tall, move the pot to a bright window, ideally a south or west one. Amaryllis stalks lean toward light. Turn the pot a quarter turn every day or two so the stalk grows straight and doesn’t flop to one side.
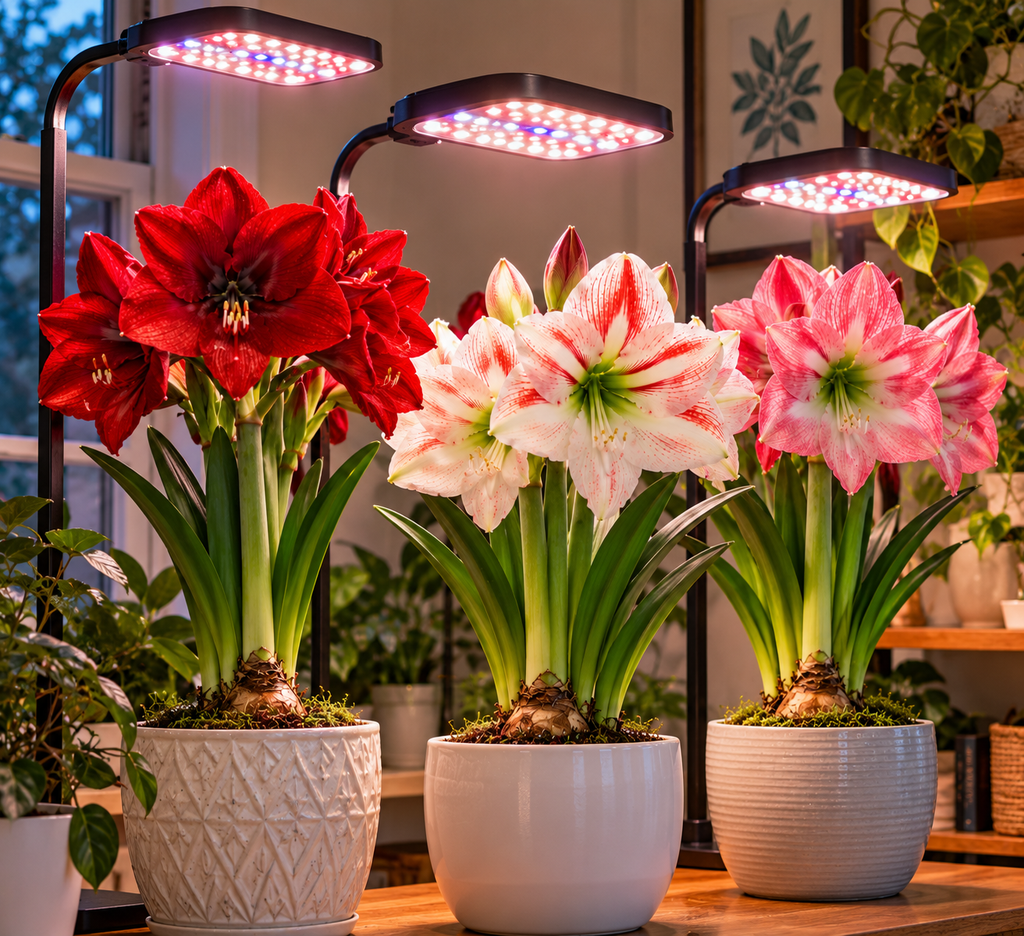
Weak light produces tall, spindly stalks that bend under the weight of the flowers. If your home is dim, a grow light a short distance above the plant can help. Follow the manufacturer’s distance recommendations.
Making the flowers last longer
Once the blooms open, move the plant out of direct sun and into a cooler room, ideally 18 to 21°C (65 to 70°F). Heat and strong sunlight shorten the life of each flower. In a cool, bright spot, a stalk’s blooms can last roughly two to three weeks. Exact duration varies with the variety and conditions.
Staking tall stalks
Large, heavy flower heads can pull the stalk over. A thin bamboo stake pushed gently into the soil away from the bulb, with a loose tie around the stalk, solves it. Be careful to avoid piercing the bulb.
Fertilizing: Feed the Leaves, Not the Flowers
Fertilizer plays a very different role for amaryllis than for most flowering houseplants. The flowers in the first year come largely from the energy already stored in the bulb. Feeding during bloom does very little for them. Fertilizer matters for what comes next: the leaves produce the energy that refills the bulb for next year’s flowers.
When to start feeding
Begin after the flowers fade and the plant is putting out leaves. Using a balanced, water-soluble houseplant fertilizer diluted according to the label is a reasonable approach. Some growers favor a formula with slightly more potassium to support bulb development. Follow the product’s dosing instructions. More is not better, and excess fertilizer can burn roots and build up salts in the pot.
A typical schedule is every two to four weeks during active leaf growth, though the label of the specific product should guide frequency.
Not needed during bloom
If a bulb is blooming in its first year after planting, there’s no need to feed it. It has what it needs. Feeding at that stage won’t make the flowers bigger.
Blooming: What to Expect and What to Do
Timeline
Most bulbs send up a flower stalk first, with leaves appearing after or alongside it. Large bulbs may produce a second stalk a week or two after the first, which extends the display. Buds usually swell visibly for several days before opening.
Troubleshooting a bulb that won’t bloom
If leaves are growing but no stalk appears, possible causes include:
- A small or weak bulb. Not enough stored energy.
- A bulb that bloomed recently and wasn’t allowed to recharge. Common with reused bulbs.
- Insufficient rest. A bulb that skipped dormancy may produce only leaves.
- Too little light the previous season.
Sometimes a bulb simply needs another growing season of good care before it flowers. Leaves are not a failure. They’re the bulb rebuilding.
Dealing with a stalk that stops growing
A stalk that stalls is usually a sign of cold, dry, or waterlogged conditions. Move the pot somewhere warmer, check the soil moisture, and be patient. Growth can resume.
Cutting Amaryllis for Vases
Is it worth it?
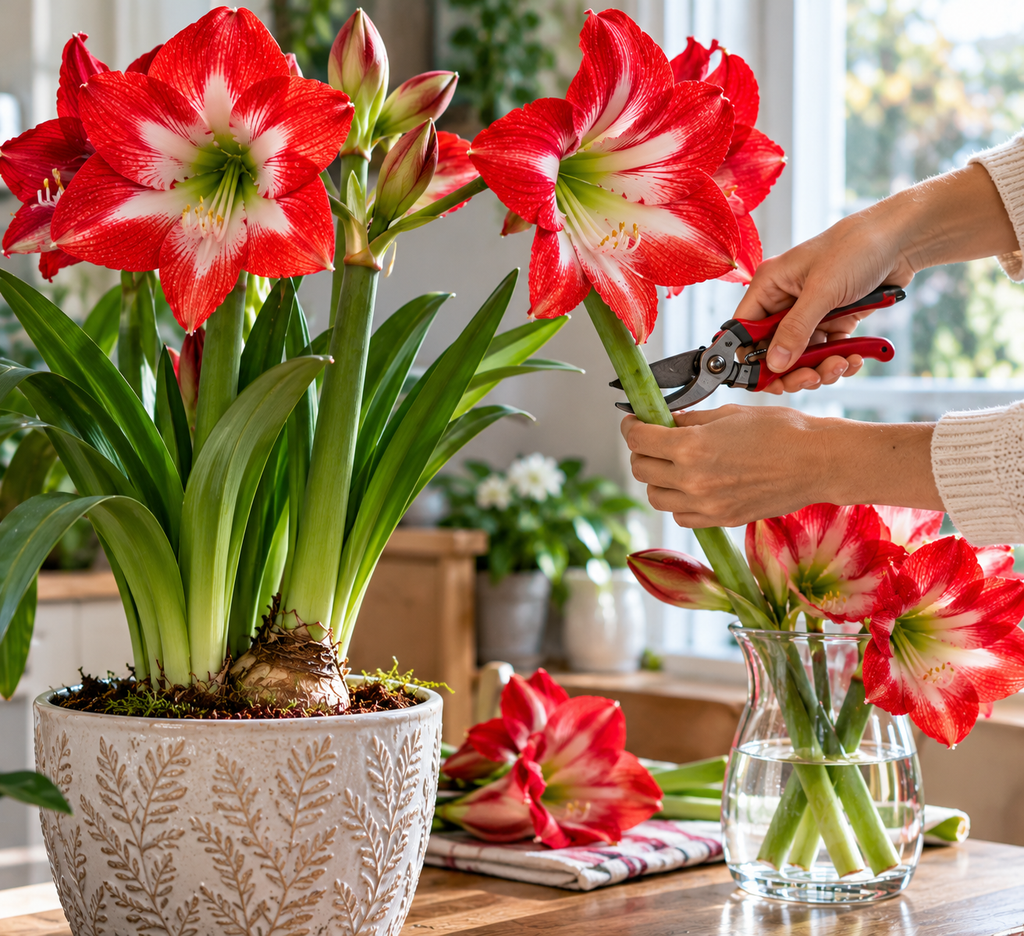
Cut amaryllis can last about a week or more in a vase, although cutting a stalk from a potted plant means the plant keeps no flowers from that stalk. Many growers leave the flowers on the plant, while others cut for a bouquet or arrangement.
How to cut
- Wait until the first bud has opened or is about to.
- Use a sharp, clean knife or pruners and cut the stalk near the base, leaving a few centimeters.
- Place the stalk in water right away.
A quirk of the stalk
Amaryllis stems are hollow, and they tend to curl or split at the cut end. A few simple steps help:
- Use a vase deep enough to support the stalk, since top-heavy blooms can tip lightweight ones.
- Keep the water level modest and change it every couple of days.
- Some arrangers insert a thin stick into the hollow stem for extra support, or wrap a small rubber band around the base to limit splitting.
Sap and safety
Amaryllis contains alkaloids, including lycorine, and all parts of the plant are considered toxic if eaten. The American Society for the Prevention of Cruelty to Animals lists amaryllis as toxic to dogs and cats, with the bulb being the most concentrated part. Keep pots and cut stems out of reach of pets and small children. Handling the bulb or stems can irritate sensitive skin for some people, so gloves are a sensible precaution when trimming or repotting. If a pet has chewed on the plant, contact a veterinarian or a pet poison helpline rather than waiting to see what happens.
Reblooming: Getting the Same Bulb to Flower Again
Reblooming is where a single purchase starts to pay off. An amaryllis bulb can flower for many years when its yearly cycle is respected. The cycle has three parts: grow leaves, rest, then restart.
After the flowers fade
- Cut off spent blooms as they wilt, so the plant doesn’t spend energy on seeds.
- Once the whole stalk has yellowed and the flowers are finished, cut it down to about 2.5 cm above the bulb. Don’t cut the leaves.
- Keep the plant in bright light. Move it to the sunniest window you have.
- Water and feed regularly as described above.
Spring and summer
After the last frost date in your area, many growers set the pot outdoors in partial sun, then gradually increase exposure. Outdoors, leaves collect more light and often grow larger. Move it in before cool nights arrive in fall. Plants kept indoors all year can still rebloom, provided they sit in a bright window.
Avoid sudden changes from shade to full sun, since leaves can scorch. Acclimate gradually over a week or so.
Dormancy: the step people skip
Amaryllis need a rest period to flower again. Starting in late summer or early fall, roughly eight to ten weeks before you want blooms, stop watering and fertilizing and let the leaves die back naturally. Move the pot to a cool, dark place, with temperatures commonly suggested around 10 to 13°C (50 to 55°F). A basement, garage that stays above freezing, or unheated closet works.
Rest lasts about eight to twelve weeks. After that, check the bulb. If you see a new green tip, bring it out. Trim any dead foliage, replace the top few centimeters of soil with fresh mix, and water lightly to restart growth.
A bulb that has missed its rest can still flower, but results tend to be less reliable.
Repotting
Amaryllis bulbs prefer snug pots and generally only need repotting every two to three years. Repot at the end of dormancy, moving up only one pot size if the roots have filled the container.
When a bulb should be retired
A bulb that repeatedly produces only leaves despite good care and a proper rest may be exhausted or too small. Divide offsets (small “bulblets” at the base) when repotting if you want more plants, though offsets can take several years to reach flowering size.
Frequently Asked Questions
Can I grow amaryllis in water only?
Special glass vases hold a bulb above water with only the roots submerged. It works for a single season, but the bulb tends to be depleted by the end. If you want to keep the bulb, plant it in soil afterward.
Why are my amaryllis leaves floppy?
Common causes are low light and overwatering. Move the plant to brighter light and let the soil dry a bit more between waterings.
Do I need to remove the bulb from the pot during dormancy?
No. Many growers leave it in the pot and simply stop watering. Others lift the bulb and store it dry. Either approach can work as long as the bulb stays cool and doesn’t shrivel.
My bulb sprouted leaves but no flower, and it’s been months. What now?
Keep growing it as normal through the season, then give it a rest period. A bulb that has been recently planted or disturbed sometimes takes a full cycle to settle.
Key Takeaways
Choose a large, firm bulb, since size sets the ceiling on how big the display can be. Use a snug pot with drainage, a loose, fast-draining mix, and leave the top third to half of the bulb above the soil. Water lightly until growth starts, then evenly, and keep the flowers cool and out of harsh sun so they last. Feed after blooming, not during it, because the leaves are what rebuild the bulb. For another round of flowers next year, let the plant grow through summer, then give it a cool, dry rest of two to three months before restarting.

About Syprose Kiche
Syprose Kiche is the creator and writer behind My Besuited Home, a practical home and garden website covering DIY projects, gardening, lawn care, landscaping, home improvement, and outdoor living. She focuses on turning everyday homeowner questions into clear, practical guides backed by careful research and useful real-world considerations.