
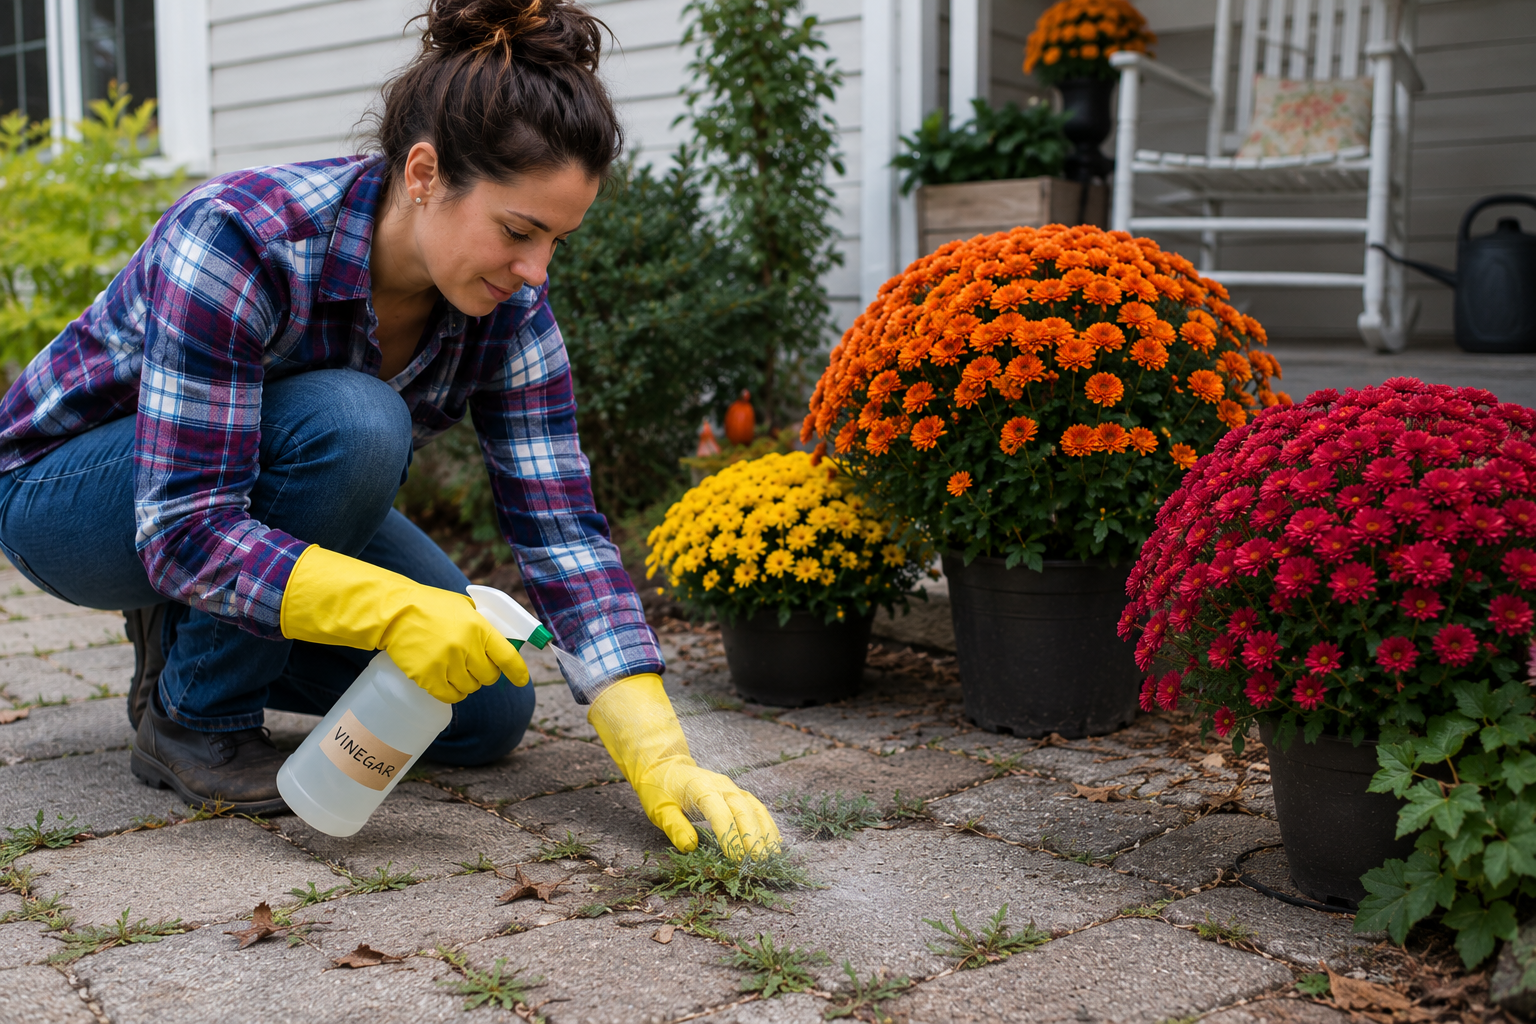
There is nothing quite like planting a fresh row of vibrant orange and yellow fall mums, only to watch them turn into a sad, crispy mess three days later because a stray mist of weed killer drifted over from the patio cracks. Trust me, I know the heartbreak. Last autumn, my prized Korean mums looked like they had survived a brushfire simply because I got too careless with a standard commercial herbicide near the flagstones.
We all want a pristine, weed-free patio as the weather cools down, but sacrificing your autumn container plants or garden beds in the process is a terrible trade-off. Store-bought chemical sprays are brutal, lingering toxins that don’t care whether they are dissolving a dandelion or scorching your favorite seasonal perennials.
You do not need toxic chemicals to reclaim your stone pavers. Household vinegar is a powerhouse weapon against unwanted patio growth, but using it safely around delicate fall flowers requires a bit of strategy. Let’s walk through how to clear out those stubborn weeds without turning your gorgeous autumn display into collateral damage.
Why Standard Weed Killers Ruin Autumn Flower Beds
Reaching for a jug of generic weed killer feels convenient, but the active ingredients are notoriously indiscriminate. Glyphosate and other harsh synthetic herbicides travel through the air and soil faster than you might think. When you spray a patio adjacent to a flower bed, runoff water or microscopic drift droplets can easily leach into the root zone of your mums.
I learned this lesson the expensive way after buying a bulk jug of big-box herbicide a few years back. A slight afternoon breeze caught the spray, carrying it straight onto my prized cushion mums. Within forty-eight hours, the foliage turned brown and the buds aborted entirely. Synthetic chemicals stay active in the soil far longer than most people realize, meaning future plantings in those same borders struggle to take root.
Natural acetic acid offers a much cleaner alternative. It targets the plant tissue it touches directly, breaking down cell walls and drying out the foliage within hours. Because it degrades quickly in sunlight and soil microbes, it won’t linger around to poison your garden beds next spring. However, raw vinegar packs a heavy punch, meaning you still have to respect its strength when working inches away from sensitive ornamentals.
Step 1: Choosing the Right Strength and Mix for Patio Weeds
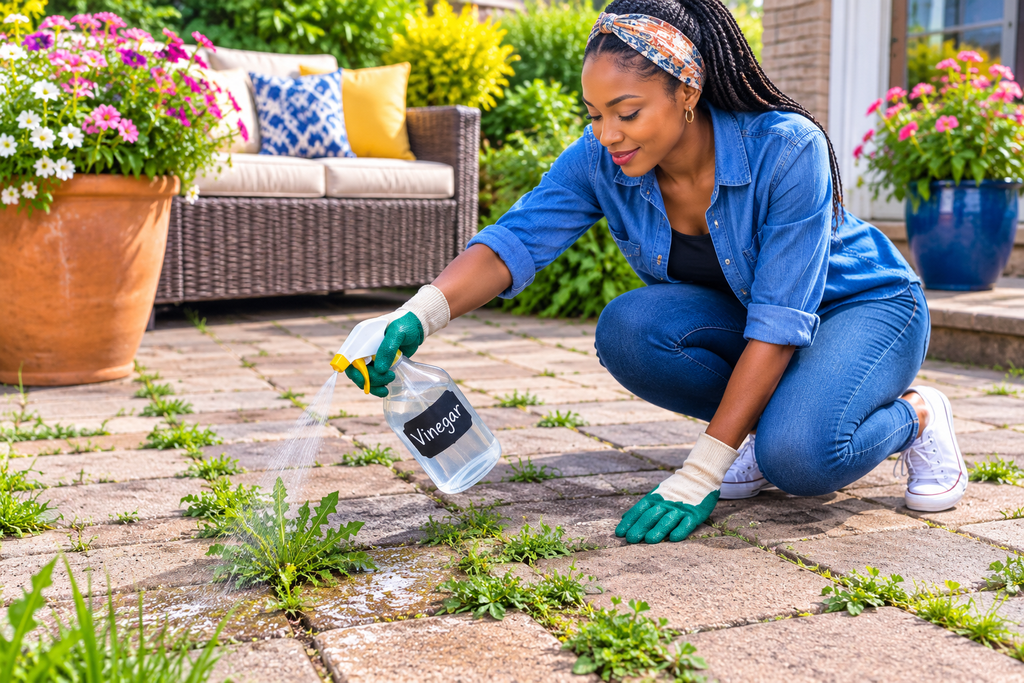
Standard grocery store white vinegar sits at around five percent acidity, which works fine for tiny, tender shoots poking between bricks. However, mature perennial weeds with deep taproots will just laugh at five percent juice. For stubborn patio intruders, you need something slightly stronger, but you also need to mix it properly so it clings to the foliage rather than running off into your mum beds.
My go-to formula requires three simple ingredients: a gallon of horticultural vinegar (around twenty to thirty percent acidity), a generous squirt of blue dish soap, and a half-cup of table salt. The acid burns the leaves, the dish soap acts as a surfactant so the liquid sticks to waxy weed cuticles instead of beading up, and the salt dehydrates the root system.
- Handle with care: Horticultural vinegar demands respect. Always wear heavy-duty gloves and eye protection when mixing it up. Breathing in a cloud of high-strength acetic acid will clear your sinuses out permanently.
- The dilution trap: Do not water down your vinegar mix too much, or you will lose all effectiveness. Keep the ratios exact, and always pour your mix into a dedicated garden sprayer rather than trying to dab it on with a sponge.
Step 2: Setting Up Physical Barriers to Protect Your Fall Mums
Even the most careful gardener experiences accidental splashback or wind drift. Before you pull the trigger on your garden sprayer, you need to set up a defensive perimeter around any container mums or garden beds bordering your patio.
Last season, my neighbor watched me painstakingly wrap my flower beds in plastic sheeting like a crime scene, and she laughed. She stopped laughing when her own mums turned brown while mine thrived through the entire autumn season. Physical blocks take five minutes to set up and save you weeks of regret.
Grab large pieces of cardboard, old baking sheets, or thick plastic drop cloths and wedge them vertically between your patio edge and your flower beds. This creates a solid wall that stops flying mist dead in its tracks. If your mums are sitting in pots directly on the patio, simply pick them up and move them ten feet away for the afternoon. A tiny bit of heavy lifting beats staring at dead flower heads for the rest of the season.
Step 3: Timing Your Spraying for Maximum Impact on Paver Weeds
Timing matters just as much as your ingredient ratio. If you spray your patio weeds on a rainy afternoon, the runoff will wash straight into your garden soil, diluting the mixture and potentially damaging your mum roots.
You want to target a bright, cloudless day with zero wind and high afternoon temperatures. Sunlight supercharges the acetic acid, accelerating the desiccation process. When the sun beats down on vinegar-soaked weed leaves, the plant cells collapse within hours.
- Watch the wind: Never spray on a breezy day. Even a gentle two-mile-per-hour wind can carry tiny vapor particles right onto your delicate flower petals.
- Target the morning dew: Wait until the morning dew has evaporated, then head out around ten or eleven in the morning. This gives the spray a solid six to eight hours of intense sunlight to bake the weeds before evening moisture sets in.
Step 4: Applying the Spray with Surgical Precision
Precision is everything when dealing with weeds inches away from prize-winning autumn flora. Ditch the old-fashioned wide-stream trigger bottle you bought at the dollar store. You need a pump sprayer equipped with an adjustable brass nozzle that lets you dial down the output to a pencil-thin stream.
Hold the nozzle close to the base of the weed, roughly two to three inches away from the target. Give it a single, focused squirt—just enough to wet the leaves without creating puddles that can spread outward. If the weed is sitting right on the outer edge of the patio stone closest to your mum bed, use a small foam paintbrush dipped directly into your mix to paint the leaves manually.
- Avoid the soil line: Keep your spray strictly above the surface. Soaking the soil between your patio pavers with high-acid solutions can alter the local pH balance if it continuously drains toward your flower beds.
- Less is more: You do not need to drown the weed until it’s dripping wet. A light, thorough coating does the job faster and keeps your surrounding landscape safe from pooling liquid.
Step 5: Post-Treatment Care and Cleanup
Once you finish spraying, walk away and let nature do its work. Within a few hours, green leaves will begin to turn a dull, water-soaked olive color, progressing to crispy brown by the following morning.
Do not try to yank the weeds out immediately. Give the roots forty-eight hours to completely die off and dry out. Once the plant is dead down to the crown, the roots release their grip on the sand and gravel between your pavers, making cleanup effortless.
Grab a stiff-bristled broom and sweep away the dead debris. If stubborn taproots remain stubborn, use an old butter knife or a crack-weeding tool to pop them out cleanly. Sweep fresh polymeric sand or clean decomposed granite back into the paver joints to prevent new seeds from settling in before winter arrives.
The Real Talk: What Doesn’t Work and What Will Drive You Crazy
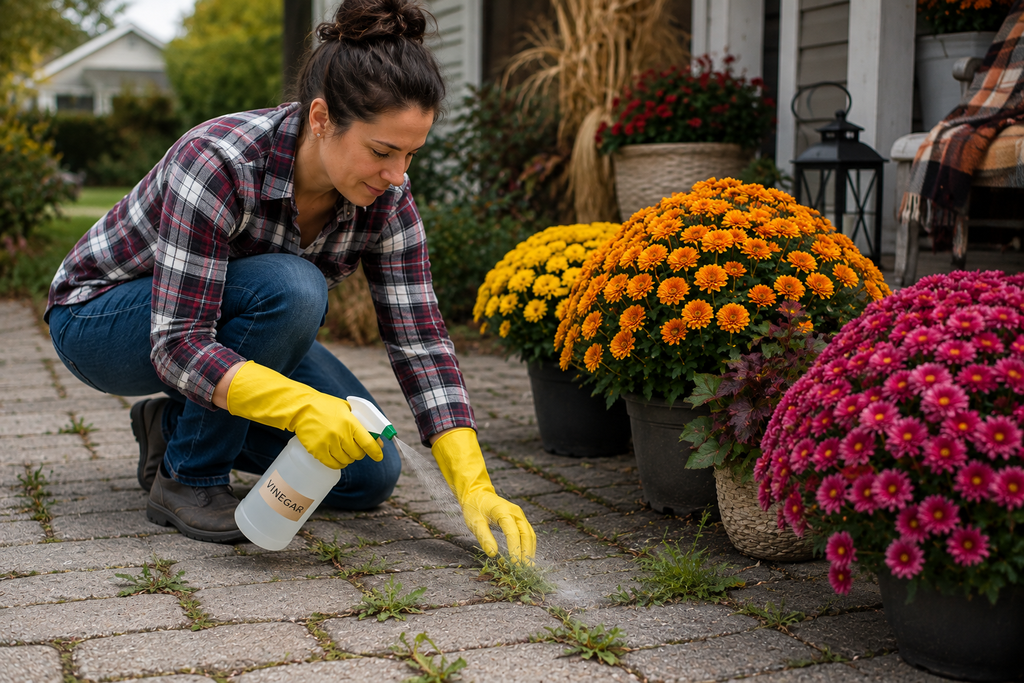
Let’s clear the air about some popular internet myths regarding patio weed control. We have all seen those viral pins claiming you can dump boiling water, dish soap, and random kitchen spices onto patio weeds to instantly vaporize them. In reality, half of these home remedies are a total waste of time and energy.
Boiling water sounds great on paper, but by the time you carry a heavy kettle from your kitchen stove out to the backyard patio, the water has already dropped significantly in temperature. It might scald the top growth of a tender weed, but the deep taproots surviving underneath the pavers will bounce right back within a week. Plus, carrying boiling water across slippery patio stones while dodging garden hoses is a fantastic way to end up in an urgent care waiting room.
Another major trap is relying on cheap salt-only solutions. While salt aggressively dehydrates plant tissue, high concentrations of sodium chloride ruin your soil permanently. If too much salty runoff migrates into your mum beds, you will sterilize that patch of earth for years, meaning nothing will ever grow there again. Stick to vinegar with controlled, modest salt additions, and never treat your garden beds like a disposal site for chemical leftovers.
Parting Wisdom for a Clean Patio and Vibrant Fall Garden
Maintaining a sharp-looking patio without ruining your landscaping doesn’t require a degree in chemistry or a closet full of hazardous commercial toxins. All it takes is a little patience, a steady hand with a spray bottle, and a healthy respect for how easily liquids travel across stone surfaces.
What is your biggest frustration when it comes to keeping your patio pavers clean during the autumn transition? Have you ever had a favorite perennial ruined by an accidental chemical spill, or do you have a natural weed-killing trick of your own that I missed? Drop a comment below and share your thoughts or questions!

About Syprose Kiche
Syprose Kiche is the creator and writer behind My Besuited Home, a practical home and garden website covering DIY projects, gardening, lawn care, landscaping, home improvement, and outdoor living. She focuses on turning everyday homeowner questions into clear, practical guides backed by careful research and useful real-world considerations.