
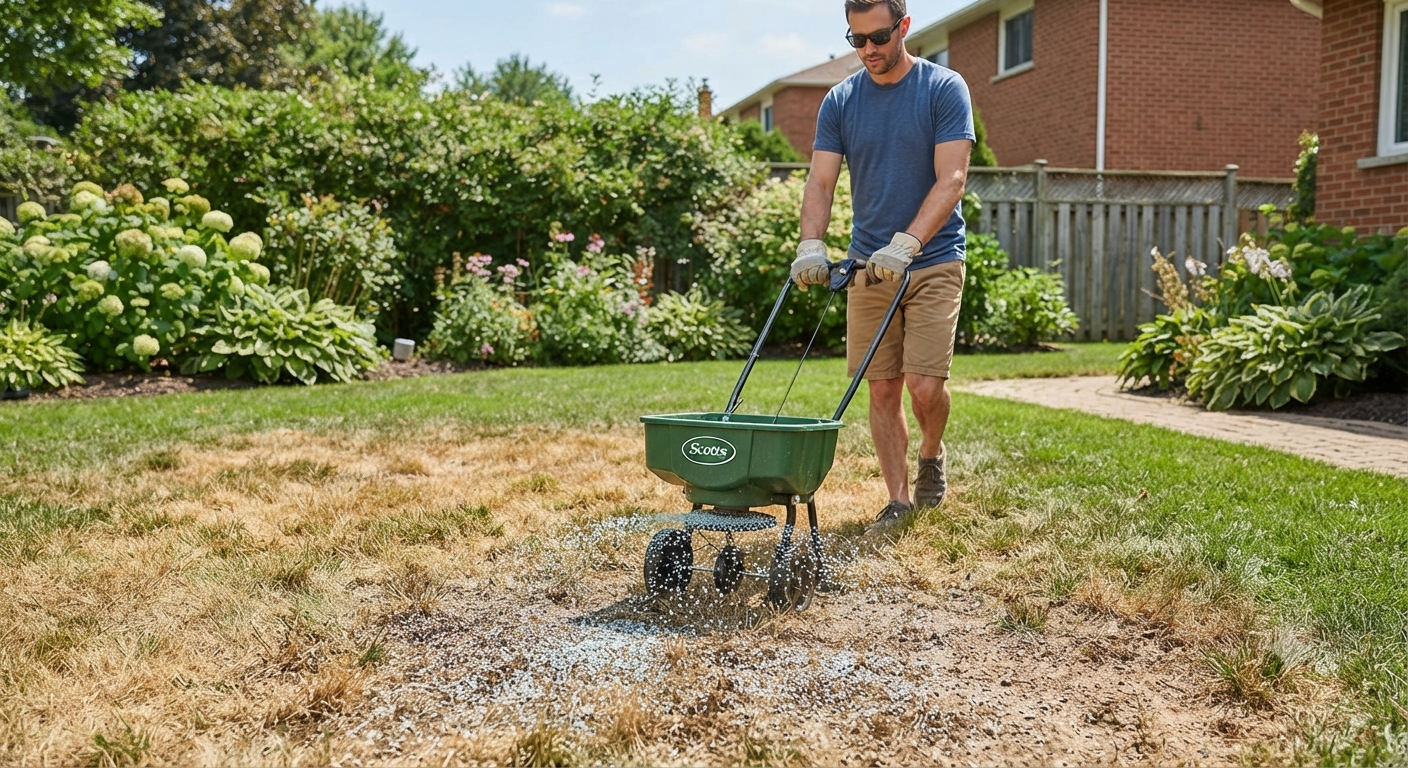
Your grass is crunchy. It’s the color of a paper bag. And every time you walk across it, you leave footprints that don’t spring back. If that’s the scene in your backyard right now, take a breath. Your lawn probably isn’t dead. It’s dormant, stressed, or thinning out after weeks of brutal sun, and almost all of that is fixable.
I’ve brought lawns back from what looked like a lost cause more times than I can count, including my own front yard the summer my sprinkler timer quietly died and nobody noticed for eleven days. The grass looked like straw. Six weeks later, you couldn’t tell anything had happened. Heat damage looks dramatic, but grass is tougher than it gets credit for.
Here’s exactly what I do to repair a heat-stressed lawn, in the order I do it, with the mistakes I’ve made along the way so you can skip them.
How to Tell if Your Lawn Is Dormant or Actually Dead
Before you spend a dime on grass seed, figure out what you’re actually dealing with. This step trips up more homeowners than anything else in this whole process.
Grab a handful of the brown grass and tug on it gently. If it comes up easily with the roots attached, and the roots look dry and brittle, that patch may be dead. If it resists and stays rooted, it’s dormant. Dormant grass is playing possum. It’s cut off water to its blades to protect its crown and root system, which is a survival trick, not a death sentence.
There’s also the tug test’s cousin: the white crown check. Cut a blade of grass close to the soil and look at the base. A pale white or light green crown means the plant is alive and just waiting for better conditions. A brown, mushy, or completely dried-out crown usually means that particular plant isn’t coming back.
I’ve watched people rip out entire lawns in early September because they assumed the worst, only to find their neighbor’s “identical” lawn greened right back up two weeks later with cooler nights and regular water. Patience saves money here.
There’s a third test I use when the first two leave me on the fence: the color-return test. Water a small section deeply for three days straight and watch it closely. Dormant grass usually shows at least a faint green tint at the crown within 72 hours, even if the blades themselves stay brown a bit longer. No response at all after three solid days of deep watering is a stronger sign that section is truly gone.
It also helps to know which grass types are naturally better at faking their own death. Bermuda and zoysia are dramatic sleepers, they’ll go almost totally straw-colored and still come roaring back. Fescue is a little less theatrical about it but still has real dormancy tricks up its sleeve. Perennial ryegrass, on the other hand, is more likely to actually die under prolonged heat stress rather than just going dormant, so if that’s what you planted, don’t wait as long before intervening.
When to Start Lawn Repair After Heat Damage
Timing matters more than most articles let on. Repairing too early, while daytime temps are still scorching, wastes seed and effort.
For cool-season grasses like fescue, ryegrass, and Kentucky bluegrass, early fall is prime time. Soil is still warm enough for fast germination, but the worst heat has usually passed. I aim for that six-week window before the first expected frost, since new seedlings need that runway to establish real roots.
For warm-season grasses like Bermuda, zoysia, and St. Augustine, you’re actually working with the heat instead of against it. Late summer, once temperatures ease slightly from their peak, is when these grasses are still actively growing and can repair themselves fastest, especially with a little help.
If you’re not sure what kind of grass you have, snap a photo of a few blades and search “identify lawn grass type” or check with a local extension office. Repairing a warm-season lawn with cool-season seed, or the other way around, is a classic rookie mistake that wastes an entire season.
Soil temperature matters more than the date on the calendar. Cool-season seed germinates fastest when soil sits between 50 and 65 degrees Fahrenheit, and a cheap soil thermometer from the hardware store takes the guesswork out of it completely. I check mine every few days starting in late August, and I don’t put down a single seed until the numbers cooperate, no matter how tempting it is to jump the gun after a rough summer.
I’ll also say this: don’t wait too long. Cool-season grass needs roughly six weeks of decent growing weather to establish before winter dormancy sets in, and warm-season grass stops actively growing once nights consistently dip below 55 degrees. Miss that window and you’re stuck waiting until spring, staring at bare dirt all winter.
Step 1: Deep Water Before You Do Anything Else
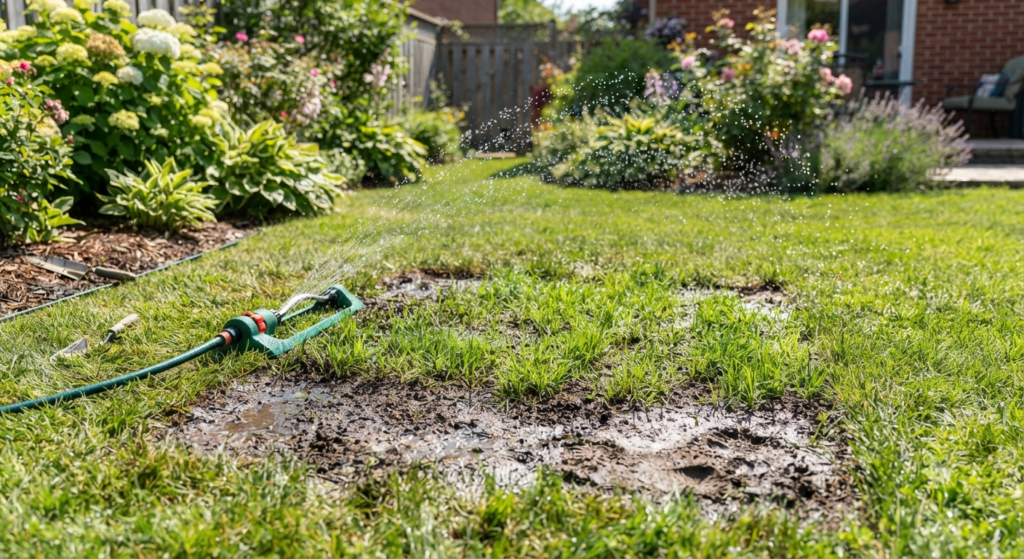
This is the step everybody wants to skip, and it’s the one that matters most.
Heat-stressed soil often becomes hydrophobic, meaning it actually repels water instead of absorbing it. You can water every day and still have bone-dry roots six inches down. I learned this by watching water pool on top of my lawn and run straight into the driveway instead of soaking in.
Water deeply, not frequently. One inch of water, applied slowly over a couple of hours, does more good than five short daily sprinkles. Use a rain gauge or an empty tuna can to measure it if you want to be precise.
Do this consistently for one to two weeks before you seed, aerate, or fertilize anything. Grass needs to rehydrate at the root level before it can respond to any other treatment. Skipping this step is like putting a bandage on a burn without cooling it first.
If your soil is really hydrophobic, a soil surfactant, sometimes sold as a “wetting agent,” can make a genuine difference. It breaks the surface tension that’s causing water to bead up and roll off instead of soaking in. I was skeptical the first time I used one, but the difference in how fast puddles disappeared into the lawn afterward was hard to ignore.
For most yards, early morning watering between 5 and 8 a.m. beats every other time of day. Evening watering leaves grass damp overnight, which invites fungal problems, and midday watering loses a big chunk of the water to evaporation before it even reaches the roots. Set a timer if you have one, since consistency matters more than perfection here.
Step 2: Aerate to Break Up Compacted, Baked Soil
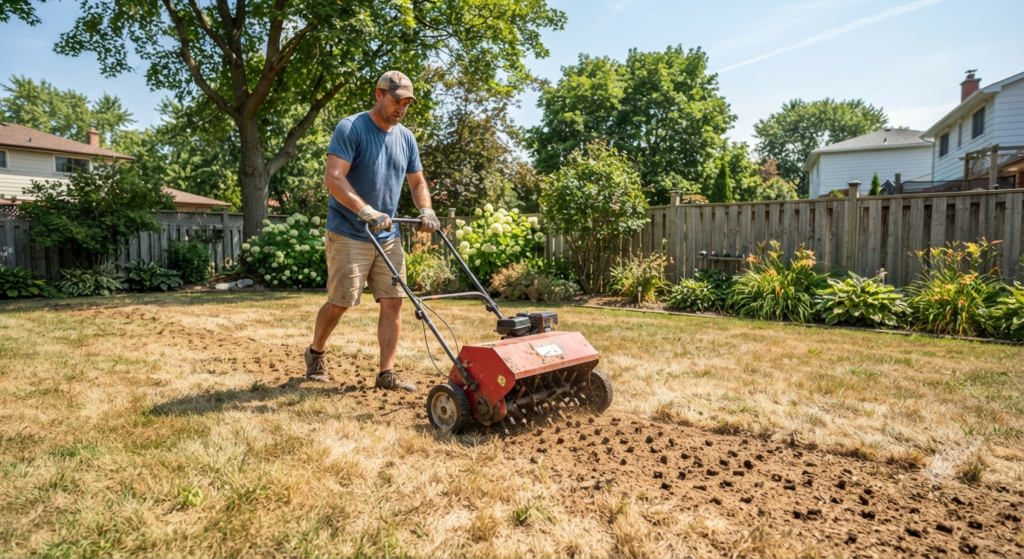
Summer heat bakes soil into something closer to concrete than garden bed, especially in high-traffic areas like around the mailbox or along a path to the shed.
Core aeration pulls small plugs of soil out of the lawn, which relieves compaction and lets water, air, and nutrients actually reach the roots instead of sitting on the surface. You can rent a core aerator from most hardware stores for around $60 to $90 a day, or hire a lawn service to do it for you.
Walk the aerator over the whole lawn, focusing extra passes on the compacted zones. Leave the little soil plugs on the surface. They’ll break down naturally and return organic matter to the soil, which sounds gross but genuinely helps.
I aerate every fall regardless of how the lawn looks, because compacted soil is often the hidden reason a lawn struggles in heat in the first place. Loose, aerated soil holds moisture better and lets roots grow deeper, which builds heat resilience for next summer too.
Make sure you’re renting a core aerator and not a spike aerator. Spike aerators just poke solid holes into the ground, which can actually make compaction worse over time because it pushes soil sideways instead of removing it. Core aerators pull out actual plugs of soil, which is the whole point. I made this mistake exactly once, years ago, using a cheap spiked attachment on a push mower, and the compacted zones looked worse the following spring, not better.
If your yard is small, a manual core aerator with a foot pedal works fine and saves you the rental fee. For anything over a quarter acre, though, save your back and rent the gas-powered version. Your knees will thank you.
Step 3: Overseed the Thin and Bare Patches
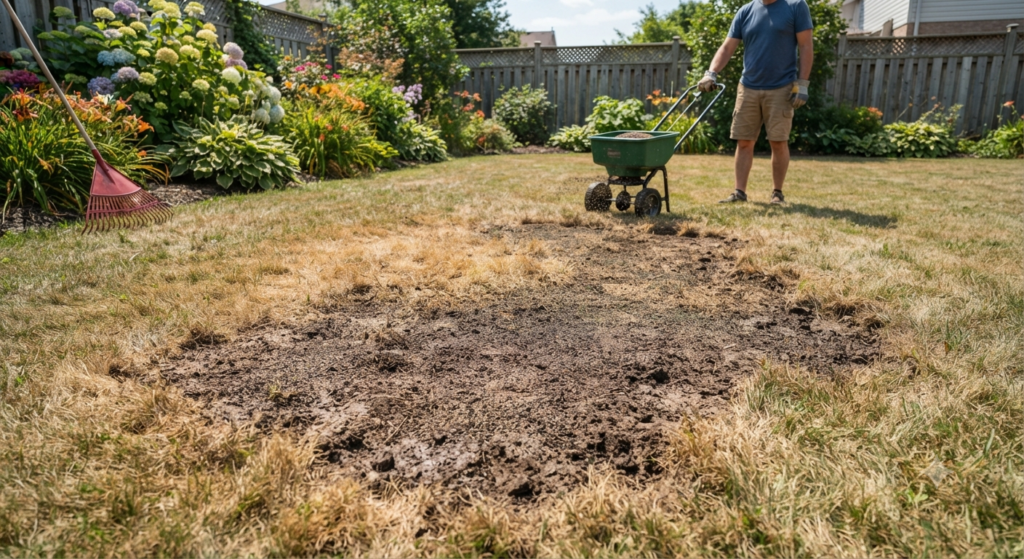
Once the soil is watered and aerated, it’s ready to accept new seed. This is where the lawn actually starts to look like a lawn again.
Choose a seed blend suited to your climate and, ideally, matched to your existing grass type. A heat-tolerant tall fescue blend is my go-to for most cool-season lawns because it handles the next summer’s stress better than plain Kentucky bluegrass on its own.
Spread seed at the rate listed on the bag, usually with a broadcast or drop spreader for even coverage. Go over bare patches twice, once in each direction, to avoid the classic seed-and-still-see-dirt look. Lightly rake the seed into the top quarter-inch of soil so it makes good contact, then top with a thin layer of compost or seed-starter mulch to hold moisture.
Keep the seeded area consistently damp, watering lightly once or twice a day, until you see germination, usually 7 to 21 days depending on the grass type. Then you can back off to deeper, less frequent watering as the roots establish.
Step 4: Feed the Lawn With the Right Fertilizer at the Right Time
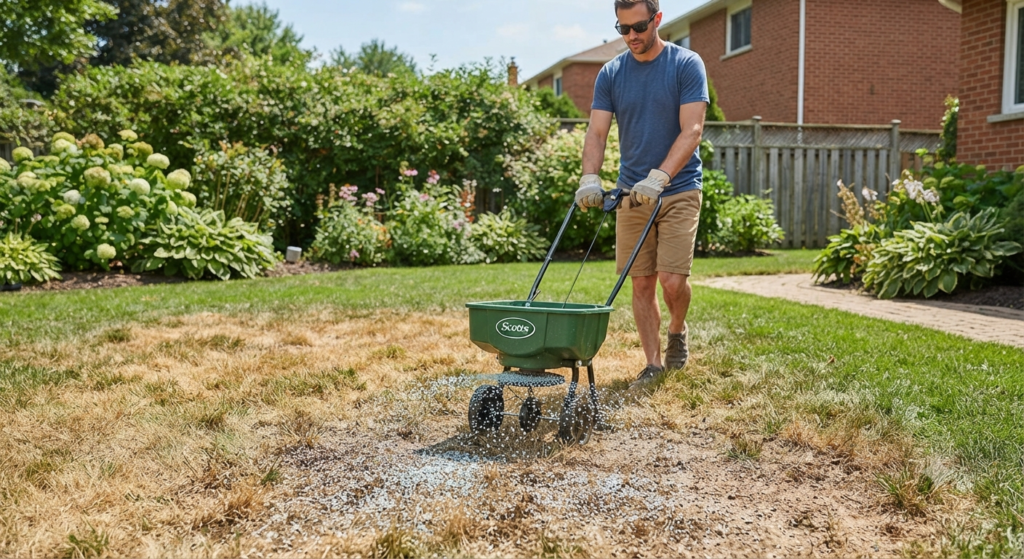
Fertilizing a heat-stressed lawn too early or with the wrong product can do more harm than good. I’ve seen well-meaning homeowners dump high-nitrogen summer fertilizer on scorched grass and basically fry what little green was left.
Wait until after you’ve deep-watered and the grass shows real signs of recovery before fertilizing. A starter fertilizer with a higher phosphorus content helps new seedlings build strong root systems. For established grass that’s simply stressed rather than newly seeded, a balanced slow-release fertilizer works best.
Apply it according to the bag’s instructions, always after watering rather than on bone-dry soil, and never during the hottest part of the day. Early morning or early evening application reduces the risk of burning already-stressed blades.
I fertilize lightly in early fall and again about six weeks later. Two smaller feedings beat one heavy dose, since heavy nitrogen applications can push fast, weak top growth instead of the deep root growth you actually want.
Read the three numbers on the bag, the N-P-K ratio, before you buy anything. For a starter fertilizer on new seed, look for something with a higher middle number, like 5-10-5, since that phosphorus pushes root development. For established grass recovering from stress, a more balanced ratio with a slow-release nitrogen source keeps growth steady instead of spiking it. I keep a bag of each on hand every fall because I almost always need both at different points in the process.
Step 5: Mow High and Mow Less Often
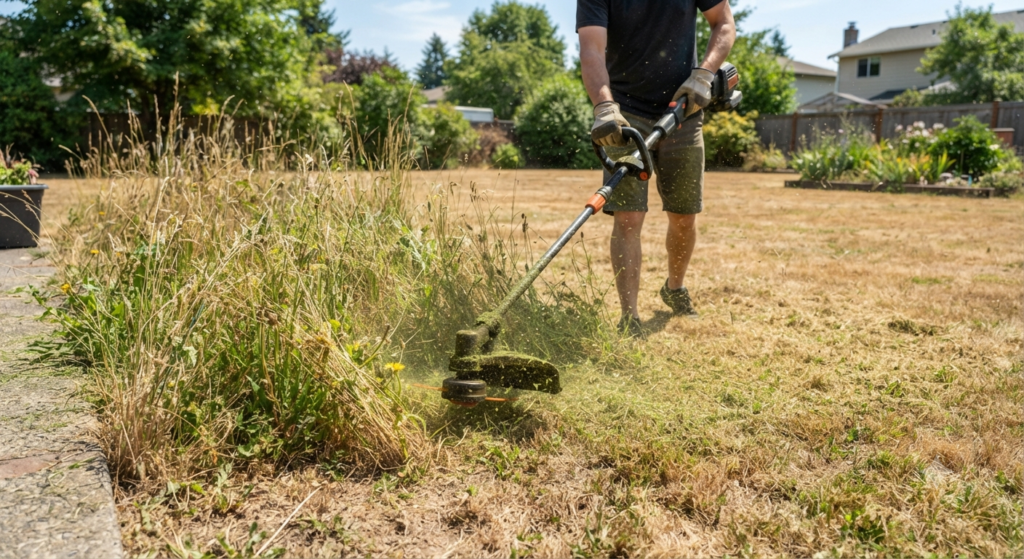
How you mow after heat stress affects recovery just as much as watering does, and it’s the step people ignore the most.
Raise your mower deck to its highest setting, ideally leaving grass at three to four inches tall. Taller grass shades its own root zone, holds moisture better, and photosynthesizes more efficiently while it’s trying to recover. Scalping a stressed lawn is basically kicking it while it’s down.
Only mow when the grass actually needs it, and never remove more than a third of the blade length in a single pass. Mowing too short too often keeps grass in a permanent state of stress recovery instead of letting it actually bounce back.
Sharpen your mower blades before your fall mowing season starts. Dull blades tear grass instead of cutting it cleanly, and torn blades are more vulnerable to disease and moisture loss, which is the last thing a heat-stressed lawn needs.
Quick side note: leave your grass clippings on the lawn after mowing, as long as they’re not clumped thick enough to smother new growth. They break down fast and return nitrogen to the soil for free, which is one of the easiest wins in this whole process.
Real Talk: What Won’t Fix a Heat-Damaged Lawn (And What’s a Waste of Money)
Not every product on the garden center shelf earns its price tag, and I’d rather tell you that now than have you find out after spending $80.
Fancy “green-up” dyes that promise instant color are cosmetic only. They spray a temporary green tint on brown blades and do absolutely nothing for the roots underneath. I’ve found that they’re a total waste of money, even if the before-and-after photos on the packaging look impressive.
Overwatering doesn’t speed up recovery, it just drowns already-struggling roots and invites fungal disease. More water is not automatically better water. Deep and consistent beats frequent and shallow every single time.
Seeding into unprepared, compacted soil without aerating first is a common shortcut that rarely works. The seed just sits on top, gets washed away by the next rain, or dries out before it can germinate. You end up buying seed twice.
And if more than 50 percent of your lawn is dead rather than dormant, patch repair might not be worth the labor. At that point, a full renovation, meaning stripping and reseeding or resodding the whole area, often gets you a better lawn faster than nursing individual dead patches back one at a time. That’s a tough call to make, but it saves a lot of wasted weekends.
One more thing nobody tells you: recovery isn’t instant. Even with every step done right, expect it to take four to eight weeks before your lawn looks fully recovered. Anyone promising a green lawn in five days is selling you something.
Bonus Tip: Set Up Your Lawn to Handle Next Summer Better
While you’re repairing this year’s damage, it’s worth setting things up so next summer doesn’t hit as hard. Deep, infrequent watering trains roots to grow downward instead of staying shallow near the surface, which makes grass naturally more drought and heat resistant. I switched my own sprinkler schedule from daily 10-minute cycles to twice-weekly deep soaks, and the difference the following July was obvious.
Final Thoughts: Give Your Lawn Time, Not Just Effort
A heat-damaged lawn looks worse than it usually is. Water deeply first, aerate the compacted spots, overseed the bare patches, feed it properly, and raise that mower deck. Do those five things in order, and most lawns bounce back stronger than they were before the heat wave hit.
The biggest mistake I see people make isn’t skipping a step. It’s giving up on the process after two weeks because the grass isn’t perfect yet. Recovery takes a season, not a weekend.
What does your lawn look like right now? Drop a comment below and tell me what you’re working with, I’ll do my best to help you figure out your next move.

About Syprose Kiche
Syprose Kiche is the creator and writer behind My Besuited Home, a practical home and garden website covering DIY projects, gardening, lawn care, landscaping, home improvement, and outdoor living. She focuses on turning everyday homeowner questions into clear, practical guides backed by careful research and useful real-world considerations.