
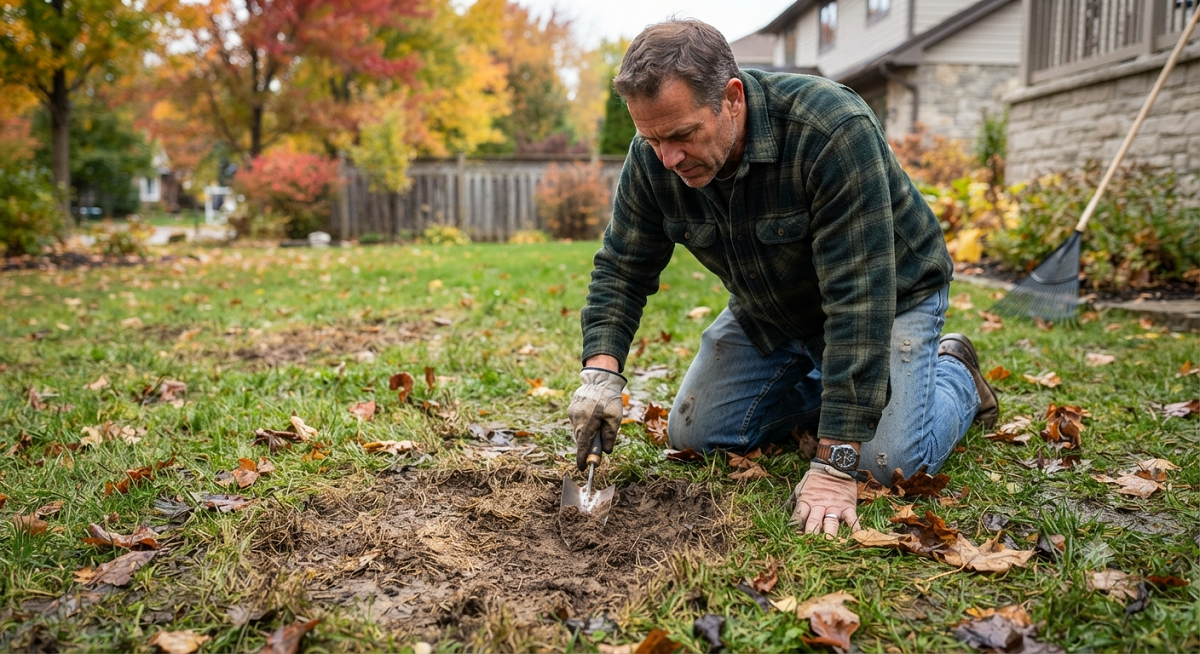
Every October, I get the same panicked text from my neighbor Dale: “Is it too late to fix my yard?” He’s staring out his window at a lawn that looks like a bad haircut — patchy, thin, and embarrassing next to everyone else’s green carpet. And every October, I tell him the same thing: no, it’s not too late, but you need to move now, not in March.
Bare patches don’t fix themselves over winter. They get worse. Snow mold loves exposed soil. Weeds seed themselves into every gap the second the ground warms up in spring. If you’re staring at dead grass, mud, or bald spots right now and wondering if you should just wait until spring, don’t. Fall is actually the best window of the entire year to repair a lawn, and I’m going to walk you through exactly how to do it before the ground freezes.
I’ve fixed more bare patches than I can count, on my own lawn and on half the yards in my cul-de-sac (Dale’s included, twice). Some methods work. Some are a total waste of a Saturday. Here’s what actually gets grass growing before winter shuts everything down.
Why Fall Is the Best Time for Lawn Patch Repair
Cool-season grasses — the kind most of us in northern climates are growing, like fescue, ryegrass, and Kentucky bluegrass — actually prefer germinating in cooler soil. Soil temperatures in early fall sit in that sweet spot of 50 to 65 degrees Fahrenheit, which is exactly what grass seed wants for fast, strong germination.
Compare that to spring planting. In spring, you’re racing against summer heat and competing with a hundred weed species that are also waking up and fighting for the same real estate. Fall seeding skips almost all of that competition. Weeds are slowing down for the season while your new grass gets a two-to-three-month head start before summer stress even becomes a factor.
There’s also less foot traffic pressure in fall. Kids aren’t running through the yard as much, the dog isn’t doing victory laps after every squirrel sighting, and you’re not mowing every five days. New seedlings get a quiet, undisturbed stretch to establish roots.
The catch is timing. You generally want seed down at least 45 days before your area’s first hard frost, so the grass has time to germinate, grow a few inches, and develop enough root mass to survive winter dormancy. If your first frost usually hits in mid-November, you want seed in the ground by early October at the latest. Cutting it closer than that is possible, but you’re gambling.
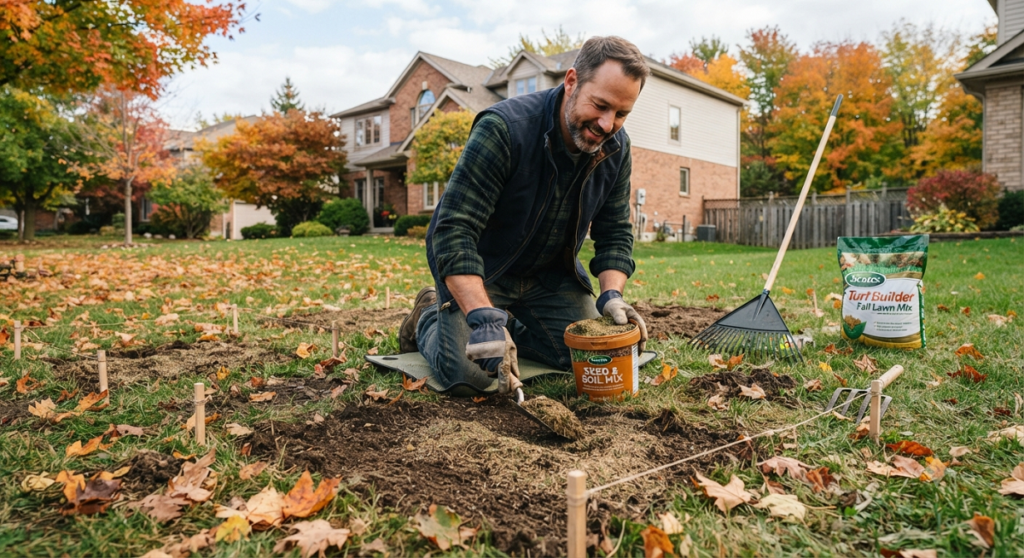
Step 1: Figure Out Why the Patch Is Bare in the First Place
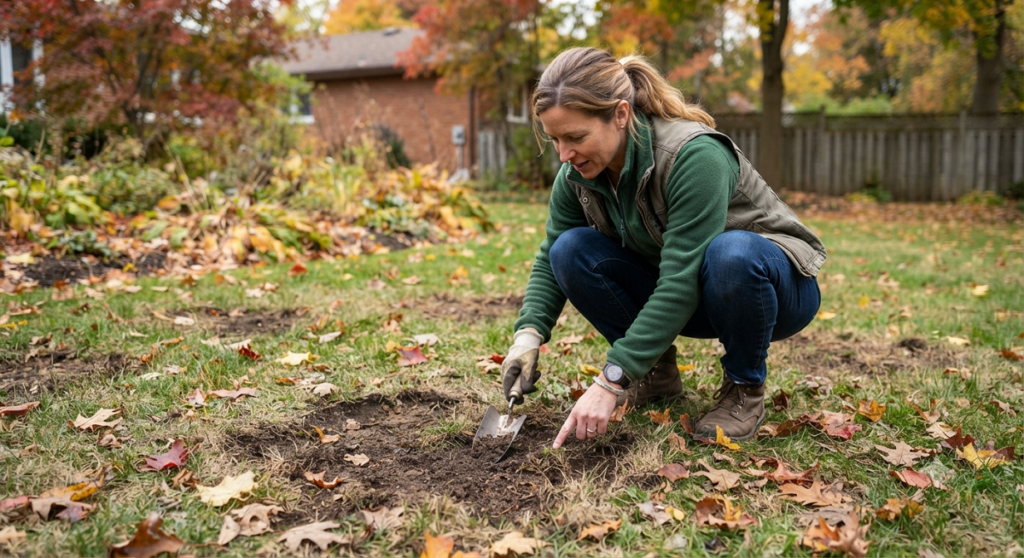
This is the step almost everybody skips, and it’s the reason so many repairs fail. If you don’t figure out why the grass died, you’ll just watch the new seed die too.
Common culprits I run into constantly:
- Compacted soil. Walk the same path to the garbage cans every week, park a wheelbarrow in the same spot, or let kids run the same route through the yard, and the soil underneath packs down so tight that roots can’t breathe or spread. Water runs off instead of soaking in.
- Grub damage. If you can peel back a patch of dead grass like a carpet remnant, you’ve probably got grubs. They chew through roots from below, and the grass just detaches from the soil because there’s nothing holding it down anymore.
- Dog urine spots. Nitrogen-burned circles with a dark green ring around a dead center are classic dog patches. Female dogs squatting in the same few spots tend to cause this more than males, since they release a concentrated amount in one place.
- Fungal disease. Circular or irregular dead patches with a slightly different texture, especially after a humid summer, often point to a lawn fungus like brown patch or dollar spot.
- Shade. Sometimes there’s no mystery at all. A tree grew, a fence went up, and that spot just doesn’t get enough sun for grass to survive anymore, no matter what you plant.
Test for grubs by cutting a one-foot square of turf at the edge of a bare patch and folding it back. If you count more than five or six grubs in that square, you’ve got an infestation problem to solve before reseeding, or the new grass will get eaten too.
I made this mistake my second year in my current house. I reseeded a dead patch by the fence three times in one season before I finally cut into the soil and found it crawling with grubs. Three bags of seed, wasted, because I treated the symptom instead of the cause. Don’t repeat my mistake.
If grubs are the issue, treat the area with a grub control product labeled for fall application before you touch it with seed. Most brands need a week or two to work through the soil, so build that into your timeline. Skip this step and the new roots will just become the next meal.
Step 2: Prep the Soil (Don’t Skip This Part)
I get why people want to skip straight to throwing seed down. It feels productive. But seed on top of hard, compacted dirt is basically bird food. Prep work is boring and it’s also 80% of whether this project works.
- Remove dead grass and debris. Rake the bare patch hard enough to pull out dead grass, thatch, and any loose debris. You want to see actual soil, not a mat of dead material sitting on top of it.
- Loosen the top 2-3 inches of soil. Use a hard rake, a hand cultivator, or a garden fork to break up the surface. For bigger patches, a core aerator does an even better job of relieving compaction.
- Test your soil if patches keep coming back in the same spots. A cheap soil pH tester from any hardware store tells you if you’re dealing with soil that’s too acidic for grass to thrive, which is common under pine trees or near concrete foundations.
- Mix in compost or topsoil. Spread about a half-inch layer of compost or quality topsoil over the loosened soil and work it in. This gives new roots something soft and nutrient-rich to grow into instead of fighting through clay or sand.
- Level the area. Use the back of a rake to smooth everything flat. Low spots collect water and rot seed; high spots dry out too fast.
Step 3: Choose the Right Seed for Your Patch
Grabbing whatever bag is cheapest at the hardware store is how you end up with patchy, mismatched grass that looks worse than the bare spot did. Match the seed to your situation.
If the patch is in shade, buy a seed mix labeled specifically for shade tolerance — usually a fine fescue blend. Regular sun-loving ryegrass or bluegrass will struggle and thin out again within a year.
If you’re patching a small area within an existing lawn, try to match the grass type already growing around it. Mixing a fast, coarse ryegrass into a fine bluegrass lawn creates a visible texture difference that bugs you every time you look out the window.
For high-traffic patches — dog paths, side yards kids cut through, areas near a gate — look for a seed blend marketed as “high traffic” or “athletic.” These usually lean heavily on tough perennial ryegrass, which germinates fast and handles wear better than bluegrass alone.
I’ll be honest: I’ve found that the bargain bin seed mixes with a ton of filler and “other crop seed” listed on the bag are a total waste of money, even if the price tag looks great. Check the label. You want a high percentage of actual grass seed, low weed seed content, and a germination rate over 85%.
Step 4: Seed and Cover Properly
- Spread seed evenly. For small patches, hand-broadcasting works fine. For larger areas, a handheld or push spreader gives more even coverage. Go a little heavier than the bag recommends for repair patches — you want density.
- Rake seed in lightly. Gently rake the surface so seed makes contact with soil and gets covered by about a quarter-inch of dirt. Seed sitting fully exposed on top dries out fast and birds pick it off.
- Cover with a thin layer of straw or seed mulch. This isn’t optional in my opinion, especially if you’ve got birds or wind in your yard. Straw holds moisture, moderates soil temperature, and stops seed from washing away in a hard rain. Skip the hay — it’s full of weed seeds that will sprout right alongside your grass.
- Water immediately and consistently. Right after seeding, water gently but thoroughly. For the next two to three weeks, keep the top inch of soil consistently damp with light watering once or twice a day. Don’t let it dry out completely, and don’t drown it either.
- Add a starter fertilizer. A fertilizer labeled specifically as “starter” or “new seed” formula is higher in phosphorus, which pushes root development rather than leaf growth. Regular lawn fertilizer is built for established grass and can actually burn tender new seedlings, so don’t grab whatever bag is already in your garage.
What If You’re Already Past the Seeding Window?
If your soil temperature has already dropped below 50 degrees and you missed the germination window, you’re not completely out of options. Dormant seeding is a technique where you spread seed on top of frozen or near-frozen ground in late fall or even early winter. The seed sits dormant all winter and germinates on its own once the soil warms up in spring, giving you a jump on spring growth without waiting for ideal spring planting conditions.
The tradeoff is that dormant seeding is less predictable. Seed can wash away in a thaw, get eaten by birds over a long winter, or germinate unevenly. I use it as a backup plan, not a first choice, but it’s a far better option than trying to force germination into frozen soil in December.
Step 5: Protect the Patch Through Fall
New grass is fragile for the first month. A few rules I follow religiously:
Keep foot traffic off the patch completely. Rope it off with stakes and twine if you have to. One kid cutting across a freshly seeded spot can undo two weeks of germination.
Mow around the area until the new grass reaches about three inches tall, then mow it for the first time with a sharp blade set high. Cutting too short too soon stresses young roots that haven’t anchored yet.
Keep leaves cleared off. A wet mat of fallen leaves sitting on new grass blocks light and traps moisture in a way that invites fungal problems, right when the seedlings are most vulnerable.
If a hard frost is predicted before germination finishes, don’t panic. Cool-season grass seed can survive light frost. It’s a hard freeze of the soil itself that stops germination, not a chilly night.
Real Talk: What Can Go Wrong (and What’s Not Worth It)
I’m not going to pretend this always goes perfectly, because it doesn’t.
- Seeding too late is the number one failure I see. If you’re trying to fix a patch in late November with snow already in the forecast, save your seed and your money. It won’t germinate in frozen or near-frozen soil, and you’ll just be feeding birds. At that point, wait for spring or consider dormant seeding instead, which is a different technique entirely.
- Skipping soil prep is the second biggest waste of effort. I’ve watched people toss seed onto hard-packed dirt, water it twice, and give up when nothing grows. The seed needed soil contact and loose ground to root into. Without that, you’re just decorating dirt.
- Sod is tempting but often not worth it for small patches. Laying sod for a spot smaller than a few square feet costs way more than seed, and matching the sod’s grass type and color to your existing lawn perfectly is harder than it sounds. Save sod for larger renovations or areas where you need instant coverage, like before selling a house.
- Grass patch “quick fix” products in a bag — the ones with seed, mulch, and fertilizer pre-mixed — work fine for small, low-stakes spots. But I wouldn’t rely on them for anything bigger than a dinner plate. The seed density is usually thin, and you’ll likely need a second round anyway.
One quick side note: if your bare patches keep coming back in the exact same spots year after year, reseeding is just a temporary patch on a bigger problem. Figure out the actual cause — usually drainage, shade, or soil compaction — or you’ll be having this same conversation with yourself every October.
Common Questions About Fixing Bare Patches in Fall
Can I just throw grass seed on top of my existing lawn without prepping the soil? You can, and some of it will probably sprout, but germination rates drop hard without soil contact. I’d rather spend twenty extra minutes raking than reseed the same spot twice.
How long does it take for grass seed to fill in a bare patch? Most cool-season grass germinates in 7 to 21 days depending on the species. Ryegrass is fastest, often showing green in under a week. Kentucky bluegrass is the slowest and can take almost a month. Full establishment, where the roots are strong enough to handle regular foot traffic, takes closer to six to eight weeks.
Should I fertilize the whole lawn while I’m patching bare spots? A light fall fertilizer application on the whole yard isn’t a bad idea, since cool-season grass builds root reserves in fall for winter survival. Just keep it separate from the starter fertilizer you use directly on the new seed, since the ratios are different.
Is it too late to fix bare patches if snow is already in the forecast for next week? If snow is imminent and soil is nearly frozen, hold off on standard seeding and switch to dormant seeding instead. Trying to force germination into frozen ground just wastes seed.
Do I need to cover the seed with anything besides straw? Straw works well and it’s cheap. Burlap or a seed-specific mulch mat can work for smaller patches too, especially if you’ve got a windy yard where straw tends to blow around. Just avoid plastic sheeting, which traps too much heat and moisture and can actually cook young seedlings on a warm fall afternoon.
Final Thoughts
A patchy lawn heading into winter isn’t a lost cause, but it is a deadline. Every week you wait between now and that first hard frost is a week of root development you don’t get back. Prep the soil properly, match your seed to the spot, keep it watered, and keep the kids and the dog off it for a few weeks.
Do that, and you’ll open your curtains in spring to solid green instead of mud and moss.
What’s causing your bare patches — foot traffic, shade, a dog with a favorite spot? Drop a comment below and I’ll help you figure out the best fix for your situation.

About Syprose Kiche
Syprose Kiche is the creator and writer behind My Besuited Home, a practical home and garden website covering DIY projects, gardening, lawn care, landscaping, home improvement, and outdoor living. She focuses on turning everyday homeowner questions into clear, practical guides backed by careful research and useful real-world considerations.