
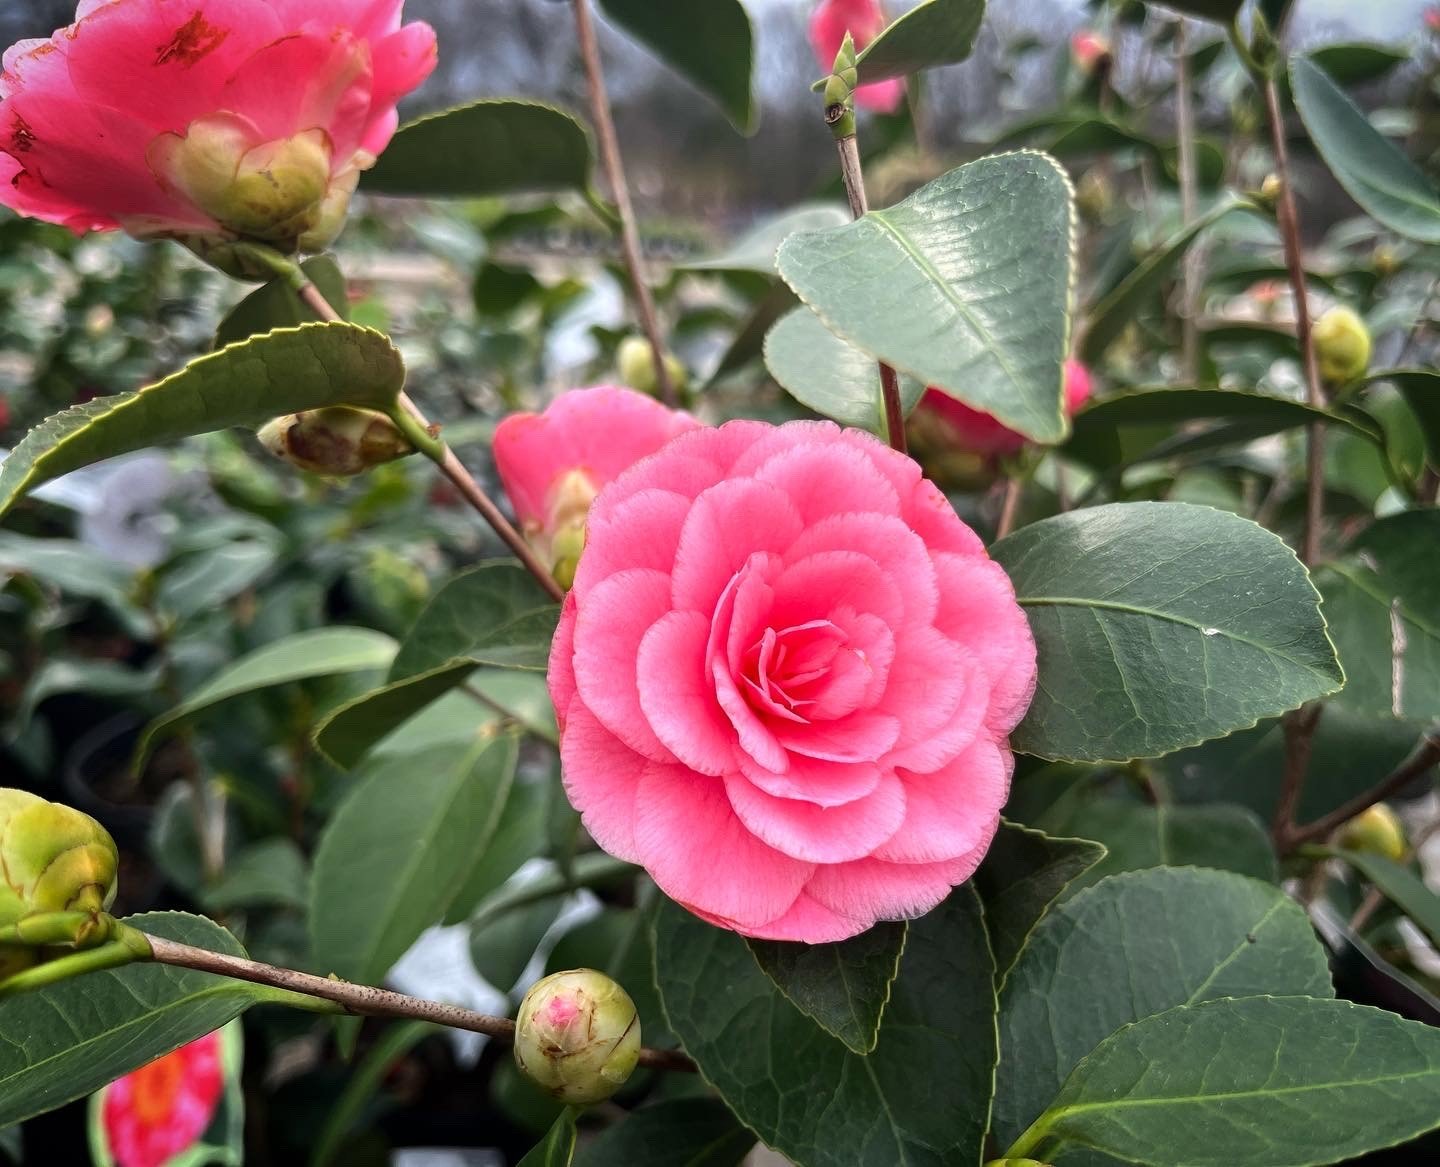
My neighbor Carol planted a camellia the same week I planted mine. Hers bloomed like a magazine cover every winter. Mine sat there sulking for two years, dropping yellow leaves and refusing to flower, while I stood in my yard wondering what she knew that I didn’t.
Turns out, camellias aren’t fussy plants. They’re just picky about a handful of specific things, and if you get those things wrong, the plant will sit there and quietly punish you for it. Get them right, and you’ll have a shrub that blooms when almost nothing else in your yard is doing anything, from late fall clear through early spring.
This guide covers everything I wish someone had handed me before I killed my first camellia (RIP, you were a $40 mistake). Planting, watering, feeding, pruning, pest control, and the stuff that actually goes wrong. Let’s get into it.
What Is a Camellia Japonica, Exactly?
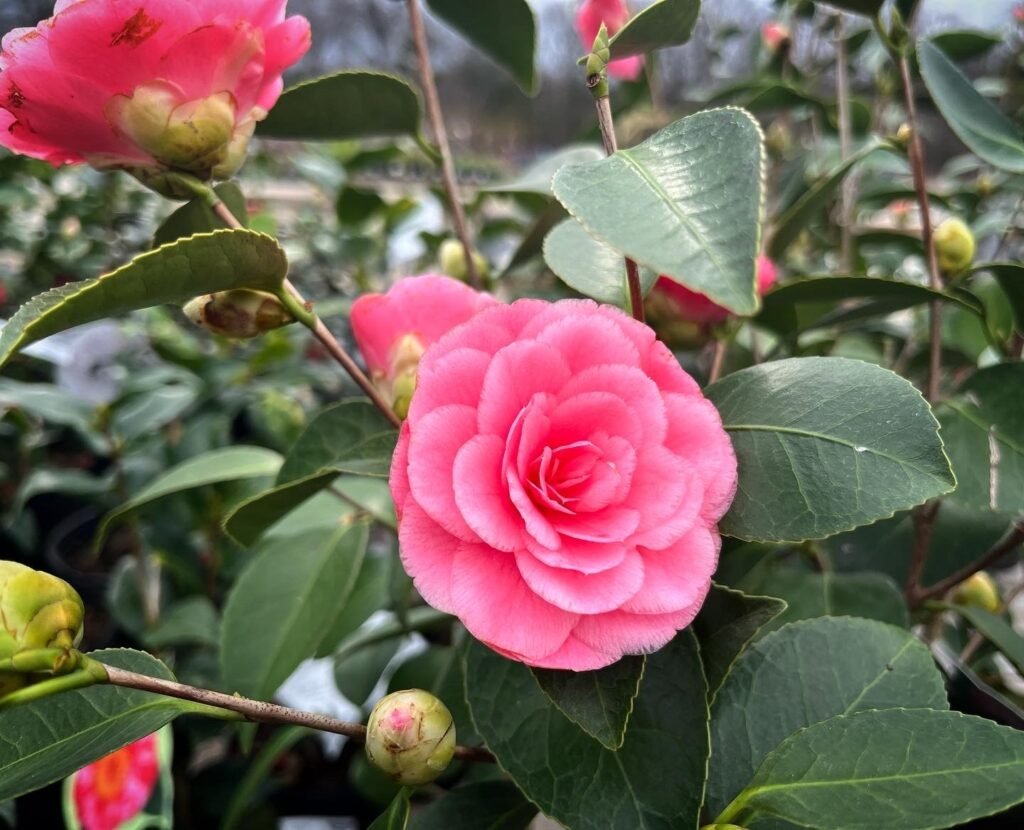
Camellia japonica is the classic “florist’s camellia,” the one with the glossy, dark green leaves and the rose-like blooms in white, pink, red, and every blend in between. It’s native to Japan, Korea, and parts of China, and it’s been cultivated for over a thousand years, which tells you something about how much people love this plant.
Unlike a lot of flowering shrubs that put on a show in summer, camellias bloom in the cooler months. Depending on the variety, you’ll get flowers anywhere from October through April. That’s a huge selling point if your garden looks dead every winter.
They’re evergreen, they can live for decades (some documented camellias are over 100 years old), and mature plants can hit anywhere from 6 to 12 feet tall, with some older varieties pushing 20 feet if nobody ever prunes them. This is not a plant you casually toss in the ground and forget about, but it’s also not the diva its reputation suggests.
Best Growing Zones and Climate for Camellias
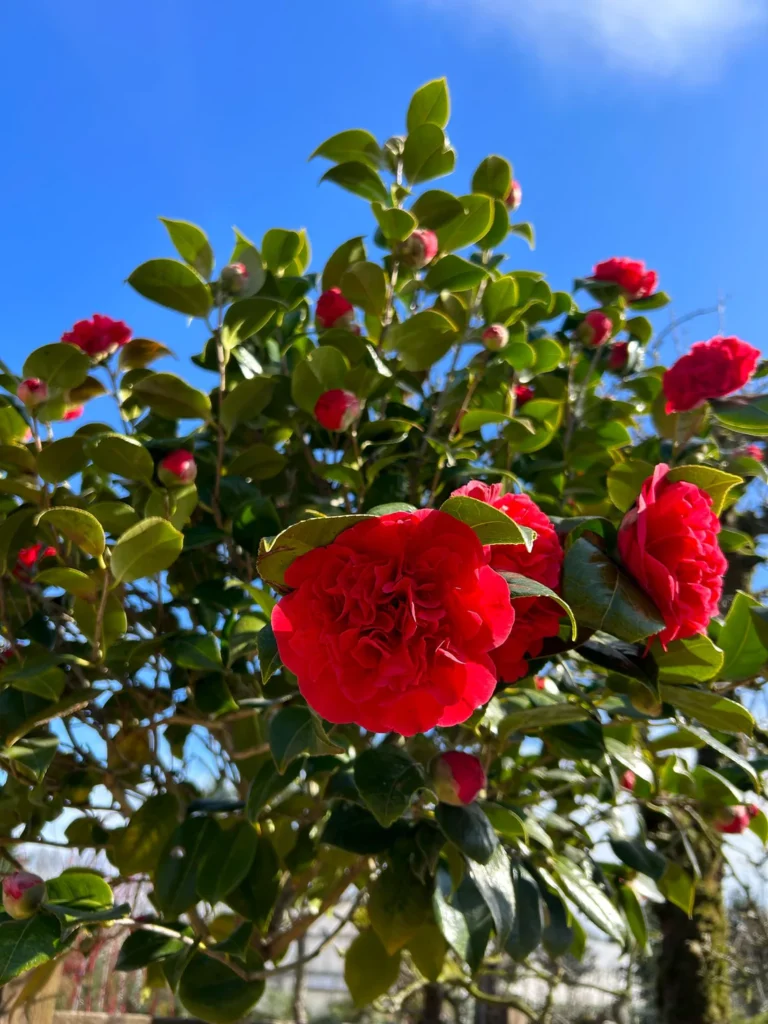
Camellia japonica is happiest in USDA zones 7 through 9. If you’re in zone 6, you can grow certain cold-hardy varieties, but you’re rolling the dice unless you pick cultivars specifically bred for cold tolerance, like ‘April Snow’ or ‘Winter’s Star.’
If you’re in zone 10 or hotter, camellias can still work, but they’ll want more shade and more consistent moisture, or the heat will scorch them.
The short version: camellias want a climate with mild winters and no brutal summer heat. Coastal regions of the Pacific Northwest, the Southeast (Georgia and the Carolinas especially, where camellias are practically the state mascot), and parts of California are prime camellia territory.
If you’re on the border of what’s considered safe for camellias, microclimates in your own yard matter more than the zone map suggests. A spot tucked against a fence that blocks north wind, or an area shaded by a building on the coldest side, can push your effective growing zone up half a step. I’ve seen gardeners in colder pockets get away with camellias simply because they picked a sheltered corner near a brick wall that held onto heat overnight. It’s not a guarantee, but it’s worth experimenting with if you’re determined to grow one outside the “textbook” range.
Container growing is another workaround worth mentioning. If your winters are too harsh for camellias in the ground, growing one in a large pot lets you drag it into a garage or unheated porch when a hard freeze rolls through. It’s more work, sure, but I know a few gardeners in colder states who swear by this approach and get blooms every year anyway.
Where to Plant Camellias: Sun, Shade, and Soil
This is the part where most people mess up, myself included.
Light Requirements
Camellias want dappled or filtered shade, not full sun and not deep shade. Morning sun with afternoon shade is close to ideal. Plant one in blasting full afternoon sun and you’ll get scorched, crispy leaf edges by mid-July, guaranteed.
I planted my first camellia against a south-facing wall because it looked like a great spot in April. By August, the leaves looked like they’d been through a house fire. I moved it that fall, and it’s been fine ever since. Location matters more than almost anything else on this list.
Under the high canopy of a mature pine or oak tree is a classic camellia spot, and there’s a reason old Southern gardens are full of them planted exactly there.
Soil Requirements
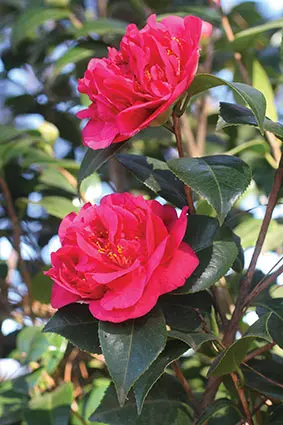
Camellias need acidic, well-draining soil, ideally somewhere in the 5.5 to 6.5 pH range. If your soil is heavy clay or sits soggy after rain, you need to amend it before you plant, not after.
Work in a generous amount of compost, pine bark fines, or peat moss before planting. This does two things: it lowers the pH slightly and it improves drainage, which camellias care about almost as much as light.
Standing water around camellia roots is basically a death sentence. Root rot sets in fast, and once it does, there’s no saving the plant. If your yard has drainage issues, consider planting camellias in a raised bed or mounded area instead of fighting the native soil.
How to Plant a Camellia Step by Step
- Dig the hole wide, not deep. You want the hole two to three times wider than the root ball, but only as deep as the root ball itself. Camellias are shallow-rooted, and planting too deep is one of the most common killers.
- Check the root ball for circling roots. If the plant’s been in a nursery pot too long, roots wrap around the inside of the container. Gently tease these apart or make a few vertical cuts with a clean knife before planting. Skip this step and those roots will keep circling underground for years, eventually strangling the plant.
- Set the plant slightly high. The top of the root ball should sit about an inch above the surrounding soil line, not buried flush or below it. Soil settles over time, and a camellia planted too low is prone to crown rot.
- Backfill with amended soil. Use the compost-and-native-soil mix you prepared, tamping gently as you go to remove air pockets without compacting it into a brick.
- Water deeply right after planting. Give it a slow, thorough soak, not a quick sprinkle. This settles the soil around the roots and gets rid of any remaining air gaps.
- Mulch, but keep it off the trunk. A two- to three-inch layer of pine straw or shredded bark helps retain moisture and keep roots cool. Leave a few inches of bare soil right around the trunk so you’re not inviting rot.
Fall and early spring are the best times to plant, when temperatures are mild and the plant isn’t stressed by heat or frost.
Watering Camellias the Right Way
Camellias want consistent moisture, not a flood-and-drought cycle. The goal is soil that stays evenly damp like a wrung-out sponge, never bone dry and never waterlogged.
For newly planted camellias, water two to three times a week for the first few months while the roots establish. Once established, usually after the first year, you can back off to deep watering once a week, more often during hot, dry stretches.
Here’s my rule of thumb: stick a finger two inches into the soil near the root zone. If it’s dry at that depth, water. If it’s still damp, leave it alone. Overwatering is honestly more common than underwatering with this plant, and it’s harder to fix.
Fall is a critical watering window, since this is when camellias are setting next season’s flower buds. Let the plant dry out too much during bud set and you’ll get bud drop instead of blooms, which is one of the most frustrating things that can happen to a camellia grower.
Mulch does a lot of the heavy lifting here too. A good layer of pine straw or shredded bark slows down evaporation, which means you’re not out there with a hose every other day trying to keep up during a hot, dry spell. I top mine off twice a year, once in spring and once in early fall, and it’s cut my watering chores by a noticeable amount.
One thing I’d add: container-grown camellias dry out way faster than ones in the ground, since pots heat up and lose moisture quickly, especially dark-colored plastic pots sitting in direct sun. If you’re growing yours in a container, check the soil moisture more often than you think you need to, particularly during summer. A camellia in a pot can go from perfectly happy to crispy in a matter of days during a heat wave.
Fertilizing Camellias: When and What to Use
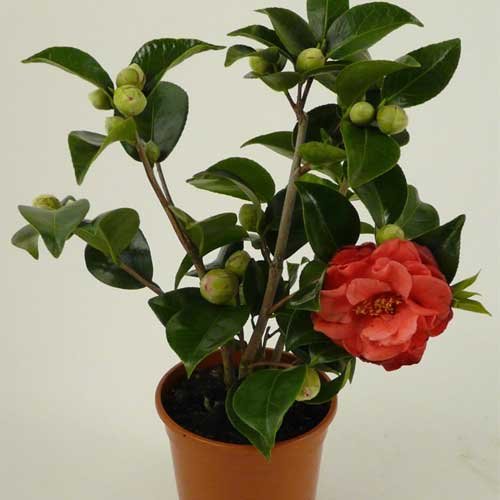
Feed camellias with an acid-loving plant fertilizer, the same kind you’d use for azaleas or rhododendrons. Choose one with a balanced NPK ratio designed for acid-lovers, and apply it in early spring right after the blooming season wraps up, then again in late spring or early summer.
Stop fertilizing by late summer. Feeding a camellia in fall pushes out tender new growth right before the plant should be settling in for winter and setting flower buds, and that new growth is way more vulnerable to cold damage.
I’ve found that liquid fertilizers give you faster results if a plant looks a little pale or stressed, but granular, slow-release feeds are less work and harder to overdo. Either works. What matters more is sticking to the acid-loving formula and not overdoing the nitrogen, which encourages leafy growth at the expense of flowers.
Pruning Camellias: How and When
Prune camellias right after they finish blooming, never before. Camellias set next year’s flower buds on the current season’s growth, so pruning in fall or winter means you’re cutting off flowers before they even open.
- Remove dead, damaged, or crossing branches first.
- Thin out crowded interior growth to improve air circulation, which cuts down on fungal problems.
- Shape lightly if needed, but avoid heavy shearing. Camellias have a naturally attractive form, and hacking them into a ball shape wastes that.
- Cut just above a leaf node at an angle, using clean, sharp bypass pruners.
Older, overgrown camellias can handle a harder rejuvenation prune, cutting back by a third, but expect a bloom-light year afterward while the plant recovers.
Common Camellia Pests and Diseases
Tea Scale
This is the big one. Tea scale shows up as small, white, cottony flecks on the undersides of leaves, and it causes yellow blotching on the top side. Left untreated, it will seriously weaken a plant over a couple of seasons.
Treat it with horticultural oil, applied thoroughly to the undersides of leaves, or a systemic insecticide for heavier infestations. Catching it early makes a massive difference in how much work you’ll do to fix it.
Camellia Petal Blight
This fungal disease turns flowers brown and mushy fast, usually starting from the center of the bloom outward. It spreads through fallen petals and soil-borne spores.
Cleanup is your best defense. Remove and destroy fallen petals and blooms regularly, and refresh mulch each year, since old mulch can harbor the fungus.
Root Rot
Almost always caused by poor drainage or overwatering. Symptoms include wilting despite moist soil, yellowing leaves, and a general decline that doesn’t respond to more water (because more water is the problem).
There’s no great cure once root rot sets in badly. Prevention through good drainage is really the only reliable fix.
Aphids and Spider Mites
Less dramatic than scale, but still common, especially on stressed plants. A strong blast of water or insecticidal soap handles most infestations without needing anything harsh.
Quick side note: ants farming aphids on your camellias is a sign you’ve got an aphid problem worth addressing, since ants protect aphids from predators in exchange for the honeydew they produce. Dealing with the aphids usually solves the ant issue too.
Camellia Bud Drop: Why It Happens and How to Prevent It
Bud drop is probably the number one complaint I hear from camellia growers, and it’s almost always one of these:
- Inconsistent watering during bud development in late summer and fall
- A sudden cold snap or temperature swing right as buds are maturing
- Overfeeding with high-nitrogen fertilizer
- Planting in a spot with too much afternoon sun or wind exposure
The fix, in most cases, is consistency. Even moisture, appropriate feeding timed to the right season, and a planting location that shelters the buds from harsh sun and wind will solve the majority of bud drop problems.
Popular Camellia Japonica Varieties Worth Growing
- ‘Debutante’ – soft pink, peony-form blooms, extremely popular and reliable
- ‘Nuccio’s Gem’ – formal white double blooms, clean and classic
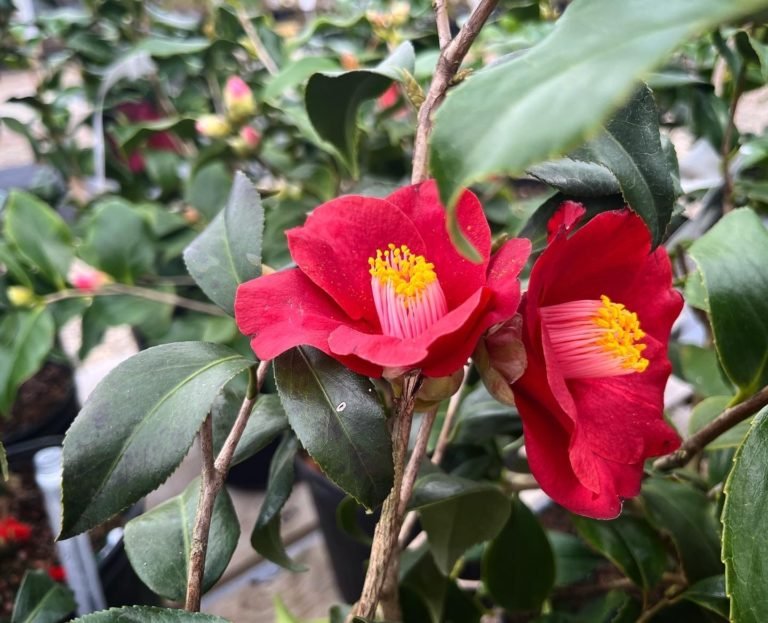
- ‘Kramer’s Supreme’ – deep red, fragrant (rare for camellias), heavy bloomer
- ‘Pink Perfection’ – small, formal, shell-pink blooms, an old Southern garden staple
- ‘Professor Charles S. Sargent’ – dark red, peony-form, tough and cold-hardy for the variety
Protecting Camellias From Cold Snaps and Frost
Even cold-hardy camellia varieties can take damage from a sudden hard freeze, especially if it comes early in the season before the plant has had time to adjust.
- Water before a freeze, not after. Moist soil holds heat better than dry soil, which helps buffer roots against sudden temperature drops. Give the plant a deep watering a day or two before a predicted freeze.
- Cover exposed buds and blooms. A frost cloth or old bedsheet draped over the plant overnight can protect open flowers and swelling buds from a light freeze. Remove it in the morning once temperatures climb back up.
- Mulch heavily going into winter. A thicker layer of mulch, three to four inches, insulates the root zone through the coldest stretches.
- Avoid late-season pruning or fertilizing. Both encourage tender new growth that’s far more vulnerable to cold injury than mature wood and leaves.
- Bonus tip: if you get an unexpected hard freeze and some leaves brown or curl afterward, don’t panic and start cutting. Wait until spring growth resumes before pruning out damage, since it’s often less severe than it looks in the moment, and premature cutting can remove wood that was actually still alive.
Real Talk: What Actually Goes Wrong With Camellias
I’ll be straight with you about the stuff nobody puts in the glossy plant tag descriptions.
Camellias are slow. If you’re the type who wants instant garden gratification, this plant will test your patience. A gallon-size camellia from the nursery might take three or four years to really fill out and put on a serious bloom show. If you want fast impact, this isn’t your plant.
Full sun spots will ruin them, no matter how much you want that camellia in your front bed that gets blasted with afternoon light. I don’t care how good the drainage is or how much you water; the leaves will scorch and the plant will look rough every summer. Don’t fight this one. Find shade or don’t bother.
Overwatering kills more camellias than underwatering does, and it’s not close. People see a plant that likes “consistent moisture” and interpret that as “water it every single day,” and that’s how you get root rot. Soggy roots are worse than dry roots almost every time.
Cheap fertilizer marketed as “flowering plant food” without the acid-loving formula will slowly push your soil pH in the wrong direction. It won’t kill the plant overnight, but over a couple of seasons you’ll notice fewer blooms and yellowing leaves, and it takes a while to figure out why.
And honestly, that whole “camellias need constant pruning to look good” idea going around gardening forums is mostly overblown. Left alone with just an annual post-bloom cleanup, most camellias develop a naturally attractive shape on their own. Heavy, frequent pruning does more harm than good most years.
Final Thoughts on Growing Camellias
Camellias reward patience more than almost any other shrub I’ve grown. Get the planting spot right, keep the watering consistent, feed them on schedule, and prune only after they bloom, and you’ll have a plant that outlives most of the other stuff in your yard.
Carol’s camellia, by the way, is now about nine feet tall and still going strong fifteen years later. Mine caught up eventually, once I moved it out of that brutal afternoon sun.
What’s your camellia struggling with right now? Drop a comment below and tell me what’s going on, whether it’s yellow leaves, no blooms, or something munching on the foliage. I’ll do my best to help you figure it out.

About Syprose Kiche
Syprose Kiche is the creator and writer behind My Besuited Home, a practical home and garden website covering DIY projects, gardening, lawn care, landscaping, home improvement, and outdoor living. She focuses on turning everyday homeowner questions into clear, practical guides backed by careful research and useful real-world considerations.