

Stop spending your Saturday afternoons on your hands and knees pulling stubborn weeds that seem to grow back the second you turn your back. I’ve been there, and frankly, my lower back still hasn’t forgiven me for the “Great Dandelion War of 2014.” Weeds are the ultimate garden party crashers, but you don’t need a gallon of harsh chemicals to show them the exit.
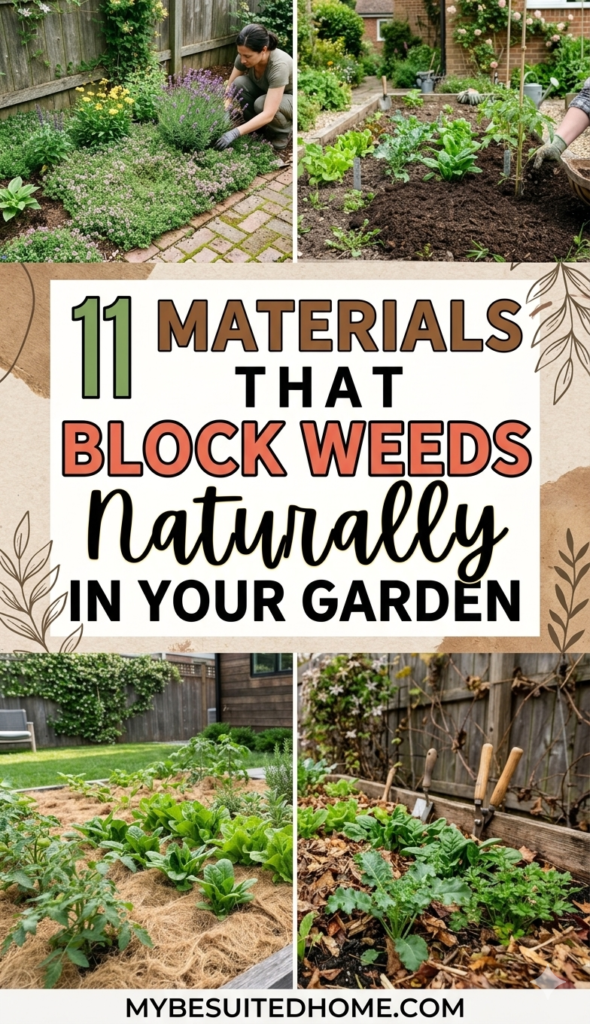
After fifteen years of trial, error, and some very muddy boots, I’ve learned that the best defense is a natural one. If you want a garden that looks like a magazine cover without the back-breaking labor, you need to master the art of the “smother.” Here are 11 natural materials that actually work to block weeds, ranked by how much they’ll save your sanity.
1. Using Wood Chips for Long Term Weed Control
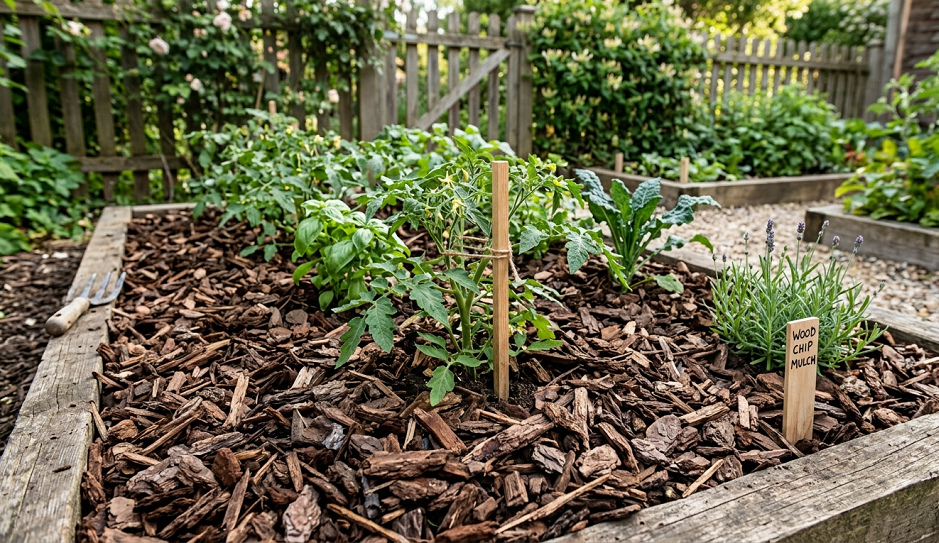
I used to think wood chips were just for municipal parks, but they are the heavy lifters of a low-maintenance garden. The first time I ordered a massive “chip drop” in my driveway, my neighbors thought I was starting a logging camp. I spent three days hauling wheelbarrows, but that section of the yard didn’t see a single weed for two years.
Wood chips work by creating a physical barrier that light can’t penetrate. Since weed seeds need light to germinate, you’re basically putting them in a permanent blackout. Over time, these chips break down and actually improve your soil structure, making it easier to pull the occasional “hitchhiker” weed that lands on top.
When you’re sourcing these, don’t go for the dyed red or black stuff you see at big-box stores. That’s often ground-up pallets and contains chemicals you don’t want near your prize-winning tomatoes. Get “arborist chips” from a local tree service. They’re usually free or very cheap because you’re doing the tree guy a favor by taking them off his hands.
Make sure you spread them at least 3 to 4 inches deep. Anything thinner is just a suggestion to a weed. I once tried to “stretch” a load by doing a thin 1-inch layer, and by July, the crabgrass was mocking me. Go thick or go home.
2. Pine Needles for Acid Loving Plants
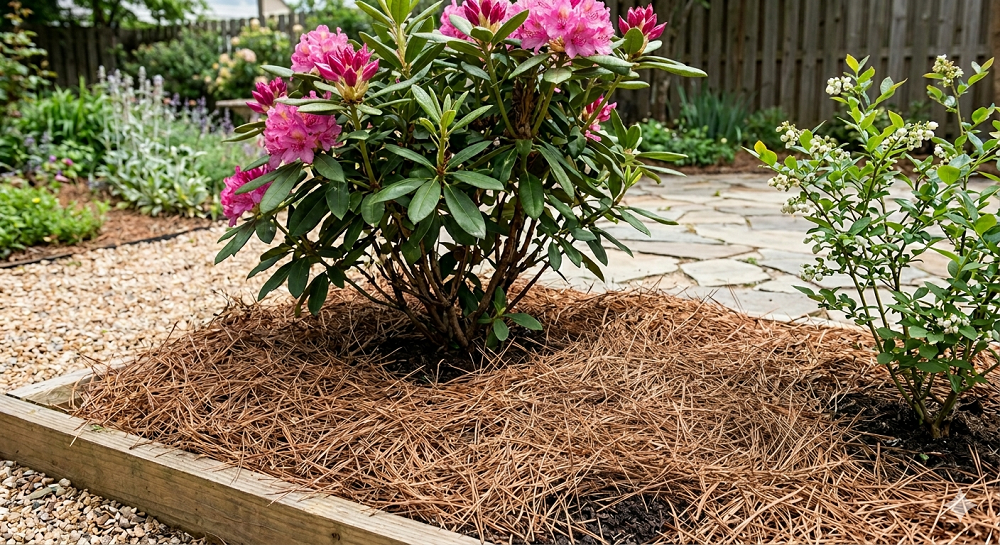
If you live near evergreens, you’re sitting on a goldmine of weed suppression. I call pine needles “the lazy gardener’s best friend” because they stay put. Unlike light straw that blows away the moment a breeze hits, pine needles (or pine straw) knit together like a natural carpet.
I started using these around my blueberry bushes and azaleas because they love a bit of acidity. There’s an old myth that pine needles will turn your soil into a vat of acid, but in my experience, they only slightly lower the pH as they break down over several years. Unless you’re dumping a truckload on a tiny patch, your soil will be just fine.
The best part about pine needles is that they don’t mat down and get slimy like wet leaves can. They allow water and air to flow through to the roots while keeping the soil underneath cool and dark. I’ve found that slugs actually hate crawling over the prickly needles, which is a massive bonus if you’re tired of your hostas looking like Swiss cheese.
One quick tip: wear gloves when you’re spreading these. I learned the hard way that “pine itch” is a real thing. Also, don’t use them right next to the house if you live in a high-fire-risk area, as they can be quite flammable when they get bone-dry in August.
3. Cardboard Sheet Mulching Techniques
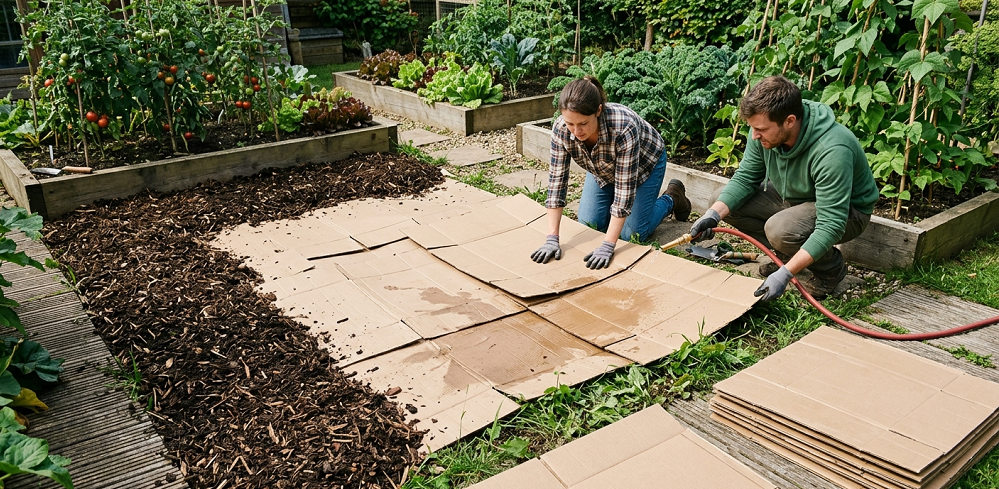
If you’ve got an old appliance box sitting in the garage, you have the world’s best weed killer. Sheet mulching—or “lasagna gardening”—is how I converted a patch of stubborn Bermuda grass into a lush flower bed without ever touching a shovel. I just laid down flattened cardboard, soaked it with a hose, and piled mulch on top.
The cardboard acts as a literal “death shroud” for the weeds underneath. It’s thick enough to block every scrap of sunlight but biodegradable enough that earthworms will eventually eat the whole thing. By the time the cardboard rots away in about six months, the grass underneath is composted and the soil is soft enough to plant into.
Make sure you remove all the plastic shipping tape and those giant staples before you lay it down. I forgot to do that once and spent the next spring “harvesting” strips of Amazon tape from my perennial border. It wasn’t my proudest moment. Also, overlap the edges by at least 6 inches; weeds are smart and will find the tiniest gap to poke through.
This is the ultimate way to start a new garden bed. It takes zero digging and saves you the cost of renting a sod cutter. Just make sure you cover the cardboard with a few inches of wood chips or compost immediately, or your yard will look like a recycling center, and your spouse will probably have some “feedback” for you.
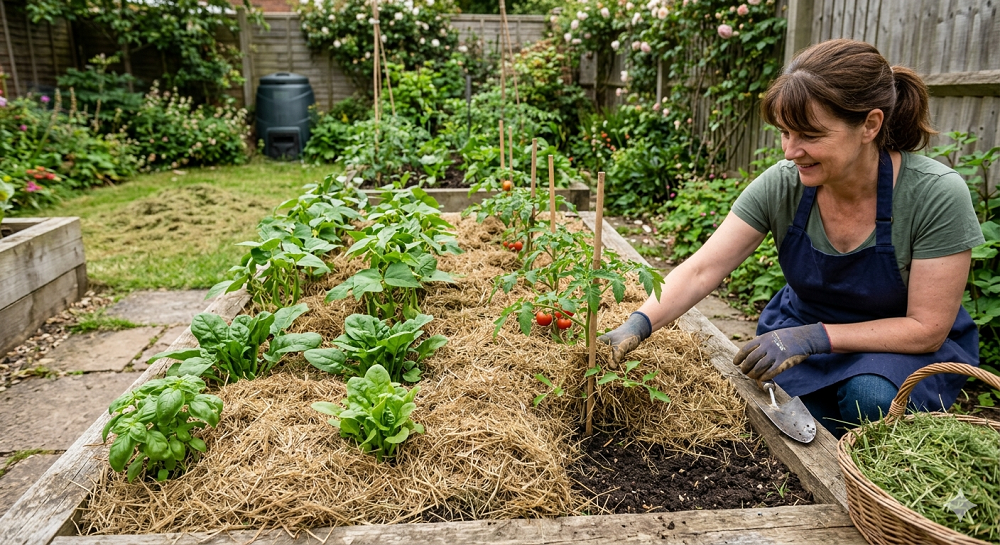
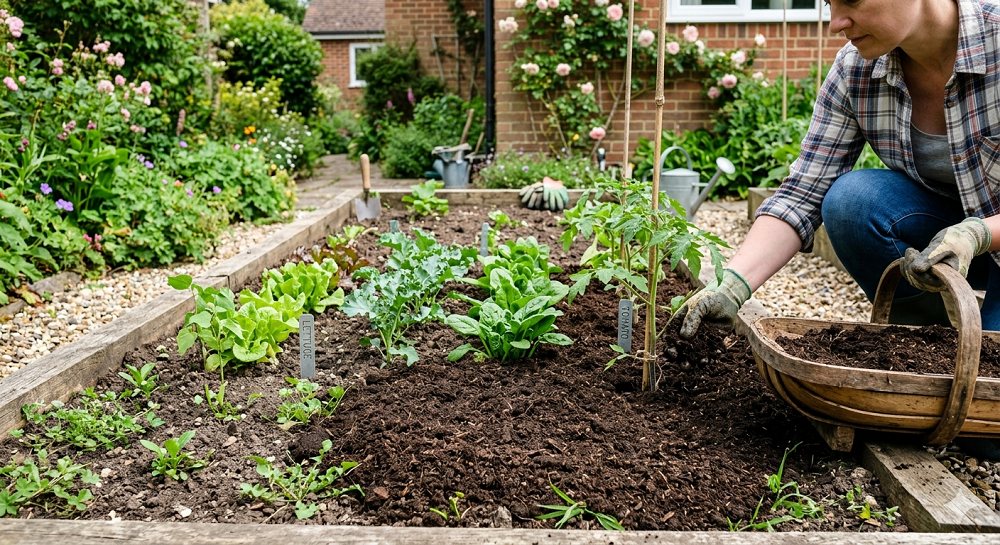
4. Straw Mulch for Vegetable Gardens
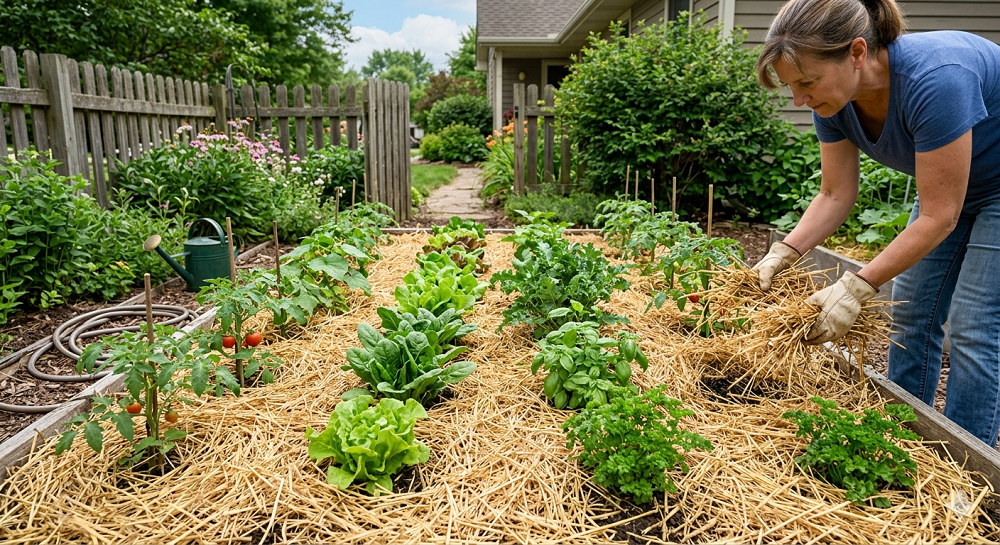
When it comes to the veggie patch, straw is king. I’m talking about the golden, crunchy stuff, not hay. If you get hay, you are literally planting a crop of grass seeds in your garden, which is the exact opposite of what we’re trying to do here. I made that mistake in my second year of gardening and spent the whole summer weeding “mulch” out of my peppers.
Clean, weed-free straw is fantastic because it reflects heat, keeping the soil cool during those blistering July heatwaves. It also keeps your low-hanging fruit, like strawberries or zucchini, off the damp dirt. This prevents rot and keeps your harvest much cleaner.
I usually lay down a layer about 3 inches thick around my tomatoes. It creates a clean path to walk on, so I don’t get muddy boots when I’m out there picking dinner. Plus, at the end of the season, you can just till it right into the soil to add organic matter.
A side note on straw: it can be a bit of a hiding spot for squash bugs. I’ve found that if I wait until the plants are a bit established before mulching heavily, it’s less of an issue. If you see those little grey bugs, pull the straw back a bit from the base of the plant so they don’t have a direct “highway” to the stem.
5. Using Grass Clippings as Free Mulch
You’re already mowing the lawn, so why not make that waste work for you? Grass clippings are the “fast food” of the garden—they’re full of nitrogen and they’re free. I’ve been using them for years to fill in gaps in my mulch layers.
However, there are two huge “don’ts” here. First, never use clippings from a lawn that has been treated with “weed and feed” or any herbicides. Those chemicals are designed to kill broadleaf plants, and your tomatoes are definitely broadleaf plants. I once killed an entire row of heirloom beans because I used clippings from a neighbor who obsessively treats his lawn.
Second, don’t pile green clippings on too thick. If you put 4 inches of fresh grass down, it will turn into a slimy, stinking mat that smells like a swamp and prevents water from reaching the soil. The trick is to spread them in thin layers—maybe half an inch at a time—and let them dry out before adding more.
Dry grass clippings turn a nice tan color and do a decent job of keeping the soil moist. They break down quickly, so you’ll have to replenish them often, but since the lawn grows every week, you’ve got a constant supply. It’s the ultimate circular economy for your backyard.
6. Burlap Fabric for Garden Paths
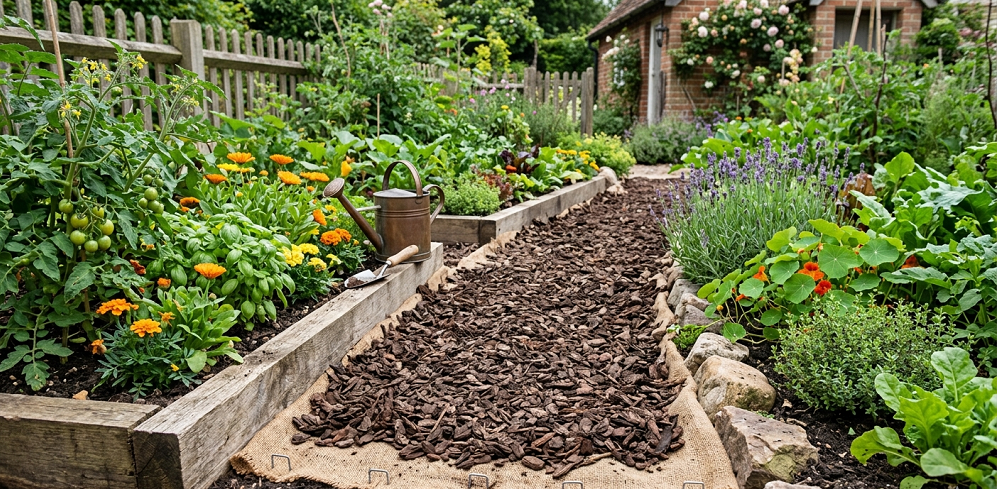
If you want a rustic look for your garden paths that isn’t permanent, burlap is a fantastic option. I used this in my “wildflower corner” where I wanted to keep the paths clear but didn’t want to commit to gravel or pavers. It’s cheap, natural, and looks much better than that shiny black plastic landscape fabric.
Burlap allows the soil to breathe and water to soak through, which is vital for the health of the surrounding plants. I usually double-layer it to make sure no light gets through. You can pin it down with landscape staples, or just toss a light layer of wood chips on top to hold it in place.
The downside is that burlap only lasts about one or two seasons before it starts to fray and decompose. I’ve found this is actually a benefit if you like to change your garden layout every year like I do. It’s like a temporary “off” switch for weeds.
One quick side note: try to find “plain” burlap that hasn’t been treated with chemical preservatives. Some of the heavy-duty stuff intended for construction is treated to prevent rot, which defeats the purpose of using a natural material. If it smells strongly of oil or chemicals, skip it.
7. Newspaper Layers for Flower Beds
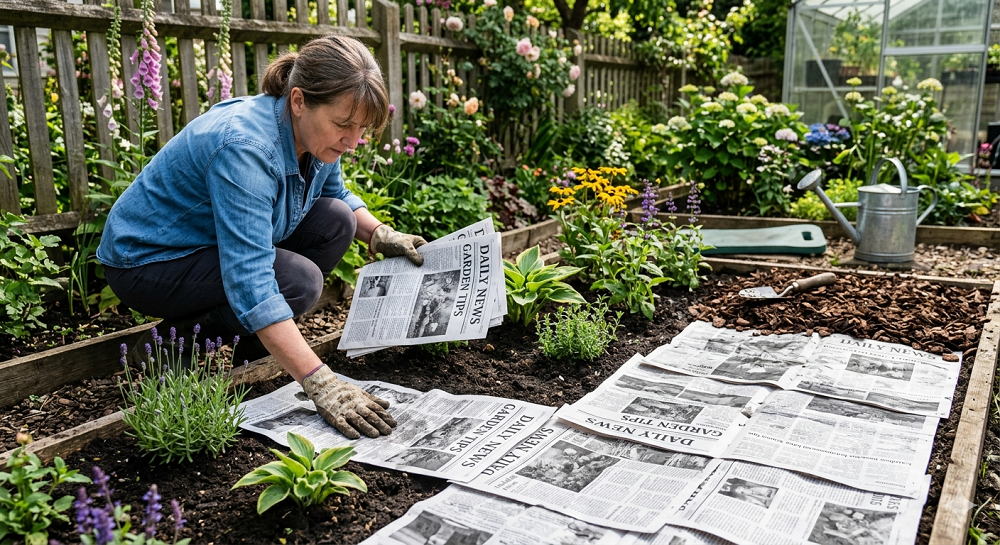
Before everything went digital, I used to have a mountain of newspapers every week. Now, I actually have to ask my neighbors to save theirs for me. Newspaper is basically just “thin cardboard,” and it works wonders for suppressing weeds in tight spaces around delicate flowers.
I like to use about 10 sheets of black-and-white newsprint (avoid the glossy ad inserts—they have heavy metals in the ink). Wet the paper down as you lay it so it doesn’t blow away. It’s a bit of a workout for your core to stay hunched over, but it’s worth it. Once it’s down, cover it with an inch of compost or shredded bark.
This method is perfect for those “in-between” spots where a big piece of cardboard won’t fit. I use it around my rose bushes every spring. It keeps the weeds down just long enough for the roses to leaf out and shade the ground themselves.
The paper disappears by the end of the year, leaving behind nothing but happy earthworms. In my experience, the soil under a layer of newspaper is always the richest and crumbiest in the whole garden. It’s like a five-star hotel for soil microbes.
8. Shredded Leaves for Natural Soil Health
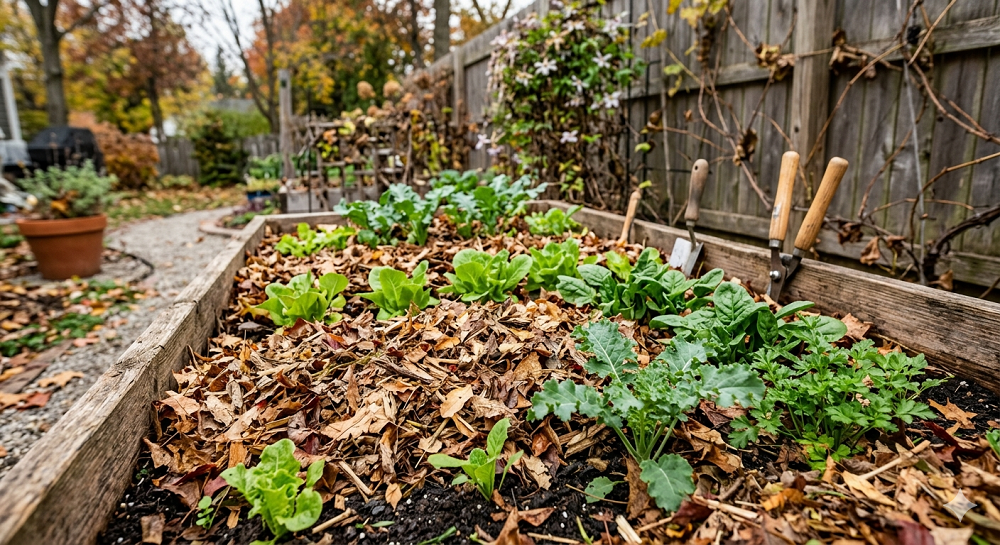
In the fall, most people bag up their leaves and put them on the curb. To a gardener, that’s like putting bags of money out for the trash man. I spend my Octobers driving around the neighborhood like a leaf-thief, collecting bags of “brown gold.”
Whole leaves can mat down and block water, but shredded leaves are the perfect weed barrier. I run mine through a lawnmower with a bagging attachment or a leaf shredder. The result is a fluffy, nutrient-rich mulch that looks very natural in a woodland-style garden.
I’ve found that a 3-inch layer of shredded leaves is just as effective at blocking weeds as expensive store-bought mulch. Plus, as they break down, they provide the exact nutrients that your trees and shrubs need. It’s literally how nature mulches itself in the forest.
Don’t use walnut leaves if you can help it, as they contain a chemical called juglone that can stunt the growth of other plants. I learned that the hard way when my tomatoes refused to grow more than six inches tall near a patch of walnut mulch. Stick to oak, maple, and fruit tree leaves for the best results.
9. Hemp Mulch for a Modern Look
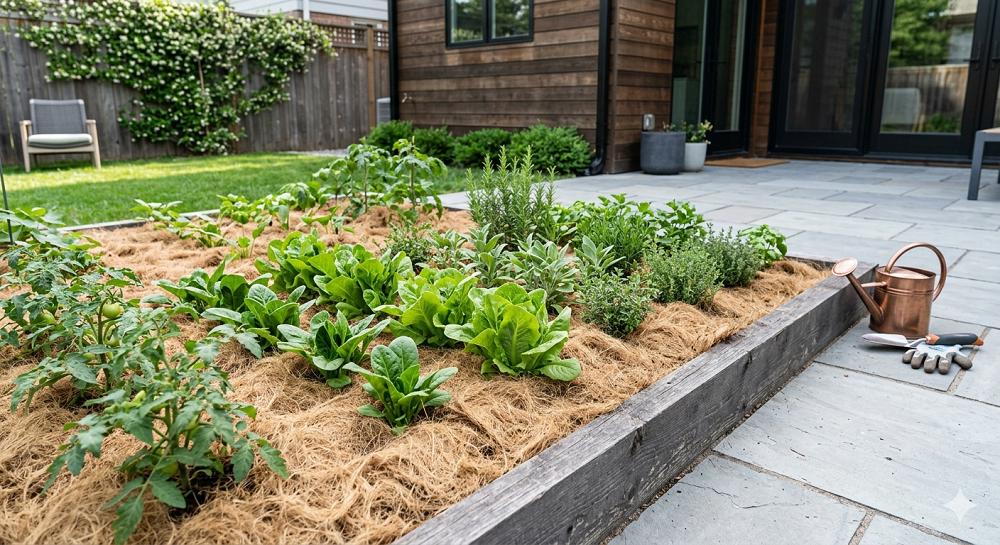
Hemp mulch is becoming more popular, and I gave it a shot last summer in my herb garden. It’s made from the inner woody core of the hemp plant, and I have to say, I’m impressed. It has a very clean, light-colored look that makes the green of the plants really pop.
It’s incredibly absorbent—it can hold something like four times its weight in water—which means you don’t have to water your plants nearly as often. In my raised beds, I noticed the soil stayed moist even during a week-long heatwave where I forgot to turn on the drip lines.
It’s also surprisingly good at deterring pests. Slugs and snails don’t seem to like the texture of it, which saved my basil from its usual fate of being eaten to the stem. It lasts longer than straw but breaks down faster than wood chips, making it a great middle-ground option.
The only real downside is the cost and availability. You might have to order it online or find a specialty garden center. But if you have a small, high-visibility area like a front-porch container garden, it’s worth the few extra bucks for the aesthetic alone.
10. Compost Mulching for “Double Duty”
Most people think of compost as something you mix into the soil, but I often use it as a top-dressing. This is what I call “lazy-person’s feeding.” You lay a 2-inch layer of finished compost over the soil, and every time it rains, “compost tea” leaches down to the roots.
While it’s not the absolute best at blocking the toughest weeds (some seeds might even sprout in the compost if it isn’t fully “cooked”), it creates a very healthy environment where the plants you want grow so fast they shade out the competition.
I’ve found that using a layer of compost topped with a very thin layer of straw is the “gold standard” for a vegetable garden. You get the nutrients from the compost and the light-blocking power of the straw. It’s a win-win.
Just make sure the compost is actually finished. If it still smells like kitchen scraps or looks like recognizable eggshells, it’s not ready. Using “hot” compost as mulch can actually burn the stems of your plants. Wait until it looks and smells like rich, dark earth.
11. Ground Cover Plants (The “Living Mulch”)
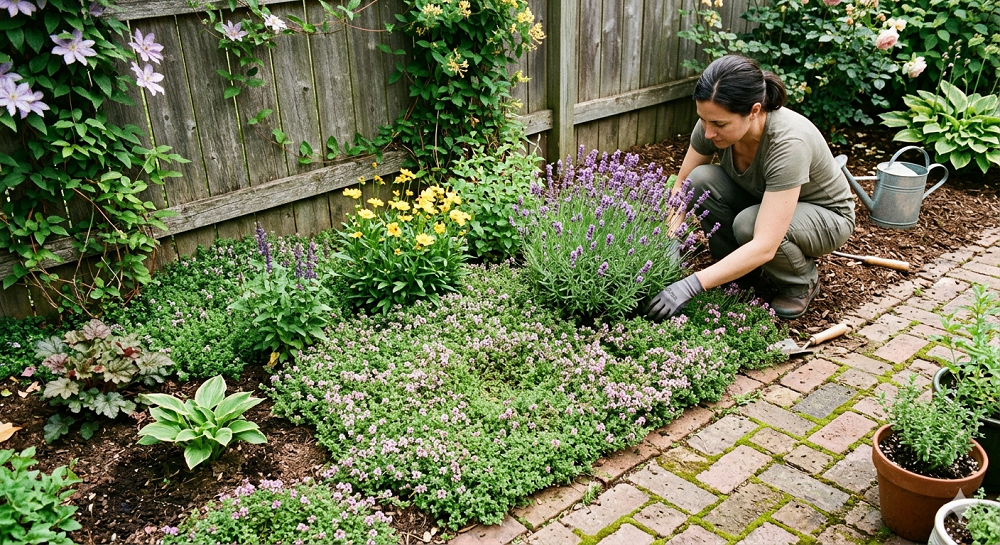
Quick side note: sometimes the best way to block a weed is to put a plant there first. I’ve started using “living mulches” like creeping thyme or sedum in between my larger perennials. If the ground is already covered by a plant you like, there’s no room for the ones you don’t.
This takes a bit more time to establish, but once it’s filled in, you basically never have to mulch that area again. I have a patch of wild ginger under an old oak tree that has blocked out weeds for a decade. It’s the ultimate set-it-and-forget-it strategy.
The “Real Talk”: What’s Not Worth Your Time
I’ve tried almost everything, and I’m here to tell you: stay away from landscape fabric. I know the packaging says it’s a “permanent weed barrier,” but that is a total lie. In my experience, soil eventually builds up on top of the fabric, weed seeds land in that soil, and then the roots grow through the fabric. When you try to pull them, you end up yanking up the whole mess. It’s a nightmare to remove.
Also, don’t bother with “biodegradable” plastic film in a home garden. It usually starts disintegrating in patches, leaving your garden looking like a construction site within two months. It’s messy, it’s ugly, and it doesn’t suppress weeds half as well as a good old-fashioned piece of cardboard.
Lastly, be wary of “free” mulch from the city dump. Sometimes it’s great, but other times it’s full of shredded trash, bits of plastic, or—worst of all—seeds from invasive species like Japanese Knotweed. If you can’t see the pile and verify what’s in it, it might be better to pay for a clean load from a reputable source.
Parting Wisdom
If there’s one thing I’ve learned from years of getting my hands dirty, it’s that you can’t fight nature; you have to outsmart it. Blocking weeds naturally isn’t just about making the garden look pretty; it’s about building a healthy ecosystem where your plants can thrive without being choked out. Start small, pick one or two of these materials, and see how your garden responds. You’ll be amazed at how much more you enjoy your outdoor space when you aren’t spending every waking hour on weed patrol.
What’s the most stubborn weed you’ve ever had to deal with, and did you find a natural way to beat it? Drop a comment below—I’d love to hear your “war stories” and tips!