
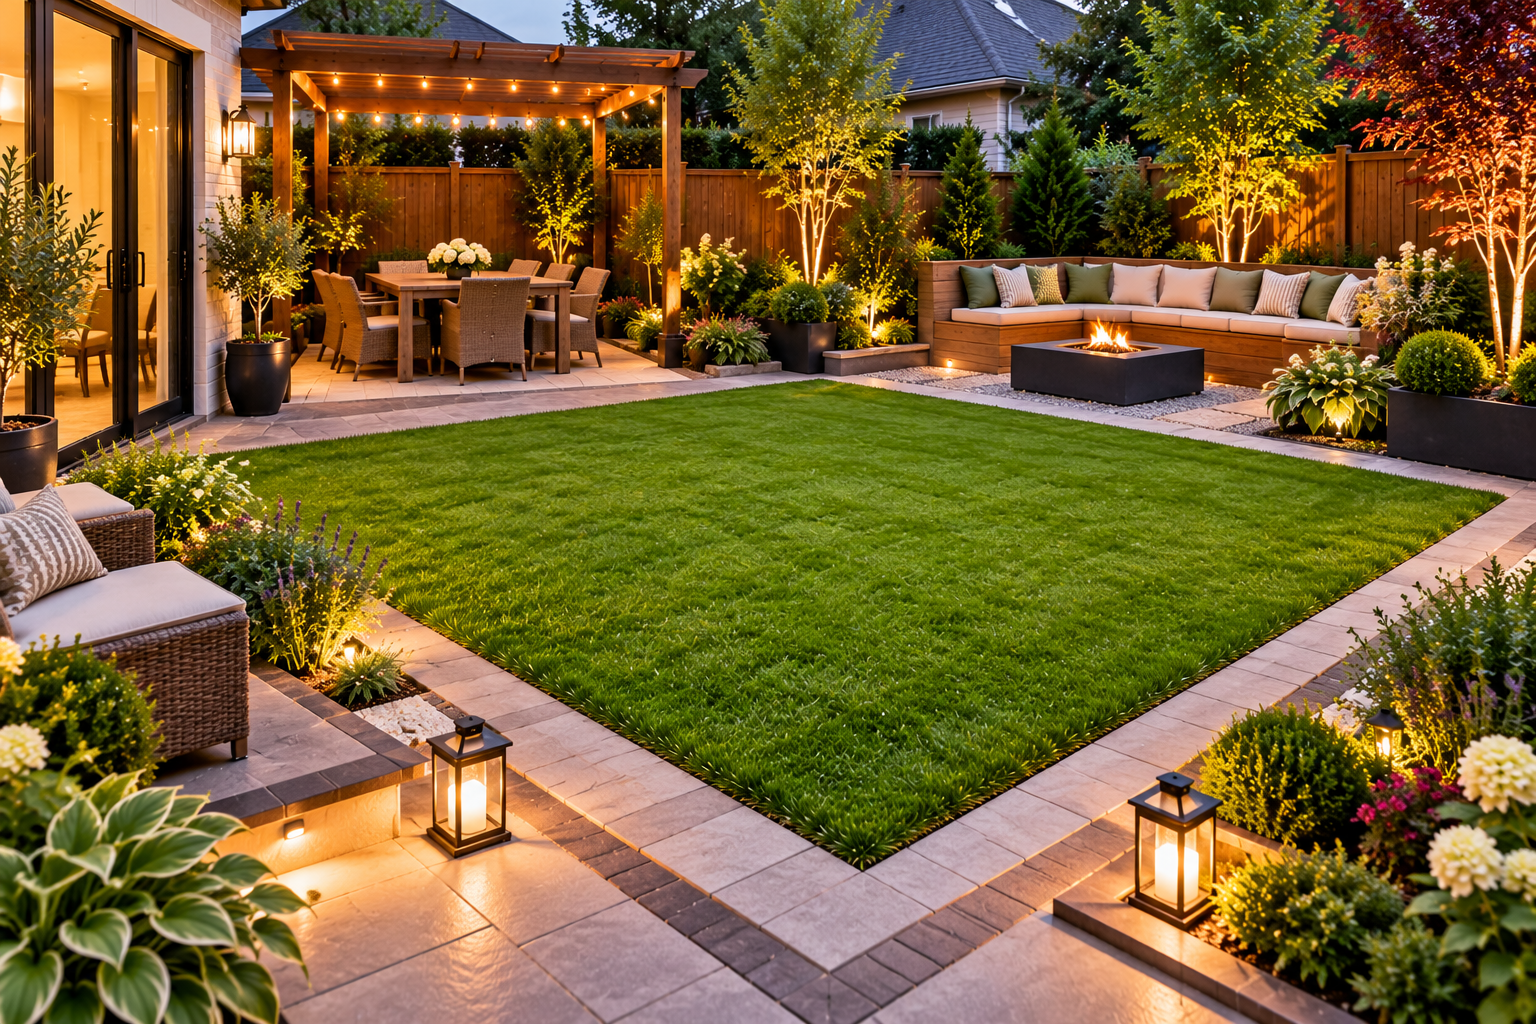
Most lawns are designed by default. The builder rolls out sod to the property lines, the mower follows the outline, and years later the yard is a green rectangle with a tree dropped in and a patch by the fence where grass never took. Landscaping a lawn rarely means adding more. It usually means deciding which parts of the grass earn their place and giving the rest a different job.
That decision gets easier once you stop looking at the yard as one surface. A strip nobody walks on, a corner that floods after rain, and a front yard too small to justify a mower all call for different answers. The fifteen ideas below are grouped by where they apply: planning, backyards, small front yards, walkways, and corner lots with trees. Each one includes the situation it suits and the situation where it fails.
Start With a Plan Before You Cut Any Sod
1. Divide the Lawn Into Zones Based on How It’s Used
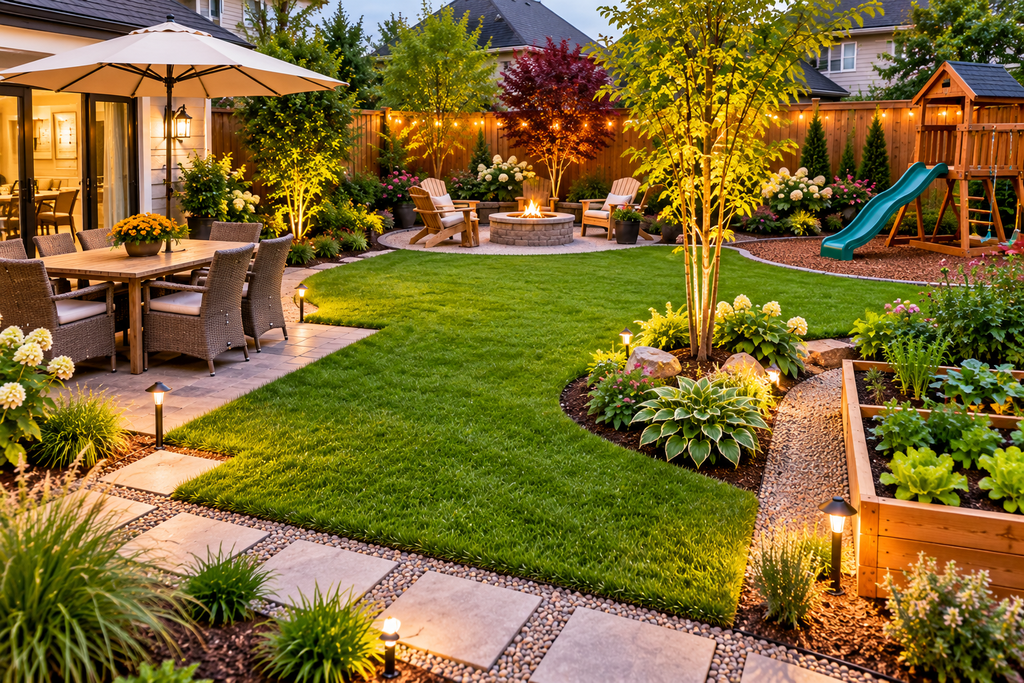
Walk the yard and mark three things on a rough sketch: where people walk or play, where the grass struggles, and where the grass is never touched. These tend to be three different areas.
- Use zones: the route to the back door, the spot where kids or dogs play, the area around a fire pit. Grass handles foot traffic better than most ground covers, so these zones are the best candidates to keep as lawn.
- Look zones: the strip visible from the street or from a kitchen window. These matter for appearance but not for wear, so they can be turf, a planting bed, or a mix.
- Ignore zones: side yards, the back corner behind the shed, narrow strips along fences. These are the best candidates to replace, because you’re paying for water, mowing, and fertilizer on grass nobody uses.
Add a few measurements while you’re out there. Note how many hours of direct sun each area gets (full sun is generally six or more hours), where water collects after a heavy rain, and where the soil is bare or compacted. Those notes decide which of the later ideas will work, and a plan built on them avoids the most common mistake: planting a sun-loving design in a spot that sits in shade by 2 p.m.
Before any digging, call 811, the national call-before-you-dig number in the United States. Utilities will mark buried lines for free, and it matters most if you’re planting trees, setting posts, or digging a large bed. Also check your HOA rules or local ordinances if you have them. Some cover front-yard lawn percentage, fence height, or tree placement, and it’s much cheaper to find that out first.
2. Cut a Defined Bed Into the Edge Instead of Starting in the Middle
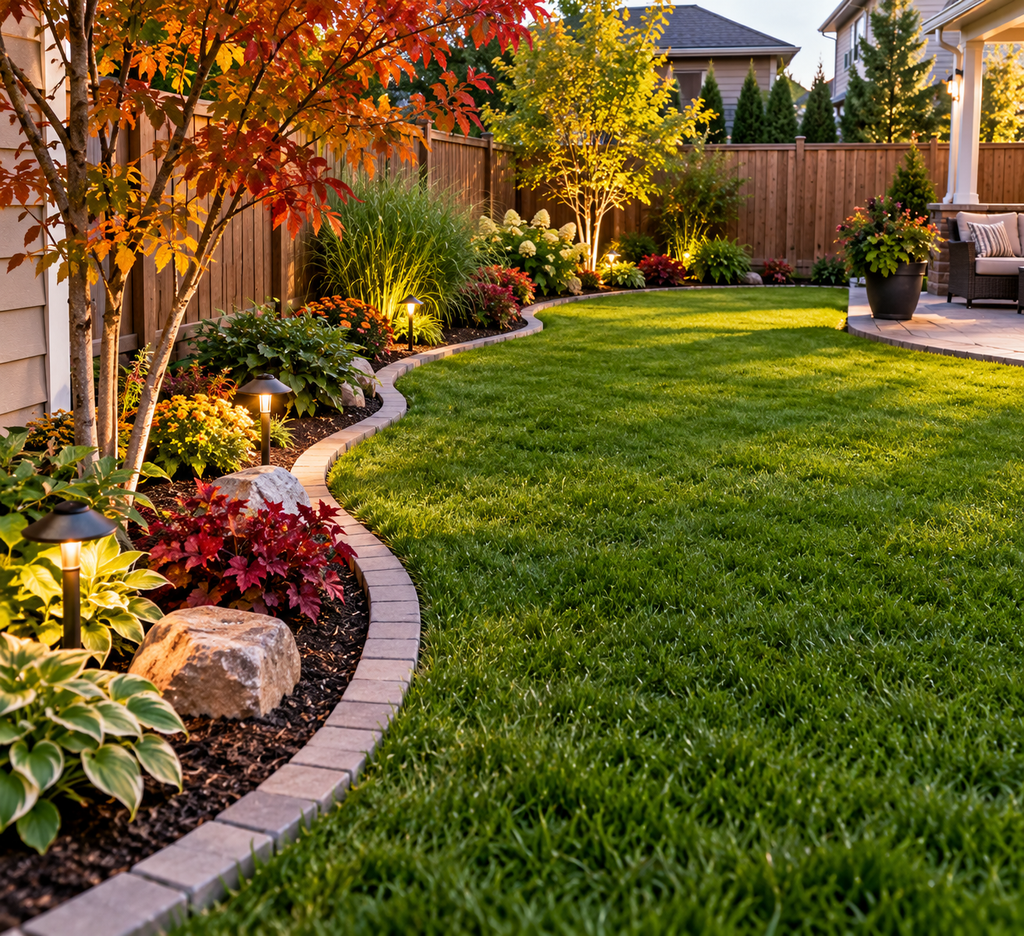
Beds carved out of the middle of a lawn create awkward mowing paths and often look like islands floating in grass. Beds that grow out of an existing edge, such as a fence, a house wall, or a property line, read as part of the design and leave a larger, more usable open lawn.
Make the bed deep enough to plant in layers. A bed only 18 inches deep can hold a single row of plants. One that runs 4 to 6 feet deep can hold taller shrubs at the back, mid-height perennials in the middle, and low plants at the front. Curved edges look more natural, but they should be gentle. A mower cannot follow tight scallops, so you end up trimming by hand every week.
To mark the shape, lay a garden hose or rope on the lawn and adjust it until the curve looks right from the windows you look out of most often. Leave it down for a day or two before cutting.
You have a few options for removing the grass:
- Cutting sod by hand or with a rented sod cutter is the fastest. Sod can be composted or reused to patch bare spots elsewhere.
- Sheet mulching means covering the grass with overlapping cardboard (tape and labels removed) and topping it with 3 to 4 inches of mulch or compost. The grass dies from lack of light. This takes several months, so fall is a convenient time to start for spring planting.
- Solarizing means covering mowed, watered grass with clear plastic during hot, sunny weather. It generally takes several weeks and works best in climates with strong summer sun. Check with your local extension office for timing in your region.
- Herbicide is the option some people choose. If you use it, follow the label exactly, keep children and pets off treated areas for the stated period, and avoid applying before rain or on windy days.
Backyard Lawn Landscaping Ideas
3. Build an Outdoor “Room” by Putting a Hard Edge Around the Lawn
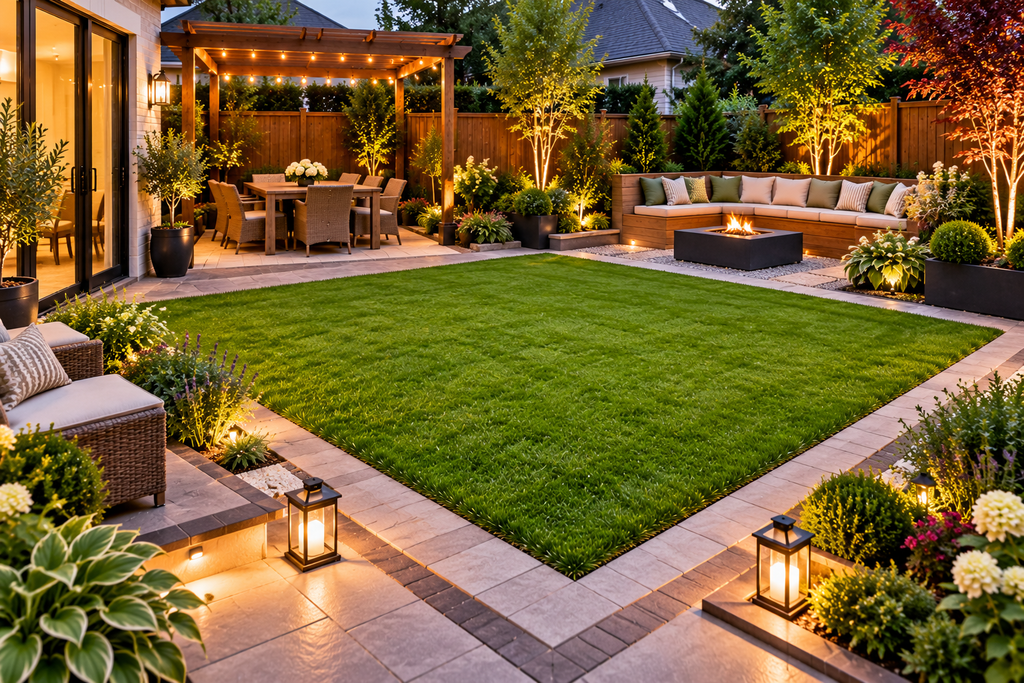
Backyards often feel larger and more intentional when one area is clearly defined. A patio, gravel seating area, or paver terrace next to the lawn gives the eye a boundary and gives you a place to put furniture that doesn’t sit on grass.
Hard surfaces and lawns meet awkwardly if you skip the edge. A strip of flat pavers, brick, or stone set slightly below grass level creates what’s often called a mow strip: the mower wheel rides on it, and no one needs to trim by hand. It usually runs 6 to 12 inches wide. Set the strip on a compacted gravel base so it doesn’t heave or sink within a couple of seasons.
Be realistic about drainage. Paving sheds water, and if the patio slopes toward the house or into the lawn without a plan, the grass at the low end can stay soggy. A slight slope away from the house, commonly cited at about 1/8 to 1/4 inch per foot, is a typical target for patios, but local conditions vary. If you’re pouring or laying anything large, get a quote from a landscaper or a mason rather than guessing.
4. Reshape the Lawn So It Follows a Mowing Line, Not a Fence Line
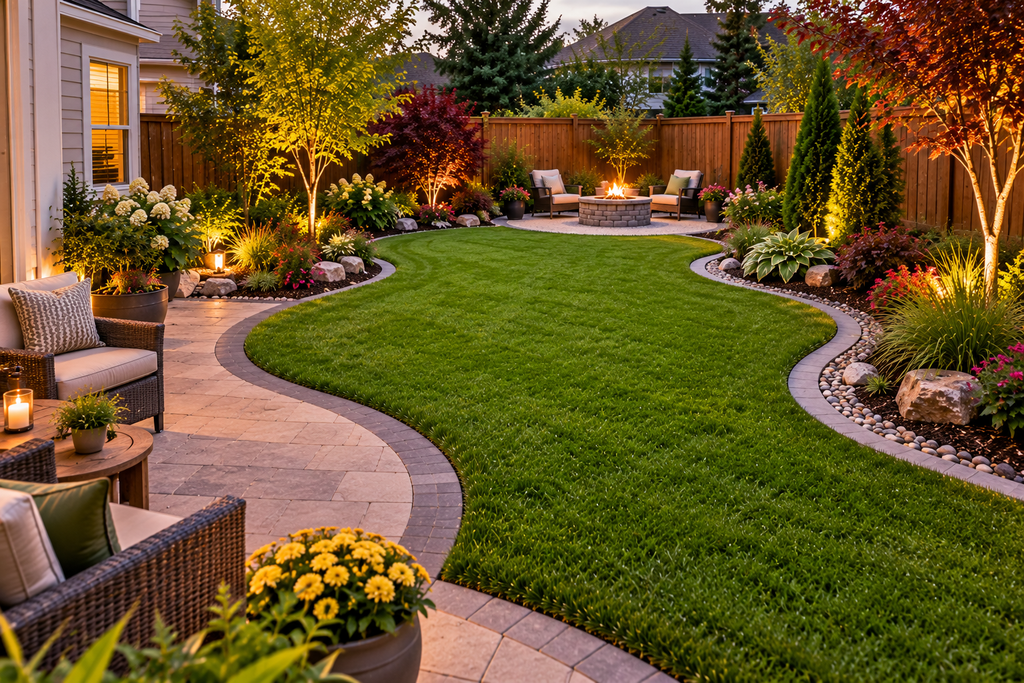
When the lawn is simply whatever is left after beds and patios are placed, the result is often a collection of odd corners. Flip the process. Decide on the lawn shape first, then fill in the rest.
A simple rule of thumb is to design the lawn as a clear, mowable shape (a rounded rectangle, an oval, or a gentle kidney) and surround it with beds, trees, or hardscape. This reduces the number of tight turns and removes dead-end grass pockets that require string trimming.
The tradeoff is that you lose some grass area. If your family uses the whole yard for play, a smaller lawn may feel like a step backward. In that case, keep the lawn larger and use the edging to shape it rather than to shrink it.
5. Add a Stepping-Stone Path Through the Lawn Where Feet Already Go
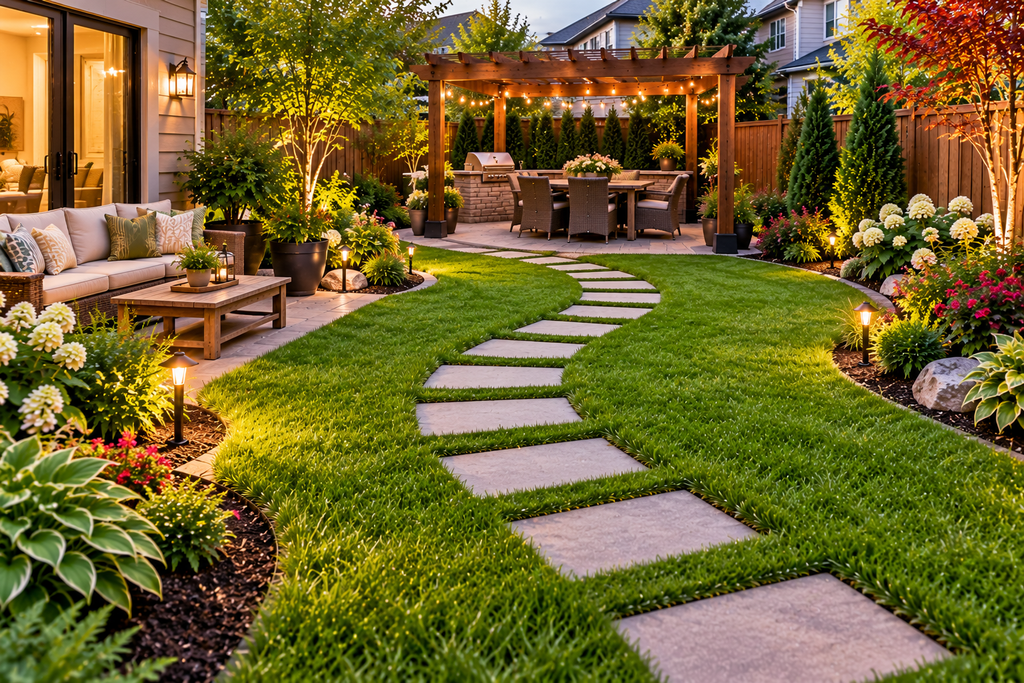
Look for the worn line across the grass, the shortcut from the back door to the shed or the garden gate. That bare strip is the yard telling you where a path belongs. Turf under constant foot traffic gets compacted, thins out, and stays patchy no matter how much seed or fertilizer you add.
Stepping stones solve this without turning the yard into a big hardscape project. Flat stones roughly 18 to 24 inches wide work well. Space them so a normal stride lands in the middle of each one, which is often around 24 to 28 inches center to center, though you should adjust for the shortest person who’ll use the path. Test the layout by walking it before you commit.
For the best result, set each stone slightly below the surrounding grass so the mower can pass over it, bedding it on a couple of inches of sand or fine gravel. Stones sitting proud of the surface are a tripping and mowing hazard. If the path is used at night, small low-voltage lights along one side add a margin of safety.
6. Turn the Tree Zone Into a Shade Garden Instead of Fighting for Grass
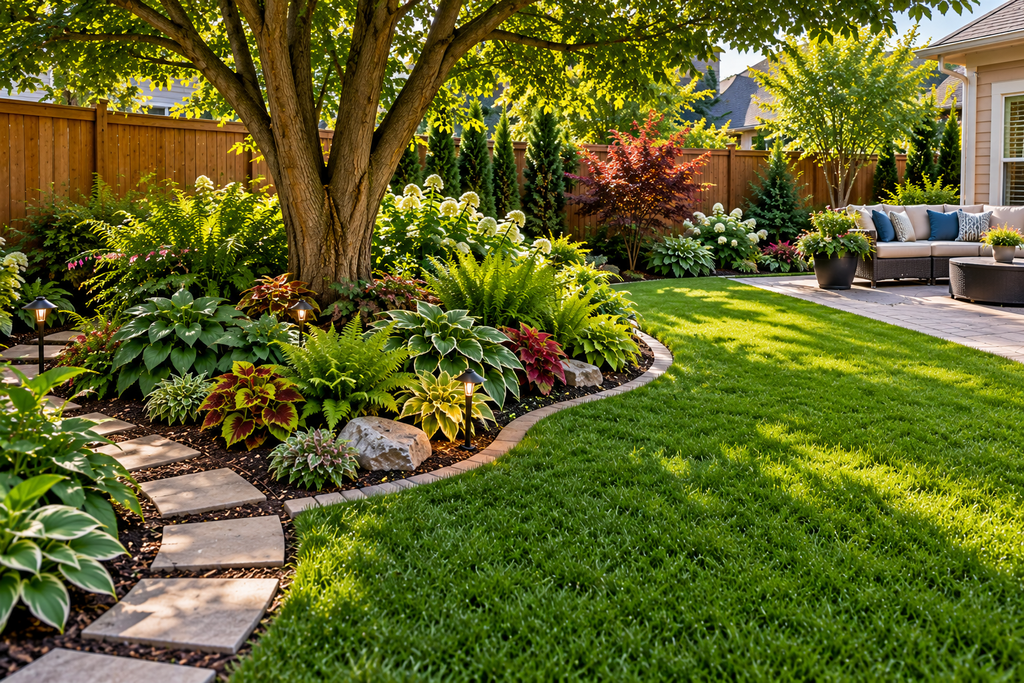
Grass beneath a mature tree is a losing battle in many yards. Shade reduces photosynthesis, and the tree’s roots take most of the water and nutrients near the surface. Over-seeding the area each spring tends to produce thin, mossy turf.
A better option is to replace the struggling grass with a mulched bed of shade-tolerant plants such as hostas, ferns, hellebores, or native woodland perennials, depending on your region. A few cautions apply:
- Keep mulch 2 to 3 inches deep and pull it back from the trunk so it doesn’t touch the bark. Mulch piled against the trunk holds moisture against the bark and can encourage rot and pests.
- Avoid adding much soil on top of existing roots. Even a few inches of fill soil can stress some tree species by limiting oxygen to the roots. Plant small plants into the existing soil and add mulch around them instead.
- Don’t cut large roots to make planting holes. Dig by hand and work around them.
For a tree with a wide canopy, a bed shaped as a broad circle or an oval that extends beyond the drip line (the outer edge of the branches) gives the planting enough room and looks better than a tiny ring around the trunk.
7. Put a Rain Garden in the Spot That Stays Wet
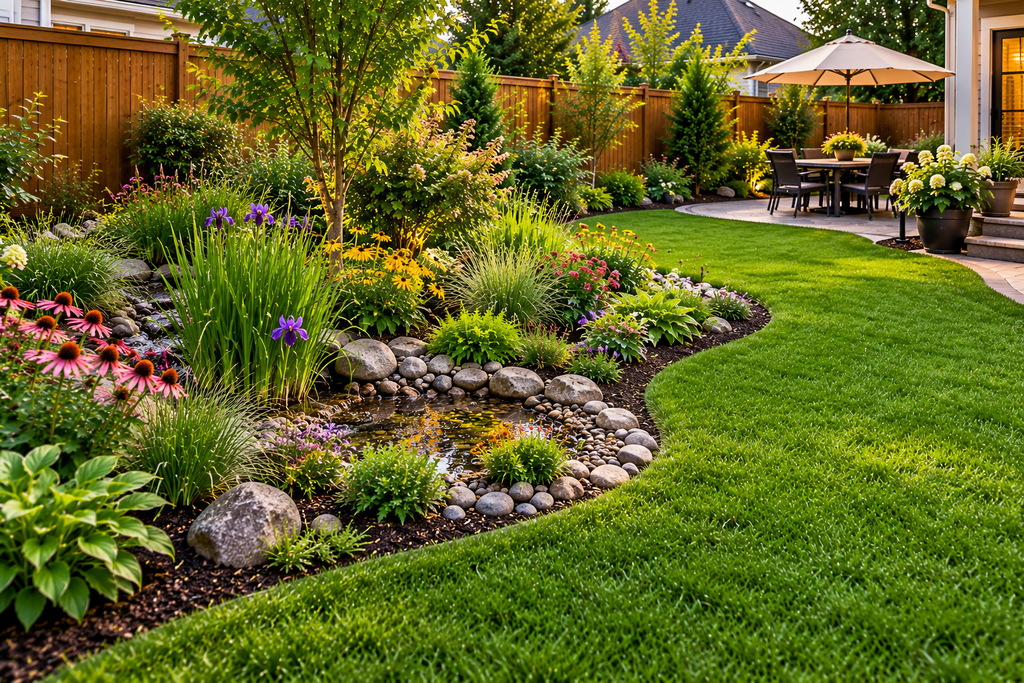
Every yard has one: the low area where water sits after a storm and the grass either turns to mud or yellows from saturation. Rather than trying to drain it away, you can plant it to absorb the water.
A rain garden is a shallow depression planted with species that tolerate periodic flooding and also survive dry spells. Many university extension offices publish regional plant lists, and native plants are usually the best choice because they’re adapted to local rainfall and soil. Common guidance suggests placing a rain garden at least 10 feet from a building foundation so infiltrating water doesn’t seep toward the basement, and away from septic systems and wells. Confirm distances and requirements with your local extension office or municipality before digging.
A rain garden doesn’t solve every wet-yard problem. If water stays for days because of heavy clay or a high water table, the garden may not drain properly, and the plants may rot. A simple test is to dig a hole about a foot deep, fill it with water, and see how long it takes to drain. Water that’s still sitting after 24 to 48 hours suggests the site needs amendment or a different solution, such as a drainage professional’s assessment.
8. Replace Low-Traffic Patches With a Lawn Alternative
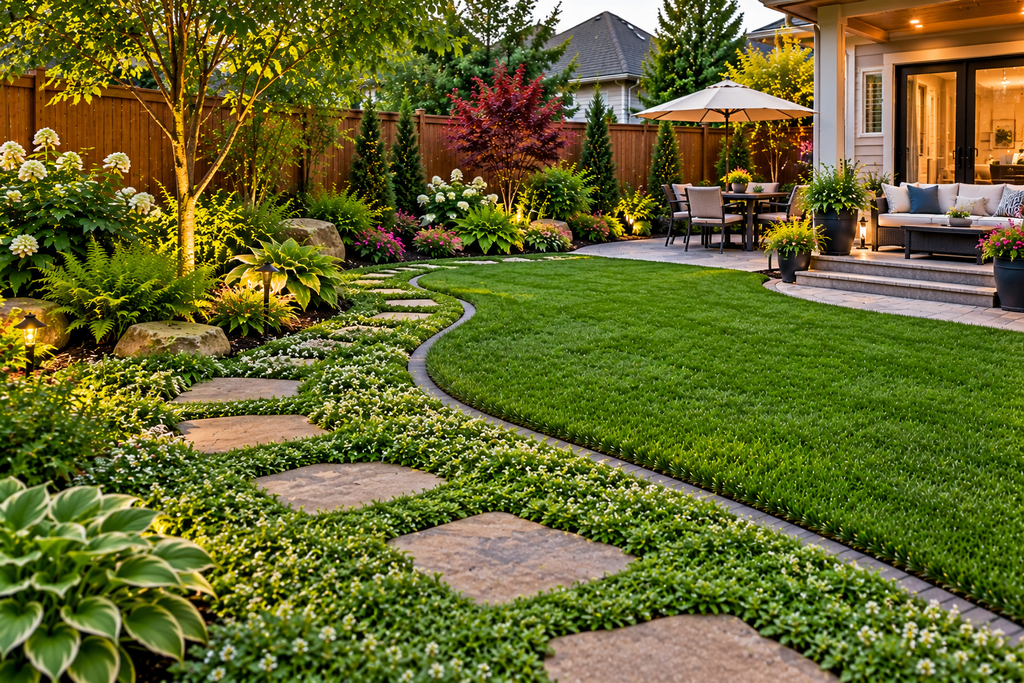
Not every part of a lawn needs to be Kentucky bluegrass or Bermuda. In areas that don’t get heavy use, a lower-maintenance ground cover can take its place and reduce mowing and watering.
Options depend on climate and sun:
- Microclover is sometimes mixed into turf or used on its own. It tends to stay greener in drought than many grasses and doesn’t need as much nitrogen. If clover flowers are left to bloom, bees will visit, which is a concern for barefoot play areas.
- Creeping thyme works in sunny, well-drained spots and tolerates light foot traffic. It’s less suitable for areas that stay wet.
- Sedum and other low succulents do well in hot, dry sites but dislike heavy traffic.
- Native sedges suit part-shade areas in some regions and can be mowed occasionally or left to grow.
Whichever you choose, treat it as an experiment in a small area first. Ground covers often take a full season or two to fill in, and weeds will compete until they do. Mulching between plants and hand-weeding during establishment makes a big difference. Don’t expect any of these to behave exactly like a conventional lawn. They look and wear differently, and some need periodic replanting of bare spots.
Small Front Yard Lawn Landscaping Ideas
9. Shrink the Lawn Into a Clean Panel and Let Borders Do the Rest
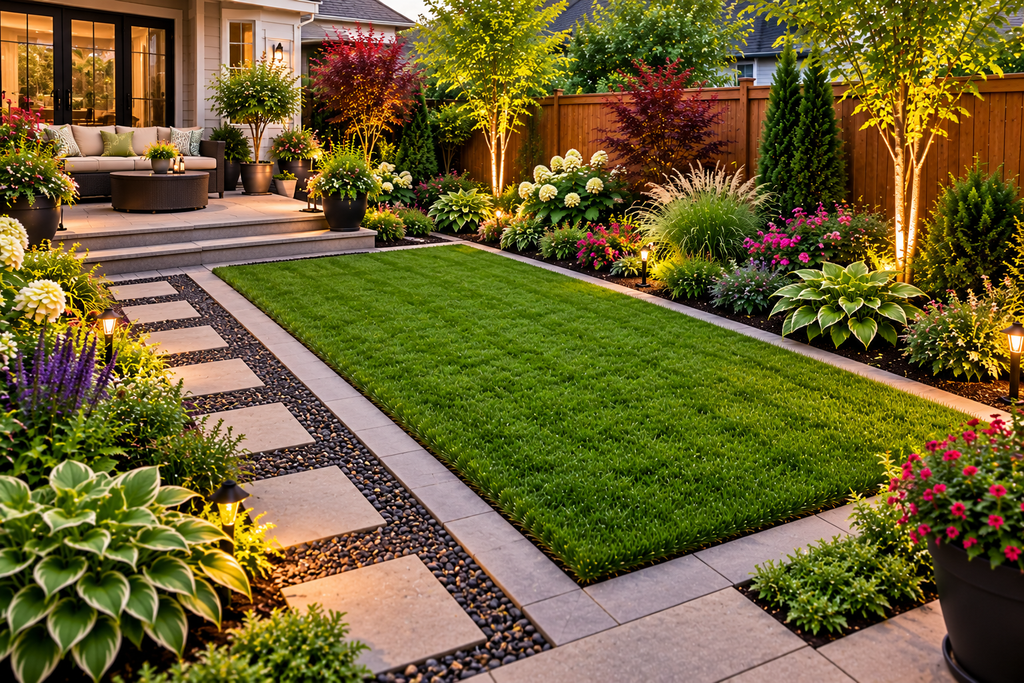
In a small front yard, a thin lawn wrapped by uneven garden beds can look cluttered. A tidier approach is to keep one clean rectangle or gentle curve of grass and frame it with planting beds on the sides.
This works because the lawn becomes a calm surface that makes the surrounding plants stand out. It also cuts back on mowing and edging. A small lawn might take only a few minutes to cut, which means a manual reel mower or a battery mower becomes practical.
One note on proportions: very narrow lawns, under about 4 or 5 feet wide, are hard to mow neatly and tend to look like a strip of leftover grass. If your lawn is that narrow, it may be better to remove it entirely and plant it as a bed or ground cover with a path through it.
10. Layer Foundation Plantings With Evergreen Structure
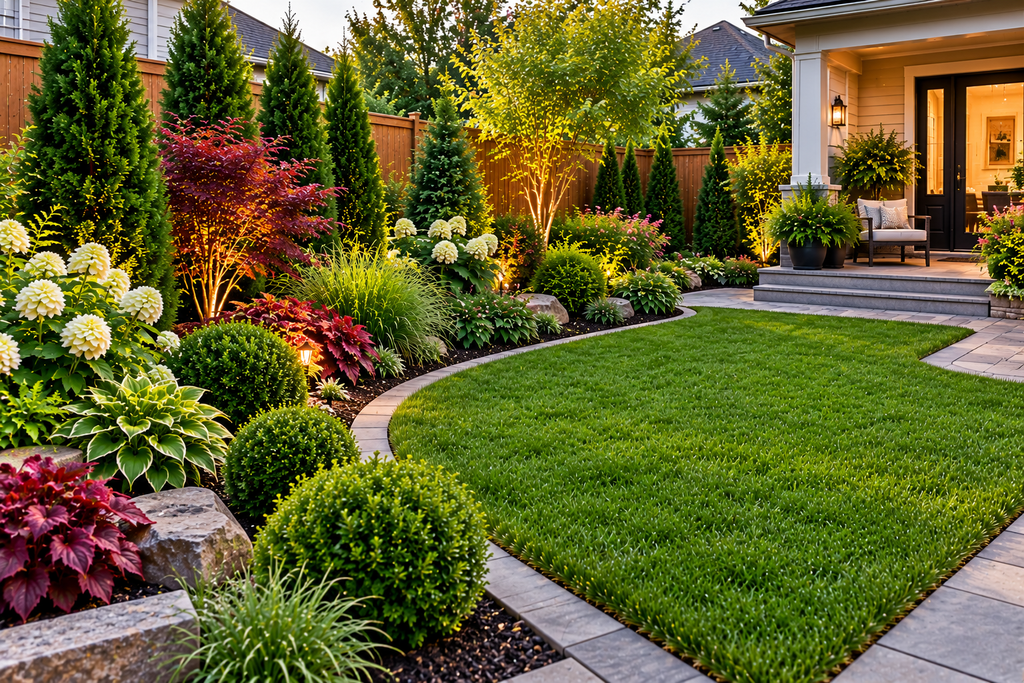
The planting against the front of the house sets the tone for the whole yard, and it tends to be the part most people get wrong. Common problems include plants too large for the space, a single row of identical shrubs, and no winter interest.
A layered approach tends to look better and function better:
- Back layer (closest to the house): taller evergreen or deciduous shrubs, positioned far enough from the wall that mature branches won’t press against siding. Check the plant tag for mature width and plant at least half that distance from the foundation.
- Middle layer: medium shrubs and ornamental grasses that add texture.
- Front layer: low perennials, groundcovers, or edging plants that soften the bed’s border.
Evergreens such as boxwood, holly, juniper, or dwarf conifers keep the bed looking intentional in winter, when perennials have died back. Choose varieties rated for your hardiness zone, which you can look up using the USDA Plant Hardiness Zone Map. Be wary of plants sold as “dwarf” without a stated mature size. That term is relative, and some labeled dwarf cultivars still reach 6 feet or more.
Under roof overhangs, remember that rain often doesn’t reach the soil near the wall. Plants placed there may need supplemental watering even in wet weather.
11. Use Groundcover on Slopes and in Deep Shade Where Mowing Is Awkward
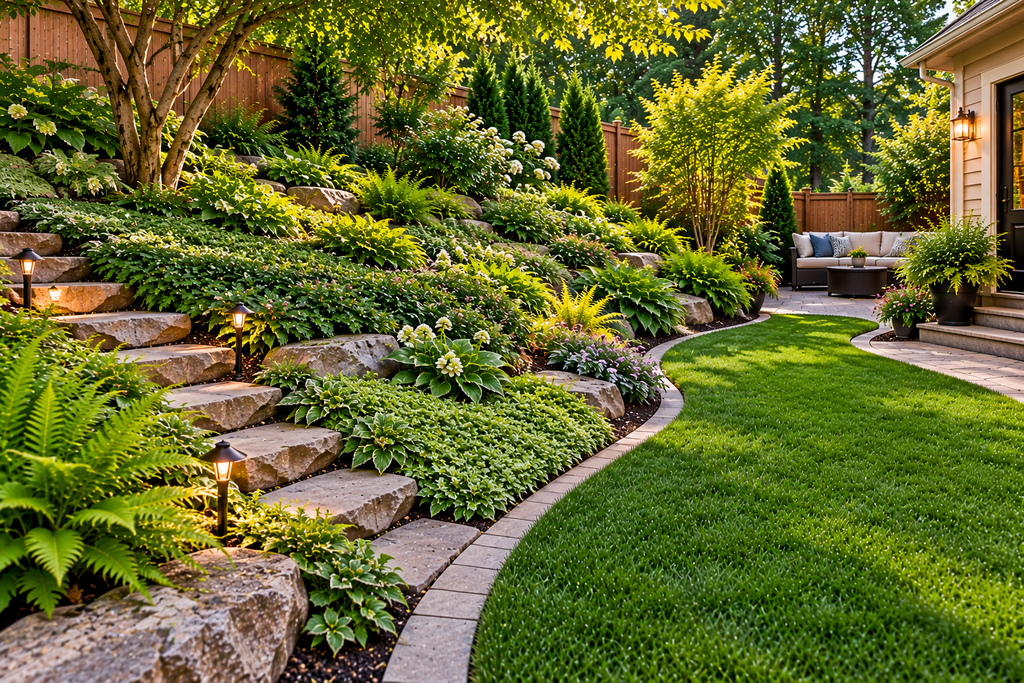
A small front yard with a slope or a shaded corner is difficult to mow safely. Steep slopes make mowers harder to control, and manufacturers specify slope limits in the owner’s manual. Check yours before mowing any incline.
Ground covers such as creeping juniper (sun), pachysandra or vinca (shade), or native wild ginger (shade in some regions) can hold soil in place and cut down on mowing. Their root systems also help reduce erosion on a slope.
Some caveats apply. Several popular ground covers, including English ivy and vinca, are considered invasive in parts of the United States. Check your state’s invasive species list or ask a local nursery before buying. Also plan for weed control during the first year. Landscape fabric is often recommended, but over time it can interfere with spreading plants and trap mulch. A thicker layer of mulch and diligent hand-weeding is a more flexible approach for most home gardens.
Walkway Ideas That Connect the Lawn to the House
12. Make the Front Walk Wide Enough for Two People
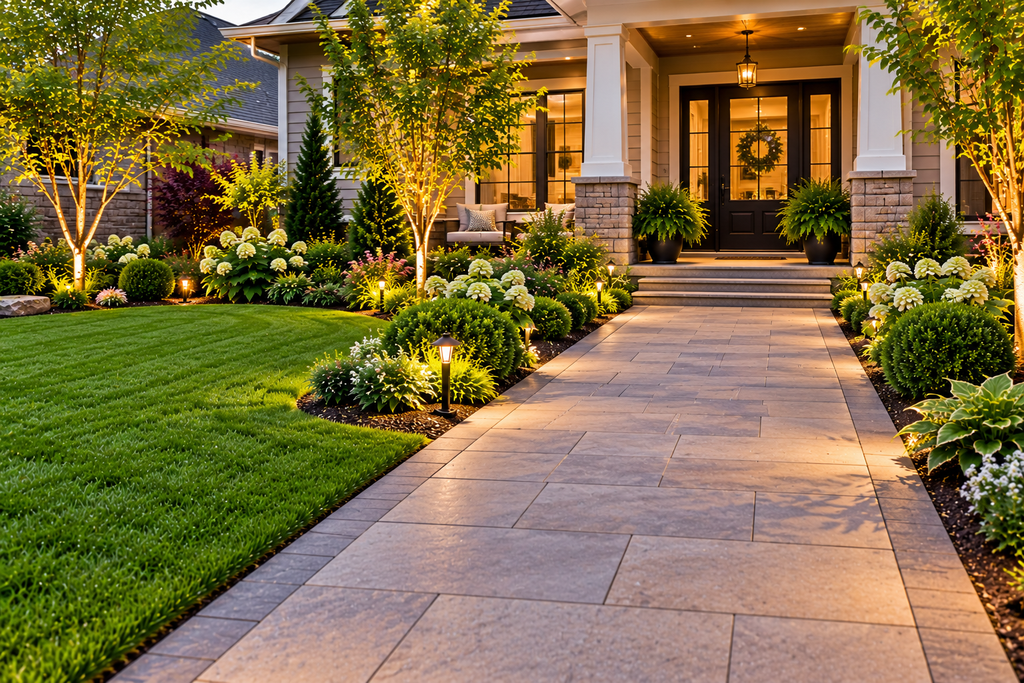
A narrow walkway is one of the most common front-yard problems. Many builder-installed walks are 36 inches wide, which fits one person comfortably but forces a second person to walk on the grass. A width of 48 inches is a more comfortable choice for a main entry walk, wide enough for two people to walk side by side or for someone to carry groceries without brushing the plants.
Widening an existing concrete walkway is a bigger job, but you can often add a border of pavers, brick, or stone along one side to increase the width without breaking out the old surface. Match the material to the style of the house. Brick and natural stone suit traditional homes, while large-format concrete pavers fit more modern ones.
The walkway’s path matters too. A straight line from the driveway or street to the front door is the most direct, and in a small yard it’s often the best choice. In a larger yard, a gentle curve can lengthen the approach and give the plantings room, but a curve with no obvious reason, such as an obstacle to bend around, can feel arbitrary.
If you’re adding or changing a walkway near a sidewalk, driveway apron, or public right-of-way, check local rules before building. Some municipalities regulate materials, slopes, or drainage at the street edge.
13. Soften the Path With Low Plantings and Warm Lighting
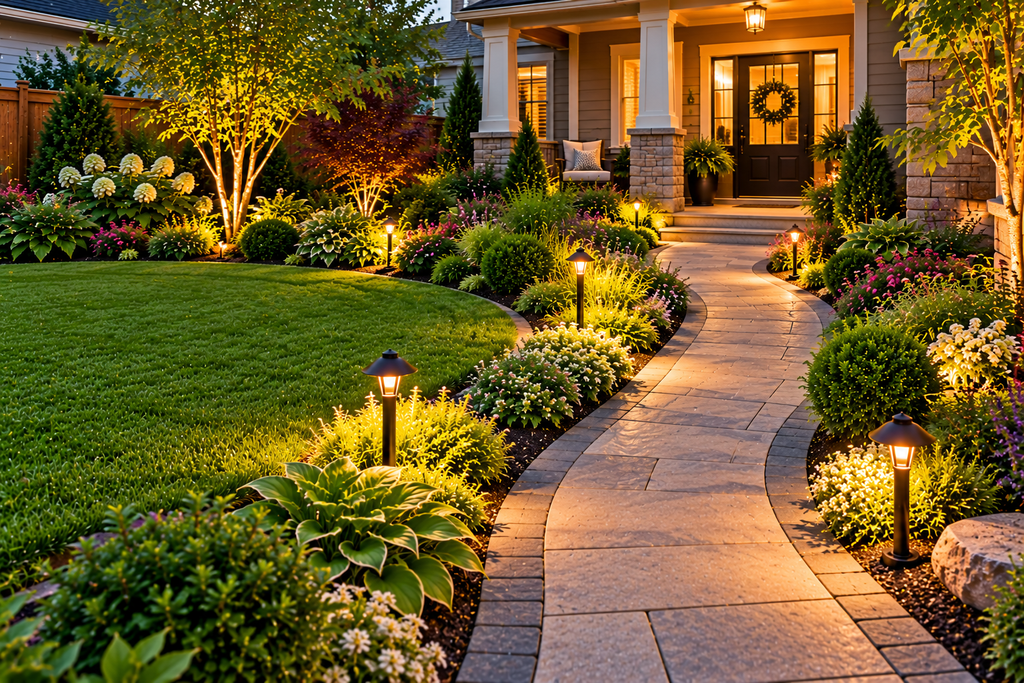
Hard edges along a walkway can look stark. Low plants along the borders break up the straight lines, but placement matters. Plants that spill onto the path, like lavender, catmint, or creeping phlox, add charm when they grow only a few inches over the edge. Left unchecked, they can reduce the usable width and make the path slippery when wet.
Plan for each plant’s mature size, then set the bed edge back far enough that the plant can reach full width without crowding the walk. Avoid thorny plants (some roses, barberry, pyracantha) right at the edge, particularly where children, dogs, or delivery people walk.
For lighting, low-voltage path lights are common and easy to install without running high-voltage wiring, but they should be placed with care. Stagger them rather than lining them up evenly on both sides, and choose warm-toned bulbs that light the ground without glare. Solar lights are simple to install but vary a lot in brightness and battery life. They may fade during winter or cloudy weeks in some regions. If you’re working with line-voltage wiring for any outdoor lighting, hire a licensed electrician and make sure fixtures and cables are rated for outdoor use.
Front Lawn and Corner Lot Tree Ideas
14. Choose the Corner Tree for Its Mature Size and Its Sight Lines
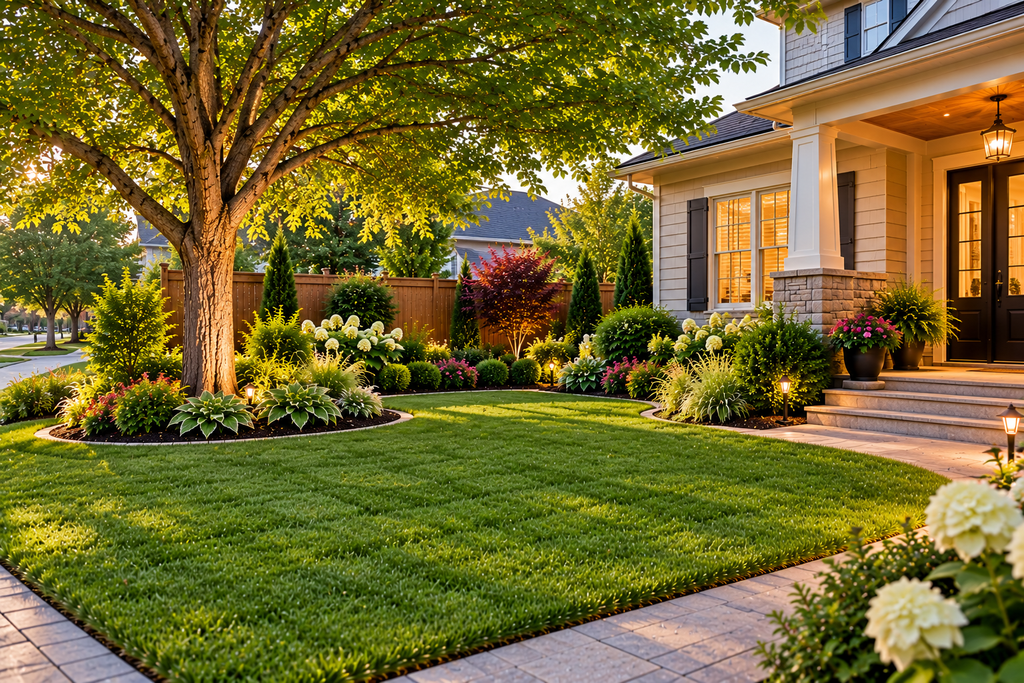
Corner lots have a particular challenge. The tree you plant affects not only the look of your yard but also what drivers can see at the intersection. Many cities require clear visibility near corners, often in a triangle-shaped area at the intersection. The height limit for plantings in that area is commonly low, but the exact rules vary by municipality. Check your local zoning or public works office before choosing a tree or large shrub for the corner.
Beyond sight lines, consider the tree’s mature size relative to the house, sidewalk, and overhead utilities. Planting a large shade tree such as a maple or oak very close to the house, sidewalk, or power lines often leads to problems later: roots lifting pavement, branches reaching wires, or heavy limbs overhanging the roof. As a general guide, small ornamental trees (such as serviceberry, redbud, or dogwood, depending on your region) are often placed about 10 to 15 feet from a house, while large shade trees are typically set farther away, often 20 to 30 feet or more. Mature size varies by species, so check the tag or ask a nursery.
When planting, dig a wide hole, about two to three times the width of the root ball but no deeper, and set the tree so the root flare (where the trunk widens at the base) sits at or just above ground level. Planting too deep is a frequent cause of slow decline. Stake only if the tree can’t stand on its own, and remove stakes after about a year so the trunk develops strength. Water deeply and regularly for the first couple of seasons.
If you’re unsure about a tree’s placement relative to power lines, sewer lines, or the street, contact the utility company or a certified arborist. The International Society of Arboriculture maintains a directory of certified arborists in the United States.
15. Anchor the Corner With a Planted Island Instead of a Lone Tree
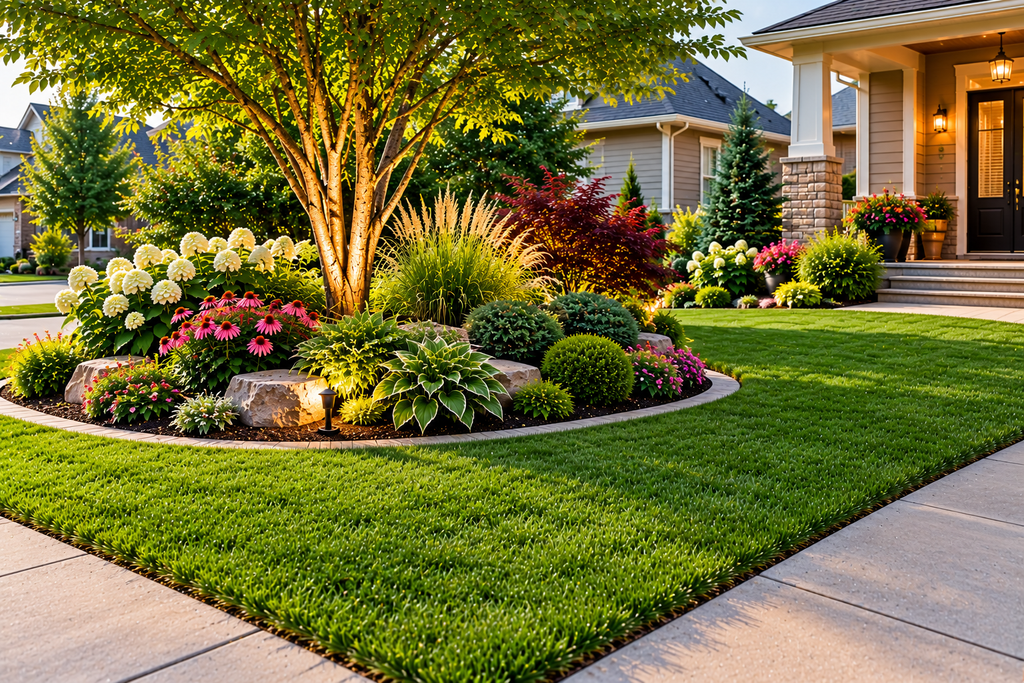
A single tree surrounded by lawn is easy to plant but often looks stranded. It also forces mowers to circle the trunk, and string trimmers can damage the bark, which opens the tree to disease and pests. A planted island solves both problems.
Build a bed around the tree large enough to look intentional. A circle or gentle oval with a diameter of 6 to 10 feet works for a small tree, and larger for a bigger one. Fill it with a layered mix:
- A small tree or multi-stem tree as the high point, positioned off-center for a more natural look.
- A few medium shrubs, such as hydrangea, viburnum, or spirea, chosen for your climate, with attention to their mature width.
- Perennials and ornamental grasses at the edge to add seasonal color and movement.
- Spring bulbs under the plants if your climate suits them.
Keep the plantings low near the street side if sight lines are a concern, and save taller elements for the side closest to the house. Mulch the bed to about 2 to 3 inches and keep it pulled back from the trunk.
An island like this also suits a corner with poor soil or foot traffic from people cutting across. If people already walk across the corner, provide a path or the plants will get trampled. A single stepping-stone path across the corner or a low border can redirect traffic.
Maintenance is the trade-off. A planted island needs weeding, mulching, and occasional pruning. If you don’t want that ongoing work, choose fewer plants and tougher species, or stick to a tree with a mulched circle and nothing else.
Common Mistakes to Avoid Before You Begin
A few errors show up repeatedly in lawn redesigns:
- Removing too much lawn at once. A large conversion in a single season means big expenses and lots of weeding while plants fill in. Phasing the work over two or three seasons spreads out cost and effort.
- Ignoring the mowing path. Every bed edge, stepping stone, and tree is something the mower must navigate. Walk the planned route with an imaginary mower before finalizing.
- Planting for the plant’s current size. Most trees and shrubs are sold small. Check mature dimensions and space accordingly.
- Forgetting about water. New plantings need regular watering for the first season or two, and they may need it even when the existing lawn doesn’t. Make sure you can reach every new bed with a hose or drip line.
- Skipping the soil. Compacted or poor soil limits root growth. A soil test through your local cooperative extension office is inexpensive and tells you about pH and nutrients so you can amend appropriately.
Questions Readers Often Ask
How much of the lawn should I replace with planting beds?
There’s no fixed percentage. A useful rule is to keep grass where people walk, play, or sit, and replace grass that’s hard to mow, shaded, sloped, or unused. For many homes that ends up being a noticeable portion of the yard, but the right amount depends on your family’s use and how much maintenance you want.
When is the best time to remove grass and start new plantings?
In many regions, fall is a good time to prepare beds and plant trees and shrubs because the soil is still warm, and cooler air reduces stress on new plants. Spring also works. Avoid planting in extreme summer heat or when the ground is frozen. Timing varies by climate, so check regional guidance from your extension office.
Do I need a permit to plant a tree or change my front yard?
Often no, but not always. Some municipalities regulate street trees, work in the public right-of-way, large hardscape additions, or corner visibility. HOAs may have their own rules. A quick call to the city or a read through HOA guidelines can prevent a costly redo.
Will a lawn alternative like clover hold up to kids and dogs?
It depends on the plant and the amount of use. Clover and some other alternatives tolerate light to moderate foot traffic but can wear thin under heavy play, and they may recover more slowly than turfgrass. They also may flower and attract bees. For a main play area, a durable turfgrass is usually the safer choice.
Key Takeaways
A good lawn landscape starts with a sketch that records how the yard is actually used, where the sun and water are, and which grass is working and which isn’t. From there, the strongest changes tend to be simple: a defined lawn shape, beds with enough depth to plant in layers, a path where feet already go, a walkway wide enough for two, and a corner tree chosen for its mature size and sight lines.
Pick one area to start with, such as the shaded patch under a tree or the worn shortcut across the grass, and finish that before expanding. Call 811 before you dig, check local rules for anything near the street, and confirm plant choices against your hardiness zone and regional extension guidance.

About Syprose Kiche
Syprose Kiche is the creator and writer behind My Besuited Home, a practical home and garden website covering DIY projects, gardening, lawn care, landscaping, home improvement, and outdoor living. She focuses on turning everyday homeowner questions into clear, practical guides backed by careful research and useful real-world considerations.