
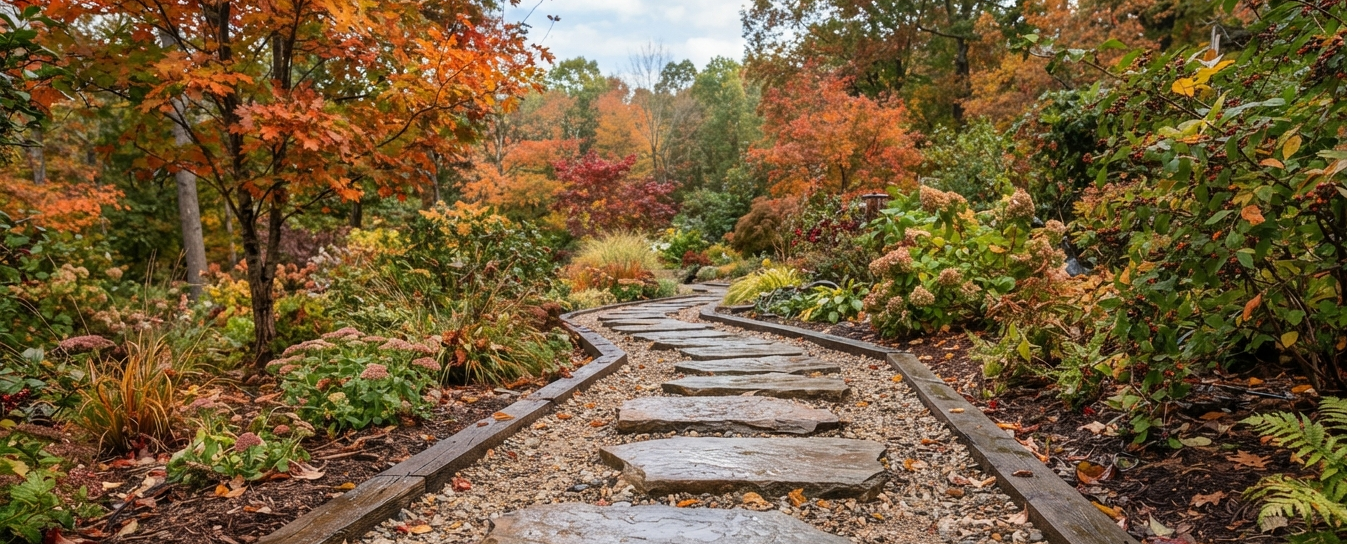
Nothing ruins a crisp October morning like stepping onto your garden path in your good boots and sinking into a puddle that’s somehow always exactly where your foot lands. Fall rain doesn’t mess around. It comes in sideways, it pools where you least expect it, and by November your once-charming stepping stone path is basically a series of tiny ponds connected by mud.
If you’ve got a path that turns into a swamp every time the sky opens up, you’re not alone, and you don’t need to rip the whole thing out and start over. I’ve fixed more soggy paths than I can count, and most of the time the problem isn’t the stone itself. It’s what’s happening (or not happening) underneath it.
Here are seven natural stone path ideas that actually move water instead of just sitting there and collecting it. One of them is a bonus trick I use on almost every project now, so keep an eye out for that one at the end.
Why Your Stone Path Floods Every Fall (The Real Culprit)
Before we get into the fixes, I want to explain why this keeps happening, because understanding the “why” will save you from making the same mistake twice.
Most DIY stone paths fail at drainage because people lay the stones directly on top of compacted soil or, even worse, straight onto clay. Clay soil holds water like a sponge that refuses to wring itself out. Rain hits it, has nowhere to go, and just sits there until it evaporates or you track it into your kitchen.
The second big mistake is grading. If your path is flat, or worse, if it dips in the middle, water has no reason to leave. It just pools. A path needs somewhere for water to go, whether that’s a gentle slope, a gravel base that lets it drain down, or gaps between stones that let it pass through instead of building up on the surface.
I learned this one the hard way. The first path I ever built for my sister’s backyard, I set flagstone right on the dirt because I was in a hurry and didn’t want to deal with hauling gravel. That fall, her path turned into a series of stepping-stone islands in a lake of mud. I had to rip the whole thing up in November, in the cold, because I skipped a step that would’ve taken me an extra weekend. Don’t be past-me.
1. French Drain Border Alongside a Flagstone Path
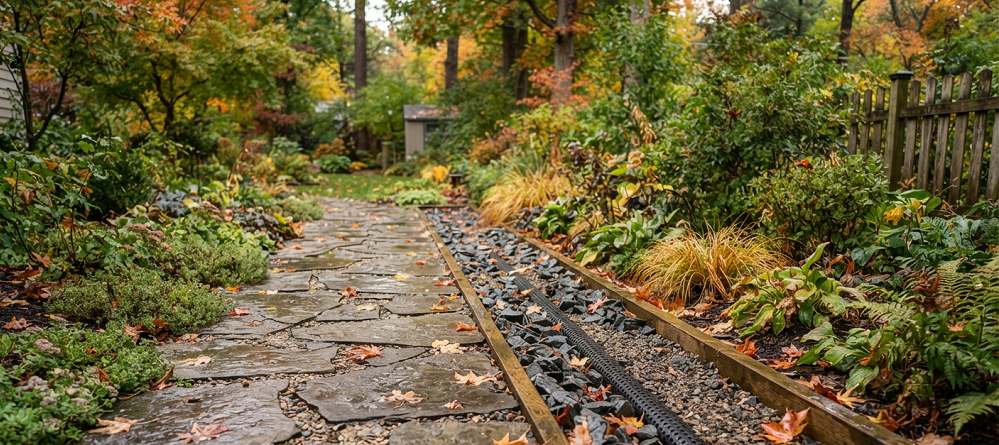
This is my go-to move when a client’s yard has serious water flow during storms, not just puddling. A French drain is basically a gravel-filled trench with a perforated pipe underneath that catches water and carries it somewhere it won’t cause problems, like a dry well or a lower part of the yard.
You dig a trench along the low side of your path, about 18 to 24 inches deep, lay down landscape fabric, drop in the perforated pipe, and backfill with gravel. Then you set your flagstone path right alongside it, sloping the path slightly toward the drain so water has an obvious place to go.
The reason this works so well for fall specifically is that autumn rain tends to come in longer, steadier soaks rather than short bursts, and that means the ground gets saturated fast. A French drain keeps pulling water away even after the storm has passed, which regular gravel bases can’t always keep up with on their own.
Quick heads up: this is a weekend-long project, not an afternoon one. If your yard floods badly every fall, though, it’s worth the extra labor. I’ve had clients tell me this is the single upgrade that finally stopped their basement from smelling like a damp cave every October.
2. Permeable Paver-Style Stepping Stones With Wide Gravel Joints
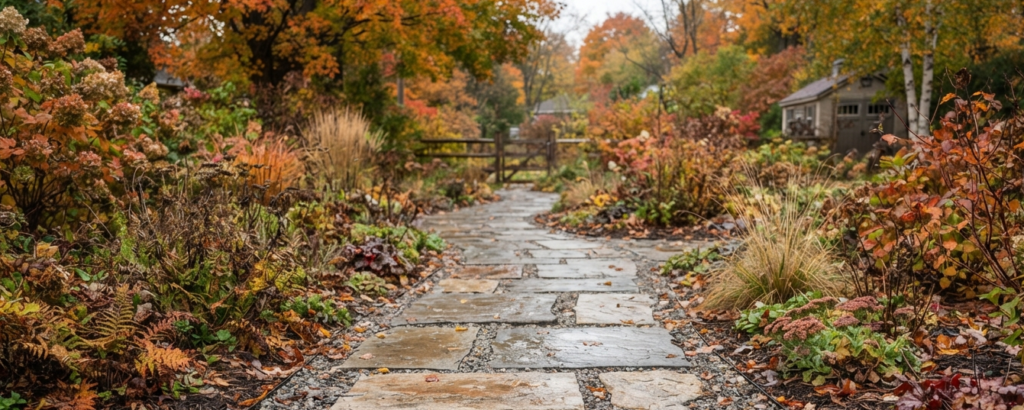
I’ve found that people get way too hung up on fitting stones tightly together, like they’re doing a puzzle. For fall drainage, you actually want the opposite. Wide joints between stones, filled with pea gravel or crushed granite, let water pass straight through the surface instead of running off and pooling somewhere else.
Here’s how I lay these out:
- Space your stepping stones 2 to 4 inches apart instead of the usual snug fit.
- Dig each stone bed about 4 inches deep and fill with a compactable gravel base before setting the stone.
- Fill the gaps between stones with pea gravel, leaving the top of the stone slightly proud (higher) so water sheds off the surface into the gravel joints.
- Tamp everything down so it doesn’t shift when you walk on it.
This method is honestly one of the easiest DIY updates for an existing path that’s already flooding. You don’t have to demolish anything. You can often just widen the existing joints, scoop out a bit of soil, and backfill with gravel.
The look is also great for a natural, cottage-garden feel. I’ve done this in a client’s shade garden where hostas and ferns were spilling over the edges, and the wide gravel joints made the whole path feel intentional instead of like an afterthought.
3. Crushed Stone Base With a Crowned Center (The Old-School Fix That Still Works)
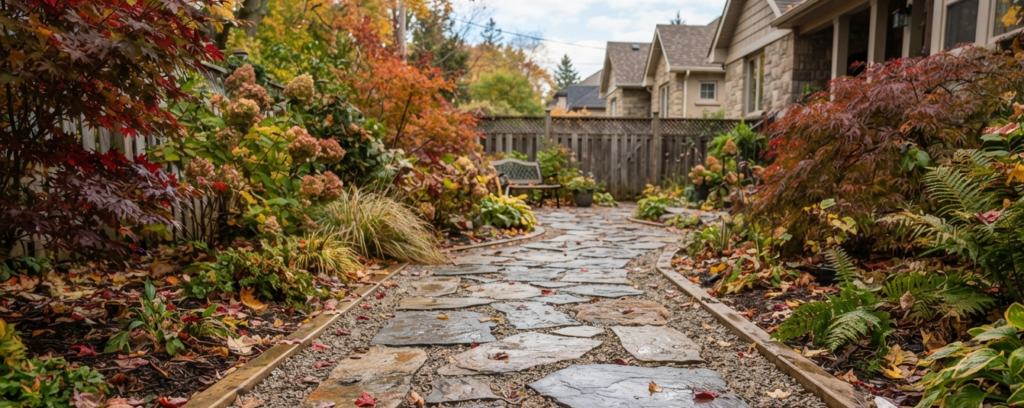
This is the boring, unglamorous fix, and it’s also one of the most effective ones. A “crowned” path is slightly higher in the middle and slopes down toward both edges, similar to how a country road is built so water runs off instead of collecting in the middle.
To build this, you excavate your path area about 6 to 8 inches deep, lay a base of crushed stone (three-quarter inch minus works well because the smaller particles compact tightly), and shape it so the center sits about half an inch to an inch higher than the edges. Then you set your natural stone on top, following that same gentle crown.
I’ve used this method on long, straight paths especially, like the one running from a client’s back door to her detached garage. That kind of path handles a lot of daily foot traffic, and a crown keeps it dry enough to actually use in the rain without you doing that awkward tiptoe-around-puddles walk.
One thing people mess up: they crown the path too aggressively and it ends up looking like a speed bump. Keep the slope subtle. You should barely notice it visually, but your feet (and the rainwater) will notice it plenty.
4. Dry Creek Bed Running Alongside or Through the Path
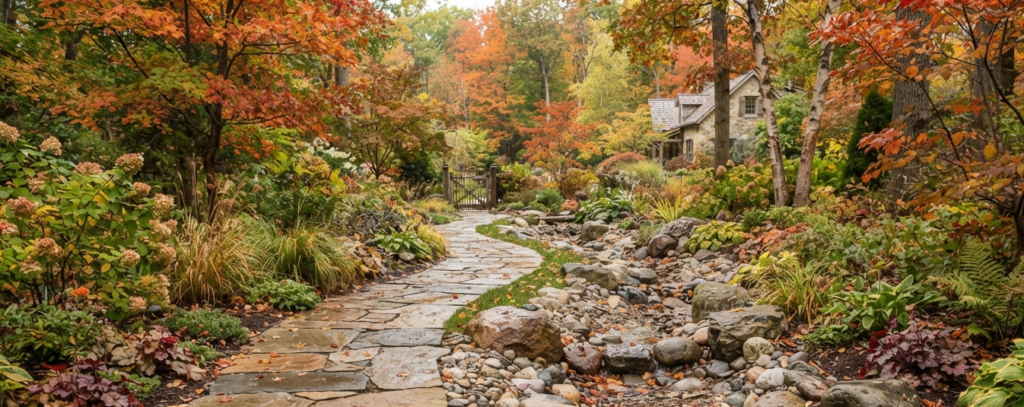
If part of your yard already acts like a natural runoff channel during heavy rain, stop fighting it and work with it instead. A dry creek bed is a shallow, rock-lined channel that mimics a natural streambed. It’s decorative when it’s dry and functional when it’s not, which in fall means it’s doing double duty most of the time.
Building one next to your stone path involves digging a shallow trench (start shallow, around 6 inches, and go deeper if your drainage problem is serious), lining it with landscape fabric to stop weeds, and filling it with a mix of river rock in different sizes. Larger rocks go on the edges and in spots where water will move fastest, smaller rock and pea gravel fill in the rest.
I paired this with a flagstone path for a client whose backyard had a natural low point right where her patio met the lawn. Instead of fighting that low spot, we built the creek bed right through it, and the flagstone path crossed over it using two flat stones as makeshift stepping bridges. It’s become the most photographed part of her yard, honestly, and it solved a drainage headache that three previous landscapers couldn’t fix.
Don’t skip the landscape fabric under the rock. I did once, on a smaller side project, and by spring the “dry creek” had a thriving crop of crabgrass poking up through every gap. Learn from my mistake.
5. Elevated Stone Path on a Raised Gravel Bed
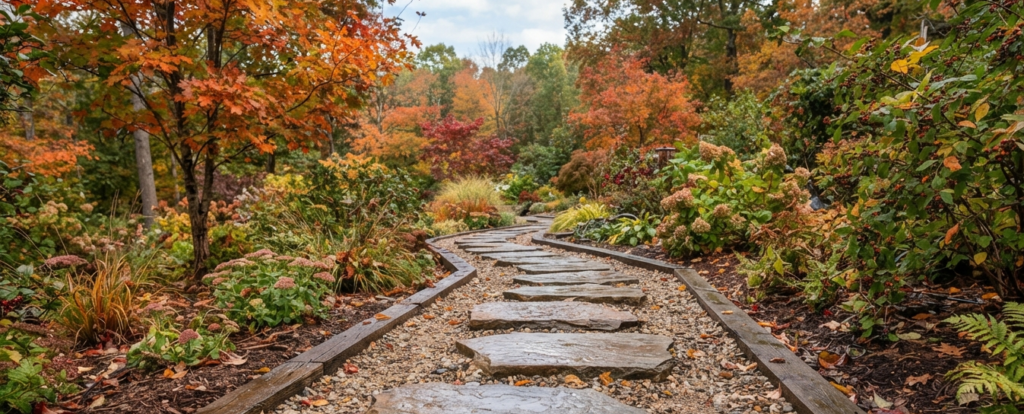
Sometimes the ground around your path just sits low no matter what you do, especially in yards with clay-heavy soil that doesn’t drain no matter how much gravel you throw at it. In that case, instead of fighting the grading, you raise the whole path up above the problem.
This means building up a gravel and sand base that sits an inch or two above the surrounding soil grade, then setting your stone on top. Water that falls on the surrounding lawn or garden bed simply flows away from the path instead of soaking up into it, because the path is physically higher than the trouble spots.
This is a great option for anyone dealing with a yard that has serious grading issues but doesn’t want to regrade the entire property, which is expensive and honestly overkill for most residential situations. You’re essentially building a small, localized “island” of good drainage right where you need to walk.
The tradeoff is that a raised path needs solid edging, usually steel or stone edging pieces, to keep the gravel base from washing out to the sides during heavy fall storms. Skip the edging and you’ll be re-topping your gravel every spring, which gets old fast.
6. Moss-and-Stone Combination Path for Shaded, Wet Areas
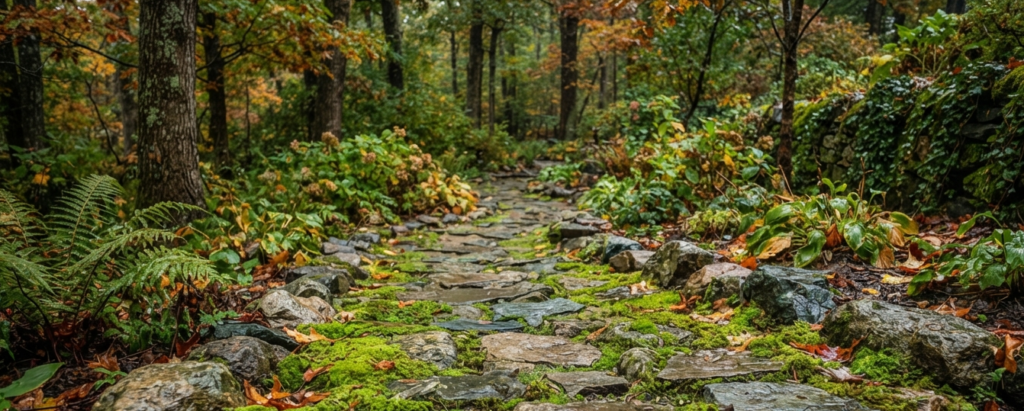
Here’s an idea that flips the usual drainage logic on its head: instead of fighting the moisture, you plant something that loves it. In shady, damp corners of the yard where grass struggles and drainage is genuinely difficult to improve, a moss-and-stone path can be the lowest-maintenance, most attractive option you’ve got.
You set flat stepping stones with generous gaps, then let moss fill in the spaces instead of gravel or mulch. Moss actually thrives in the exact conditions that make other groundcovers rot: consistent moisture, shade, and compacted soil. It also helps slow down surface runoff because it acts almost like a living sponge, absorbing some water rather than letting it all sheet across the surface.
I’ll be honest, this one isn’t for every yard. If your problem area gets full sun for more than a few hours a day, the moss will struggle and you’ll spend your weekends fighting it instead of enjoying it. But for that damp, shady side yard that nothing else seems to grow in, it’s a genuinely elegant fix that costs almost nothing beyond your own patience while it establishes.
Give it a full season before you judge the results. Moss is slow. I’ve had clients nearly rip it all out in month two because it looked patchy, and by month five it had filled in beautifully. Patience pays off here.
7. Terraced Stone Steps for Sloped Yards
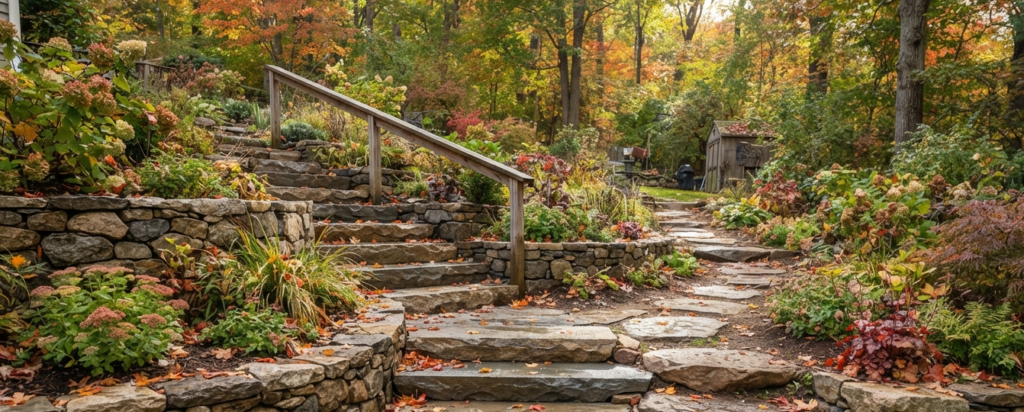
If your yard slopes toward your house, your foundation, or basically anywhere you don’t want water going, a straight path down that slope is basically a water slide during a fall downpour. Terracing solves this by breaking a steep grade into a series of flat, level sections connected by stone steps, so water slows down and disperses instead of racing straight down the hill.
Each terrace step should be built with a slight backward pitch, meaning the front edge of each step sits a touch lower than the back. This keeps water from sheeting off the front edge of every stone and instead lets it seep into the gravel base beneath each step.
Building this involves cutting the slope into level sections, compacting a gravel base at each level, setting large flat stones as your step treads, and using smaller stones or timber as risers between levels. It’s genuinely one of the more labor-intensive projects on this list, but on a steep slope it’s often the only fix that actually works long-term.
I built one of these on a hillside property where the previous “path” was just dirt that turned into a mudslide every time it rained hard. Three years later, that terraced stone path is still holding strong, and the client says she finally stopped losing a wheelbarrow’s worth of topsoil down the hill every autumn.
Bonus Side Note: Add a Gravel “Splash Zone” Under Downspouts and Roof Runoff
This isn’t technically a path idea, but if your stone path runs anywhere near a downspout, a roof edge without gutters, or a spot where water pours off in a concentrated stream, you need this. A splash zone is just a small area of larger river rock or crushed stone placed exactly where concentrated water hits the ground, breaking up the force of the flow so it doesn’t blast a trench straight into your path base.
I add these almost automatically now on any project where a path passes within a few feet of a roofline. It takes maybe twenty minutes and a few dollars of extra rock, and it prevents a very specific, very annoying problem: erosion channels that undermine your path’s gravel base from underneath, which you won’t notice until your stones start rocking under your feet.
Real Talk: What’s Not Worth the Effort (and What Can Go Wrong)
I want to be straight with you about a few things before you grab a shovel.
Skipping the base layer is the single biggest mistake I see, and it’s tempting because it’s the part nobody sees once the project’s done. If you set gorgeous flagstone directly onto bare soil to save time, you will be redoing that path within two years, guaranteed. The gravel base isn’t optional, even though it feels like busywork.
Polymeric sand between stones looks fantastic on day one and causes headaches by year two in wet climates. It’s marketed as a low-maintenance jointing solution, but I’ve found that in areas with heavy fall rain, it can trap water against the stone and actually contribute to freeze-thaw cracking once winter hits. For most natural stone paths dealing with drainage issues, plain gravel or sand joints breathe better and cause fewer problems down the line.
Sealing your stone to “waterproof” it is, in most cases, a total waste of money. Sealant protects against staining and some erosion, sure, but it does nothing for the actual drainage problem underneath the stone. I’ve seen people spend a weekend and a few hundred dollars sealing a path that still floods every October because the real issue was grading, not the stone surface itself.
And don’t underestimate how much digging is involved in doing this correctly. Every method above that actually solves drainage problems requires excavation, whether that’s for a gravel base, a French drain trench, or a terraced slope. If you’re hoping for a fix that doesn’t involve a shovel and a sore back, I hate to break it to you, but that fix probably won’t hold up past the first hard rain.
Final Thoughts on Beating Fall Rain With the Right Stone Path
The path that finally stops flooding isn’t usually the prettiest one on Pinterest. It’s the one with a boring gravel base nobody sees, graded just right, doing its quiet job every time the sky opens up. Pick the method that fits your yard’s actual problem, whether that’s standing water, a steep slope, or a shady corner that never dries out, and build the base right the first time.
Which one of these are you thinking about trying, or is your yard dealing with a drainage headache I didn’t cover here? Drop a comment below and tell me what your path is doing wrong. I read every one, and there’s a decent chance I’ve already made that exact mistake myself.

About Syprose Kiche
Syprose Kiche is the creator and writer behind My Besuited Home, a practical home and garden website covering DIY projects, gardening, lawn care, landscaping, home improvement, and outdoor living. She focuses on turning everyday homeowner questions into clear, practical guides backed by careful research and useful real-world considerations.