
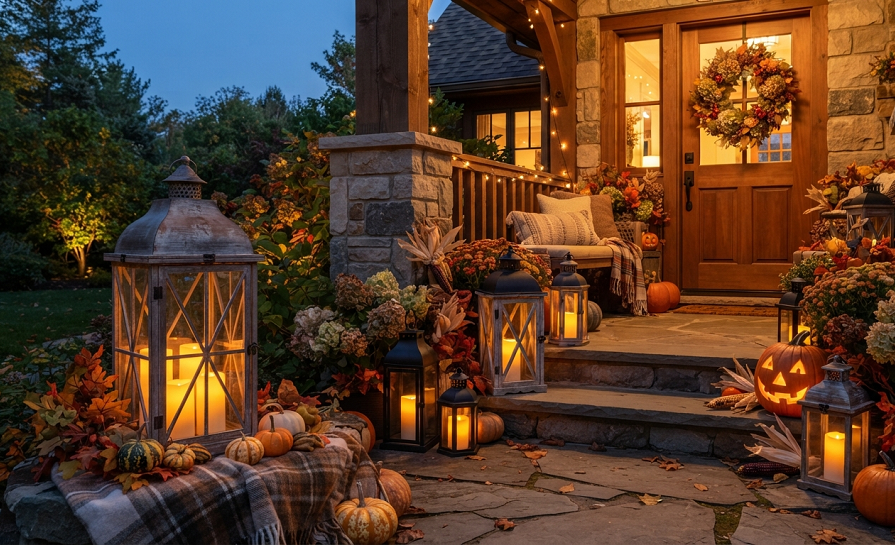
Your yard turns gorgeous for about six weeks in fall, and then it gets dark at 5:30 p.m. and nobody sees it. That’s the problem I hear about more than almost anything else this time of year. Neighbors walk by in the daylight hours when you’re at work, and by the time you’re home to enjoy your own landscaping, it’s pitch black and your prize maple is just a shadow.
I’ve rewired more porch lights and buried more cable than I care to admit, and I’ve also ripped out plenty of “fall lighting” projects that turned into a maintenance nightmare by November. Solar lights that died after one frost. Strand lighting that needed re-hanging every time the wind picked up. String lights tangled in a rake pile because nobody thought about leaf cleanup when they installed them.
This list is different. Every idea here is picked because it survives falling leaves, drops in temperature, and the fact that most of us do not want a second job managing our yard lighting. Let’s get into it.
1. Solar Pathway Lights With Real Battery Capacity
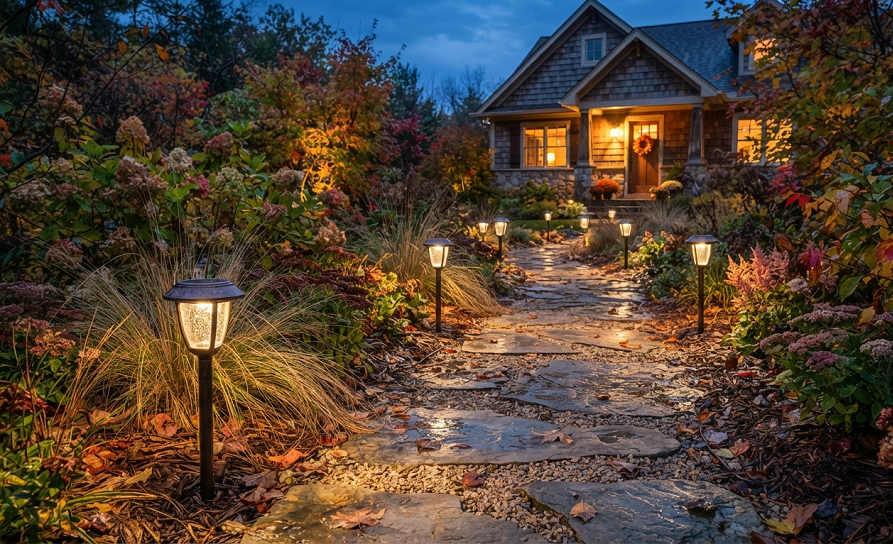
Solar pathway lights get a bad reputation, and honestly, most of that reputation is earned. The dollar-store versions give you maybe two hours of dim light before they quit for the night. That’s not a knock on solar technology, it’s a knock on cheap batteries.
The fix is buying lights with at least a 600mAh NiMH or lithium battery, not the little 300mAh ones packed into bargain bin fixtures. I switched my own front walkway to lithium-battery solar stakes three years ago and I have not touched them since, aside from wiping snow off the panels in winter.
Fall is actually a decent season for solar lighting because the sun angle is lower, which means light hits vertical solar panels more directly for a chunk of the day. Position your stakes where they get direct sun from late morning through early afternoon, away from the shadow line cast by your house or a fence. A panel that’s shaded by 2 p.m. is going to leave you in the dark by 9 p.m.
Quick side note: angle the panel itself, not just the light housing, if your model allows it. A lot of stake lights let you tilt the solar panel separately from the light fixture, and tilting it to catch that lower autumn sun makes a real difference in how long the light lasts overnight.
One more thing nobody tells you about solar pathway lights: clean the panels. I know it sounds obvious, but pollen, dust, and early fall leaf debris build up on those little glass or plastic panels fast, and even a thin film cuts charging efficiency by a noticeable amount. I wipe mine down with a damp cloth every couple of weeks during peak leaf-drop season, and it takes about five minutes for a dozen fixtures. Skip this step and you’ll swear your “premium” lights are defective when really they’re just dirty.
2. Low-Voltage LED Path Lighting on a Transformer
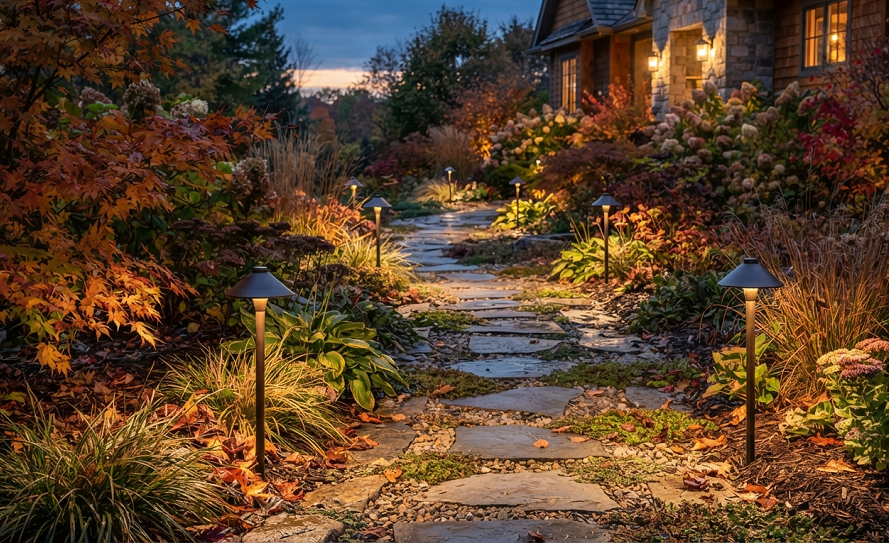
If you want something that works every single night regardless of cloud cover, low-voltage LED lighting on a transformer is the move. This is a wired system, but it runs on 12-volt current, so there’s no risk of shock and no need for an electrician license to install it yourself.
Here’s the basic setup:
- Pick a transformer sized for your total wattage, and buy one rated for at least 20% more than you currently need, because you will add more lights later. Trust me on this.
- Run the cable along the edge of your beds or under mulch, about 3 to 6 inches deep.
- Space path lights 6 to 10 feet apart. Any closer and you get a runway effect that looks like an airport, not a garden.
- Set the transformer to a timer or, better, a photocell sensor so it turns on automatically at dusk.
I made the runway mistake my second year doing this kind of work for a client. She wanted “lots of light” and I spaced fixtures every 3 feet along a 40-foot path. It looked like she was directing air traffic, not welcoming trick-or-treaters. We pulled half the stakes and moved to 8-foot spacing, and it finally looked intentional instead of anxious.
LED fixtures barely sip power, so even a modest transformer can run a dozen or more lights without breaking a sweat. The upfront cost is higher than solar, usually $15 to $40 per fixture plus the transformer, but I have LED path lights at my own place that are pushing eight years old with zero bulb replacements.
Burying the cable is the part people dread, and honestly, it’s the part they overthink. You don’t need a trench, just a flat spade or a garden edger to slice a shallow channel, tuck the wire in, and step the soil back down. If you’ve got existing mulch beds, you can often skip digging altogether and just run the cable under the mulch layer itself. The one rule I won’t bend on: never run low-voltage cable across a walkway or driveway without a length of PVC conduit protecting it. I didn’t do this once on a client’s project, and a delivery truck backing over the driveway cut clean through the line. That was an afternoon I didn’t get back.
3. Uplighting for Trees and Architectural Features
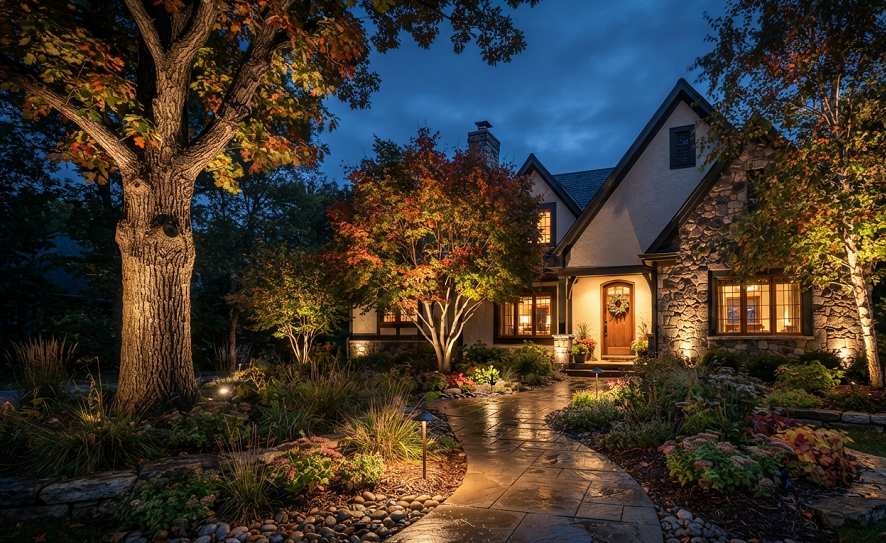
This one gets skipped constantly because people assume uplighting means a complicated professional install. It doesn’t have to. A single well-lit tree can carry an entire yard’s nighttime look, especially once fall color hits and those branches are showing off orange, red, and gold leaves.
Uplighting means placing a light fixture at the base of a tree, shrub, or architectural feature (think a stone wall, an arbor, or a chimney) and aiming it upward. The light grazes the bark, catches the underside of the leaves, and throws dramatic shadows that regular downward lighting can’t touch.
For low-maintenance results, stick with LED well lights or spike-mounted uplights rated for outdoor use, and choose a warm white bulb in the 2700K to 3000K range. Anything bluer than that makes your maple look like it belongs in a parking garage, not a front yard.
One tree, done well, beats five mediocre lights scattered everywhere. I learned this on my own property with a mature oak in the side yard. I put a single uplight at its base, angled to hit the main trunk split, and that one fixture does more visual work than the six pathway lights I have lining the driveway. If you only have budget or energy for one lighting project this fall, make it this one.
Bonus tip: if your tree has an interesting bark texture, like a birch or a sycamore, angle the light slightly off-center rather than straight up the trunk. Straight-on lighting flattens texture. An angled beam creates shadow lines that show off the bark pattern.
4. Motion-Sensor Security Lighting That Doubles as Ambiance
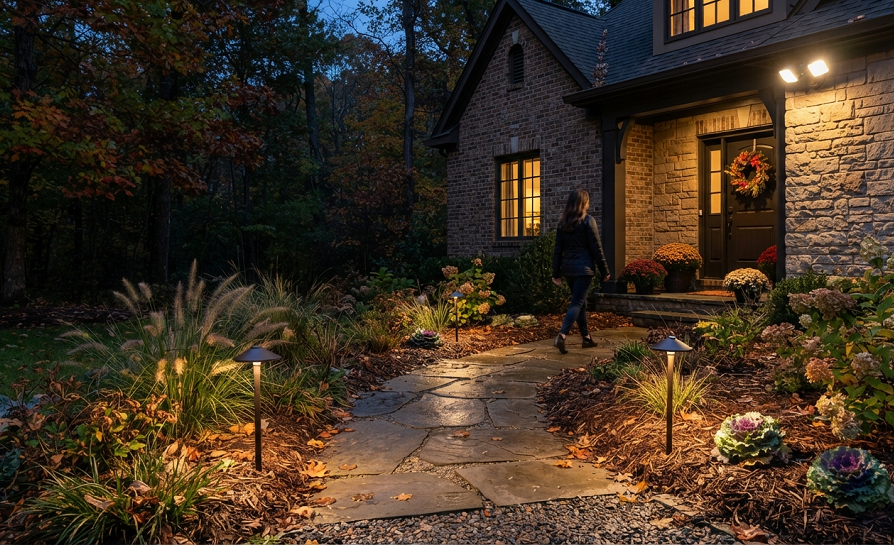
Fall means shorter days and, for a lot of us, more evening deliveries, more trick-or-treaters, and more reasons to want your front entry lit without leaving a porch light burning for twelve hours straight.
Motion-sensor fixtures solve this cleanly. Mount one near your front door, one at the driveway entrance, and one covering any side gate or back entry you use regularly. Modern LED motion fixtures use so little power that running them occasionally costs pennies a month, and most models let you set the sensitivity and duration so they’re not triggered by every leaf blowing across the yard.
I’ll be blunt: cheap motion sensors are the single most annoying purchase you can make for outdoor lighting. I installed a bargain unit on a rental property once and it triggered every time a cat walked through the yard, every night, for weeks. Spend the extra $20 to $30 for a fixture with adjustable PIR (passive infrared) sensitivity, and set the range down to 20 or 30 feet instead of the factory default, which is usually maxed out at 70 feet or more.
For a more ambient feel rather than a strict security setup, pair a motion sensor with a warm-toned LED bulb and a dusk-to-dawn photocell, so the fixture stays off completely during daylight and only activates on motion after dark. That combination gives you safety lighting that doesn’t look like a prison yard.
Placement matters more than most people realize. A motion sensor pointed straight down a walkway picks up movement fast because the person is walking directly toward it. A sensor mounted at an angle, catching cross-motion instead of head-on motion, tends to be more sensitive and reliable. If your fixture keeps missing people walking up the driveway, try repositioning it so the detection zone crosses the path rather than running parallel to it.
5. String Lights Rated for Outdoor, Cold-Weather Use
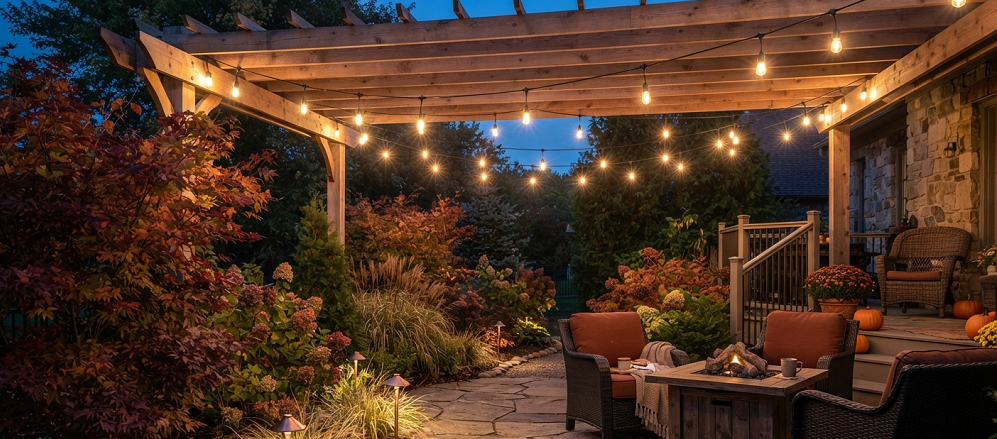
String lights get pulled out every fall and put away every spring, and that cycle is exactly why so many of them fail. Cheap indoor-rated strings crack in cold weather, and the connections corrode after one rainstorm.
Buy lights specifically rated IP65 or higher for outdoor use, and confirm the manufacturer states a temperature range that covers your region’s fall and winter lows. Most quality LED string lights are rated down to at least 14°F (-10°C), which covers the vast majority of fall conditions in the continental US.
Installation matters just as much as the product. Run strings along a fence line, a pergola, or between two solid anchor points, never balanced loosely on shrubs where wind can whip them around and snap connections. Use actual light-hanging clips or hooks, not nails or staples, which puncture the cord jacket and let moisture in.
The summer my zucchini took over the entire ZIP code, I also had string lights draped over a trellis nearby, and I ignored them completely because I was too busy fighting off squash. By fall, three sections had shorted out from water pooling in sagging cord loops. Keep your runs taut, with a slight downward drape between anchor points so water sheds off instead of collecting at the low point. That one fix alone will double the life of your string lights.
6. Lanterns and Flameless Candles for Porches and Patios
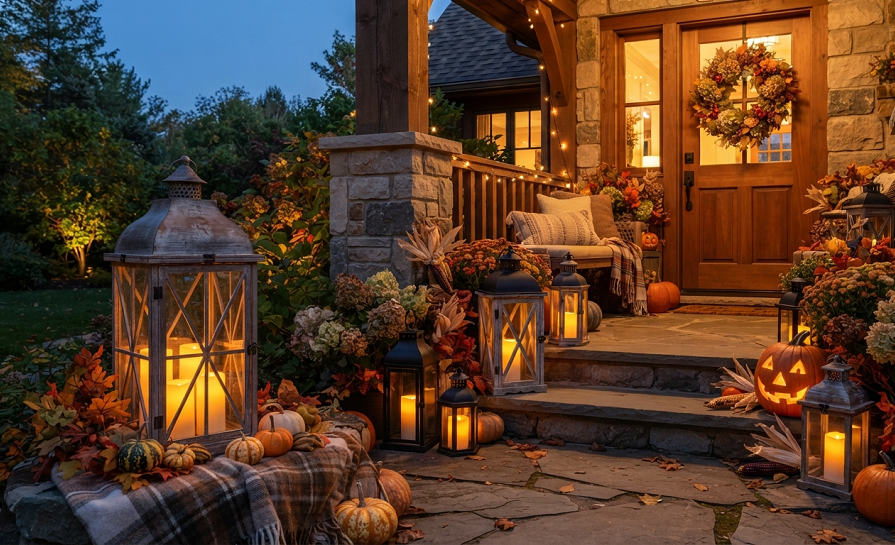
Not every fall lighting idea needs to be wired or solar-powered. Battery-operated flameless candles and lanterns give you that warm, flickering look without the fire risk or the hassle of relighting real candles every time the wind kicks up.
Group lanterns of varying heights on a porch step or patio table rather than lining them up in a perfectly even row. I mentioned I’m not a fan of symmetry for symmetry’s sake, and this is a good example why. A cluster of three lanterns at different heights reads as intentional and cozy. Three identical lanterns in a straight line reads as a display shelf, not a lived-in space.
Rechargeable LED lanterns with a built-in flicker setting are worth the extra few dollars over basic battery-only versions. You avoid the constant battery-swapping cycle, and most rechargeable models hold a charge for 8 to 10 hours per night, which covers a full evening without dying on you mid-party.
For pumpkins and other fall décor, skip real candles entirely and use battery tea lights instead. I know real flame feels more “authentic,” but I’ve dealt with enough scorched porch railings and melted plastic pumpkins to say it’s not worth the risk, especially with kids or pets running around during Halloween season.
7. Color-Changing LED Fixtures for Halloween and Beyond
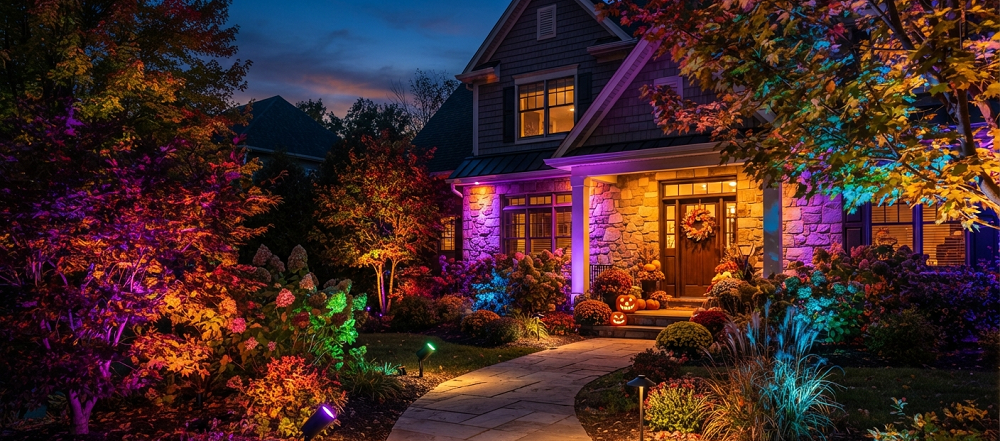
If you want lighting that can shift from warm and cozy for a dinner party to orange and eerie for Halloween, color-changing LED fixtures are worth the investment. Most modern smart LED spotlights and floodlights let you control color temperature and full RGB color from a phone app, so you’re not buying separate fixtures for different occasions.
Set warm white for daily use through most of fall, then switch to orange or purple tones for the last week of October, and back again in November. This flexibility is where these fixtures earn their higher price tag, usually $25 to $60 per smart bulb or fixture.
The main appeal for a low-maintenance approach is that you install the fixture once and change the mood entirely through software instead of swapping bulbs or hardware. I put two smart floodlights on my own garage this past year, mostly out of curiosity, and I ended up using the app far more than I expected. It’s genuinely satisfying to change your whole yard’s vibe from a phone without going outside in the cold.
Stick with reputable brands that support standard smart home platforms if you want reliable long-term function, since some cheaper smart bulbs lose app support within a year or two and become stuck on whatever setting they were on when support ended.
Real Talk: What’s Not Worth the Effort
Not everything marketed as “low-maintenance fall lighting” actually is. Here’s where I’ve seen people waste money and time.
Cheap solar spotlights for uplighting. Solar power works fine for path lights, but solar uplights almost always underdeliver. The panels are usually mounted flat on top of the fixture, which means they collect less sunlight when leaves start covering the ground beneath trees. You end up with a dim glow instead of a real feature light. If you want uplighting, run low-voltage wired fixtures instead.
Programmable multi-zone smart systems for a small yard. I’ve installed elaborate app-controlled zone lighting for clients with sprawling properties, and it makes sense there. For an average suburban yard, it’s overkill, and the setup and troubleshooting time isn’t worth it for what amounts to lighting up a quarter acre. Save the smart system money for one or two color-changing fixtures instead of a whole zoned network.
Lights that require daily battery removal for charging. Some battery lanterns and string lights don’t have USB charging ports, meaning you pull batteries out, charge them inside, and reinsert them. That’s not low-maintenance, that’s a part-time job. Always check for a built-in USB-C or micro-USB charging port before buying anything battery-powered for outdoor use.
Delicate glass fixtures near high-traffic areas. I put a set of glass-shaded path lights along a driveway years ago, thinking they looked elegant. Between falling branches, stray footballs, and one unfortunate incident involving a wheelbarrow, I replaced three glass shades in one season. Stick with polycarbonate or metal housings anywhere near foot or vehicle traffic.
Final Thoughts
Fall lighting doesn’t need to mean a weekend spent untangling cords or a fall spent replacing dead batteries every other week. Pick two or three ideas from this list that match your yard and your actual patience level, install them properly the first time, and you’ll get years of use instead of one disappointing season.
My honest advice: start with one great uplight on your best tree and a set of quality path lights. Everything else is a bonus once you see how much difference good lighting makes on a dark October evening.
What’s worked in your yard, and what’s ended up in the garbage after one season? Drop your fall lighting wins and disasters in the comments below. I read every one, and I’ve probably made the same mistake you’re about to tell me about.

About Syprose Kiche
Syprose Kiche is the creator and writer behind My Besuited Home, a practical home and garden website covering DIY projects, gardening, lawn care, landscaping, home improvement, and outdoor living. She focuses on turning everyday homeowner questions into clear, practical guides backed by careful research and useful real-world considerations.