
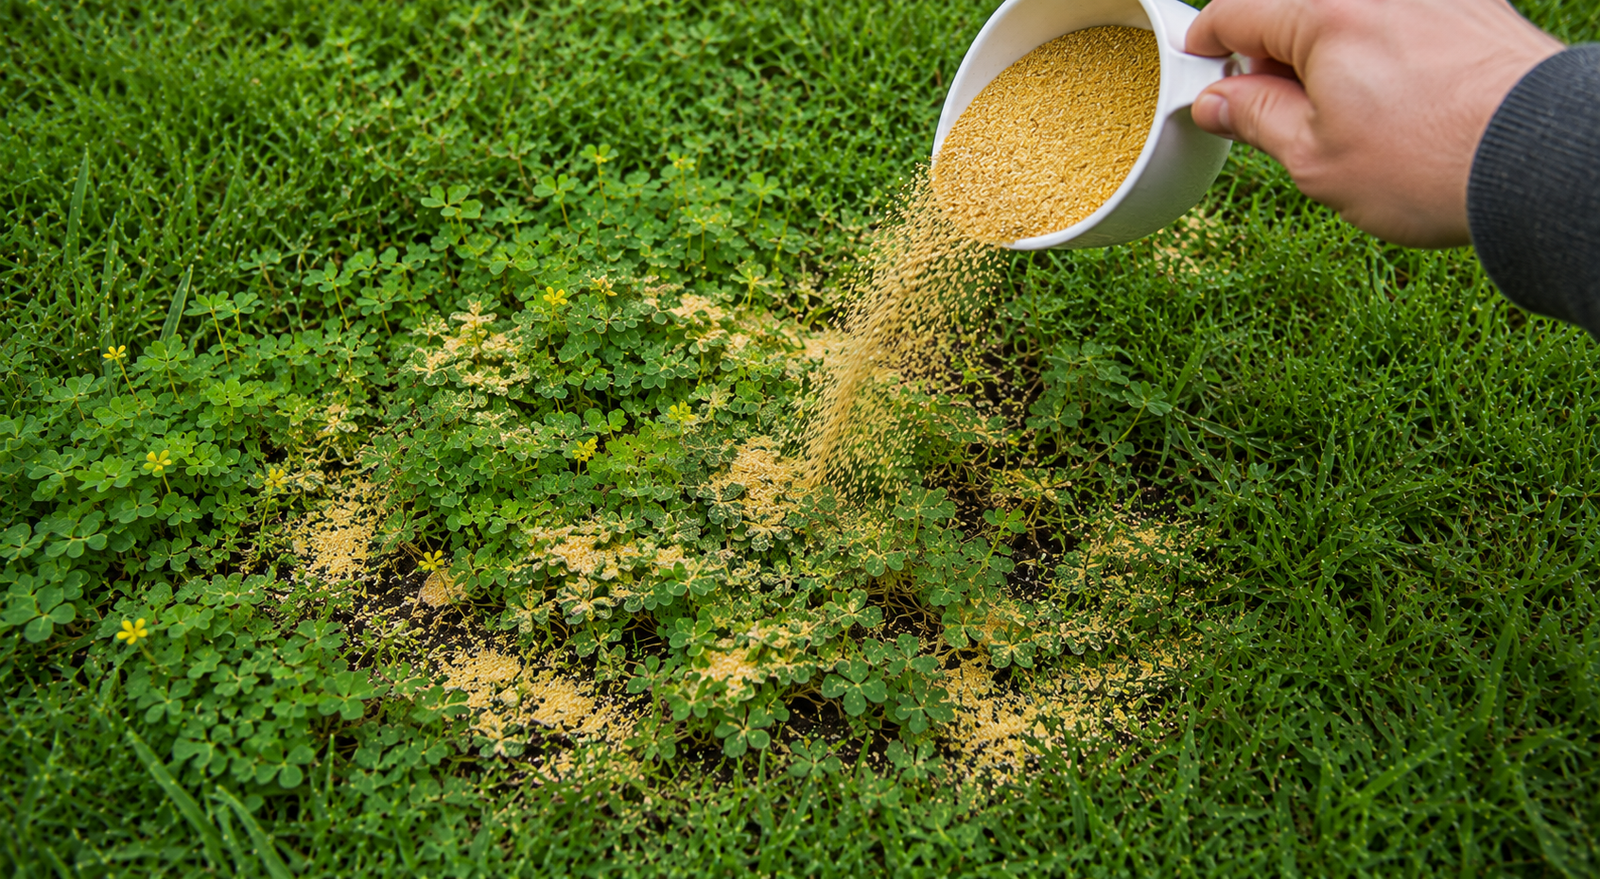
You pull it on Saturday. By Wednesday, it’s back, smug and spreading, like it never left. That’s creeping oxalis for you. It’s got this shamrock-shaped leaf that tricks half my neighbors into thinking it’s clover, right up until it swallows their flower beds and starts climbing into the lawn.
I’ve fought this weed in three different yards across two states, and I can tell you it doesn’t play fair. It’s got taproots, bulbils, and seed pods that literally explode on contact. Pull it wrong and you’ve just planted next year’s infestation with your own hands.
The good news: you don’t need a jug of glyphosate to beat it. I’ve killed oxalis naturally in raised beds, gravel paths, and lawns using nothing but vinegar, boiling water, mulch, and stubbornness. Here’s exactly how I do it, what actually works, and what’s a waste of your Saturday morning.
Oxalis vs. Clover: Make Sure You’re Actually Pulling the Right Weed
Before you spend a whole afternoon on this, double check what’s actually in your yard. I’ve watched plenty of people wage war on clover for weeks, wondering why nothing they read online seems to work, only to realize they’ve had oxalis the entire time.
Here’s the quick way to tell them apart. Clover leaves are rounded at the tip and often have that faint white V-shaped watermark in the center. Oxalis leaves are heart-shaped, almost like a folded taco, and they fold up and droop at night or during heat stress, which clover doesn’t do. Oxalis flowers are small, five-petaled, and usually bright yellow (sometimes pink or white depending on the variety), while clover flowers are round little puffballs, white or pink.
The color is another giveaway. Some oxalis varieties, especially the ornamental purple-leaf type that escapes garden beds, are deep burgundy instead of green. If you’ve got a wine-colored “clover” spreading through your yard, that’s oxalis, not clover, no matter what the internet forum told you.
Why does this matter for treatment? Clover actually fixes nitrogen in your soil and plenty of people leave it alone on purpose. Oxalis offers you nothing but competition for water, nutrients, and light, plus that seed-flinging trick I mentioned earlier. Misidentifying the two means you either waste effort pulling something harmless or, worse, ignore something that’s actively spreading through seed pods while you’re busy elsewhere. Get the ID right first, then pick your method.
What Is Creeping Oxalis (And Why It’s So Hard to Kill)
Before you go to war, know your enemy. Creeping oxalis, also called yellow woodsorrel or oxalis stricta depending on who you ask, is a low-growing perennial with clover-like leaves and small yellow flowers. It spreads two ways: seed pods that pop and fling seeds several feet when you brush against them, and underground rhizomes that snap off if you yank the plant instead of digging it.
That seed-flinging trick is the reason your “quick five minutes of weeding” turns into a summer-long battle. Every pod you disturb is a tiny cannon. I didn’t believe it until I watched seeds hit my shoe from a foot away.
The rhizomes are the other problem. Regular weeds mostly rely on their root staying put. Oxalis roots are brittle on purpose. Pull the top and leave even a half-inch of root behind, and that fragment will happily grow a whole new plant. This is why so many people swear they’ve “pulled the same weed all summer.” You have. It’s just a new plant from the piece you left behind.
Understanding this changes your whole strategy. You’re not fighting one weed. You’re fighting an underground network with a seed-dispersal system built in. Naturally killing it means attacking both the visible plant and what’s hiding underground, not just yanking leaves and calling it a day.
Boiling Water: My Go-To for Cracks, Gravel, and Patios
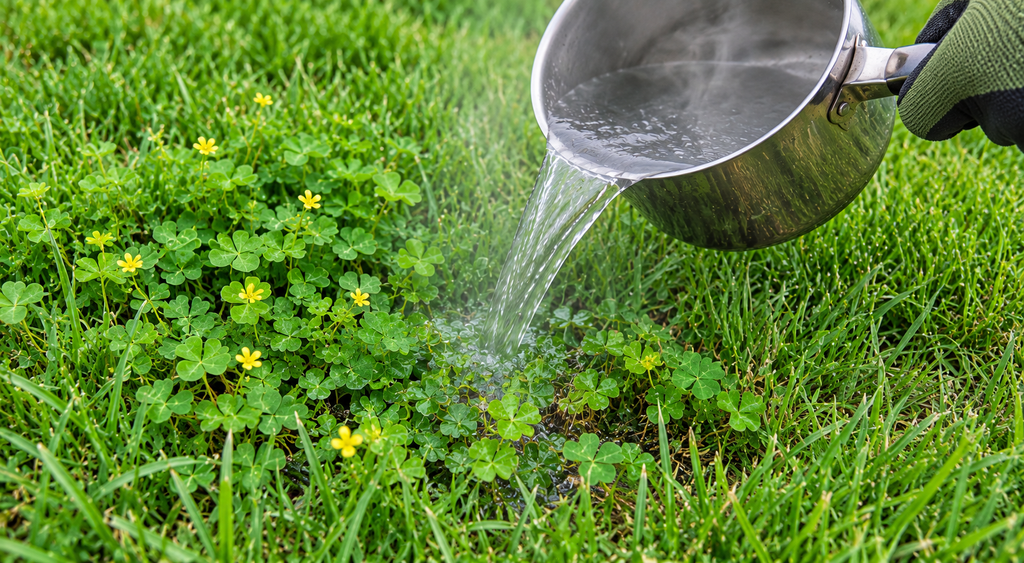
If oxalis is growing in your driveway cracks, between pavers, or in gravel where nothing else is planted, boiling water is my first move every time. It’s free, it’s fast, and it doesn’t care what the label says because there is no label.
How to do it:
- Boil a full kettle or pot of water.
- Walk it straight to the oxalis patch, don’t let it cool.
- Pour directly onto the leaves and base of the plant, soaking the crown where it meets the soil.
- Repeat in 3-4 days for anything that resprouts.
The water scalds the plant tissue on contact, which kills the top growth almost instantly. You’ll see it wilt within an hour. What it won’t always do is reach deep rhizomes, especially in compacted soil where the heat doesn’t penetrate far. That’s why you treat the same spot two or three times over a couple weeks instead of expecting one pour to finish the job.
One warning worth repeating: boiling water is not selective. It will kill grass, ground cover, and any nearby plants you care about just as fast as it kills the oxalis. I only use this method on hardscape weeds in cracks and gravel, never in a mixed flower bed or lawn. Save it for the driveway, the patio joints, and the walkway. Anywhere you want zero plant life, boiling water earns its spot as the easiest natural option you own.
Vinegar Sprays: Strong, Fast, But Not a One-and-Done Fix
Household vinegar (5% acetic acid) barely dents oxalis, in my experience. If you want results, you need horticultural vinegar, which runs 20-30% acetic acid and is sold at most garden centers and farm supply stores. That strength is what actually burns through the waxy leaf coating oxalis uses to protect itself.
My basic recipe:
- 1 gallon horticultural vinegar (20%)
- 1 tablespoon dish soap (helps the spray stick to the leaves instead of beading off)
- Optional: 1 cup Epsom salt or table salt for extra punch on tough patches
Mix it, pour it into a pump sprayer, and coat the leaves fully on a sunny, calm day. Vinegar works through direct contact and needs sunlight to really cook the plant, so spraying on a cloudy or rainy forecast wastes your time.
You’ll see the leaves blacken and shrivel within 24 hours. That part is oddly satisfying. But here’s the catch nobody tells you upfront: vinegar is a contact herbicide. It kills what it touches, not the root system underneath. Oxalis will very likely come back from the same rhizomes within a couple weeks, and you’ll need to spray again. I treat vinegar as a maintenance tool for keeping oxalis suppressed, not a permanent fix. Expect to reapply every 2-3 weeks through the growing season until the plant finally exhausts its root reserves.
Test a small patch on any lawn grass or nearby plants first. Vinegar strong enough to kill oxalis is strong enough to torch your fescue too, and salt additions can build up in soil over repeated use, so go light on the salt if you’re treating the same bed all season.
Smothering With Mulch, Cardboard, or Landscape Fabric
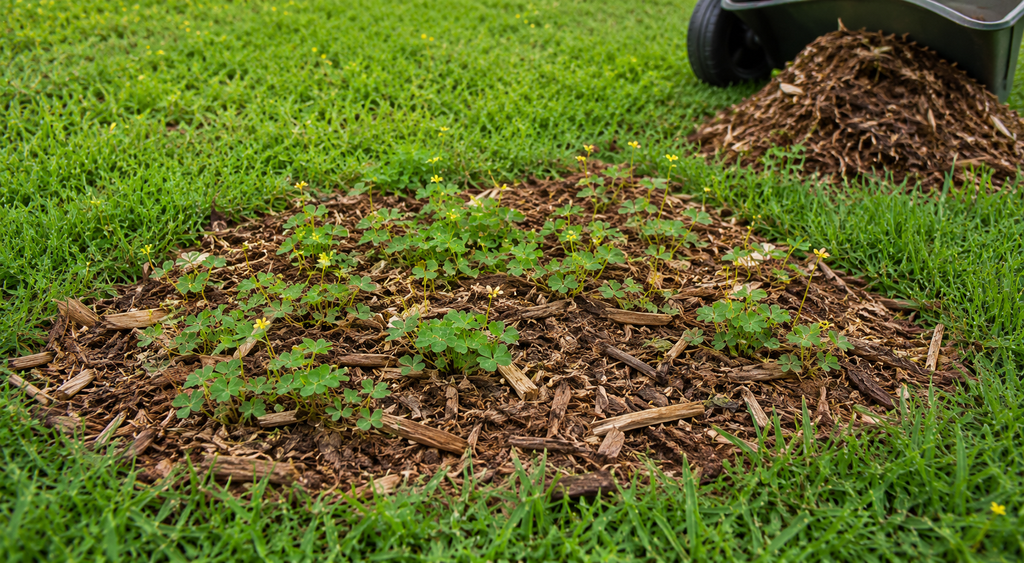
This is the slow-and-steady method, and honestly, it’s the one that’s given me the most permanent results in garden beds where spraying isn’t practical.
The layered smothering method:
- Cut the oxalis down to the soil line with shears (don’t pull, you’ll just scatter seeds).
- Lay down plain cardboard or several layers of newspaper directly over the area, overlapping edges by a few inches.
- Wet the cardboard down so it stays put.
- Cover with 3-4 inches of mulch, wood chips, or compost.
- Leave it alone for at least 8-10 weeks during the growing season.
Blocking sunlight is the whole point here. Oxalis, like most weeds, needs light to keep growing. Cut off the light for long enough and the rhizomes eventually run out of stored energy and die back. This won’t happen overnight; I’ve had beds take a full season to fully clear out using this method.
The cardboard does double duty. It smothers what’s there and it physically blocks new seeds from germinating at the surface, since they need light to sprout too. By the time the cardboard breaks down (which it will, naturally, over a few months), the oxalis underneath is usually toast.
Check under the mulch every few weeks in the first month. If you see pale, stretched-out shoots trying to find light around the edges, pull the mulch back over them and add a bit more thickness. Thin spots are where oxalis will find its way out, so don’t skimp on coverage, especially around the border of your smothered zone.
Hand-Pulling the Right Way (Most People Do This Wrong)
I know hand-pulling sounds too basic to mention, but almost everyone does it in a way that guarantees the weed comes back. The technique matters more than the effort here.
Do it like this:
- Water the soil first, or pull after rain. Dry soil snaps roots off, damp soil releases the whole thing.
- Grip the base of the plant, not the leaves, which tear off and leave the root behind.
- Pull slow and steady, straight up. Yanking fast snaps the taproot.
- Use a hand fork or dandelion weeder to loosen soil around bigger clumps before pulling.
- Bag the pulled plants immediately. Don’t toss them in the compost or leave them on the soil, because the seed pods can still ripen and pop even after the plant is uprooted.
Timing matters just as much as technique. Pull oxalis before it flowers if you possibly can. Once those yellow flowers show up, seed pods are close behind, and one missed pod undoes weeks of work. I walk my beds every few days in spring specifically looking for oxalis before it gets the chance to bloom.
For an established patch with deep rhizomes, expect to pull the same spot multiple times over a season. That’s not failure, that’s just how this plant works. Each pull weakens the root reserves a little more. Pair hand-pulling with mulch afterward to block new seeds from filling the gap you just created, and you’ll see the patch shrink noticeably by midsummer.
Corn Gluten Meal: The Pre-Emergent Nobody Talks About
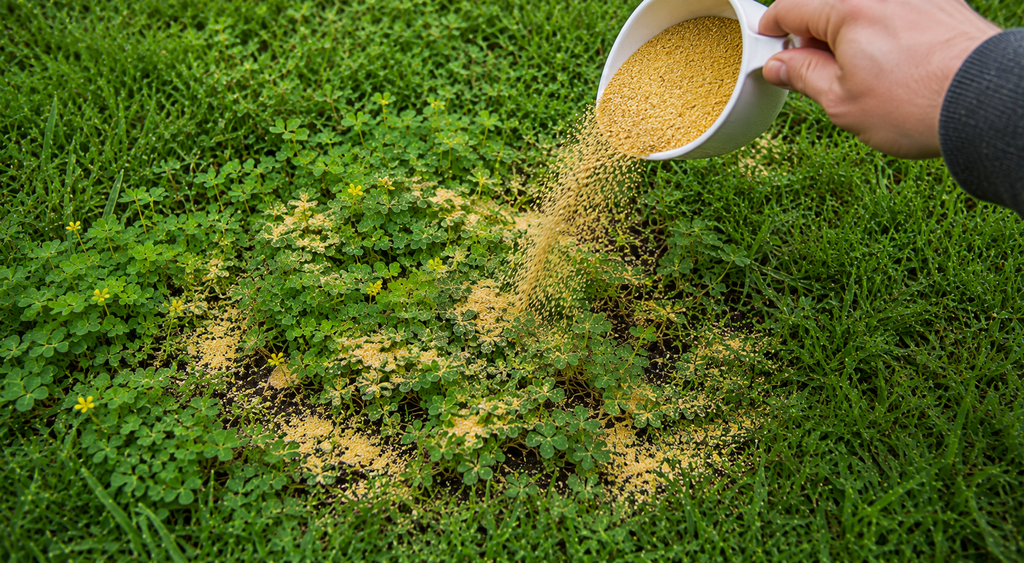
Here’s a trick most articles skip entirely. Corn gluten meal is a natural pre-emergent, meaning it doesn’t kill existing oxalis, but it stops new seeds from successfully rooting once they germinate. I use it every early spring as a preventive layer in beds that had a bad oxalis year before.
Spread it at roughly 20 pounds per 1,000 square feet before soil temperatures hit that 55-60°F germination window oxalis loves. Water it in lightly. It works by drying out the tiny root that a germinating seed sends down, so timing before germination is everything. Apply it after oxalis has already sprouted and you’ve basically just fertilized your weeds, since corn gluten meal is roughly 10% nitrogen.
This isn’t a fast fix and it won’t touch the oxalis you already have growing. Think of it as insurance for next year, applied alongside whichever active-removal method you’re using this season. I run corn gluten meal every spring now specifically because oxalis seeds can stay viable in soil for years, and I’d rather block the next wave than fight it plant by plant forever.
One thing worth knowing before you buy a bag: results with corn gluten meal are inconsistent depending on who you ask, and university trials have shown mixed effectiveness compared to what the marketing promises. I still use it because it’s genuinely harmless to kids, pets, and beneficial insects, and even a partial reduction in new seedlings is worth the effort for something this cheap and low-risk. Just don’t expect it to be your only line of defense. Pair it with mulch or consistent hand-pulling for anything that does sneak through.
Solarization: The Nuclear Option for Bare or Fallow Beds
If you’ve got a raised bed, a garden plot between seasons, or any patch of ground you don’t need to use for a couple months, solarization is worth trying. It’s essentially mulching’s more aggressive cousin, using heat instead of just blocking light.
Here’s how I run it:
- Cut existing oxalis down and water the soil thoroughly.
- Stretch clear plastic sheeting tightly over the area, burying the edges in soil so it seals like a tent.
- Leave it in place through the hottest 6-8 weeks of summer.
- Remove the plastic and check the soil temperature before planting anything back into it.
Clear plastic, not black, is what you want here. Clear plastic lets sunlight through to heat the soil directly, which can push soil temperatures past 140°F near the surface, hot enough to cook rhizomes, seeds, and a good chunk of the weed seed bank sitting in that soil. Black plastic just blocks light like mulch does and won’t get nearly as hot.
The downside is real: solarization kills beneficial soil organisms right along with the oxalis, and it only works if you’ve got consistent, strong sun for the full stretch. It’s also not practical for a lawn or anywhere you need the space to stay usable. I reserve this method for a raised bed that had an oxalis disaster the year before and needs a genuine reset before replanting.
Real Talk: What’s Not Worth Your Time (and What Will Go Wrong)
Let’s be honest about the stuff that sounds good but doesn’t deliver.
Baking soda gets recommended constantly online as a natural herbicide. In my experience it’s mediocre at best on oxalis. It can scorch leaves a bit, sure, but it barely touches the root system, and heavy or repeated use messes with your soil pH in ways that hurt everything else growing nearby. I don’t bother with it anymore.
Flame weeding is another one people love the idea of. It looks dramatic and satisfying on video. On actual oxalis, the rhizomes shrug it off almost every time, and you’re left with a scorched patch that regrows within a week. It’s also a genuinely bad idea near mulch, dry grass, or anything flammable, so unless you’re working strictly on bare gravel or concrete, skip it.
Expect setbacks no matter which natural method you pick. Oxalis seeds can sit dormant in soil for years and germinate whenever conditions are right, which means a “clean” bed can sprout a fresh patch the following spring from seeds that were sitting there the whole time, untouched by anything you did last year. That’s not a method failing, that’s just the biology of the plant.
Also, don’t expect one treatment to be the end of it. Vinegar needs reapplication. Mulch needs monitoring. Hand-pulling needs repetition. Anyone promising a single natural application that permanently ends an established oxalis problem is selling you something. The realistic goal with natural methods is steady suppression over a season or two, not instant eradication in a weekend.
One more honest note: if you’ve got oxalis deeply established across a large area, like an entire lawn, natural spot treatments alone probably won’t cut it. You may need to combine several of these methods together (say, boiling water on hardscape, mulch in beds, and consistent hand-pulling in the lawn) rather than betting everything on one tactic.
Quick side note: if your oxalis problem is mostly in the lawn itself, mowing high (3-3.5 inches) actually helps your grass outcompete it for light. It won’t kill existing oxalis, but a thick, tall lawn gives new oxalis seedlings a much harder time establishing in the first place.
Final Thoughts
Creeping oxalis is stubborn, but it’s not unbeatable. The plants that win against it aren’t the ones using the single strongest chemical, they’re the ones using a combination of methods and sticking with it through a full growing season. Boiling water and vinegar handle what’s visible now. Mulch and corn gluten meal handle what’s coming next. Careful hand-pulling handles the in-between.
Pick two or three of these that fit where your oxalis is actually growing, and give it time. This isn’t a weekend project, it’s a season-long habit.
What’s your oxalis situation looking like right now, is it taking over a flower bed, creeping through your lawn, or popping up in the cracks of your patio? Drop it in the comments below and I’ll help you figure out which method fits your spot best.

About Syprose Kiche
Syprose Kiche is the creator and writer behind My Besuited Home, a practical home and garden website covering DIY projects, gardening, lawn care, landscaping, home improvement, and outdoor living. She focuses on turning everyday homeowner questions into clear, practical guides backed by careful research and useful real-world considerations.