
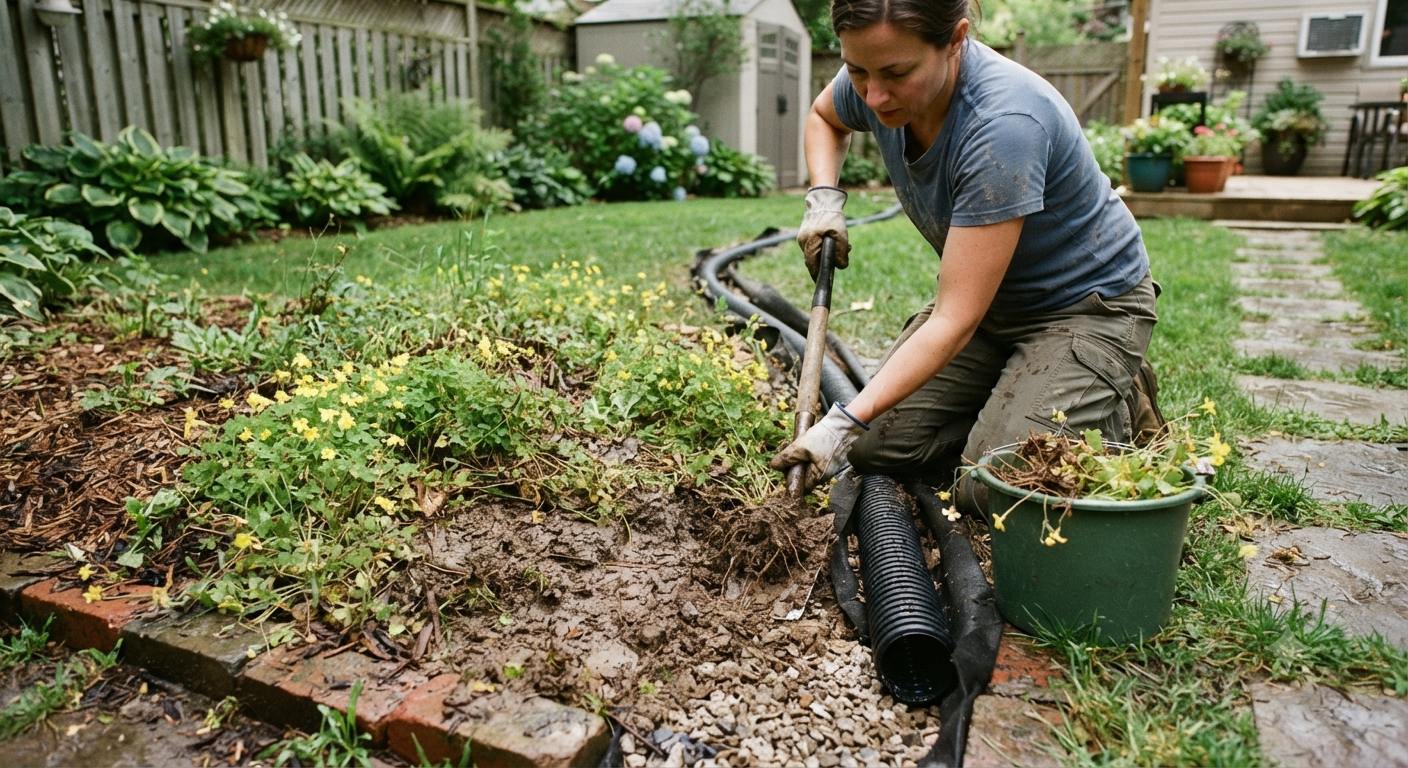
If you’ve spotted little clover-looking weeds with cheerful yellow flowers popping up in your flower beds, your lawn, or even your potted plants, I’ve got bad news: that’s oxalis, and it did not come alone. For every one plant you see above the soil, there’s a network of bulbs and seed pods below just waiting for their turn.
I remember the first time I tried to pull a patch of oxalis out of my strawberry bed. I grabbed a handful, gave it a satisfying yank, and felt pretty proud of myself. Two weeks later, that same spot had twice as many sprouts. That’s when I found out oxalis doesn’t play by the rules other weeds follow.
This weed (sometimes called yellow woodsorrel, creeping oxalis, or “false shamrock”) spreads through underground bulblets, seed capsules that literally explode on contact, and rhizomes that snap off if you tug too hard. Pull it wrong and you’ve basically planted more of it.
The good news: you don’t need harsh chemical herbicides to beat this thing. I’ve spent more growing seasons than I care to admit testing every natural method under the sun, and some of them genuinely work. Others are a waste of a Saturday afternoon. Let’s get into what actually gets rid of oxalis for good.
Why Oxalis Is So Hard to Get Rid Of
Before we get to the fixes, it helps to know what you’re up against. Oxalis has three tricks that make it a nightmare for gardeners:
- Underground bulbs. Mature oxalis plants form small bulbs beneath the soil surface. Pull the top growth without digging out the bulb, and it just regrows.
- Exploding seed pods. Those little okra-shaped seed capsules can fling seeds several feet away when disturbed. Brush against a mature plant while weeding and you’ve just reseeded your whole bed.
- Shallow, fast root systems. Oxalis roots establish quickly, which means it out-competes slower germinating plants for water and nutrients almost immediately.
Once you understand that oxalis is playing a long game with bulbs and seed banks, the natural control methods below will make a lot more sense.
I also want to clear up a common mix-up: a lot of people confuse oxalis with clover because of the three-leaf shape, especially before the yellow flowers show up. The easiest way to tell them apart is the leaf shape itself. Clover leaves are rounded and oval, while oxalis leaves are heart-shaped and fold up at night, almost like tiny green umbrellas closing. If you’re not sure which one you’re dealing with, that folding behavior at dusk is a dead giveaway.
Knowing which weed you’re actually fighting matters, because clover responds fine to plain digging and doesn’t have the same bulb-and-explosive-seed combo working against you. Treating clover like oxalis is harmless overkill. Treating oxalis like clover is how it takes over an entire bed in a single summer.
1. Hand-Pull Oxalis the Right Way (Timing and Technique Matter)
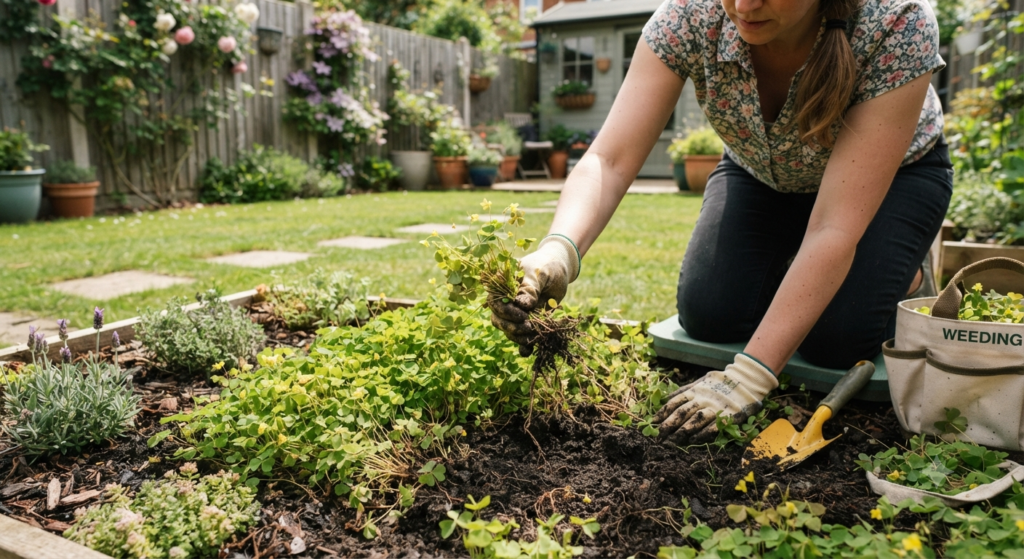
Hand-pulling gets a bad reputation because most people do it wrong. The trick isn’t whether you pull it, it’s when and how.
Pull oxalis first thing in the morning after a good rain or a deep watering, when the soil is soft. Dry, compacted soil means the bulb snaps off underground and regrows within days.
Grip the plant as close to the soil line as you can, and pull slowly and steadily instead of yanking. A slow pull gives the bulb time to loosen from the surrounding dirt rather than shearing off.
Use a soil knife or a narrow dandelion weeder to loosen the ground around the base first. I keep one in my back pocket every time I’m out in the beds because oxalis shows up in the same spots year after year, and going in with a tool instead of bare hands means I’m actually removing the bulb, not just the leaves.
Bag every bit you pull instead of tossing it on the compost pile. Home compost piles rarely get hot enough to kill oxalis seeds or bulbs, and I’ve accidentally reintroduced weeds into my garden this way more than once with other plants. Don’t make that mistake with oxalis.
2. Smother It With Cardboard and Mulch
This is my go-to for larger patches, especially in beds I’m not actively planting in for a season. Oxalis needs light to photosynthesize and keep producing those bulbs, so cutting off its sun access works in your favor.
Mow or trim the oxalis down as low as possible first. Lay plain cardboard (no glossy print, no tape) directly over the area, overlapping the edges by at least six inches so light can’t sneak through the seams.
Wet the cardboard down so it lays flat and starts breaking down faster, then top it with 3 to 4 inches of mulch, wood chips, or straw.
Leave it in place for at least eight weeks during the growing season. I’ve found that anything shorter and the oxalis just waits you out, sprouting the second you pull the cardboard up. A full season is even better if you can spare the space.
This method won’t touch bulbs that are dormant several inches down, but it will exhaust the plants actively trying to grow, which knocks the population down significantly over a year or two.
3. Pour Boiling Water on Small Patches
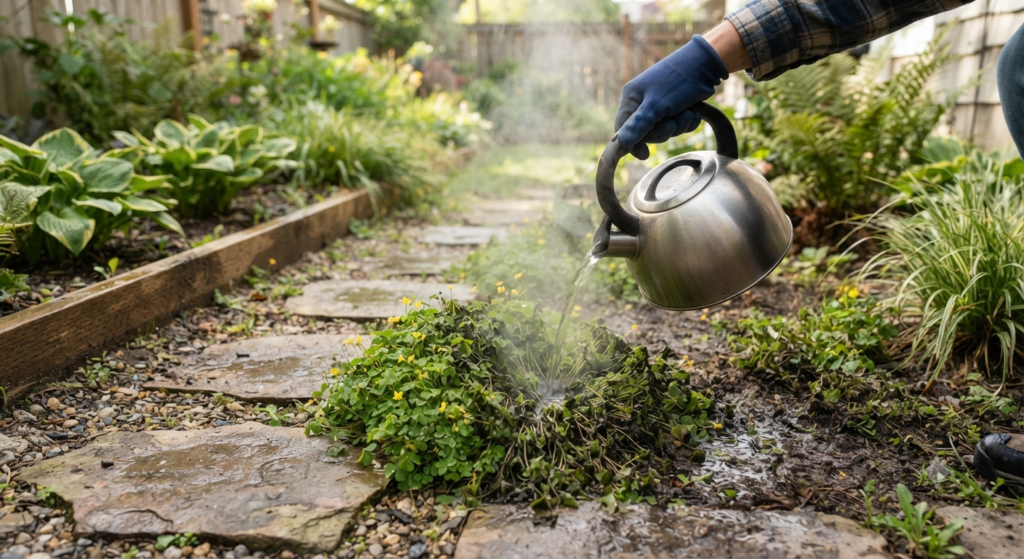
Boiling water is brutally effective on oxalis growing in cracks, along pathways, or in small isolated patches where you don’t mind killing everything in that exact spot.
Boil a full kettle and carry it straight out to the weed. Pour it slowly and directly onto the leaves and the base of the plant, letting the heat soak down toward the root zone.
This scalds the plant tissue almost instantly, and you’ll see wilting within hours. It won’t necessarily kill a well-established bulb in one pass, so plan on repeating the treatment every few days for a couple of weeks on stubborn patches.
Only use this near hardscaping, gravel paths, or driveway cracks. Boiling water is not selective. It will kill your grass, your perennials, and anything else it touches, so keep it far away from beds with plants you actually want.
4. Make a Vinegar and Dish Soap Spray
This is probably the most talked-about natural oxalis killer, and for good reason: it works on young growth, and the ingredients are already in your kitchen.
Mix one gallon of white vinegar (look for 20% horticultural vinegar if you can find it, since household vinegar is only 5% acetic acid and much weaker) with one tablespoon of dish soap. The soap breaks the surface tension on the leaves so the vinegar actually sticks instead of beading up and rolling off.
Pour the mixture into a spray bottle or garden sprayer and coat the leaves thoroughly on a hot, sunny, dry day. Heat speeds up how fast the vinegar burns through the plant’s cell walls.
Spray in the morning so the plant has a full day of sun to help the treatment work. Avoid spraying right before rain, since it’ll just wash the solution off before it has a chance to do anything.
Reapply every 5 to 7 days. Vinegar is a contact herbicide, meaning it only kills the parts it touches, not the bulb underground. You’re essentially starving the bulb by repeatedly killing off its leaves until it runs out of stored energy.
5. Try a Boiling Salt Brine for Persistent Patches
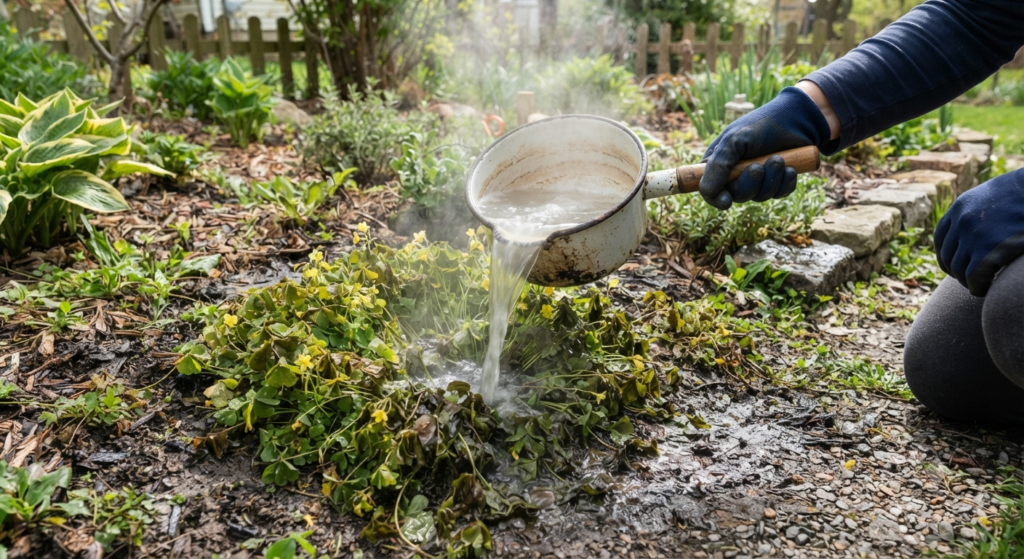
When straight vinegar isn’t cutting it, I bump up the strength with a salt brine. This combo is more aggressive, so I only use it in spots where I genuinely don’t want anything growing again for a while, like gravel edges or between pavers.
Dissolve one cup of table salt into a gallon of boiling water, stirring until it’s fully dissolved. Let it cool slightly so it’s still hot but won’t melt a plastic sprayer.
Pour it directly over the oxalis, saturating the soil around the base as well as the leaves.
Salt lingers in soil far longer than vinegar does, sometimes affecting what can grow there for a full season or more. I’d never use this near vegetable beds, lawns, or anywhere I plan to plant again soon. It’s a last-resort option for oxalis growing somewhere you actually want bare ground.
6. Solarize the Soil in Peak Summer Heat
Soil solarization is slower than most methods on this list, but it’s one of the few that can actually kill bulbs and seeds sitting deeper in the soil, not just the visible growth.
Clear the area of debris and water the soil thoroughly so heat transfers more efficiently through damp soil than dry soil.
Stretch clear plastic sheeting tightly over the area and bury the edges in a trench so it’s sealed down and airtight.
Leave it in place for 4 to 6 weeks during the hottest stretch of summer. Soil temperatures underneath can climb past 140°F, which is hot enough to cook oxalis bulbs and most of the seed bank in the top several inches.
This method takes your growing space out of commission for over a month, so it works best for a bed you’re prepping ahead of fall planting rather than an area you need right now.
7. Improve Drainage So Oxalis Loses Its Favorite Habitat
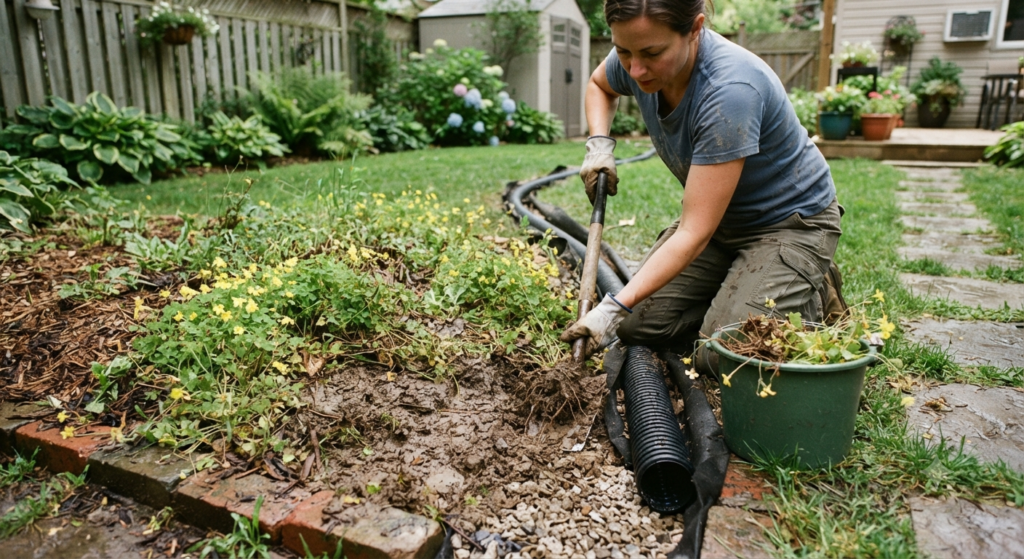
Oxalis loves compacted, poorly draining soil, and I’ve noticed it shows up heaviest in the soggiest corners of my yard every single time. Fixing the underlying soil conditions makes the whole area less hospitable for it long term.
Work compost or coarse sand into heavy clay soil to break it up and improve how quickly water moves through it.
Check your downspouts and grading. If water is pooling anywhere in your yard after a rain, that’s prime oxalis real estate, and redirecting that runoff helps more than any spray ever will.
Aerate compacted lawn areas at least once a year, especially if you’ve got heavy foot traffic or clay-heavy native soil.
This isn’t a fast fix, and it won’t kill the oxalis that’s already there. But paired with hand-pulling or mulching, it stops your yard from being a five-star oxalis resort going forward.
I learned this one the slow way, not through a single disaster, but through years of pulling the same patch out of the same low corner of my yard every single spring. It wasn’t until I finally traced a downspout that was dumping water straight into that corner that the pattern clicked. I redirected the spout, worked in some compost, and that corner went from my worst oxalis offender to barely a problem within two seasons. Sometimes the weed isn’t really the problem. It’s just a symptom of what your soil is telling you.
8. Plant a Thick Ground Cover or Overseed Bare Lawn Patches
Oxalis is an opportunist. It moves into bare soil and thin, patchy lawn because there’s nothing else competing for the space. Once you remove the existing weeds, don’t leave that ground open for long.
In lawn areas, overseed bare or thinning patches right after you’ve cleared oxalis, using a grass variety suited to your climate and sun exposure.
In garden beds, plant dense ground covers like creeping thyme, clover, or ajuga to physically crowd out new oxalis seedlings before they get established.
Mulch any remaining bare soil between plants, since exposed dirt is basically a welcome mat for oxalis seeds blowing in from your neighbor’s yard.
I’ve found this step matters more than people expect. You can spend an entire season pulling and spraying oxalis, but if you leave the soil bare afterward, you’re just resetting the clock for the next round of seeds to move in.
9. Stay Consistent With Weekly Monitoring
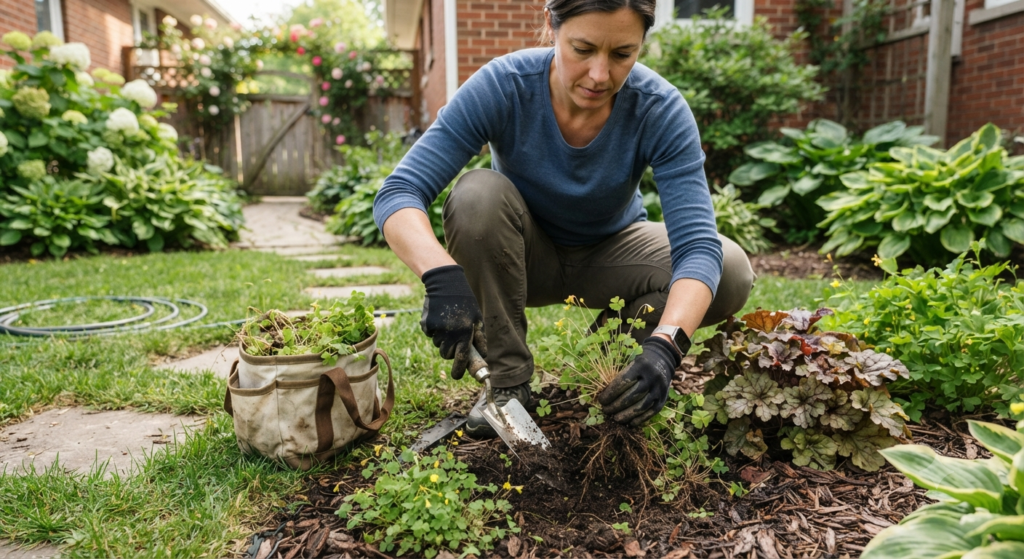
Here’s the part nobody wants to hear: oxalis control isn’t a one-time job. It’s a habit.
Walk your beds and lawn edges once a week during the growing season, specifically looking for the small clover-shaped leaves before the plant has a chance to flower and seed.
Pull or spot-treat anything you find immediately, since a single unnoticed plant can produce dozens of seed pods within a few weeks.
Keep at it for at least two full growing seasons. Oxalis seeds can stay viable in soil for years, so what looks like a total win in June can sprout again in September from seeds you didn’t even know were there.
Quick side note: mark problem spots with a small stake or garden marker as you clear them. It sounds excessive, but it saves you from replaying the same guessing game every week trying to remember where the worst patches were.
Real Talk: What Doesn’t Work (and What to Skip)
I want to save you some time and a few headaches here, because not everything people recommend for oxalis actually holds up.
- Tilling the soil. This is probably the single worst thing you can do to an oxalis patch. Tilling chops up the bulbs and rhizomes into dozens of smaller pieces, and nearly every piece can regrow into a brand-new plant. I made this mistake early on trying to “clear out” a bed fast, and I turned one patch into five.
- One-and-done vinegar spraying. A single spray round kills the leaves you can see and does basically nothing to the bulb. If you’re not planning to reapply every week for a month or more, don’t bother starting.
- Composting pulled plants. I mentioned this above, but it’s worth repeating. Home compost piles rarely reach the sustained heat needed to kill oxalis bulbs and seed pods, and tossing pulled weeds in there is a great way to spread the problem to every bed you top-dress with that compost later.
- Boiling water on large areas. It’s satisfying in the moment, but hauling multiple kettles of boiling water across a big patch just isn’t practical, and you’ll kill the surrounding soil life along with the weed. Save this method for small, isolated spots.
- Expecting one method to finish the job. Oxalis rarely gets wiped out by a single tactic. The gardeners I know who’ve actually beaten it back combined at least two or three of these methods and stuck with it for more than one season.
Frequently Asked Questions About Killing Oxalis Naturally
- Does baking soda kill oxalis? Baking soda can dry out and stress the leaves on contact, similar to salt, but it won’t reach the bulb underground. It’s not a method I’d rely on for lasting results.
- Is oxalis actually harmful to my garden, or just annoying? Beyond being a fast spreader, oxalis competes aggressively with your other plants for water, light, and nutrients, and it can shade out low-growing seedlings before they get established. It’s more than a cosmetic nuisance.
- Can I eat the oxalis growing in my yard? Some oxalis species are technically edible in small amounts and have a tangy, lemony flavor from the oxalic acid they contain, but I wouldn’t recommend snacking on random yard weeds without being 100% sure of the species and confirming it hasn’t been sprayed with anything.
- How long does it take to fully get rid of oxalis? Realistically, plan on one to two full growing seasons of consistent effort. Given how long the seeds stay viable in soil, anyone promising a one-week fix is not being straight with you.
Final Thoughts
Oxalis is stubborn, but it’s not unbeatable. The gardeners who win this fight aren’t the ones with the fanciest spray. They’re the ones who show up every week, pull what they see, and don’t leave bare soil sitting around for new seeds to move into.
Pick two or three methods from this list that fit your situation, whether that’s hand-pulling plus mulching, or vinegar spray plus overseeding, and give it a full season before you judge the results.
What’s your oxalis situation looking like right now, lawn, garden beds, or gravel paths? Drop a comment below and let me know what you’ve already tried. I read every one, and I might just steal your trick for my own yard.

About Syprose Kiche
Syprose Kiche is the creator and writer behind My Besuited Home, a practical home and garden website covering DIY projects, gardening, lawn care, landscaping, home improvement, and outdoor living. She focuses on turning everyday homeowner questions into clear, practical guides backed by careful research and useful real-world considerations.