
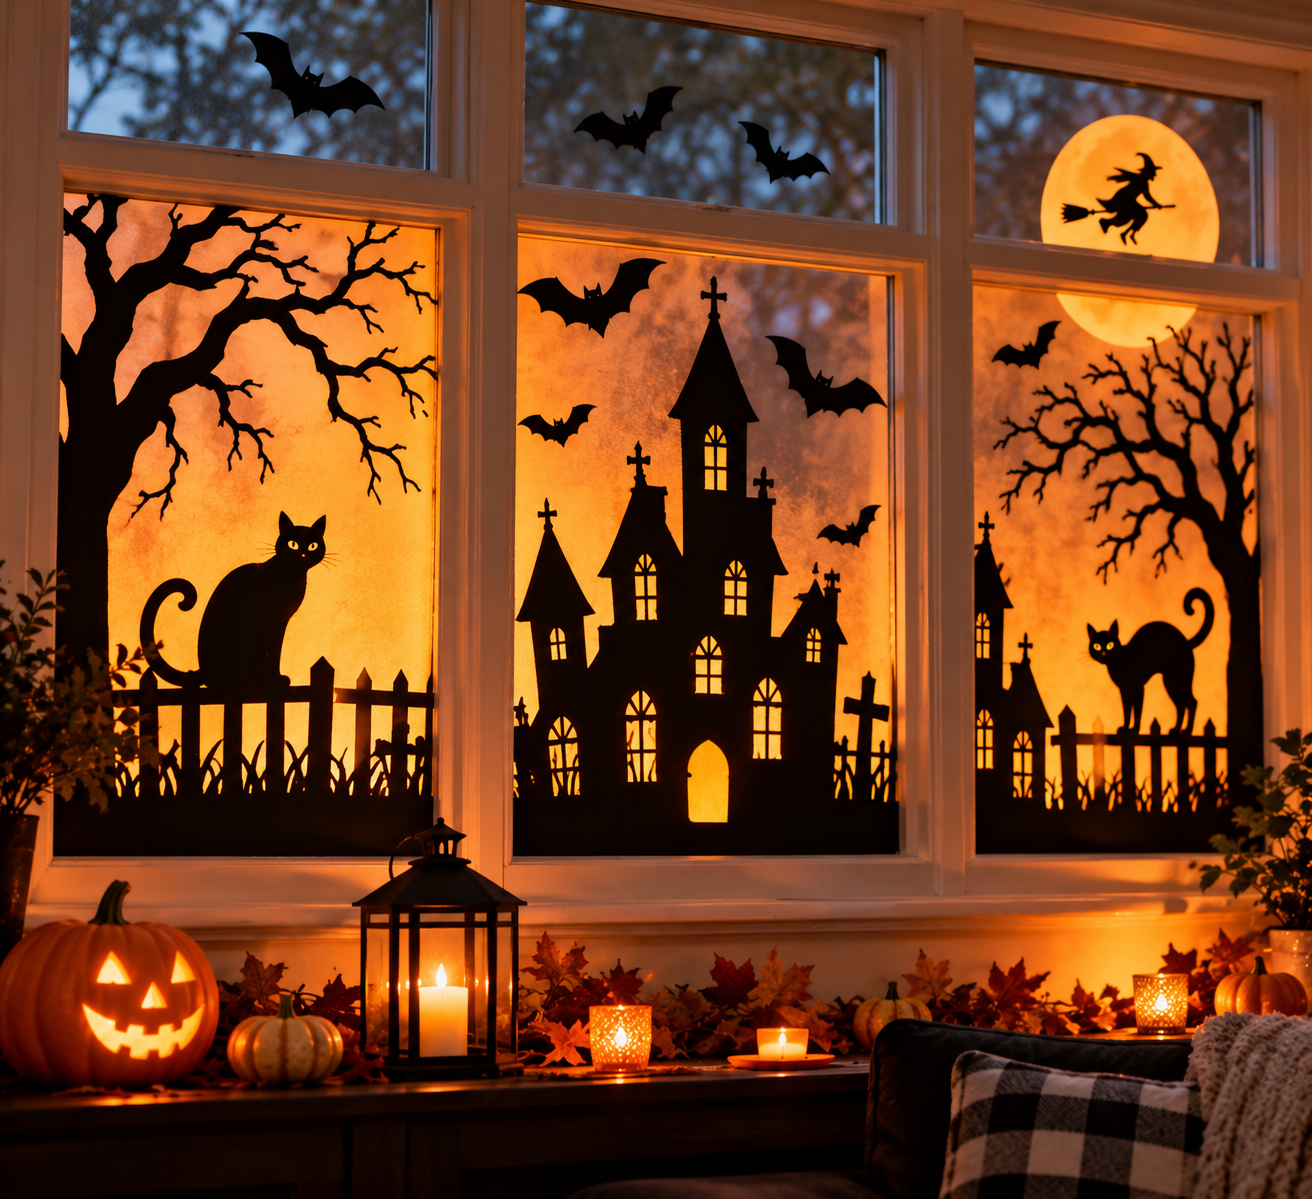
Most Halloween decorations are used for a few weeks and then boxed up or thrown away. Meanwhile, the recycling bin holds cereal boxes, pasta-sauce jars, cardboard tubes, and a pile of paper that would make convincing bats with nothing more than scissors. The French word bricolage describes exactly this habit: building something useful or beautiful from whatever happens to be on hand. Applied to October, it means a porch full of tombstones cut from shipping cartons, glowing jar lanterns, and a haunted house made from a grocery box.
The approach costs very little, but it does have its own rules. Cardboard dissolves in rain, hot glue burns small fingers, and real candles inside paper decorations are a fire hazard. The projects below come with those limits built in, along with material lists, steps, and ways to make each piece look like yours rather than a copy of someone else’s.
What Bricolage Halloween Actually Means
Bricolage Halloween is simply Halloween decorating built from found, recycled, and leftover materials instead of store-bought kits. The French root describes a tinkerer who improvises with what is within reach. The method has a built-in advantage: because no two stashes of scrap look alike, no two finished pieces do either.
It also changes how you plan. Instead of choosing a design and then buying supplies, you look at what you have and ask what it could become. A tall oatmeal canister is already most of a witch’s hat or a gothic tower. A torn bedsheet is already a ghost. A cracked teacup with no handle is already a candle holder for an LED light.
The tradeoff is that scrap materials are inconsistent. Cardboard varies in thickness, jars come with different lid sizes, and fabric stretches in unpredictable ways. Most of the tips in this article exist to deal with that inconsistency.
Build a Scrap Stash Before You Start
A week or two of saving is enough to cover most of the projects here. Keep a single box or bin and drop things in as they come up.
- Cardboard: shipping cartons, cereal boxes, and pizza boxes (clean sections only, since grease prevents paint and glue from holding). Corrugated cardboard is sturdier for outdoor pieces; thin chipboard from cereal boxes folds and cuts more cleanly for small details.
- Glass jars: pasta sauce, pickle, jam, and baby-food jars. Soak off labels in warm soapy water, then rub off leftover adhesive with a little cooking oil.
- Cardboard tubes: toilet paper and paper towel rolls.
- Paper scraps: black construction paper, old sheet music, newspaper, brown paper bags, tissue paper, and gift wrap.
- Old fabric: worn-out white sheets, cheesecloth, lace curtains or doilies, T-shirts, burlap, and flannel.
- Small extras: egg cartons, tin cans, buttons, twine, and wire.
For tools, you need scissors, a craft knife for adults, a ruler, a hot glue gun (a low-temperature model if children will use it), white craft glue, and acrylic paint in black, white, orange, purple, and green. Acrylic is the practical choice because it dries quickly, covers dark cardboard in two coats, and cleans up with water.
Safety Rules Worth Settling Before Anyone Picks Up Scissors
These apply across nearly every project in the list, so they are collected here rather than repeated fifteen times.
Use LED lights, not flames. Paper, fabric, and cardboard ignite easily, and a jar full of loose paper scraps or a fabric ghost brushing a flame is not a risk worth taking. Battery-powered LED tea lights and string lights are inexpensive and produce a convincing flicker. Keep any real candles well away from decorations.
Treat hot glue as a burn risk. Even low-temperature guns produce enough heat to cause a painful blister. Younger children can use white glue, double-sided tape, or glue dots instead, and an adult can handle the gun for anything that needs a fast bond.
Handle glass and cut metal carefully. Check jars for chips and cracks before using them. Tin cans have sharp rims, so press the cut edge flat with pliers or cover it with duct tape. Have an adult do the cutting, drilling, and hammering.
Keep decorations clear of exits and walkways. Hanging pieces on a porch should not block the door or catch anyone’s face, and anything on stairs or paths should be placed where a trick-or-treater in a costume mask can see it.
Ventilate when using spray products. Spray paint and sealants should be used outdoors, away from children and pets, and according to the label. Dry pieces fully before bringing them inside.
Think about pets. Dangling string, small buttons, and shredded fabric tempt cats and dogs to chew. Anything that can be swallowed should stay out of reach.
Porch and Yard Decorations That Survive October Weather
Outdoor pieces face the biggest challenge: moisture. Cardboard left unprotected on wet grass goes soft within a day or two. If rain is in the forecast, either place pieces under a covered porch or seal them first. Acrylic paint gives some resistance, a coat of clear water-based sealer gives more, and neither makes cardboard permanent. Treat outdoor cardboard as a decoration for a week or two, and bring it inside during storms.
1. Cardboard Tombstones
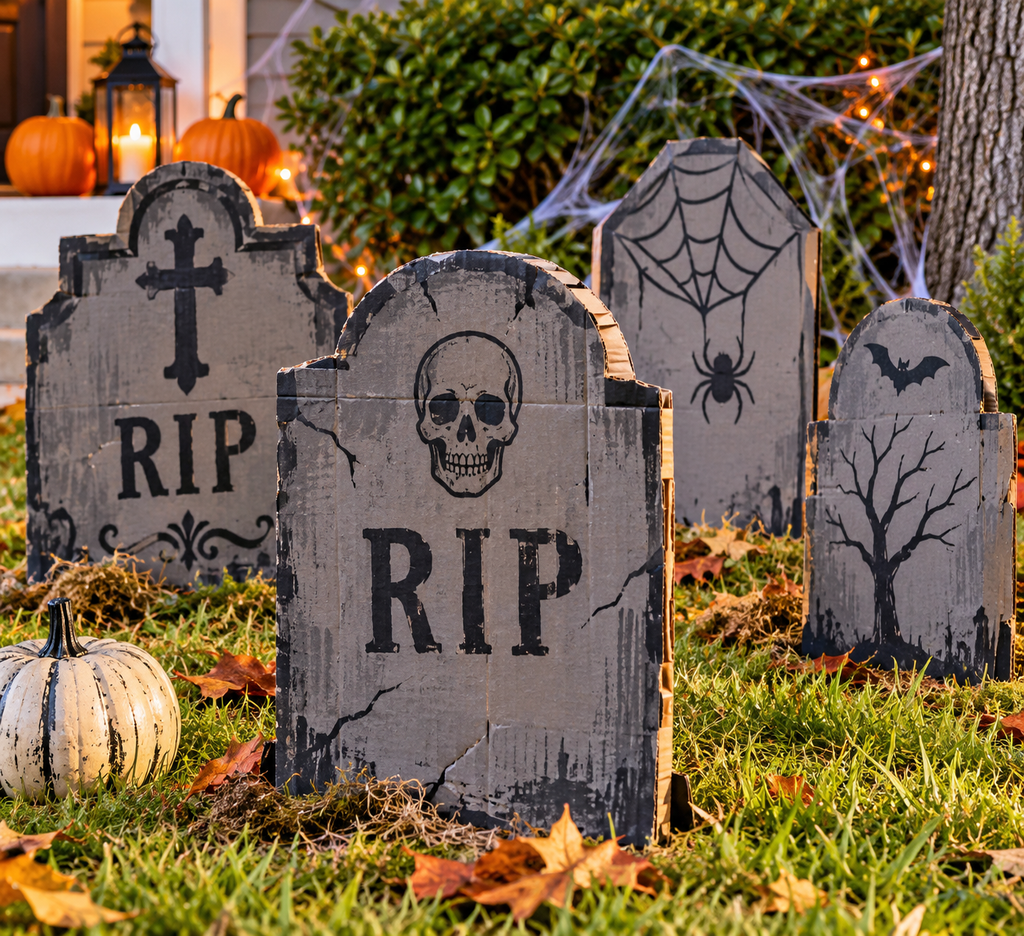
A row of leaning gravestones is among the easiest ways to make a yard look haunted, and shipping boxes provide plenty of material.
Materials: large corrugated cardboard, pencil, scissors or craft knife, gray and black acrylic paint, a sponge, wooden skewers or garden stakes, and hot glue or duct tape.
Steps:
- Cut a tombstone shape roughly 18 to 24 inches tall. Rounded tops look classic, and a cross or a jagged broken top gives variety.
- For stability, cut a second piece slightly smaller and glue the two together with the corrugation running in opposite directions. This resists warping far better than a single layer.
- Paint the front gray. While it is still damp, dab on black and white with a sponge to create a mottled, stone-like texture.
- Add lettering with a black marker or paint pen once the base is dry.
- Tape or glue two stakes to the back and push them into the ground, angled slightly for a settled look.
Make it yours: Skip “RIP” and write the names of fictional neighbors, jokes about your street, or the names of the family pets turned into ghostly puns. Moss made from green felt scraps glued along the base adds age.
Limitation: These do not survive heavy rain. For a longer-lasting version, use scrap lumber or foam board from packaging, which handles moisture better.
2. Pierced Tin Can Lanterns
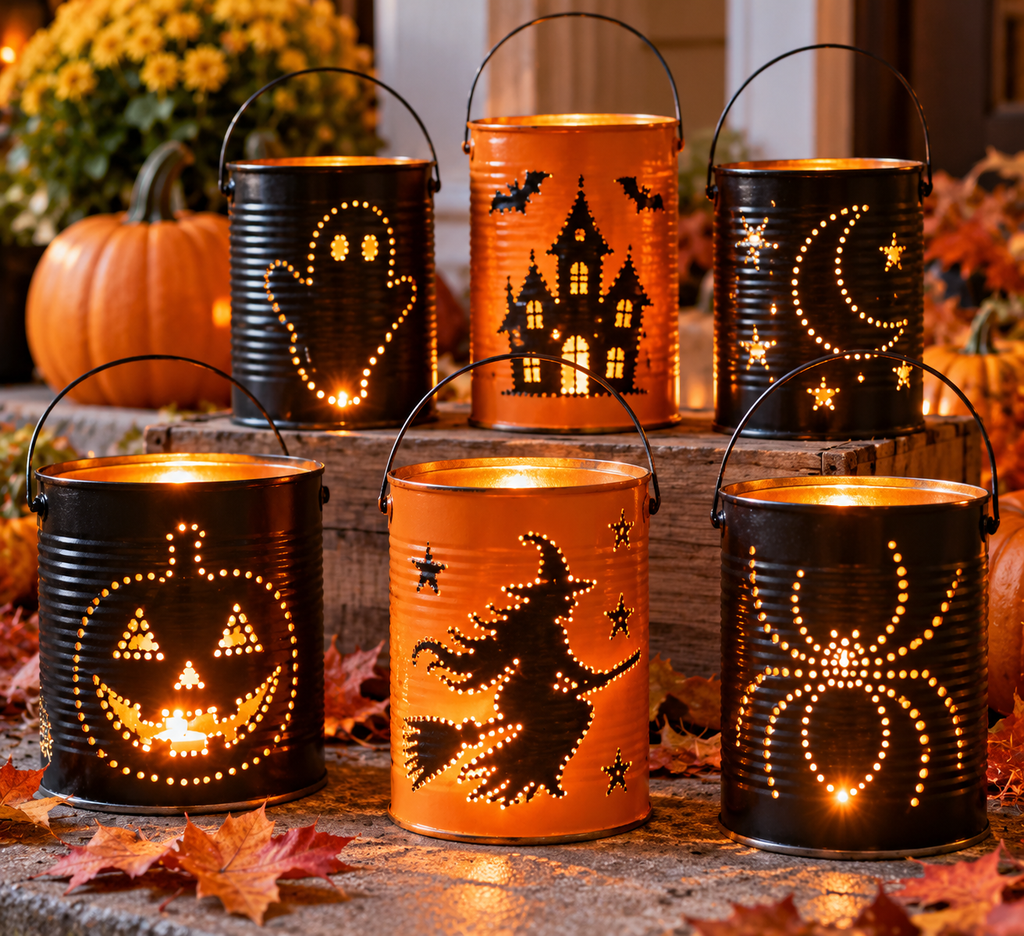
Punched metal cans throw patterned light that reads as eerie from a distance, which makes them a good choice for porch steps and walkways.
Materials: clean empty tin cans with the labels removed, a hammer, a large nail, a towel, water, a permanent marker, and LED tea lights. Wire for handles is optional.
Steps:
- Fill the can with water and freeze it solid. The ice keeps the metal from denting when you hammer.
- Draw a pattern on the can with a marker. Bats, stars, moons, and zigzag lines all work. Dots are the easiest.
- Wrap the can in a towel to hold it steady and tap the nail along your lines, spacing the holes about a quarter inch apart.
- Let the ice melt and dry the can.
- Press the cut rim flat with pliers, or wrap the top edge with tape, and drop in an LED tea light.
Tip: Spray the outside black or paint it before punching if you want a darker, more gothic look. The holes will glow brighter against a dark surface.
Safety note: Hammering a nail through metal produces sharp burrs on the inside of the can. Keep fingers out and have an adult run a gloved hand around the interior to check for rough spots.
3. Mason Jar Ghost Lanterns
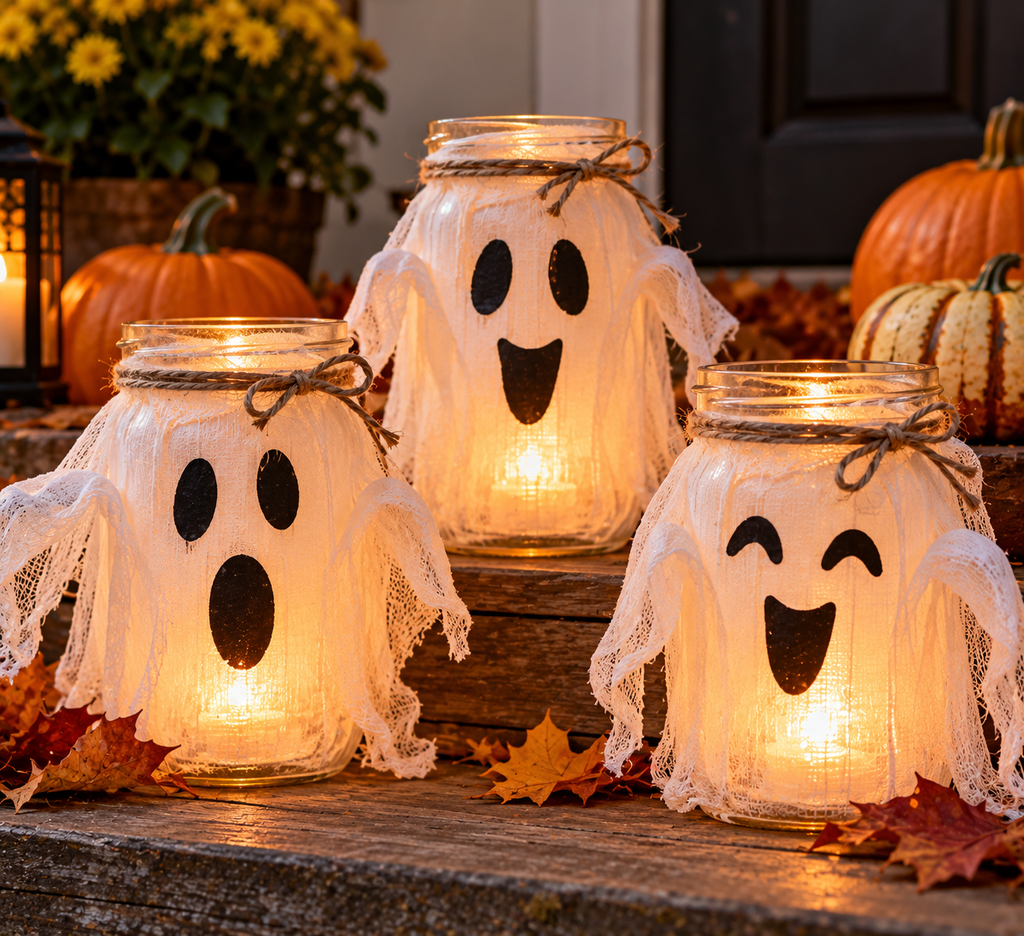
A glass jar with a face painted on it looks like a small glowing ghost, and a cluster of them along a porch rail is more convincing than a single large decoration.
Materials: clean glass jars of different sizes, white or off-white tissue paper, decoupage glue, a foam brush, black paint or a permanent marker, LED tea lights, and twine for hanging.
Steps:
- Tear tissue paper into pieces roughly two inches wide. Torn edges blend better than cut ones.
- Brush glue on a section of the jar and press the tissue on, smoothing out wrinkles. Overlap pieces slightly and cover the whole jar.
- Seal with a thin coat of glue over the top and let it dry for several hours.
- Draw or paint two oval eyes and a mouth. Surprised O-shaped mouths look especially ghostly.
- Place an LED light inside. For a hanging version, wrap twine or thin wire around the jar neck and make a loop.
Make it yours: Experiment with face shapes. Tall, narrow jars give long mournful faces, while squat jars look chubby and friendly. Leave the tissue slightly transparent for a softer glow, or add a second layer for a brighter, more opaque white.
Window Displays That Work From the Street
Windows are underrated. Because light shines through them at night, paper cutouts become silhouettes that read clearly from the sidewalk.
4. Paper Bat Flock
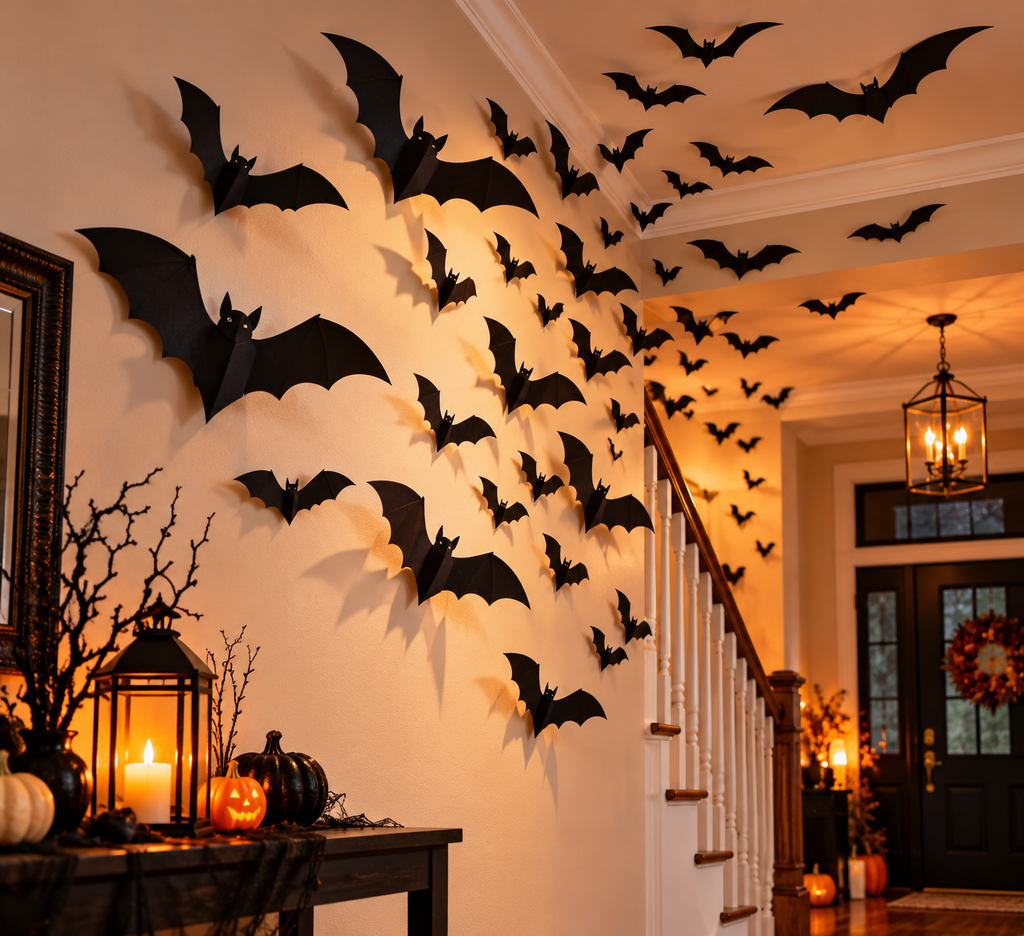
Bats cut from black paper are a classic for a reason: the shape is distinctive, easy to cut, and effective even when crude.
Materials: black construction paper, cardstock, or thin cardboard from cereal boxes, a bat template (draw one freehand or trace a printed outline), scissors, and clear tape or removable adhesive putty.
Steps:
- Fold a sheet of paper in half and draw half a bat along the fold, with the wing peaks reaching the edge of the sheet. Cut it out, then open it up so both wings match.
- Cut several sizes from tiny to roughly 10 inches across. A mix looks more natural than identical bats.
- Gently curl the wing tips upward with a pencil to give them some dimension.
- Arrange them on the window in a swarm that spirals outward from a corner, so it appears the bats are flying away from something.
Tip: Cereal-box cardboard keeps its shape better than construction paper and does not curl in humid rooms. For a more layered look, cut bats from both paper and old sheet music and mix them.
Caution: Use removable tape or putty on painted or wallpapered surfaces. Standard tape can pull off paint, particularly after several weeks in sunlight.
5. Black Cat and Haunted Skyline Silhouettes
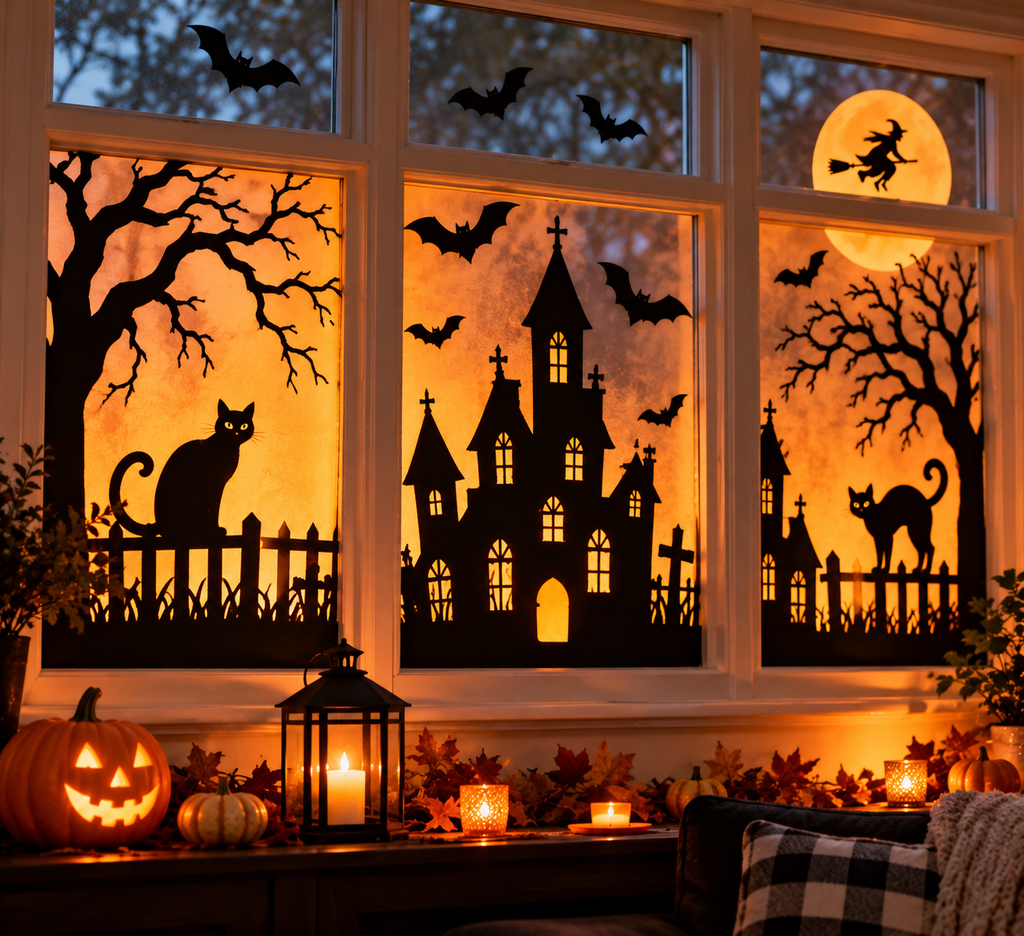
A large cat on a windowsill or a row of crooked rooftops cut from black paper is dramatic and cheap.
Materials: large black poster board or the inside of a dark cardboard box, white chalk or pencil, craft knife, and tape.
Steps:
- Sketch a cat sitting upright with arched back and a tail curling upward, or draw a skyline with a tower, a dormer window, a crooked chimney, and a bare tree.
- Cut it out with a craft knife on a protected surface.
- Tape the silhouette inside the window with the back facing the street.
- Cut small windows or eyes out of the shape and back them with yellow or orange tissue paper so they glow when the room behind is lit.
Make it yours: Add a full moon cut from pale yellow paper behind the silhouette. Placing a tree branch or paper spiderweb in front increases the depth.
6. Lace and Fabric Spiderwebs
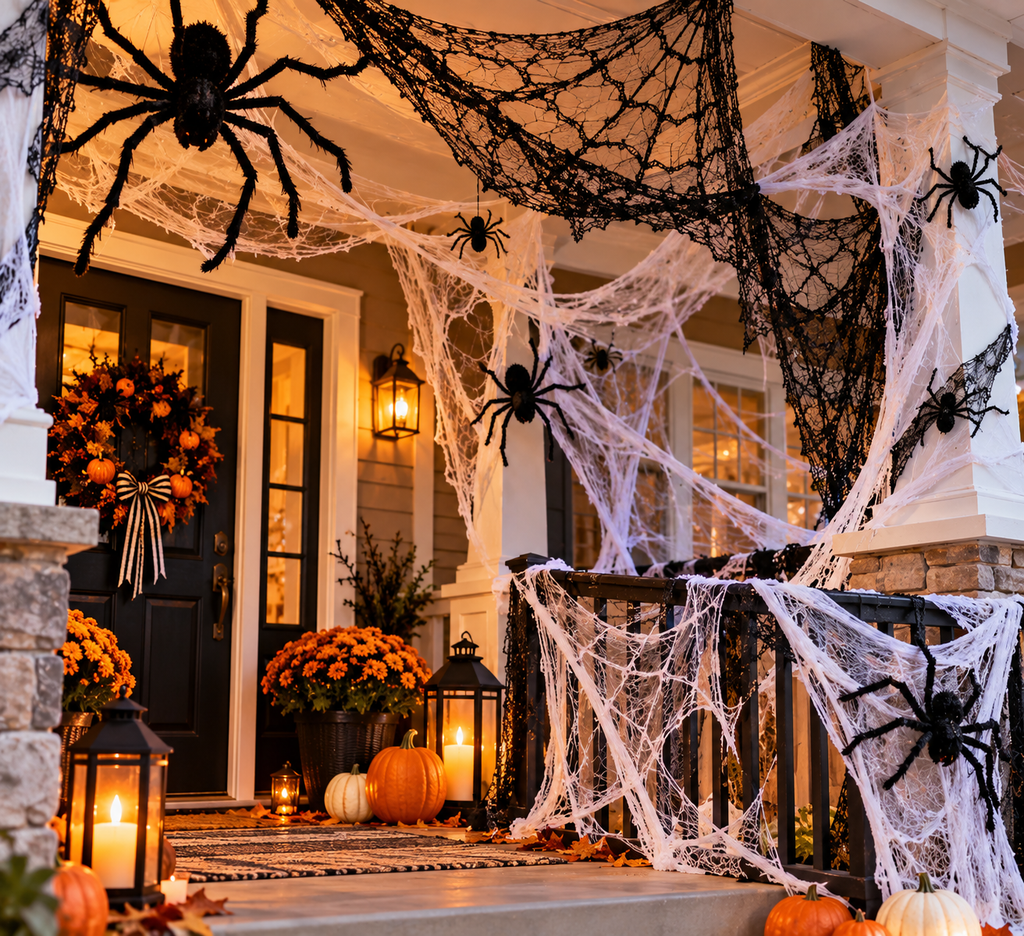
Old lace curtains, doilies, and crocheted pieces already look like webs. A little shaping makes the resemblance obvious.
Materials: white or black lace scraps, round doilies, white craft glue, embroidery hoops (optional), and small plastic or paper spiders.
Steps:
- For a window web, tape a large doily to the glass and add three or four straight strands of white yarn radiating from its center to the window frame.
- For a hanging web, stretch a lace piece inside an embroidery hoop and trim around the outside edge.
- Place a spider on the web, positioned off-center for realism.
Tip: Mix black and white lace for a gothic look. Dipping lace in diluted white glue and drying it over a bowl stiffens it into a curved, three-dimensional shape that stays that way.
Front Door Pieces That Greet Trick-or-Treaters
A front door gets close inspection, which means details matter more than they do in a yard. Choose projects with texture and character.
7. Torn-Fabric Ghost Wreath
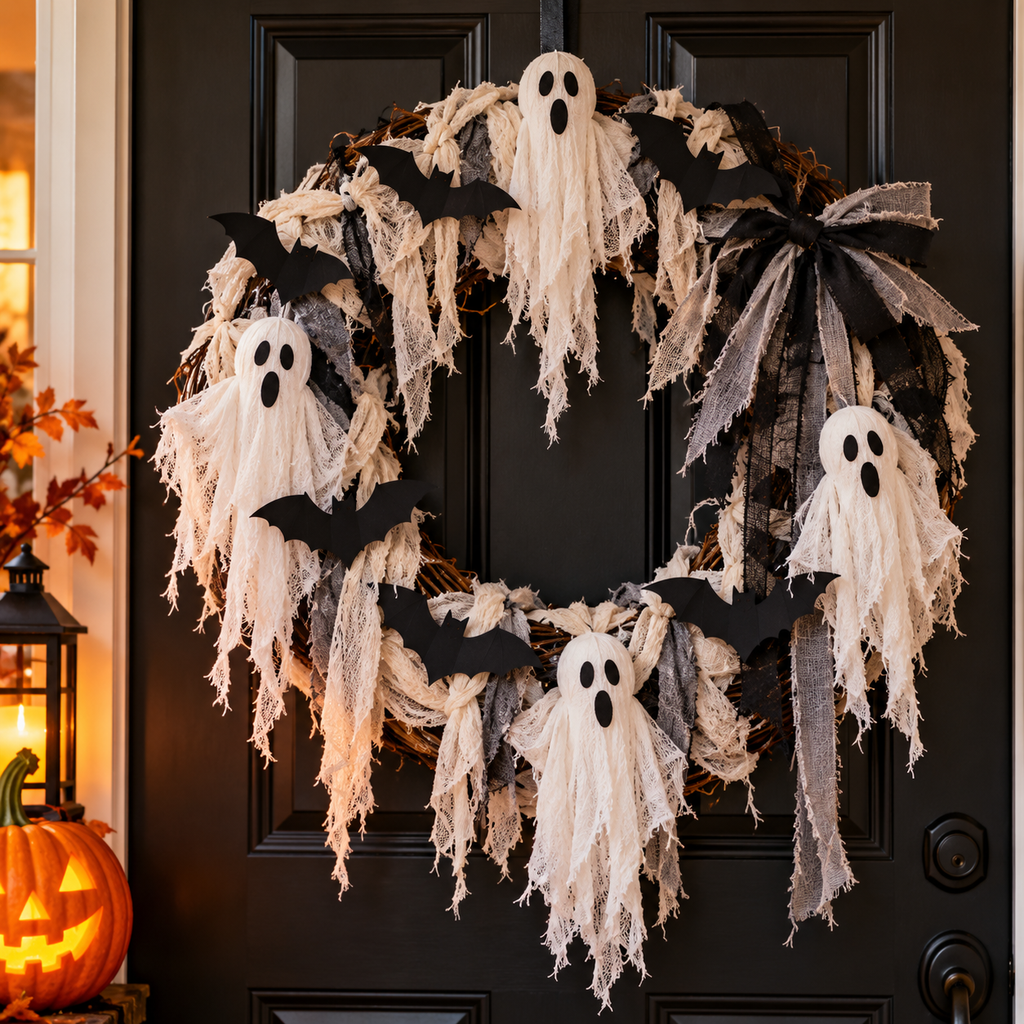
A wreath made from fabric scraps is a good use for an old sheet that is too worn to donate.
Materials: a cardboard ring (cut a large circle from a box, then cut out the center, making the ring about 3 inches wide), old white fabric or cheesecloth torn into strips about 1 inch wide and 8 to 10 inches long, black felt or paper for eyes, hot glue or white glue, and ribbon for hanging.
Steps:
- Wrap the ring in strips of fabric, tying each one around the cardboard with a simple knot. Work around the circle until it is fully covered and fluffy.
- Let some strips hang loose to give a trailing, ghostly look.
- Cut oval eyes and a mouth from black felt and glue them to the front.
- Attach a loop of ribbon to the back and hang from a hook.
Make it yours: Tea-dye white fabric before using it for an aged, yellowish ghost. Soak the strips in strongly brewed black tea for 15 to 30 minutes, then let them dry. Add a few strands of gray yarn for hair.
Limitation: Door wreaths exposed to direct sun and rain will droop. A covered entry is best.
8. Paper Scrap “Do Not Enter” Door Banner
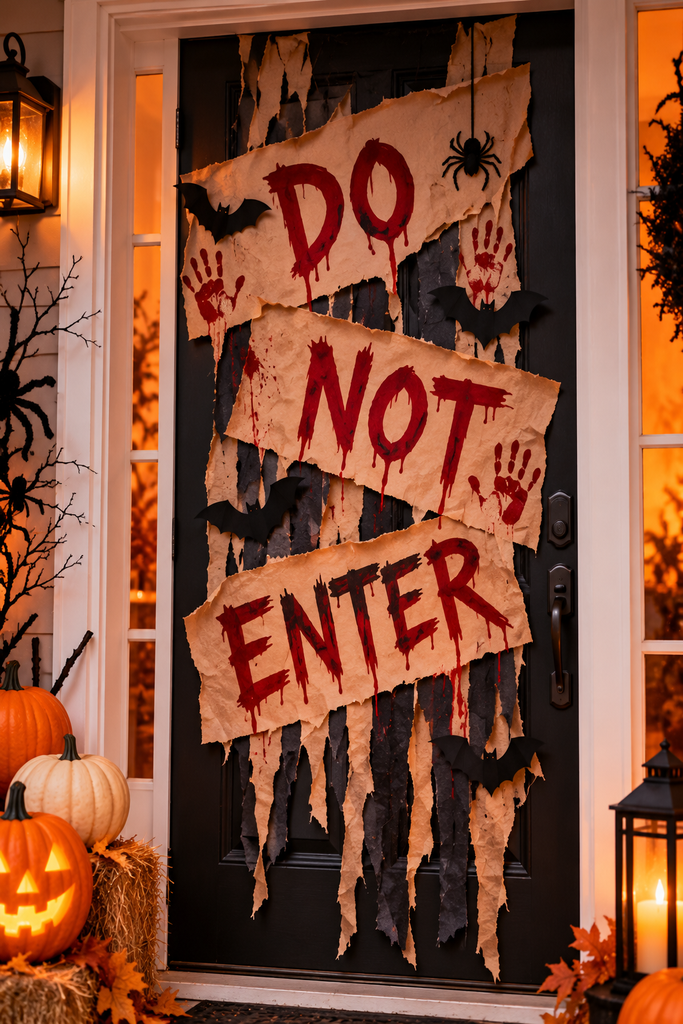
A row of paper pennants hung across the top of the door frame takes about thirty minutes to make and turns any entry into a themed one.
Materials: paper scraps (black, orange, purple, and old newspaper), scissors, twine, and glue.
Steps:
- Cut triangles about 6 inches tall from your scraps.
- Paint or draw a single image on each: a bat, a skull, an eye, a moon, a spider, a candle, and letters that spell out a message.
- Fold the top of each triangle over a length of twine and glue it in place.
- Hang across the doorway or over a window.
Tip: For a more weathered effect, crumple each triangle, flatten it, and brush with a little diluted brown acrylic paint. The creases collect color and make the paper look aged.
Indoor Displays for Mantels, Shelves, and Tables
Indoors, you can use more fragile materials and finer detail, since weather is not an issue.
9. Cardboard Haunted House Miniature
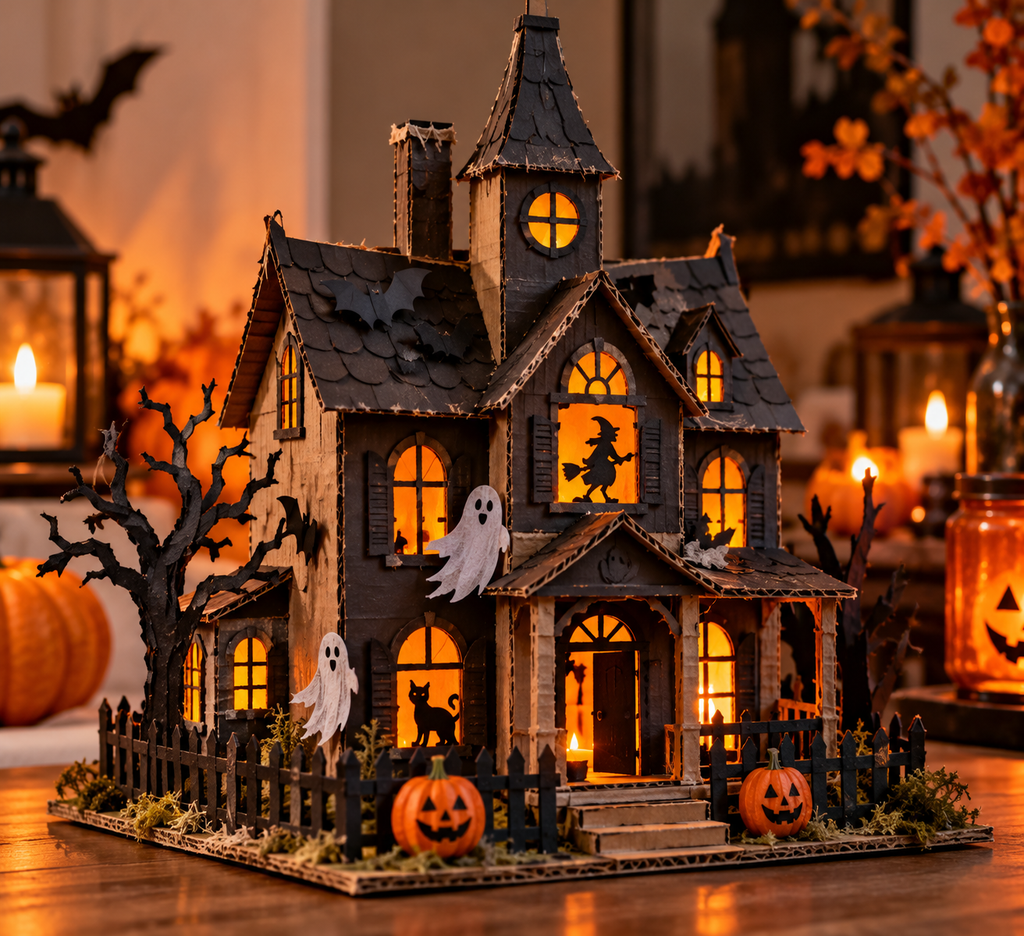
This is the most ambitious project in the list, and the one most likely to become something people want to look at up close.
Materials: cereal boxes or other thin cardboard, a small shipping box for the base structure, scissors, a craft knife, hot glue, black and gray acrylic paint, yellow tissue paper for windows, small twigs, and a few LED fairy lights.
Steps:
- Build the main structure from a small box. Cut a peaked roof from thin cardboard and glue it on.
- Add a tower by wrapping a paper towel tube in cardboard and topping it with a cone-shaped roof.
- Cut window and door openings. Glue yellow tissue paper behind the windows.
- Paint the whole house in dark grays and blacks, leaving a few areas unpainted or lightly dry-brushed for texture.
- Glue on twigs as dead trees and add shingles made from cut cardboard strips.
- Thread LED fairy lights through a back opening so the windows glow.
Tips: Make odd angles on purpose. A tilted roof, an off-center chimney, and a crooked porch look more haunted than a neat structure. Use a glue gun carefully because tissue paper and thin cardboard can scorch if the nozzle rests on them.
Make it yours: Put a tiny figure in one window, plant cotton batting “fog” around the base, or build a graveyard with toothpick crosses.
10. Apothecary Poison Bottles From Jars
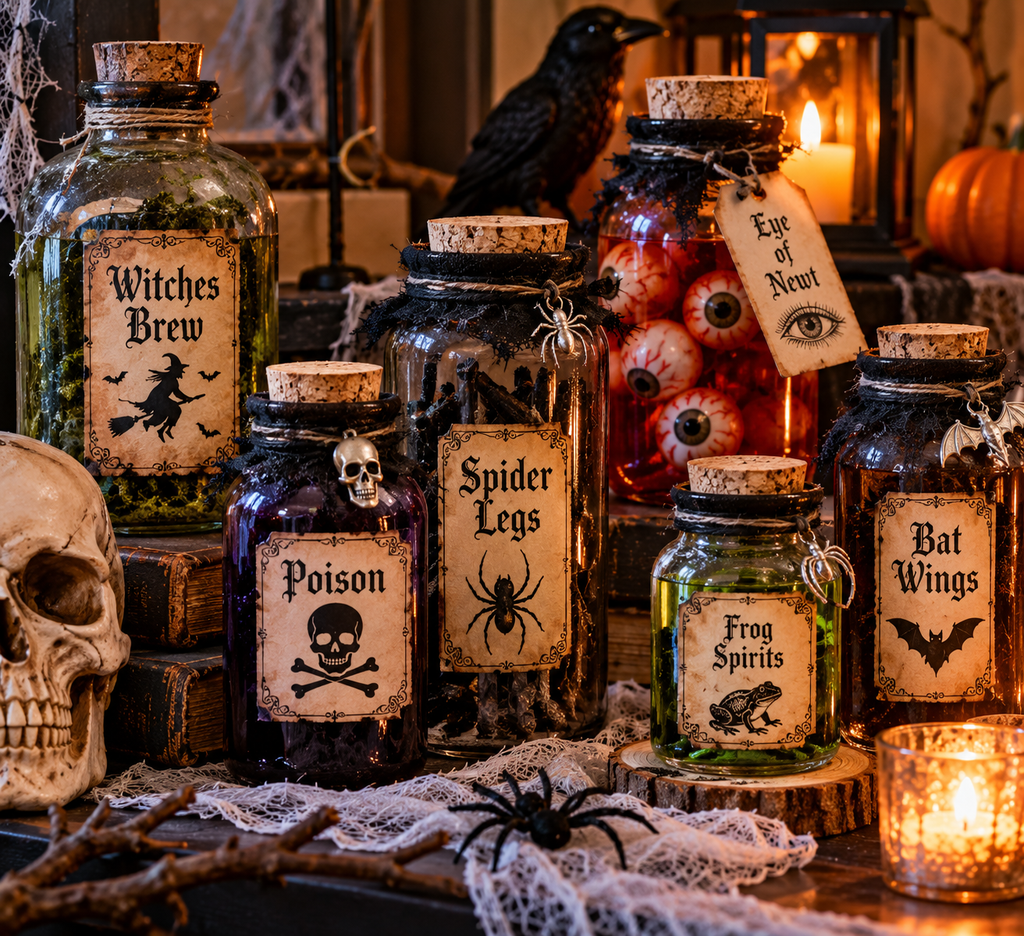
Old jars and small bottles turn into gothic apothecary pieces with a few labels and a fake residue of dust and cobwebs.
Materials: assorted clean jars and bottles, printable or hand-drawn labels (parchment-style paper works well), tea or coffee for aging paper, black paint, twine, and filler such as dried herbs, colored water, or cotton balls.
Steps:
- Make labels with names like “Wolfsbane Tincture”, “Powdered Bat Wing”, or “Essence of Midnight”. Stain the paper with strong tea and let it dry for an aged look.
- Glue the labels to the jars.
- Fill with harmless material: colored water tinted with food coloring, dried tea leaves, rice dyed with a little paint, or cotton balls for “cobwebs”.
- Close the lids and add twine or ribbon around the neck.
- Cluster the jars on a shelf at varied heights.
Safety note: Do not fill display jars with anything that could be mistaken for food or medicine, and keep the arrangement out of reach of small children or pets. Do not use real chemicals, even household ones.
11. Cardboard Tube Gothic Candelabra
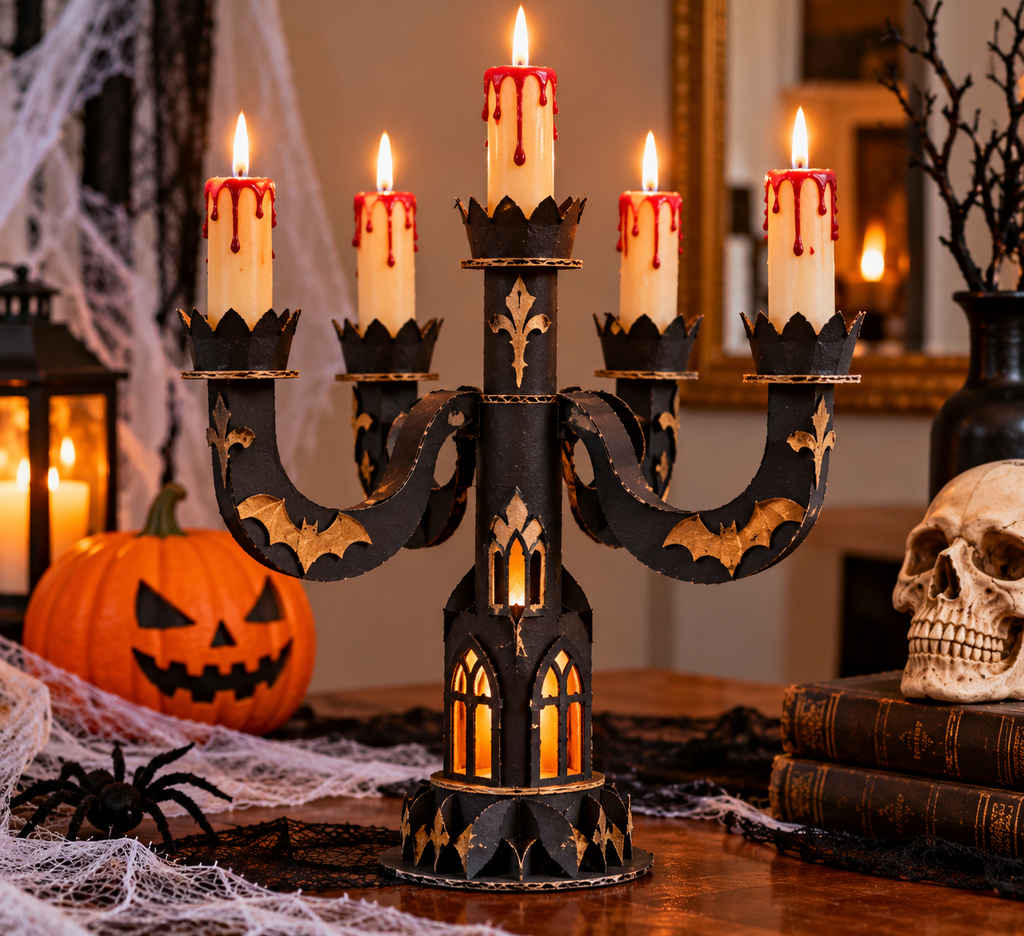
Cardboard tubes can be stacked and painted to resemble wrought-iron candlesticks.
Materials: paper towel tubes, toilet paper tubes, a cardboard base, hot glue, black or metallic acrylic paint, aluminum foil (optional), and LED taper or tea lights.
Steps:
- Cut a paper towel tube to 8 or 10 inches for the central stem.
- Cut three shorter tubes and attach them to either side of the stem with glue, at different heights, so they branch outward like arms.
- Glue the whole structure to a circle of thick cardboard to give it a base.
- Wrap the structure with strips of paper or crumpled foil to create texture, then paint it black or dark bronze.
- Add an LED light in the top of each tube.
Tip: A dry-brush of silver or gold paint along the raised edges gives it the look of old metal.
12. Floating Cheesecloth Ghosts
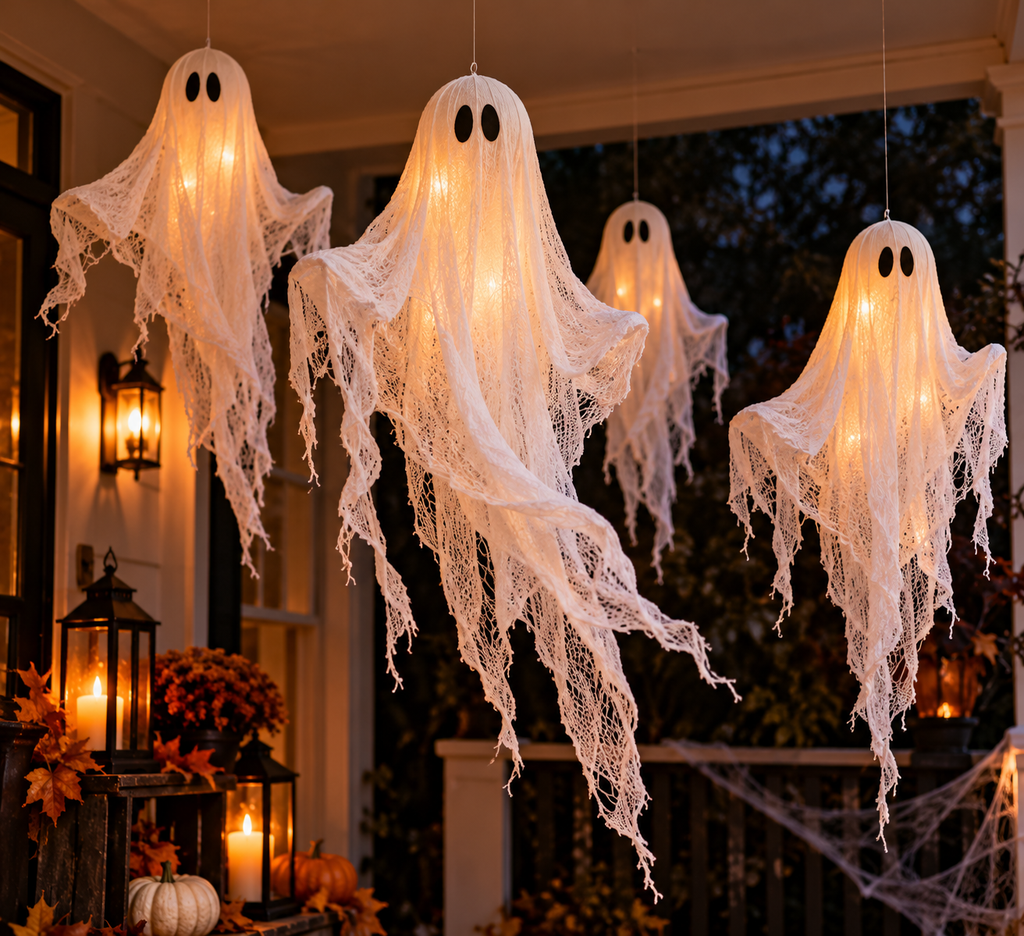
Hanging ghosts need a form inside them, and a balloon, a foam ball, or a crumpled paper ball works.
Materials: cheesecloth or thin white fabric, a small balloon or a crumpled paper ball taped into a rounded shape, white glue, water, a bowl, a plastic sheet or wax paper, string, and black marker.
Steps:
- Mix white glue with water in roughly equal parts and stir. The exact ratio is flexible. Thicker mixtures stiffen the fabric more.
- Cover your work surface with plastic. Soak a piece of cheesecloth in the mixture and wring out the excess.
- Drape it over the balloon, which can be hung from a hook or set on a jar. Shape the lower edge into ripples.
- Let it dry fully, often overnight.
- Pop and remove the balloon, leaving a hollow ghost shape.
- Draw or paint eyes and a mouth, then hang from the ceiling with string.
Make it yours: Vary the sizes. A large ghost in the corner with several small ones around it looks more intentional than a row of identical figures.
Quick Projects for Kids and Beginners
The three projects below require little cutting, forgiving materials, and almost no tools. They suit younger children with supervision and adults who simply want a quick result.
13. Toilet Paper Roll Mummies
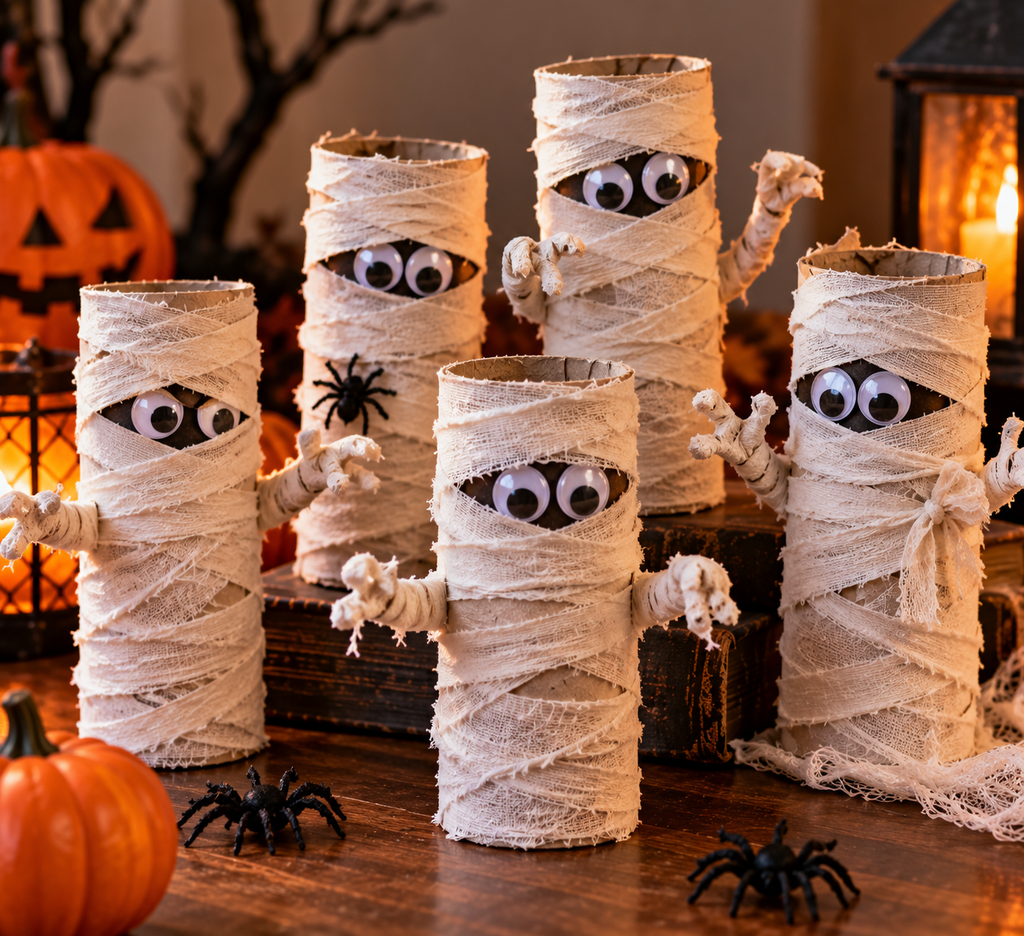
Materials: toilet paper tubes, white gauze, torn white fabric, or strips of paper, googly eyes or paper circles, and glue.
Steps:
- Glue the end of a strip to the tube and wrap around it, overlapping loosely and leaving gaps.
- Wrap diagonally and criss-cross the strips to create a bandaged look.
- Leave a horizontal gap near the top and glue in two eyes.
- Tuck the last strip end under a wrap and glue.
Tip: Stand several in a row on a mantel, or tie a string to the back and hang them in a doorway. Tubes cut in half make smaller, more cute-looking mummies.
14. Paper Bag Pumpkins
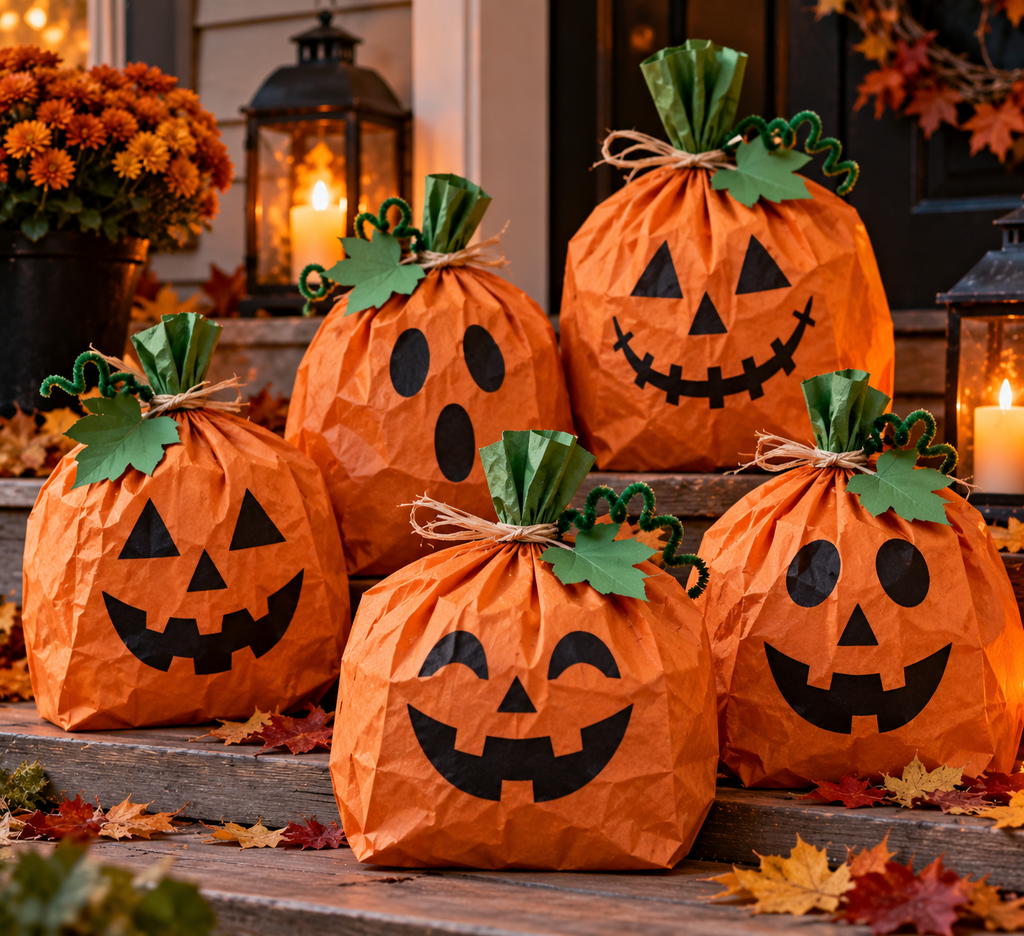
Brown paper lunch bags make soft, rounded pumpkins that can be stuffed, painted, and left on a table.
Materials: brown or orange paper bags, newspaper or scrap paper for stuffing, orange paint (if using brown bags), twine or a rubber band, a stick or twig, and green paper for leaves.
Steps:
- Paint the bag orange if needed and let it dry fully.
- Fill it about two-thirds full with crumpled newspaper.
- Twist the top into a stem and wrap with twine.
- Wrap two or three rubber bands or strings around the bag horizontally to create pumpkin segments, or leave it smooth.
- Add a twig in the top for a stem and curled green paper for a vine.
Make it yours: Paint on jack-o’-lantern faces, or leave a few plain and decorate them with metallic marker for a more elegant, gothic look. Black paper bags make a striking contrast and avoid the cliché orange.
15. Egg Carton Spiders
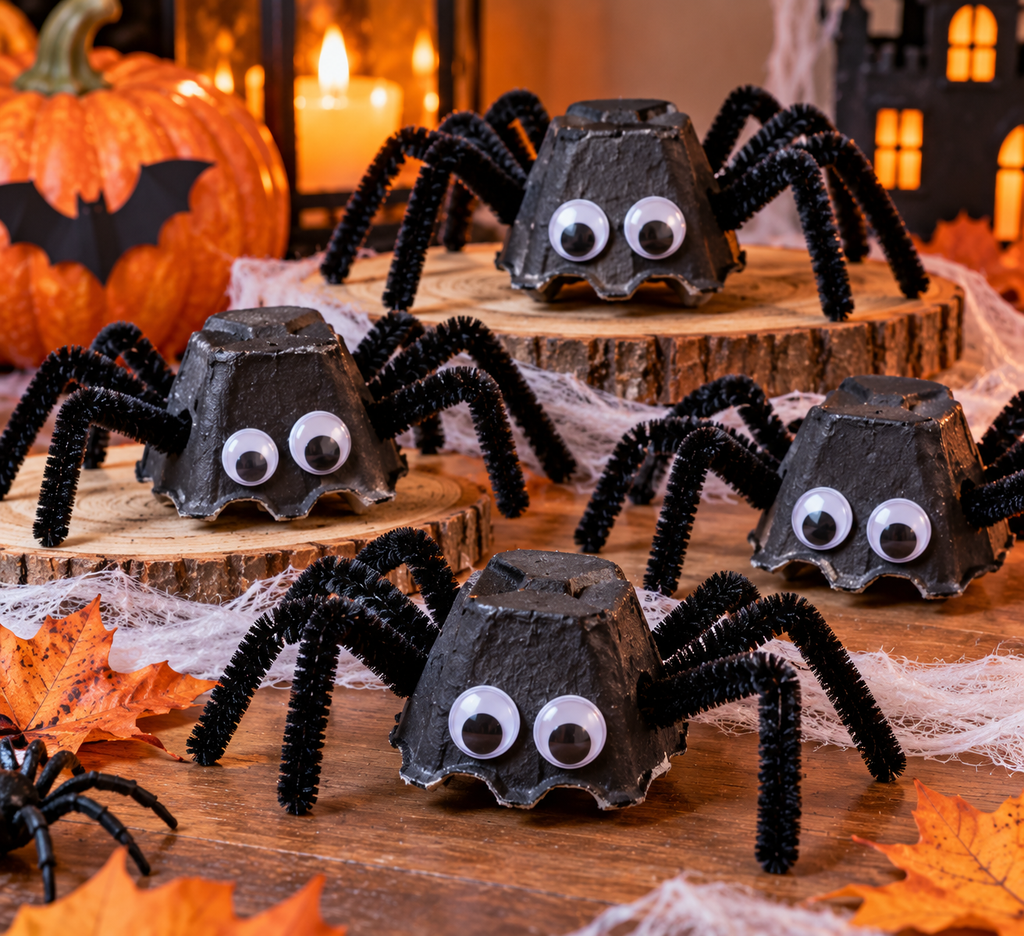
Materials: cardboard egg cartons, black paint, pipe cleaners, googly eyes, and glue.
Steps:
- Cut individual cups from the carton and paint them black.
- Poke four small holes on each side with a pencil, and thread a pipe cleaner through each pair of holes so it forms two legs.
- Bend the legs in the middle to make joints.
- Glue on eyes and add a loop of thread so it can hang.
Tip: Cutting the cups from different parts of the carton gives different shapes, and bigger cups make bigger bodies. Hang spiders at different lengths from a doorway or above a candy bowl.
Making Each Project Look Like You Made It
Handmade decorations tend to look best when they carry a consistent theme, rather than a mixture of unrelated pieces. A few decisions early on can tie a collection together.
Pick a limited palette. Black, white, and a single accent color, such as orange or purple, will make a mixed set of crafts look planned. Playful sets can use bright orange, lime green, and purple. A moodier version might use gray, black, and tarnished gold.
Choose a tone. Cute and gothic call for different faces on the same shapes. Rounded eyes and a smile make a ghost friendly, while hollow eyes and a downturned mouth make it eerie.
Vary scale. A single large object surrounded by small ones draws attention and gives the display structure.
Weather your materials. Brushing diluted brown paint, tea, or coffee over paper and fabric creates age and depth. A dry brush of lighter paint over raised edges adds highlights.
Add text. Handwritten labels, names, warnings, and short phrases add personality, especially when written in a deliberate, old-fashioned hand.
Storing Handmade Decorations for Next Year
Cardboard and paper pieces that survived October can be used again, with some care. Store them flat or nested in a dry box, away from basements and garages where humidity builds up. Wrap fragile items, such as ghosts and mummies, in tissue paper. Remove batteries from LED lights before packing them, since leaking batteries damage the lights and anything near them. Pieces that have gotten damp should be dried fully first, because mold on stored cardboard is hard to reverse.
Damaged pieces are useful, too. A torn tombstone can be recut into something smaller, and stained fabric becomes the next year’s cobweb material.
Common Questions
Can these decorations go outside for the entire month of October? Cardboard and paper will not last in rain or heavy dew. Covered porches are the safest location, and sealing pieces with clear water-based sealer helps for short periods. Jars, tin cans, and painted wood handle weather better than paper.
What can I use instead of hot glue for kids? White craft glue, glue sticks, double-sided tape, and glue dots all work, although they take longer to hold. For heavier pieces, an adult can apply hot glue while the child positions the parts.
Are LED tea lights safe inside paper or jar decorations? They produce very little heat compared with real flames, which is why they are the recommended option. Check packaging for any specific instructions, and keep batteries away from small children.
Key Takeaways
Start with what you already have: a box of cardboard, a handful of jars, and some old fabric are enough for most of the projects here. Do the outdoor pieces last and the indoor ones first, since weather is the main thing that shortens the life of paper and cardboard. Use LED lights in place of flames everywhere, handle glue guns and craft knives with adult supervision, and choose one color scheme so the finished set looks deliberate. If you have time for only three projects, the jar lanterns, the paper bat flock, and the tombstones give the biggest visual return for the least effort.

About Syprose Kiche
Syprose Kiche is the creator and writer behind My Besuited Home, a practical home and garden website covering DIY projects, gardening, lawn care, landscaping, home improvement, and outdoor living. She focuses on turning everyday homeowner questions into clear, practical guides backed by careful research and useful real-world considerations.