
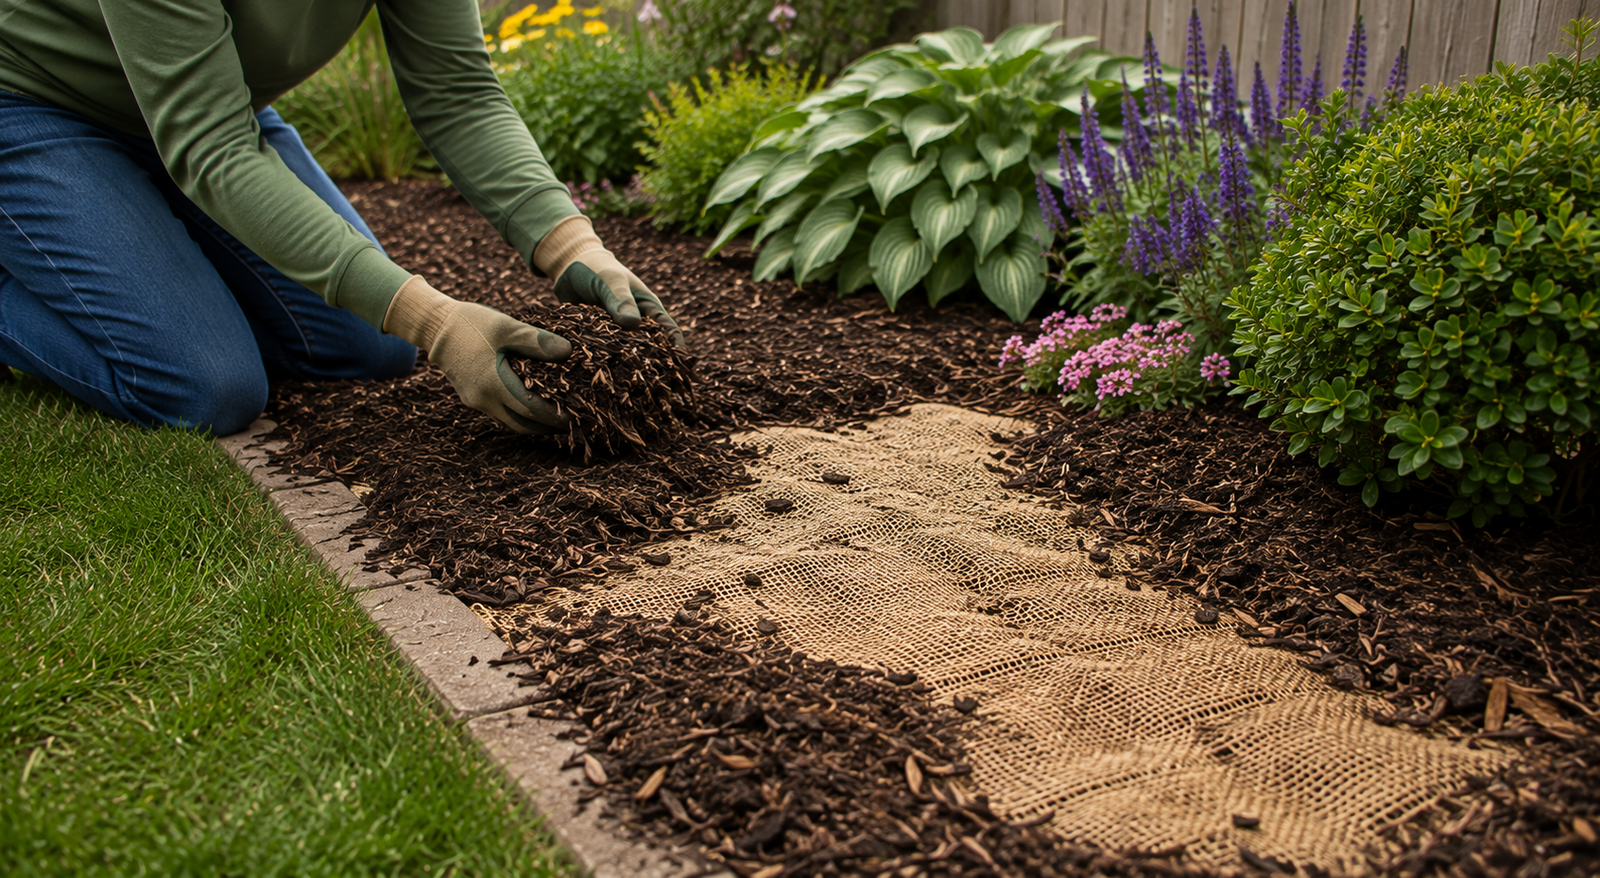
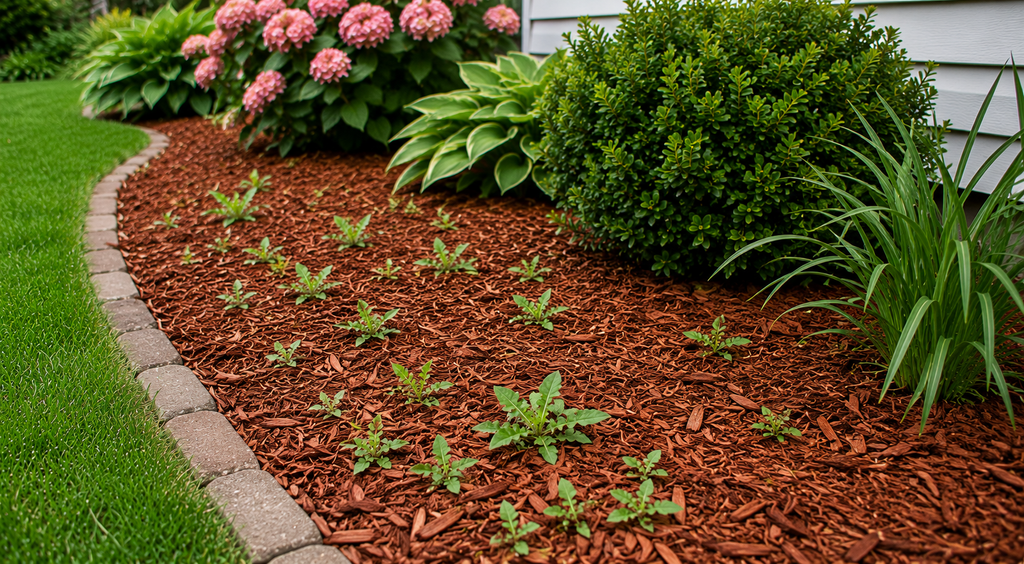
You spread a fresh layer of mulch in April, stood back, and admired your handiwork. Six weeks later, that same bed looks like a science experiment gone wrong — dandelions poking through, crabgrass creeping along the edges, and some mystery vine already wrapping itself around your hostas. If this sounds familiar, you’re not doing anything wrong. Mulch isn’t a magic weed barrier. It’s a head start, and if you don’t back it up with the right technique, weeds will treat it like a cozy blanket instead of a wall.
I’ve spent more Saturday mornings than I’d like to admit on my knees in a mulch bed, yanking out weeds I swore I’d already killed. Somewhere around my fifth season of this, I finally figured out why my mulch kept failing me — and it had almost nothing to do with the mulch itself.
This guide walks you through exactly how to stop weeds from growing in mulch naturally, no chemical herbicides required. We’ll cover prep work, mulch depth, the layering trick most people skip, and what to do when weeds show up anyway (because some always will).
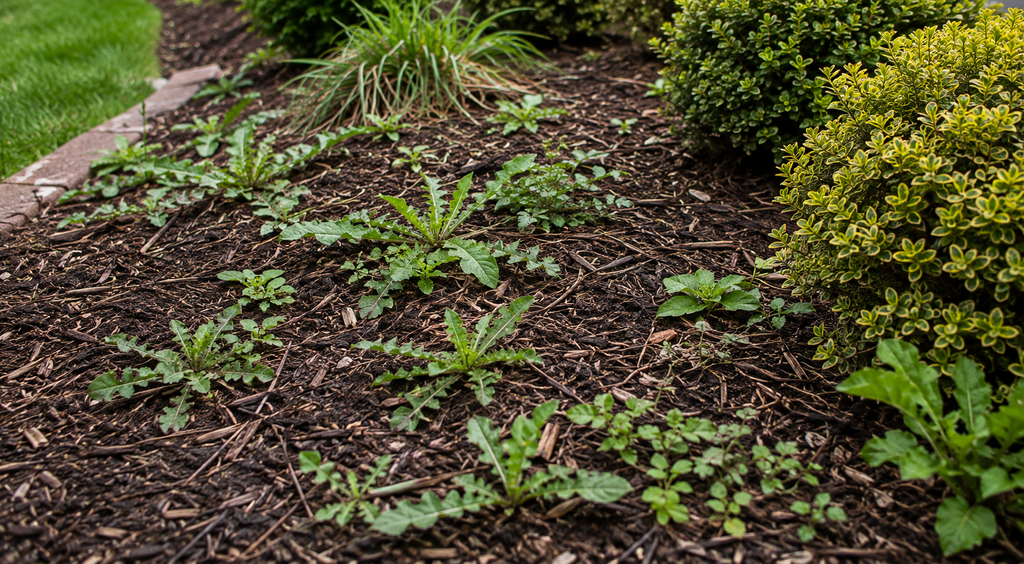
Why Weeds Keep Coming Back Through Your Mulch
Before we fix the problem, let’s talk about why it happens. Mulch suppresses weeds two ways: it blocks sunlight from reaching weed seeds already in the soil, and it creates a physical barrier that makes it harder for new seeds to root. When either of those breaks down, weeds win.
Most of the time, the culprit is depth. A thin, patchy layer of mulch lets sunlight sneak through in spots, and that’s all a dormant weed seed needs to wake up. The other common issue is skipping soil prep entirely. If you dump mulch straight onto a bed full of weed seeds and root fragments, you’re basically tucking them in for a nap, not stopping them.
Wind and rain matter too. Mulch settles and thins out over a season, especially the lighter stuff like straw or shredded leaves. What started as three inches in May can be down to one inch by August, right when weed pressure is highest.
Step 1: Kill Existing Weeds Before You Mulch
This is the step almost everyone skips, and it’s the reason so many mulch jobs fail by midsummer. Mulching over live weeds doesn’t kill them — it just hides them for a couple weeks before they push through.
- Pull every visible weed by hand, root and all. If the ground is dry, water it the night before so roots slide out cleaner.
- For weeds with deep taproots (dandelions, docks), use a weeding tool to get underneath and lever the whole root out.
- Rake the bed to expose any shallow root fragments or seedlings you missed.
- Let the bed sit bare for a day or two so you can catch anything that resprouts.
I used to skip this step because it felt like busywork before the “real” job of mulching. Then I spent an entire July fighting bindweed that I’d basically buried alive instead of removed. Now I treat bed prep as half the job, not a formality.
Step 2: Use a Natural Weed Barrier Underneath the Mulch
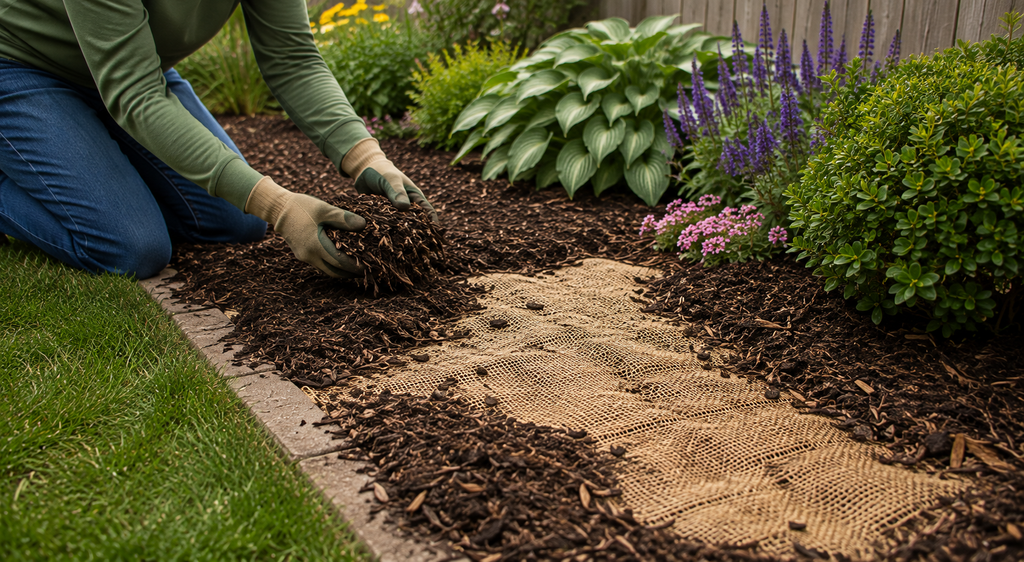
Mulch alone blocks maybe 70-80% of light. Add a natural barrier layer underneath, and you push that number way up without touching synthetic weed fabric, which I’m not a fan of (more on that below).
Cardboard is my go-to. Plain brown cardboard, no glossy print, no packing tape or plastic labels. Lay it flat, overlap the edges by a few inches so weeds can’t sneak through the seams, and wet it down so it molds to the ground and stays put.
Newspaper works the same way and breaks down a little faster. Use plain black-and-white pages — skip the glossy inserts, since some of those inks aren’t something you want leaching into a vegetable bed. Layer it 4-6 sheets thick.
Burlap is a solid option if you want something that lasts more than one season but still breaks down eventually, unlike plastic weed barrier.
Whichever you pick, the goal is total ground coverage with no gaps. Weeds are opportunists. Leave a half-inch seam uncovered and that’s exactly where they’ll show up first.
Step 3: Get the Mulch Depth Right (This Is Where Most People Mess Up)
Depth is everything here, and I mean that literally — go too thin and you’re wasting your time, go too thick and you can suffocate your plants’ roots or invite rot around the stems.
For most garden beds, aim for 2-3 inches of mulch. Wood chips and bark mulch hold their depth well. Straw and shredded leaves compact faster, so start closer to 4 inches since they’ll settle.
Keep mulch pulled back an inch or two from plant stems and tree trunks. Piling mulch right up against a trunk (sometimes called a “mulch volcano” by people who like naming things) traps moisture against the bark and invites rot and pests. I did this to a young maple years ago and watched the bark stay damp and soft all summer. The tree survived, but it took two seasons to fully recover.
Check your mulch depth again in midsummer. If it’s thinned out from rain and settling, top it off rather than waiting until weeds have already broken through.
Step 4: Choose a Mulch Type That Actually Suppresses Weeds
Not all mulches are created equal for weed control. Some are basically weed food in disguise.
Wood chips and bark mulch are my top pick for weed suppression. They’re dense, they hold their shape, and they break down slowly, which means you’re not refreshing the layer every few weeks.
Straw works well in vegetable gardens but needs to be weed-free straw, not hay. Hay is full of seed heads, and I promise you, whatever grain that hay came from will show up as volunteer sprouts all over your tomato bed. Ask me how I know.
Shredded leaves are free, effective, and great for soil health, but they compact into a thin mat faster than wood chips, so you’ll need to reapply more often.
Grass clippings can work in thin layers if left to dry first, but wet, thick clumps of fresh clippings mat down, get slimy, and can actually create bare, compacted patches that weeds love.
Skip fresh, undyed mulch that’s still full of viable seeds from whatever tree or plant it came from — cheap, poorly processed mulch sometimes has this problem, and you end up planting a mini forest of unwanted seedlings right in your flower bed.
Step 5: Add a Natural Pre-Emergent to the Mix
A pre-emergent doesn’t kill existing weeds, but it stops new seeds from germinating, and there are natural options that won’t hurt your soil biology.
Corn gluten meal is the big one here. Spread it over your mulch in early spring before weed seeds germinate, and it interferes with root formation in sprouting seeds. It won’t touch weeds that are already established, and timing matters a lot — apply it too late and you’ve missed the window.
Vinegar-based sprays (the horticultural strength stuff, not the kitchen bottle) can knock back small weed seedlings that do poke through, but they’re not selective. They’ll damage anything green they touch, including your actual plants, so this is a spot-treatment tool, not something to spray broadly over mulch.
I use corn gluten meal every spring now on my perennial beds. It’s not a silver bullet, and I still pull the occasional weed, but it’s cut my weeding time down noticeably compared to mulch alone.
Best Natural Mulch Materials for Weed Control, Ranked
People ask me all the time which mulch actually works best, so here’s my honest ranking based on what I’ve used across different beds over the years.
- Wood chips (arborist chips, not bagged decorative mulch). These are the gold standard. They’re heavy enough to stay put in wind and rain, they break down slowly over a year or two, and they don’t mat down into a slimy layer the way lighter materials do. If you can get a load from a local tree service, even better — it’s usually free, and it’s often better quality than the bagged stuff at a garden center.
- Shredded bark mulch. Slightly lighter than wood chips but still dense enough to block light effectively. It looks tidier for front-yard beds, which matters if you care about curb appeal, but you’ll pay more for it and replace it more often.
- Straw (weed-free only). Great for vegetable gardens where you want something that breaks down in a single season and feeds the soil. The catch, as I mentioned, is finding straw that’s actually weed-free. Ask your supplier directly whether it’s certified weed-free straw, not just “straw” — there’s a real difference in price and quality.
- Shredded leaves. My budget pick, and honestly my favorite for perennial beds. Free if you have trees or neighbors with trees, and it improves soil structure as it breaks down. The downside is it compacts fast, so you’re topping it off more than once a season.
- Pine needles (pine straw). Underrated for weed suppression. They interlock as they settle, which creates a surprisingly effective barrier, and they don’t blow around as much as you’d expect. They do acidify soil slightly over time, so they’re a better fit for acid-loving plants like azaleas and blueberries than for a general vegetable bed.
I’d skip cocoa hull mulch if you have a dog — it smells like chocolate and some dogs will eat it, which is genuinely dangerous for them. That one came from a neighbor’s very expensive vet visit, not my own dog, but it stuck with me.
Natural Weed Suppressants You Can Mix Into Mulch
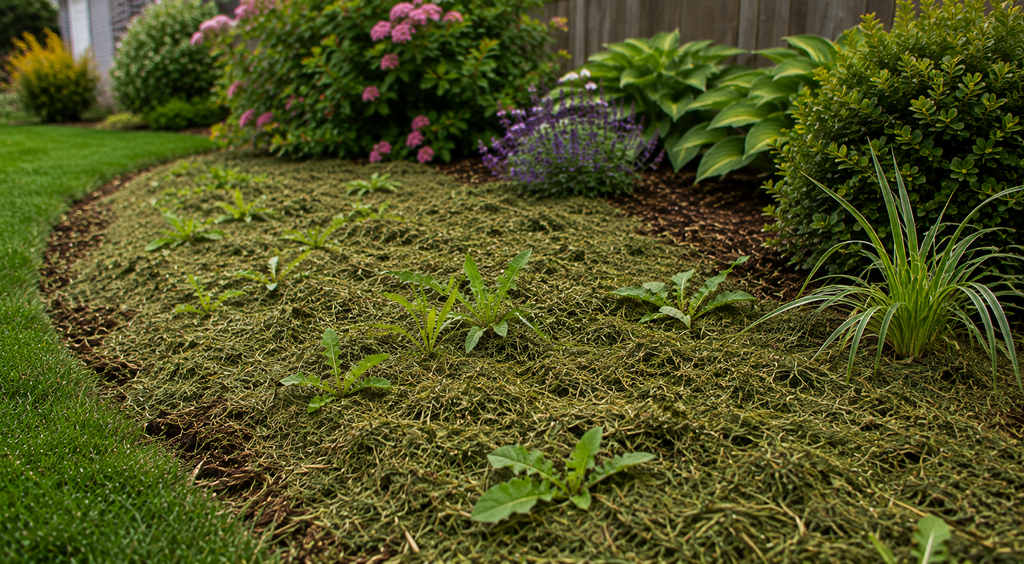
Beyond corn gluten meal, a few other natural additions can boost your mulch’s weed-blocking power.
Cedar mulch contains natural oils that some studies suggest slow weed seed germination, on top of the physical barrier it provides. It’s pricier than plain wood chips, but if you’re mulching a smaller decorative bed where cost isn’t the main factor, it’s worth considering.
Coffee grounds, mixed in a thin layer under mulch, add nitrogen to the soil and some gardeners swear by their weed-suppressing effect, though the evidence here is more anecdotal than proven. I use them occasionally around acid-loving shrubs, more for the soil benefit than any weed magic.
Compost tea isn’t a weed suppressant directly, but healthy, well-fed soil grows stronger desirable plants that outcompete weeds for space and nutrients. A thriving perennial bed with dense root systems leaves less room for weed seeds to find bare soil in the first place.
Real Talk: What Actually Goes Wrong (and What’s Not Worth the Effort)
Here’s the part most garden articles skip. Natural weed control has real limitations, and I’d rather tell you upfront than have you find out the frustrating way.
Landscape fabric under mulch sounds like the ultimate solution, and I fell for it years ago. It works great for the first season. Then mulch breaks down on top of it, creates a thin layer of soil, and weeds start rooting directly into the fabric itself. At that point you’re pulling weeds that are physically woven into a plastic sheet, which is worse than no barrier at all. I don’t use it anymore, and I’d steer you away from it too, even though it looks tidy in the store display.
Corn gluten meal has a narrow application window. Miss it by even a week or two in spring, and you’ve basically fed your soil a light dose of nitrogen for nothing, since it won’t stop seeds that have already germinated.
Vinegar sprays are not a lawn-wide solution, no matter what a headline promises you. They’re acidic, they’ll drop your soil pH if overused, and they only work on young, exposed foliage — established weeds with deep roots shrug them off and regrow within a week.
And here’s the uncomfortable truth: no natural method gets you to zero weeds. Wind carries seeds in from neighboring yards, birds drop seeds while perching, and some weed seeds can stay dormant in soil for years before conditions are right. Your goal with all of this isn’t a weed-free bed forever. It’s cutting your weeding time down to a few minutes every couple weeks instead of a Saturday morning battle.
Quick Side Note: Timing Your Mulch Application
One thing that trips people up — when you mulch matters almost as much as how. Early spring, right after the soil warms but before weed seeds germinate, is the ideal window. Mulch too early while the ground is still cold and wet, and you risk trapping moisture that invites fungal issues. Mulch too late, after weeds are already sprouting, and you’re just covering a problem instead of preventing one.
Maintaining Weed-Free Mulch Through the Season
Even with perfect prep, mulch needs occasional upkeep to keep weeds out.
- Do a five-minute walk-through every couple weeks and pull anything small before it establishes roots. Tiny weeds come out with two fingers; established ones need a tool.
- Top off thin spots as soon as you notice bare patches, especially after heavy rain.
- Edge your beds regularly. Grass and lawn weeds creep in from the borders more than from the middle of the bed.
- Avoid disturbing the soil under the mulch unless necessary. Every time you dig around, you bring buried weed seeds back up into light where they can germinate.
Frequently Asked Questions About Weeds Growing in Mulch
How deep does mulch need to be to stop weeds?
Two to three inches for wood chips or bark mulch, closer to four inches for lighter materials like straw or shredded leaves that compact over the season. Less than two inches and you’re leaving gaps for sunlight to reach the soil.
Does landscape fabric work better than mulch alone?
Not in my experience, and not long-term. It blocks weeds well for the first year, but once organic mulch breaks down on top of it, weeds root directly into the fabric, and removing them becomes a bigger job than if you’d never used fabric at all.
Can I put mulch directly over grass or weeds to kill them?
Not reliably. A thin layer of mulch over live weeds just shades them temporarily — most will push through within a few weeks. Cardboard or several layers of newspaper underneath the mulch works far better for smothering existing growth, especially over several weeks of consistent coverage.
How often should I replace or top off mulch to keep weeds out?
Check depth every couple months during the growing season. Wood chips typically need topping off once a year. Straw and shredded leaves often need it twice a season since they compact and decompose faster.
Is vinegar a good natural weed killer for mulch beds?
It works on small, exposed seedlings but does nothing for established weeds with real root systems, and it can lower soil pH if you overuse it. Treat it as a spot-fix, not a strategy for the whole bed.
Wrap-Up: The Real Secret Is Prep, Not the Mulch Itself
If you take one thing from this, let it be this: the mulch is doing less work than you think, and your prep is doing more. Pull the weeds first, layer a barrier underneath, get your depth right, and pick a mulch that holds its shape. Do those four things and you’ll spend way less time on your knees this summer.
What’s been your biggest mulch headache — weeds, mulch volcanoes, or something the neighbor’s dog dug up? Drop it in the comments below, I read every one and I’ve probably made the same mistake myself.

About Syprose Kiche
Syprose Kiche is the creator and writer behind My Besuited Home, a practical home and garden website covering DIY projects, gardening, lawn care, landscaping, home improvement, and outdoor living. She focuses on turning everyday homeowner questions into clear, practical guides backed by careful research and useful real-world considerations.