
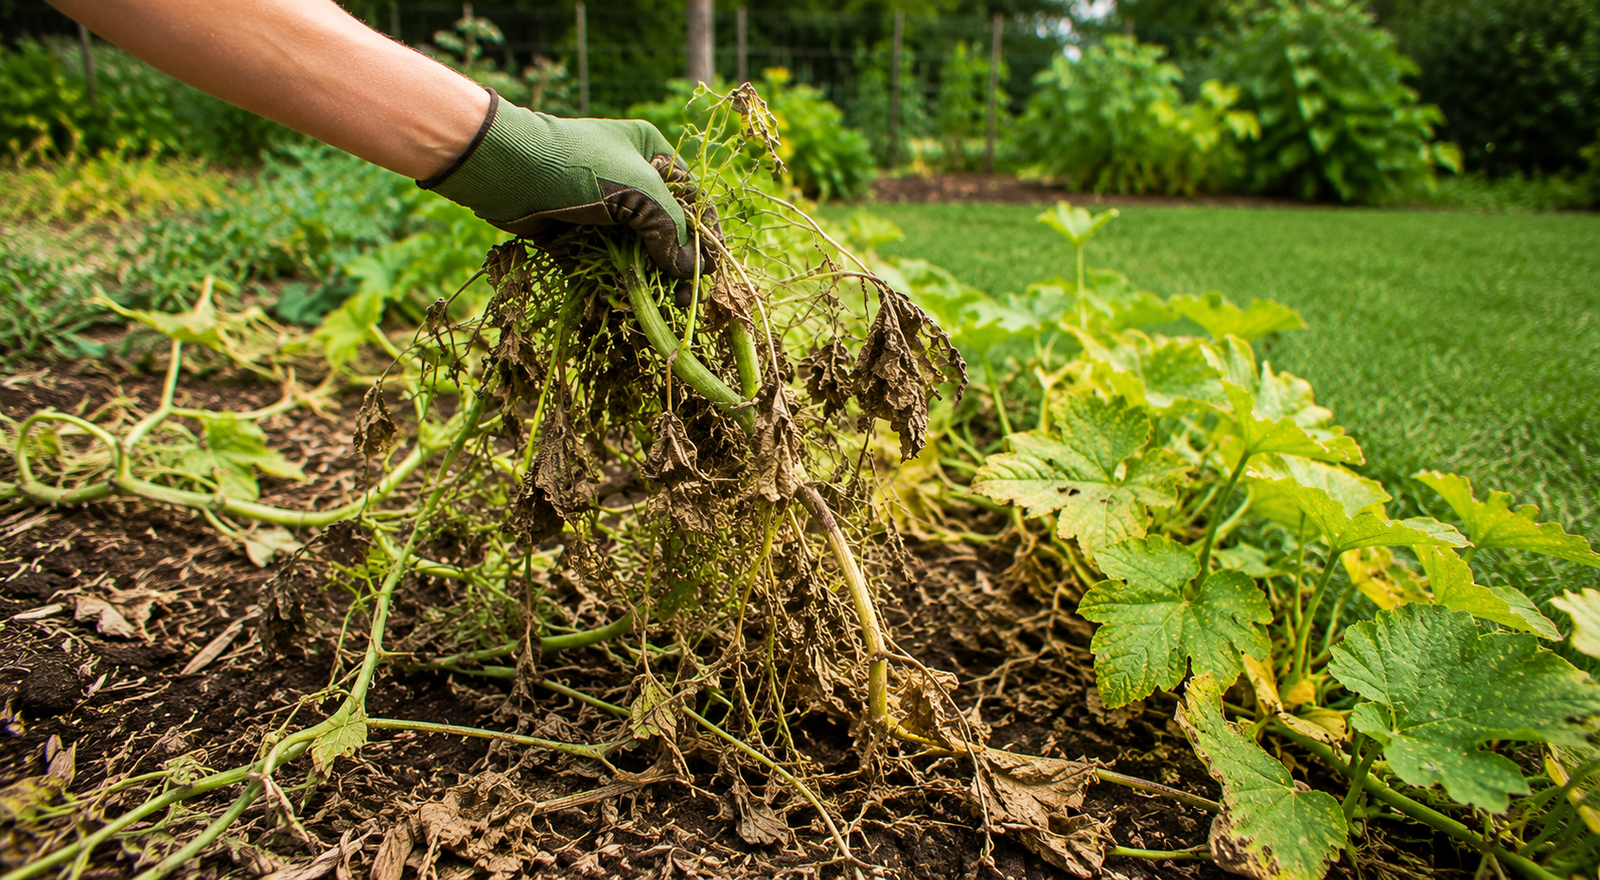
You pulled the last zucchini off the vine, hauled the dead squash plants to the compost pile, and figured you were done for the season. Then you flip over a piece of old mulch or lift a stray leaf near where the plants used to be, and there they are. Dozens of squash bugs, just hanging out, waiting for you to turn your back so they can lay eggs for next spring.
I get emails about this every single September. Gardeners think squash bug season ends when the plants die back, but that’s exactly backwards. The bugs that survive your harvest are the ones that overwinter in your yard and hit your squash, pumpkins, and cucumbers twice as hard next year. If you skip post-harvest cleanup, you’re basically setting out a welcome mat with their name on it.
I’ve been growing squash on the same quarter acre for over a decade, and I’ve fought squash bugs every way imaginable — hand-picking at 6 a.m. in my pajamas, drowning them in soapy buckets, and yes, one memorable summer where I sprayed so much neem oil I smelled like a salad for a week. What actually works isn’t a miracle spray. It’s what you do in the six to eight weeks after your last harvest. That’s the window that matters most, and most gardeners waste it.
Why Squash Bugs Are Worse After Harvest Than During the Growing Season
During summer, squash bugs are busy. They’re mating, laying eggs on the undersides of leaves, and sucking sap out of your plants until the leaves turn black and crispy. It’s ugly, but at least you can see what you’re dealing with.
After harvest, the adult bugs shift strategy entirely. Instead of reproducing, they start hunting for a place to spend the winter. That means they scatter. They tuck themselves under fallen leaves, into cracks in fence posts, under garden edging, inside compost piles, and in any brush pile you’ve got sitting around. A female squash bug that survives the winter doesn’t need to find a mate come spring — she’s already capable of laying eggs the moment temperatures warm up.
This is the part most garden blogs skip. They’ll tell you how to kill squash bugs on the plant, then stop talking the second the plant is gone. But an adult squash bug can live for months without a host plant nearby. It’s just waiting. If your yard has good hiding spots in October, you’re feeding next year’s infestation for free.
Step 1: Pull Every Scrap of Squash Debris, Not Just the Big Stuff
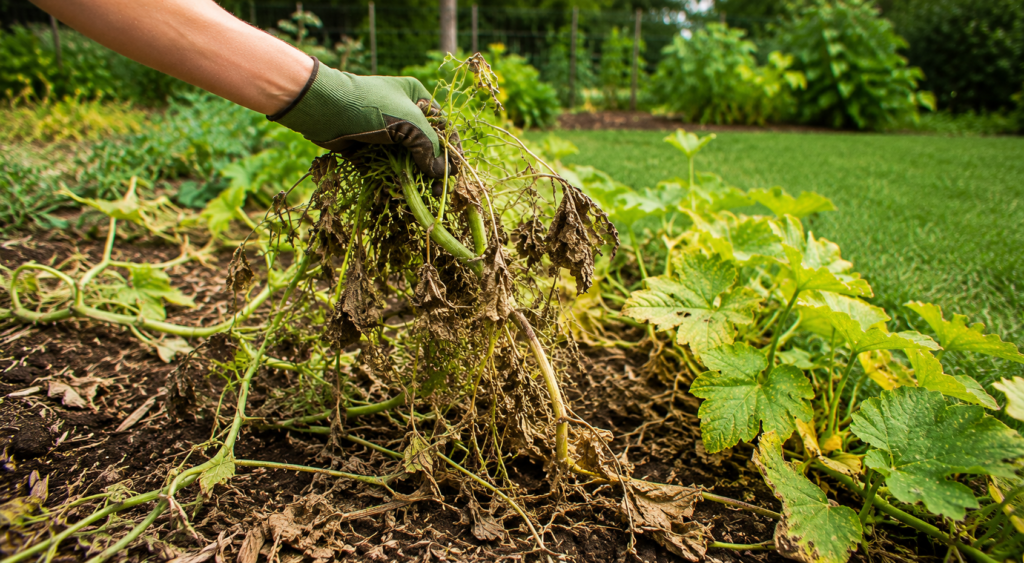
The single biggest mistake I see is gardeners who yank the main vine and call it done. Squash bugs don’t care about the big vine. They care about shelter, and small debris provides plenty of it.
Here’s what actually needs to go:
- The entire root system, not just what’s above soil. Cut the stem at the base and dig out as much root mass as you reasonably can.
- Every leaf, even the shriveled ones. Squash bug eggs and nymphs hide on leaf undersides, and dead leaves left on the ground are basically a bug hotel with room service.
- Any fruit you missed. A rotting squash left in the bed is a five-star buffet for squash bugs, squash vine borers, and a handful of fungal diseases you don’t want either.
- Stakes, cages, and trellis netting. Bugs tuck into the joints and folds of tomato cages and trellis material way more than people expect. Hose them off or scrub them before storing.
Don’t compost this material unless your compost pile runs genuinely hot (above 140°F consistently). Most backyard compost piles never get that hot, and I’ve watched people accidentally reintroduce squash bug eggs into their garden the following spring because they tossed infested vines into a lukewarm pile. If you’re not sure your pile gets hot enough, bag the debris and toss it, or burn it if your local rules allow it.
Step 2: Till or Turn the Soil Where Squash Bugs Are Overwintering
Once the debris is gone, don’t just walk away from the bed. Squash bugs and their eggs can be sitting in the top couple inches of soil, especially near where the main stem was.
Turning the soil does two things. It physically disrupts hiding spots, and it exposes eggs and overwintering adults to birds, cold temperatures, and drying air, all of which kill them faster than if they stayed buried and protected.
I use a garden fork rather than a rototiller for this, mostly because I want to actually see what I’m dealing with. A fork lets you flip soil in chunks and spot bugs as you go, which means you can squash them (sorry, had to) or drop them straight into a bucket of soapy water instead of just burying them a few inches deeper where they’re perfectly happy.
Do this on a sunny, dry day if you can. Squash bugs exposed to direct sun and dry air die off faster than ones exposed on a cloudy, damp day when they’ve got a better shot at finding new cover before nightfall.
Step 3: Clear Out Nearby Hiding Spots, Not Just the Garden Bed
This is the step almost nobody does, and it’s the reason so many people swear squash bugs “come back every single year no matter what.”
Squash bugs don’t need your garden bed specifically. They need shelter near a food source for next year. That includes:
- Leaf piles and mulch beds within 20 to 30 feet of where you grew squash
- Wood piles, especially loosely stacked firewood
- The undersides of landscape timbers, raised bed frames, and garden edging
- Old boards, tarps, or anything flat lying on the ground
- Dense weed growth along fence lines
I had a client garden a few years back where we cleaned the beds perfectly, tilled everything, did all the right steps — and squash bugs still showed up hard the next June. Turned out there was a stack of old fence boards leaning against the shed about fifteen feet from the garden. That stack was basically a squash bug condo all winter. Once we moved it and cleared the brush around it, the following year’s infestation dropped dramatically.
Walk your whole yard, not just your beds, and think like a bug looking for a dry, dark, undisturbed spot for the winter.
Step 4: Rotate Where You Plant Squash Next Year
Squash bugs remember your garden the way a regular at a diner remembers the good booth. If you plant squash, pumpkins, or cucumbers in the exact same spot every year, you’re making it easy for overwintering adults to find their way back the moment it warms up.
Moving your cucurbit crops to a different part of the garden, ideally at least 20 to 30 feet away, forces surviving bugs to work harder to find a host plant in spring. Some won’t bother, and some won’t survive the extra travel time in cold, hungry conditions.
This isn’t a magic bullet on its own. Squash bugs can fly, so rotation alone won’t solve everything. But paired with the debris removal and soil disturbance from earlier steps, it meaningfully cuts down on how many bugs make it back to your plants next season.
Step 5: Use Row Covers or Mulch Barriers as a Fall Deterrent
If you’re planning a fall crop of squash, or if you’ve got a late planting still producing into early autumn, floating row covers can buy you time. They physically block adult squash bugs from reaching the plant to lay eggs, which matters most in September and early October when adults are actively searching for winter shelter and won’t turn down a fresh host plant if they find one.
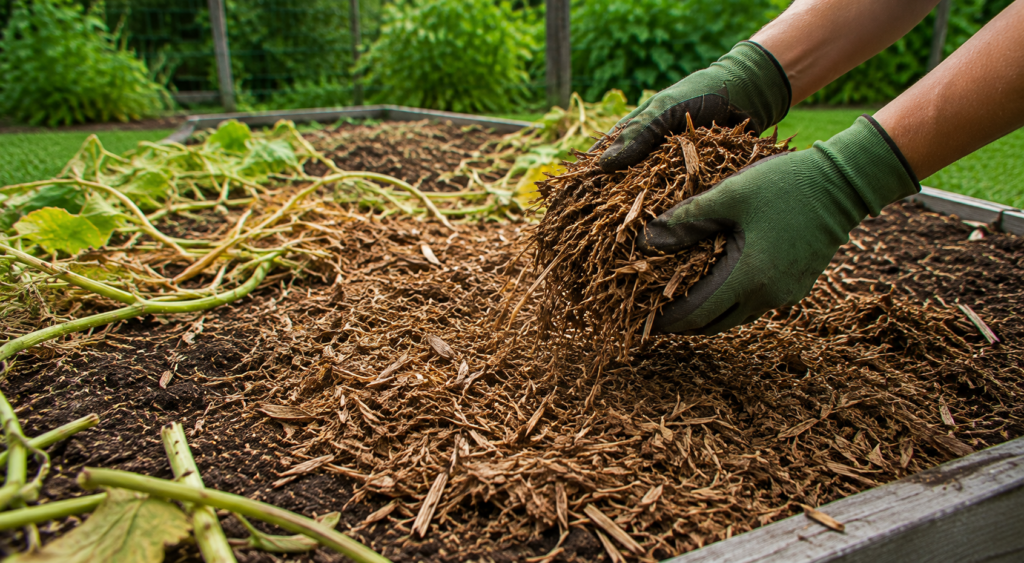
For beds that are done for the season, a layer of fresh mulch actually works against you here, which surprises people. Mulch is great for moisture and weed control during the growing season, but a fresh, loose mulch layer in fall gives squash bugs exactly the cover they’re hunting for. If you’re mulching a bed that had squash bug problems this year, wait until after a hard freeze to add it, once the bugs that are going to overwinter have already settled somewhere.
Trap Boards: The One Cheap Trick I Actually Recommend
Here’s a trick that costs almost nothing and works better than most people expect: trap boards. Lay a few flat wooden boards or old shingles on the ground near where your squash used to grow, then check under them every few days.
Squash bugs looking for winter shelter treat a flat board sitting on bare dirt like prime real estate. It’s dark, it’s dry underneath, and it holds a little warmth from the day. Within a week or two of harvest, you’ll usually find a handful of bugs clustered under each board.
The routine is simple:
- Set out three or four boards spaced around the old squash bed and the surrounding perimeter.
- Check underneath every two to three days in the mornings, when bugs are sluggish and easy to catch.
- Scrape them straight into a bucket of soapy water. Regular dish soap works fine — you don’t need anything fancy.
- Reset the boards and repeat through October, or until you stop finding bugs underneath.
I started doing this in my own garden after getting tired of chasing individual bugs across mulch beds, and it’s honestly one of the lowest-effort, highest-payoff habits I’ve picked up in years of growing squash. It won’t catch every single bug in your yard, but it pulls a surprising number out of circulation before they ever get a chance to overwinter successfully.
A quick warning, though: don’t leave the boards down all winter and forget about them. Once temperatures drop hard and the bugs settle in for good, lifting the board just exposes them briefly before they burrow deeper into surrounding mulch or soil. Trap boards work best as an active fall tool, not a set-it-and-forget-it fix.
Should You Use Sticky Traps or Store-Bought Squash Bug Traps?
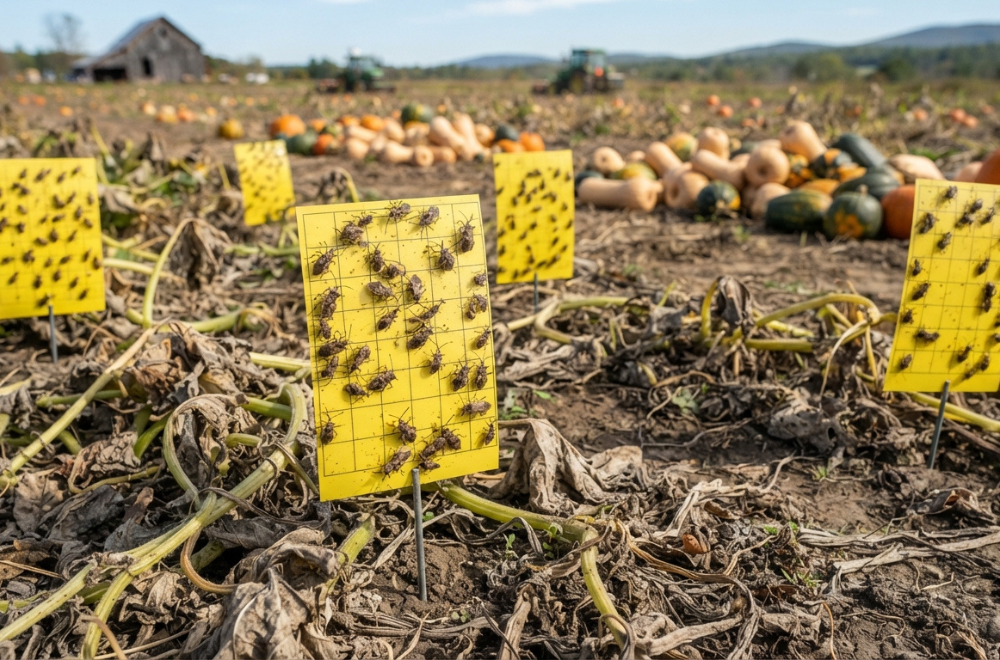
You’ll see commercial sticky traps and pheromone lures marketed for squash bugs, and I’ll be honest, I’m not a fan for post-harvest use. Squash bugs aren’t strongly drawn to pheromone lures the way some other pests are, so results tend to be inconsistent at best.
Sticky traps do catch some bugs, but they also catch beneficial insects, and after harvest there’s no plant left to protect, so the cost-to-benefit math just doesn’t hold up. I’d rather see you spend that money on floating row cover for next spring, when it’ll actually keep new adults off your seedlings during the highest-risk window.
If you want a trap that works, stick with the board method above. It’s cheap, it’s reusable year after year, and it doesn’t harm anything else in your yard.
Real Talk: What’s Not Worth Your Time (and What Actually Backfires)
I want to be straight with you about a few things, because a lot of garden advice online is either outdated or just plain wrong.
- Diatomaceous earth after harvest is mostly a waste of time. It works reasonably well on nymphs during the growing season when it can dust the plant and stay dry. Sprinkling it around an empty bed in October, when the weather is damp and the bugs have already scattered to their hiding spots, does almost nothing. Save it for spring, when new nymphs hatch.
- Spraying pesticide on an empty bed is pointless and honestly a little wasteful. Squash bugs are hiding in leaf litter, wood piles, and soil cracks by the time harvest ends. You’re not going to reach them with a spray aimed at bare dirt. If you’re going to use anything chemical, the growing season is the time, not after.
- “Just till it all under” isn’t a complete solution. Tilling helps, but I’ve seen people till once, call it done, and get blindsided the next spring. One pass doesn’t destroy every egg or reach every hiding bug. Combine it with debris removal and yard cleanup, or don’t bother — a half-measure here barely moves the needle.
- Burning debris sounds satisfying but check your local ordinances first. I know a few gardeners who got a fine for an unpermitted burn pile because they were so eager to torch their squash bug problem. Bagging and trashing the debris works just as well and won’t cost you anything extra.
One quick side note: if you had a genuinely bad squash bug year, consider skipping cucurbits entirely in that bed next season. It’s not a fun answer, but a one-year break drops the local population way more than any spray or trap ever will, since the bugs that overwinter nearby will have nothing to eat when they wake up.
Frequently Asked Questions About Squash Bugs After Harvest
Do squash bugs die in winter?
Some do, especially in regions with hard, consistent freezes. But plenty survive by tucking into insulated spots like leaf litter, mulch, and wood piles, which is exactly why fall cleanup matters so much.
How do I know if squash bugs are overwintering in my yard?
Check under mulch, boards, and leaf piles near your former squash bed on a warm fall afternoon. Adult squash bugs are grayish-brown, about five-eighths of an inch long, and tend to clump together once they find good shelter.
Will squash bug eggs survive winter in the soil?
Squash bugs typically overwinter as adults rather than eggs, so your main target after harvest is the adult bugs looking for shelter, not eggs sitting dormant in soil.
Should I till my whole garden or just the squash bed?
Focus your effort on the bed where squash, pumpkins, or cucumbers grew, plus a buffer zone around it. Tilling your entire garden is overkill and unnecessary for squash bug control specifically.
Can squash bugs survive in a heated greenhouse over winter?
Yes, and this catches a lot of greenhouse growers off guard. A heated or even mildly insulated greenhouse can keep squash bugs active and breeding well past when outdoor populations would die off. If you’re growing winter squash or cucumbers under cover, do the same debris removal and board-trapping routine inside the greenhouse that you’d do outside, and check corners and under benches where bugs like to cluster.
Does a hard frost kill all the squash bugs in my yard?
A hard frost kills bugs caught out in the open, but it does very little to the ones already tucked under mulch, boards, leaf litter, or wood piles. Insulated hiding spots can stay several degrees warmer than the surrounding air, which is exactly why removing those hiding spots matters more than waiting on the weather to solve the problem for you.
Is it too late to do fall cleanup if my plants already died back weeks ago?
It’s not too late until the ground freezes solid. Adult squash bugs are still actively searching for winter shelter well into late fall in most regions, so even a delayed cleanup gets you real results. The sooner you do it, the fewer bugs get a comfortable spot to settle into, but a late effort still beats no effort at all.
Final Thoughts on Breaking the Squash Bug Cycle
Fall cleanup isn’t glamorous. Nobody posts photos of pulling dead squash vines and turning over dirt on a Saturday afternoon. But this unglamorous work is honestly more effective than anything you can spray on next year’s plants, because you’re taking the fight to the bugs while they’re vulnerable and exposed instead of waiting until they’ve already set up shop on your seedlings.
Give yourself a solid afternoon this fall to clear debris, turn the soil, and check the hiding spots around your yard. Future-you, standing in the garden next June without a squash bug in sight, will be glad you did.
Have you dealt with squash bugs coming back year after year no matter what you try? Drop your experience in the comments below — I’d love to hear what’s worked (or spectacularly hasn’t) in your garden.

About Syprose Kiche
Syprose Kiche is the creator and writer behind My Besuited Home, a practical home and garden website covering DIY projects, gardening, lawn care, landscaping, home improvement, and outdoor living. She focuses on turning everyday homeowner questions into clear, practical guides backed by careful research and useful real-world considerations.