
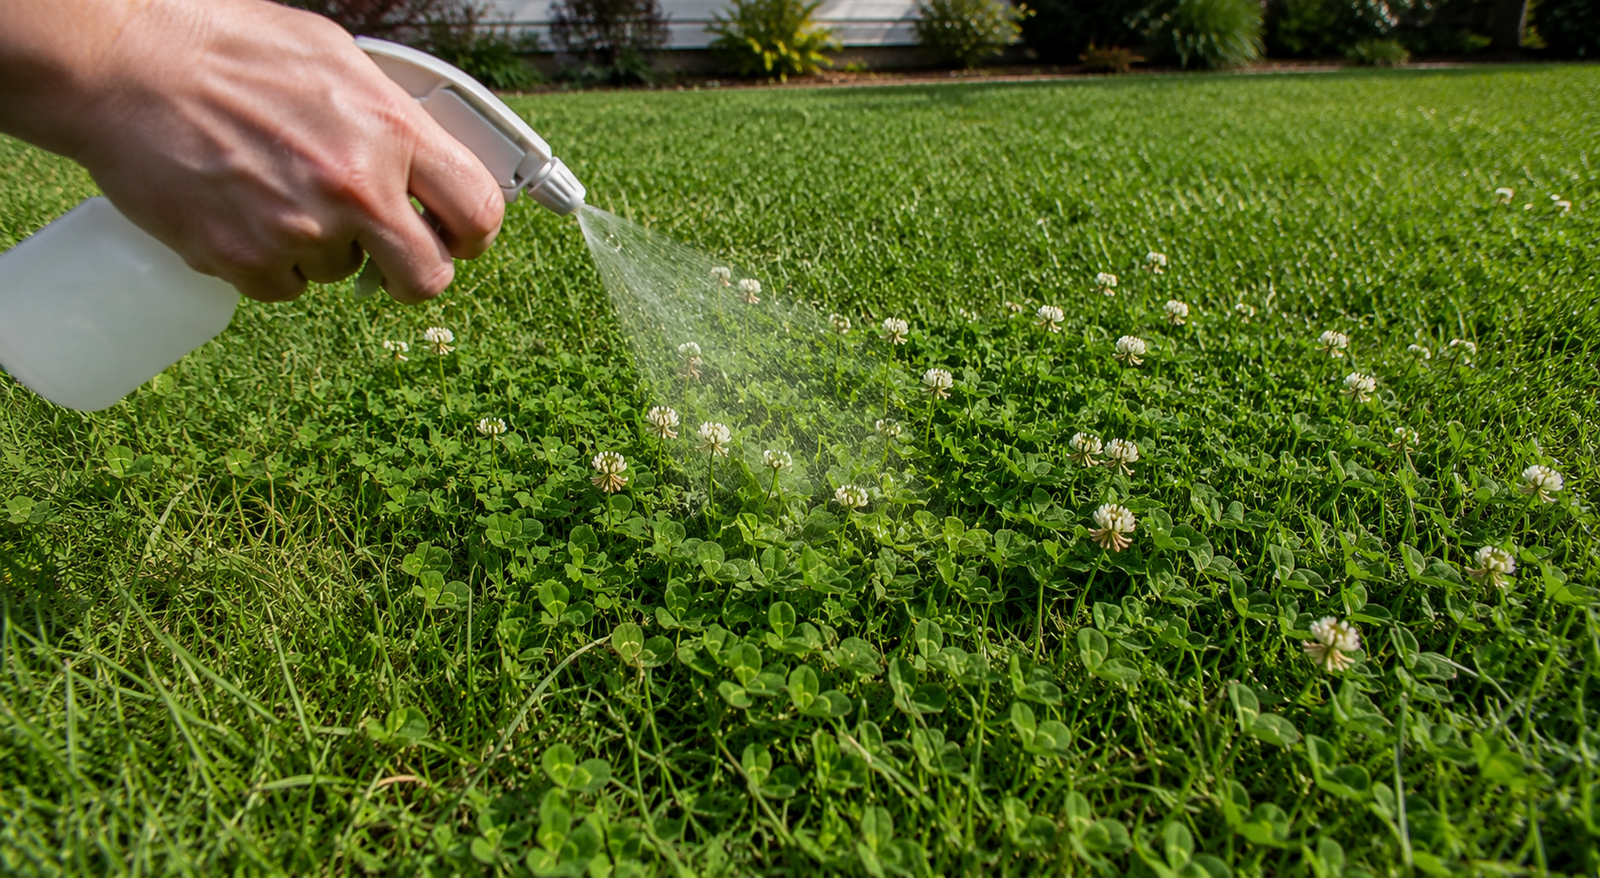
Your grass looks fine from the porch. Then you walk out barefoot, step into a patch of clover, and suddenly there’s a bee three inches from your toes. Or maybe it’s not the bees — maybe it’s just that your lawn looks patchy, with these low, three-leafed clumps spreading faster than anything else out there. Either way, you’re standing in your yard wondering how a plant you never planted took over so much real estate.
I get this question more than almost any other lawn issue. Clover isn’t actually the villain most people think it is — it fixes nitrogen in your soil and feeds pollinators — but I understand not everyone wants a two-tone lawn. If you’re set on getting rid of it, you can absolutely do that without dumping chemical herbicide all over your yard. It just takes patience and the right order of operations.
Why Clover Takes Over Lawns in the First Place
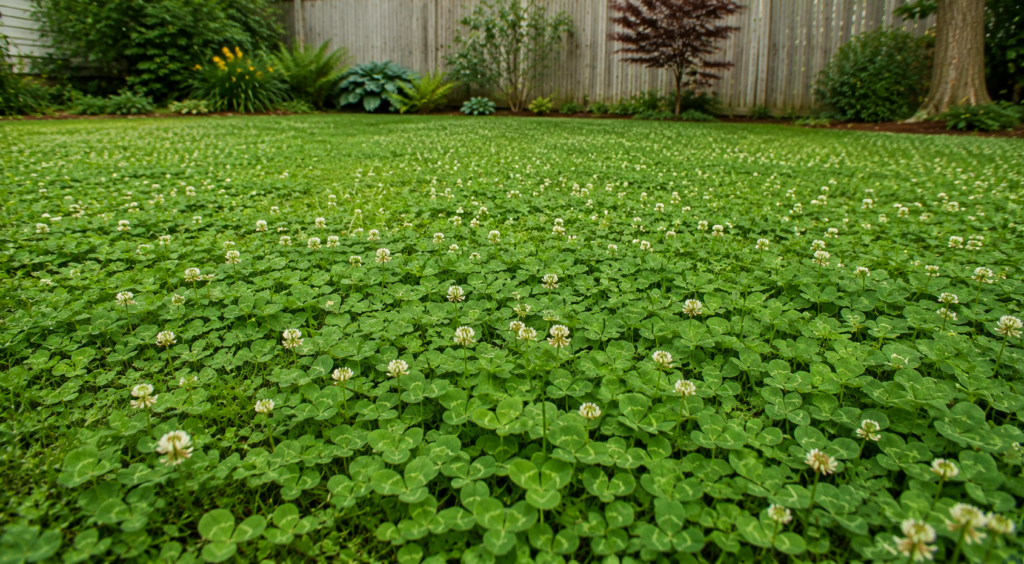
Before you pull a single plant, it helps to know why clover showed up. Clover is opportunistic. It moves into lawns that are struggling — thin grass, compacted soil, low nitrogen, or spots that get mowed too short. Grass that’s healthy and thick chokes clover out on its own because there’s no bare soil or sunlight gap for it to exploit.
I had a client a few summers back who was convinced her lawn had a “clover infestation.” Turned out her mower deck was set to scalp height and she was watering twice a week for five minutes at a time. The grass never got the chance to build real roots, so clover — which handles poor soil and drought way better than turfgrass — just moved in and got comfortable.
This matters because if you only kill the clover you see today, more will show up next season unless you fix the soil conditions that invited it in. Natural clover control is really a two-part job: remove what’s there, and make the lawn inhospitable to new clover.
How to Tell If It’s Actually Clover
Before you go to war on your lawn, make sure you’re identifying the right plant. Clover has three rounded leaflets (sometimes with a faint white “V” marking), grows low and spreads by runners, and puts up small white or pink pom-pom flowers in late spring through summer. It feels softer underfoot than grass and tends to form dense, circular mats rather than growing in scattered blades.
People mix it up with black medic or oxalis (wood sorrel) pretty often. Black medic looks similar but has small yellow flowers and a slightly fuzzy stem. Oxalis has heart-shaped leaflets instead of rounded ones and yellow flowers that turn into little upright seed pods. The reason this matters is that vinegar and mowing height work on all three, but the smothering timeline and root depth are different, so you don’t want to spend six weeks solarizing a patch of oxalis expecting clover-speed results. If you’re not sure what you’re looking at, snap a photo and compare it against a few reference images before you commit to a method.
How to Kill Clover Naturally: Step-by-Step Methods That Work
1. Hand-Pull Small Patches (Best for Light Infestations)
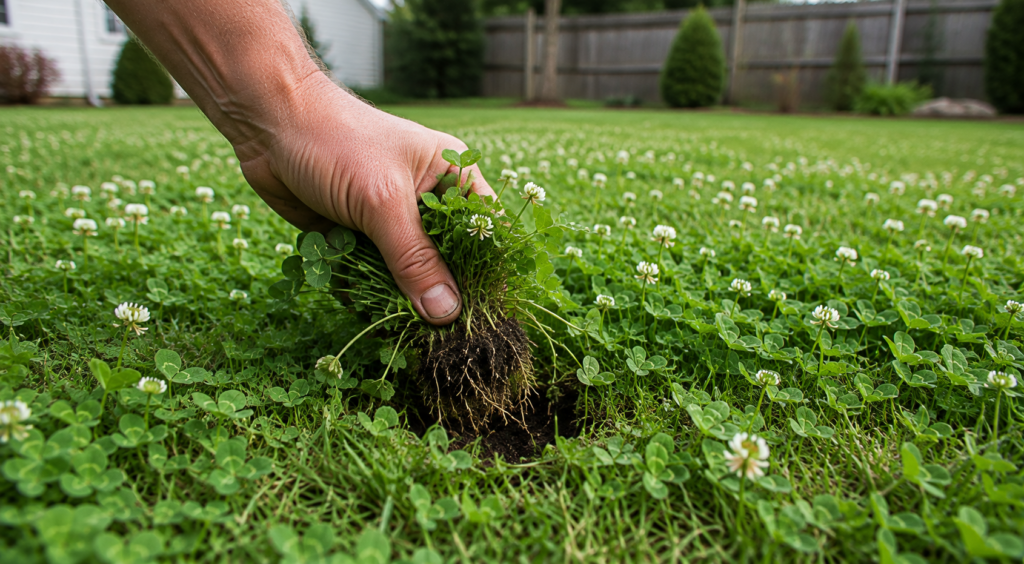
If you’ve only got a few patches, pulling is genuinely the fastest fix. Clover has a shallow root system compared to most lawn weeds, so it comes up pretty easily, especially after rain or a good watering.
Grab it low, near the soil line, and pull steadily instead of yanking. Yanking snaps the stem and leaves the root system intact, which just means regrowth in two weeks. A soil knife or a basic dandelion weeder makes this faster if you’ve got more than a handful of patches.
Do this in the morning when the soil is still damp. Dry, compacted soil holds onto roots stubbornly, and you’ll end up leaving fragments behind. I usually do a pass every weekend for about a month during peak clover season (spring through early summer) rather than trying to get every last patch in one afternoon.
2. Smother It With Solarization or Mulch
For bigger, established patches, hand-pulling turns into a part-time job you didn’t sign up for. Smothering works better here. Clover needs sunlight, so cutting it off does the job without any spraying at all.
Lay a piece of black plastic or a thick layer of cardboard over the patch, weigh down the edges, and leave it for four to six weeks during warm weather. The heat and darkness cook the clover and starve it out. This also kills the grass underneath, so you’ll need to reseed that spot once you remove the covering — but it’s a clean, total kill with zero chemicals.
If plastic feels like overkill for a smaller patch, a thick layer of mulch (three to four inches) does something similar, just slower. I’ve used this method around garden borders where clover kept creeping in from the lawn side, and it’s held up well as long as I kept the mulch topped off.
Clear plastic actually works faster than black in full sun, since it traps heat like a mini greenhouse and can get the soil underneath hot enough to kill weed seeds along with the clover itself. Black plastic is more forgiving in partly shaded spots because it doesn’t rely as heavily on direct sun to build up heat. Either way, check under the plastic after about three weeks. If you still see green, leave it another two weeks rather than pulling it early and undoing the progress.
3. Spray a Vinegar-Based Homemade Herbicide
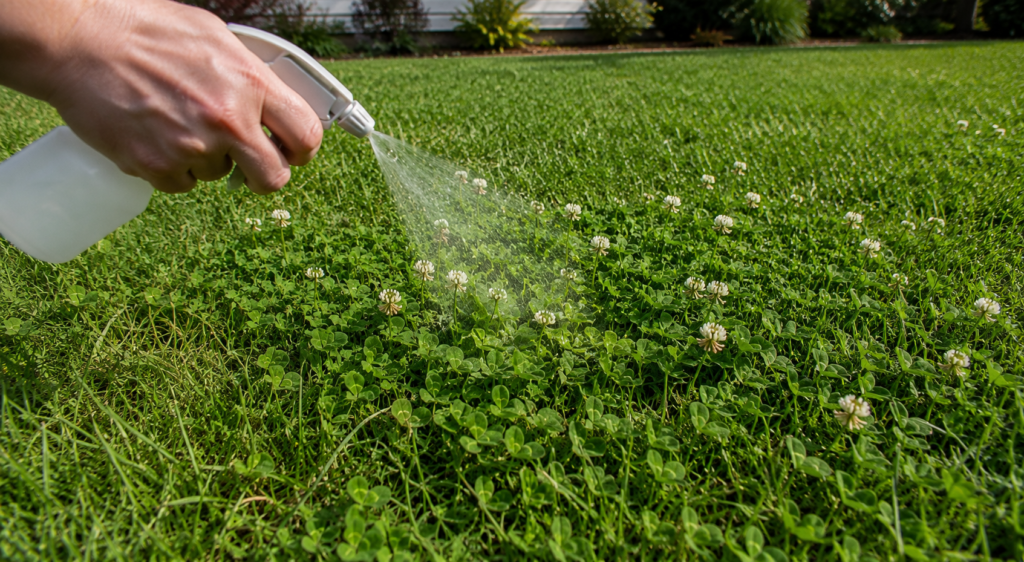
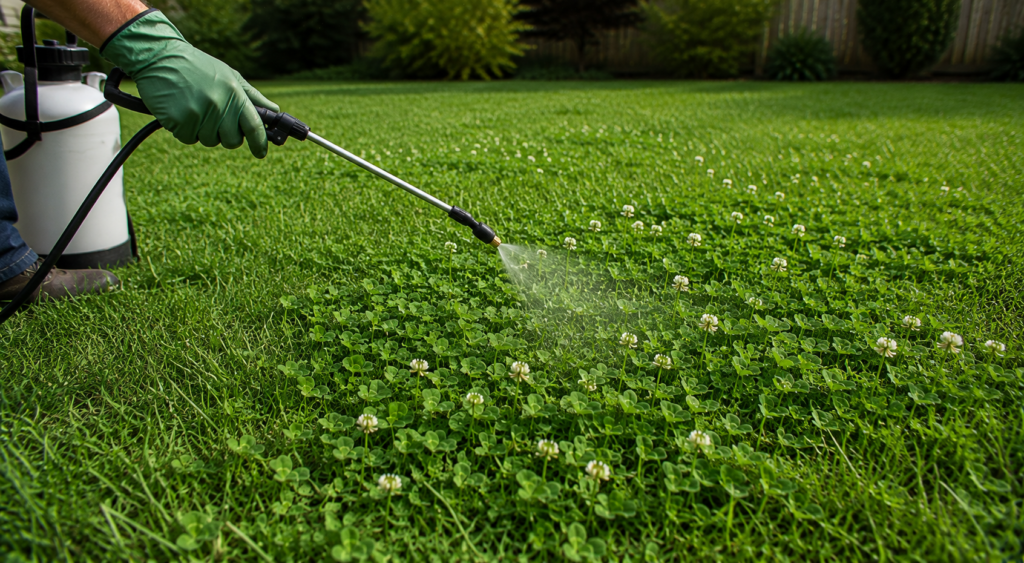
This is the method most people ask me about, and it does work, with some caveats. Horticultural vinegar (20% acidity, not the stuff in your kitchen cabinet) burns down the leaves of clover on contact. Mix it with a small amount of dish soap, which helps it stick to the waxy clover leaves instead of beading up and rolling off.
Spray on a sunny, dry day with no rain in the forecast for at least 24 hours. The vinegar needs time to work and will wash away useless if it rains right after application. You’ll see the clover start wilting within a few hours, and it’ll look fully dead within two to three days.
The catch: vinegar is a contact killer, not a systemic one. It burns the top growth but often doesn’t kill the root, especially on established clover. Expect regrowth in three to four weeks and plan on repeat applications. Also, it’s not selective — it’ll scorch any grass blades it touches too, so this works best as a spot treatment, not a broadcast spray across your whole yard.
4. Adjust Your Mowing Height (This One’s Underrated)
Here’s something almost nobody thinks of as “clover control,” but it’s one of the most effective long-term tools you have: raise your mower deck. Clover grows low to the ground and thrives when grass is cut short because short grass can’t shade it out.
Set your mower to 3 to 3.5 inches for most cool-season grasses, or higher for warm-season varieties depending on your specific type. Taller grass blades shade the soil surface, which does two things: it keeps soil temperatures down (clover germinates best in warm, exposed soil) and it blocks the sunlight clover seedlings need to establish.
I switched a lawn from a 2-inch cut to a 3.5-inch cut a couple springs ago, changed nothing else, and the clover coverage dropped by more than half by midsummer. Mowing height alone won’t eliminate an existing patch, but it stops new clover from getting a foothold, which is honestly the bigger long-term win.
5. Boost Nitrogen With Natural Fertilizer
Clover thrives in nitrogen-poor soil because it makes its own nitrogen through a relationship with soil bacteria — that’s actually its whole evolutionary advantage over grass. Turn that advantage into a disadvantage by feeding your lawn generously with nitrogen, and grass will out-compete clover without any additional work from you.
Corn gluten meal is my go-to here. It’s a natural, slow-release nitrogen source, and it happens to have a side benefit as a pre-emergent that suppresses weed seed germination, clover included, when applied in early spring before soil temperatures warm up. Compost topdressing works too, spread a quarter-inch layer over the lawn in fall or spring and rake it in.
Grass that’s well-fed grows thick and dense. Dense turf shades the soil and leaves no open ground for clover seed to germinate in. This is a slower fix than pulling or spraying, but it’s the one that actually prevents clover from coming back, which is more than you can say for most of the faster options.
Blood meal and alfalfa meal are two other natural nitrogen sources worth knowing about if corn gluten isn’t available near you. Blood meal acts fast, usually showing a difference in grass color within a week or two, while alfalfa meal breaks down slower and improves soil texture over time as an added bonus. I tend to rotate between the two depending on the season — alfalfa in fall when I want a slow soil-building effect, blood meal in spring when I want the grass to green up and get competitive quickly before clover seed germinates.
Quick Side Note: Corn Gluten Timing Matters
One thing that trips people up with corn gluten meal: timing is everything. Apply it too late in spring and it just acts as fertilizer, feeding the clover right along with your grass, since it has no pre-emergent effect on plants that have already germinated. You want it down before soil temps hit around 55°F, which is usually a few weeks before your local forecast for consistent 70-degree days. Get a soil thermometer if you’re serious about this — it’s a ten-dollar tool that saves you from wasting a whole application.
Best Natural Clover Killer Recipes to Try at Home
If you want a DIY spray recipe instead of buying a pre-made product, here’s the one I use most:
Basic vinegar clover spray:
- 1 gallon of 20% horticultural vinegar
- 1 tablespoon of dish soap
- Optional: 1 cup of table salt, if you don’t mind the treated soil staying bare for a while
Mix it in a garden sprayer, shake well, and apply directly to clover leaves until they’re wet but not dripping. Skip the salt version near anything you plan on replanting soon, since salt lingers in soil and can prevent grass seed from establishing for months.
- Boiling water method: For clover growing in cracks, along edging, or in spots where you don’t care about the surrounding plants, straight boiling water poured directly onto the clover kills it almost instantly. It’s not practical for large lawn areas, but it’s free and genuinely effective for small, isolated patches.
- Citrus oil and vinegar combo: Adding a tablespoon of d-limonene (citrus oil, sold as an organic pesticide additive) to the basic vinegar mix breaks down the waxy coating on clover leaves even faster than dish soap alone. This version works well on established clover with thicker leaves that shrug off a plain vinegar spray. Mix, shake, and apply the same way as the basic recipe, ideally in the heat of the afternoon when the plant’s cell walls are more vulnerable to the acid.
Real Talk: What’s Not Worth Your Time (And What Might Backfire)
I’ll be straight with you on a few things people ask about, because not every “natural” method you read about online actually pans out.
Baking soda gets recommended constantly as a clover killer, and I’ve found it’s mostly a waste of time. It can raise soil pH and stress clover slightly, but the concentration needed to actually kill it will also wreck your grass and leave the soil unusable for a season. Skip it.
Full-strength kitchen vinegar (the 5% stuff) doesn’t do much either. People try it because it’s what’s already in the pantry, but it’s too diluted to kill anything beyond a light leaf scorch that clover shrugs off within a week. If you’re going the vinegar route, spend the money on the horticultural-grade concentration or don’t bother.
And here’s the bigger point: if you kill the clover but don’t fix the underlying soil and mowing issues, you’re signing up to do this again next year. I’ve seen homeowners spend an entire summer pulling and spraying clover, get a clean-looking lawn by August, and then watch it come right back the following spring because they never addressed compacted soil or low nitrogen. Treating the symptom without treating the cause is the single most common mistake I see.
One more honest note: total clover eradication on an organic lawn is genuinely hard. Chemical broadleaf herbicides exist because they’re effective at wiping clover out completely and keeping it gone. Going natural means accepting a longer timeline and probably some seasonal touch-ups rather than a one-and-done solution. If you want it fully gone by next weekend, natural methods aren’t going to get you there.
I’ll also say this, even though it’s a little off-topic for a “how to get rid of it” article: think twice before declaring all-out war on clover. It’s one of the few lawn plants that actually improves your soil instead of depleting it, and it stays green through droughts that turn regular grass brown. A lot of homeowners I’ve worked with ended up compromising, clearing clover from the front yard where curb appeal matters and leaving it alone in the back where the bees and the kids’ bare feet don’t cross paths as much. There’s no rule that says it has to be all or nothing.
Preventing Clover From Coming Back
Once you’ve cleared existing clover, here’s what actually keeps it from returning:
- Overseed thin patches in early fall with a grass seed blend suited to your climate. Bare soil is an open invitation for clover seed, so the fastest way to keep it out is to make sure there’s no bare soil to invite it in.
- Test your soil every couple of years. A cheap soil test kit will tell you your nitrogen levels and pH, so you’re not guessing at what your lawn actually needs.
- Water deeply and less often. Frequent shallow watering favors clover’s shallow root system over grass’s deeper roots. Aim for about an inch of water once or twice a week instead of daily light sprinkles.
- Keep mowing high. I mentioned this above, but it’s worth repeating because it’s the single easiest habit change with the biggest payoff.
- Address compaction. If your lawn gets a lot of foot traffic, aerate once a year, in early fall for cool-season grass or late spring for warm-season varieties. Compacted soil struggles to support thick grass roots, and that opens the door right back up for clover to move in behind you.
None of these steps work as a one-time fix. Lawn care in general, and clover control specifically, is a maintenance habit more than a project with an end date. The homeowners I know with the cleanest, clover-free lawns aren’t the ones who did one aggressive treatment — they’re the ones who kept the mower high and fed the soil every season without fail.
Final Thoughts
Getting rid of clover naturally isn’t complicated, but it does ask more patience of you than a bottle of broadleaf spray would. Pull what you can, smother the stubborn patches, feed your soil, and raise that mower deck — do all four together and you’ll see real results within a season, not just a few dead leaves that grow right back.
Have you tried any of these methods on your own lawn, or found something that worked better than what I’ve listed here? Drop your experience in the comments below — I read every one, and I’m always curious what’s working in yards outside my own zip code.

About Syprose Kiche
Syprose Kiche is the creator and writer behind My Besuited Home, a practical home and garden website covering DIY projects, gardening, lawn care, landscaping, home improvement, and outdoor living. She focuses on turning everyday homeowner questions into clear, practical guides backed by careful research and useful real-world considerations.