
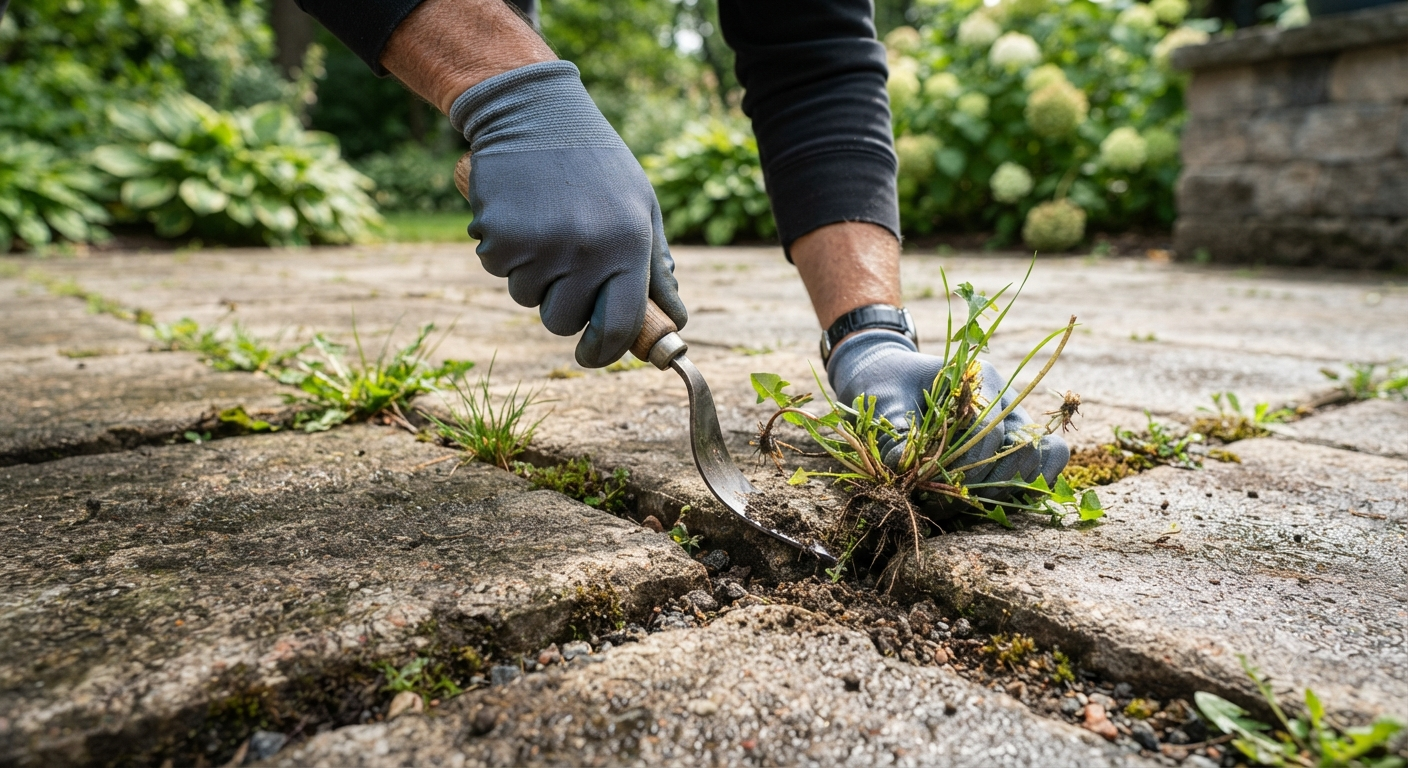
Nothing ruins the look of a nice paver patio faster than a mohawk of dandelions sprouting between every joint. I’ve had neighbors walk past my front walkway, stop, and ask if I planted the weeds on purpose as some kind of cottagecore statement. I had not. I was just losing the war, one crabgrass seedling at a time.
If you’re standing on your patio right now, coffee in hand, glaring at the green fuzz creeping out of your paver joints, I get it. You don’t want to spray your dog’s favorite napping spot with something that reads like a chemistry final. You want something that works, doesn’t cost a fortune, and won’t turn your outdoor space into a hazard zone. Good news: killing weeds between pavers naturally is one of the easier wins in the whole garden game, once you know which methods actually pull their weight and which ones are just internet hype.
I’ve tested pretty much every “natural” weed-killing method that’s ever trended on social media, from the boiling water trick to homemade vinegar sprays that promised miracles and delivered mild disappointment. Here’s what actually works, in what order I’d try it, and what I’d skip entirely.
Why Weeds Love Growing Between Pavers in the First Place
Before we get into fixes, it helps to know why your pavers turned into a weed nursery. Paver joints are basically tiny raised garden beds. Sand or polymeric sand sits in the cracks, water collects there, sunlight hits it directly, and wind blows in seeds from every direction. It’s practically a five-star hotel for weed seeds.
Add in the fact that most patios don’t get walked on evenly, so some joints stay undisturbed for weeks, and you’ve got the perfect storm. The middle of a well-used path might stay weed-free just from foot traffic alone, while the corners and edges turn into a jungle.
Once you understand that the joint material itself is the problem, not just the weeds sitting in it, you start thinking about long-term prevention instead of just yanking dandelions every Saturday morning.
Boiling Water: The Cheapest Trick That Actually Works
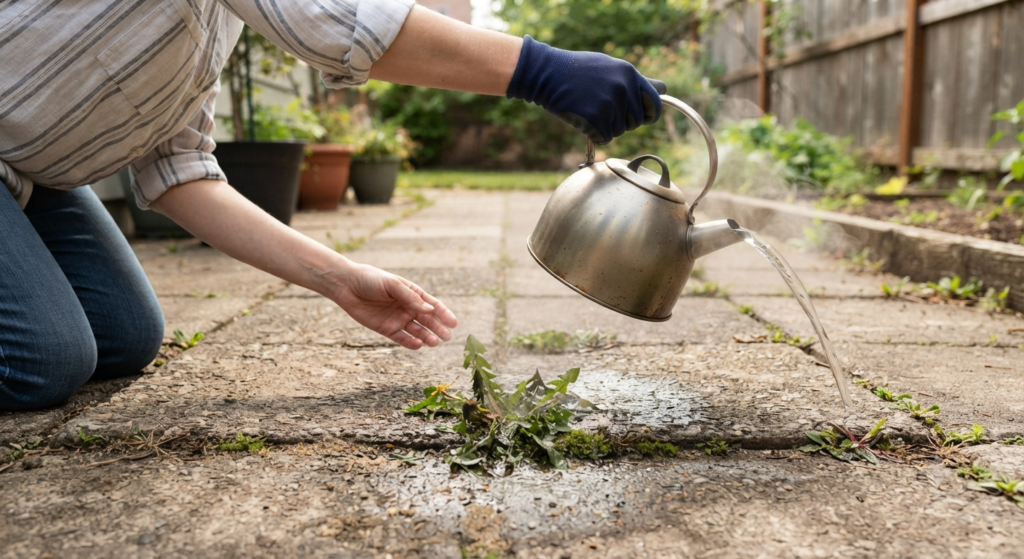
This is where I always tell people to start, because it costs nothing beyond your water bill and a few minutes of your time. Boil a pot of water, carry it outside carefully (please don’t burn yourself, I’ve come close more times than I’d like to admit), and pour it directly onto the weed and its base.
The heat destroys the plant cells almost instantly. Within a day or two, you’ll see the weed wilt, brown, and die back. It’s oddly satisfying to watch, honestly.
Why it works so well: Boiling water is a contact killer. It doesn’t discriminate between weed and desirable plant, so you have to be precise with where you pour it. On a paver patio, that precision is easy because the joints are narrow and well-defined.
The catch: Boiling water won’t always kill the root system of established perennial weeds, especially ones with deep taproots like dandelions. You might need to repeat the treatment two or three times over a couple of weeks. It also does nothing to prevent future seeds from sprouting, so pair it with one of the prevention steps below.
Vinegar Spray: Good for Young Weeds, Not a Miracle Cure
Vinegar gets recommended constantly online, and I want to be straight with you: it works, but only under the right conditions. Regular household vinegar is around 5% acetic acid, and that’s honestly too weak to do much against anything beyond seedlings. Horticultural vinegar, which runs 20% acetic acid or higher, is the stuff that actually burns weeds down fast.
Here’s my go-to recipe for a homemade vinegar weed spray:
- Mix one gallon of horticultural vinegar (20% acetic acid) with one cup of table salt and a tablespoon of dish soap.
- Stir until the salt mostly dissolves.
- Pour into a spray bottle or garden sprayer.
- Spray directly onto weed leaves on a sunny, dry day, saturating the foliage.
- Reapply after a week if you see any regrowth.
The dish soap helps the mixture stick to leaves instead of beading off, and the salt adds a bit of extra desiccation power. I’ve found that spraying in full sun makes a huge difference, since the vinegar works faster with heat and light on its side.
A quick side note: wear gloves and eye protection when handling 20% vinegar. It’s genuinely caustic and can irritate skin and eyes far more than the stuff in your kitchen cabinet.
The downside is that vinegar is non-selective and can leach into the joint sand, potentially affecting soil pH nearby if you’ve got plants growing along the patio edge. Use it with intention, not as a blanket spray across your whole yard.
Salt: Effective, But Use It With Caution
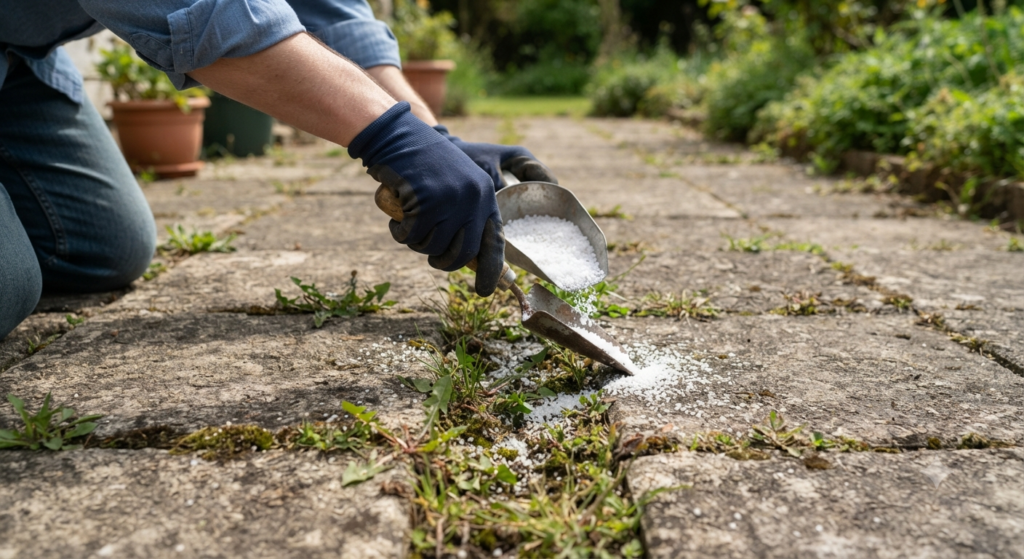
Salt has been used as a weed killer since ancient times, and it’s brutally effective at what it does. Sodium chloride sucks the moisture right out of plant tissue and disrupts the soil’s ability to support new growth for a while afterward.
To use salt on paver weeds, mix one part salt to two parts water, bring it to a boil so the salt fully dissolves, then pour it directly into the joints where weeds keep coming back.
Here’s the thing nobody tells you about salt: it doesn’t just kill the weed, it can sterilize that little patch of joint sand for months. On a paver patio where you don’t want anything growing between the cracks anyway, that’s actually a feature, not a bug. But if that joint sand runs off into a garden bed or lawn nearby, you could end up with a dead patch you didn’t intend to create.
I only use salt on patios that are fully hardscaped, with no adjacent plantings that could catch the runoff. If your pavers border a flower bed or lawn, I’d skip salt entirely and stick with vinegar or boiling water instead.
Baking Soda: The Low-Key Underdog Method
This one surprises people. Baking soda, plain old sodium bicarbonate from your pantry, works as a weed killer because it raises the sodium content of the soil and messes with a weed’s ability to absorb water.
To use it, just sprinkle a generous amount directly into the paver joints and onto any visible weeds, then use a broom or stiff brush to work it down into the cracks. A light misting of water afterward helps it settle in and start working.
It’s slower than vinegar or salt, usually taking a week or two to fully knock back the weeds, but I like it for spot treatments in areas close to pet-walking paths or kids’ play zones, since it’s about as low-risk as weed control gets.
Bonus tip: baking soda also works as a light preventative. Sprinkling a thin layer into empty paver joints after you’ve cleared them out can slow down new weed seeds from taking root, since most seedlings struggle in that altered soil chemistry.
Corn Gluten Meal: The Best Natural Pre-Emergent
If you’re tired of playing defense and want to actually get ahead of the problem, corn gluten meal is the closest thing to a natural pre-emergent herbicide that I trust. It doesn’t kill existing weeds, but it prevents weed seeds from developing roots after they germinate, which is basically the same as stopping them before they start.
Apply corn gluten meal to your paver joints in early spring, before weed seeds typically germinate in your area. Work it into the sand with a broom, then water lightly to activate it. You’ll need to reapply every four to six weeks during the growing season for consistent results.
I use this on my own front walkway every March, and it’s cut my weed population by more than half compared to years I skipped it. It’s not instant gratification like boiling water, but it saves me a ton of weekend labor come July.
One caveat: corn gluten meal also releases nitrogen into the soil as it breaks down, so don’t be shocked if grass near your pavers gets a little greener. That’s a nice side effect if you ask me.
Polymeric Sand: Prevention That Actually Lasts
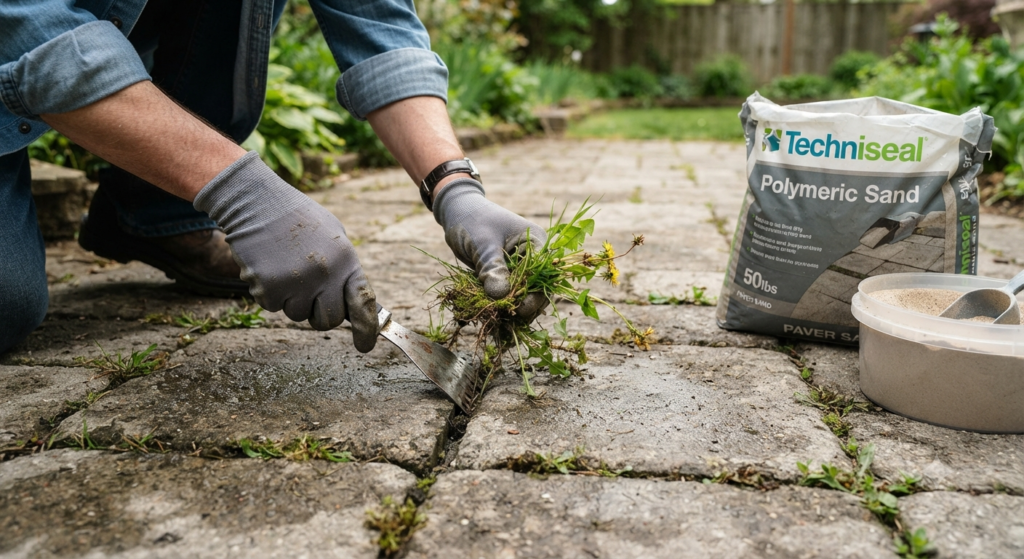
Here’s my honestly opinionated take: if your paver joints are still filled with regular sand, you’re fighting a losing battle no matter how many natural sprays you try. Regular sand washes out, compacts unevenly, and gives weed seeds a cozy place to settle in and germinate.
Polymeric sand is a mix of fine sand and a binding agent that hardens when it’s watered in. Once it cures, it forms a semi-rigid surface in the joints that seeds have a much harder time penetrating. I redid my entire back patio with polymeric sand two summers ago, and my weed problem dropped by what felt like ninety percent.
To install it:
- Sweep out all the old joint material and any weeds, roots included.
- Pour polymeric sand into the joints and sweep it in until they’re fully packed.
- Use a leaf blower on a low setting to clear excess sand off the paver surface.
- Mist the area with water according to the product instructions to activate the binder.
- Let it cure fully, usually 24 to 48 hours, before walking on it.
This is more of a weekend project than a five-minute fix, but I consider it the single best long-term investment for a low-maintenance patio. Pavers with polymeric sand joints also tend to have fewer ant colonies moving in, which is a nice bonus nobody warns you about.
Physical Removal: Old-Fashioned, But Don’t Skip It
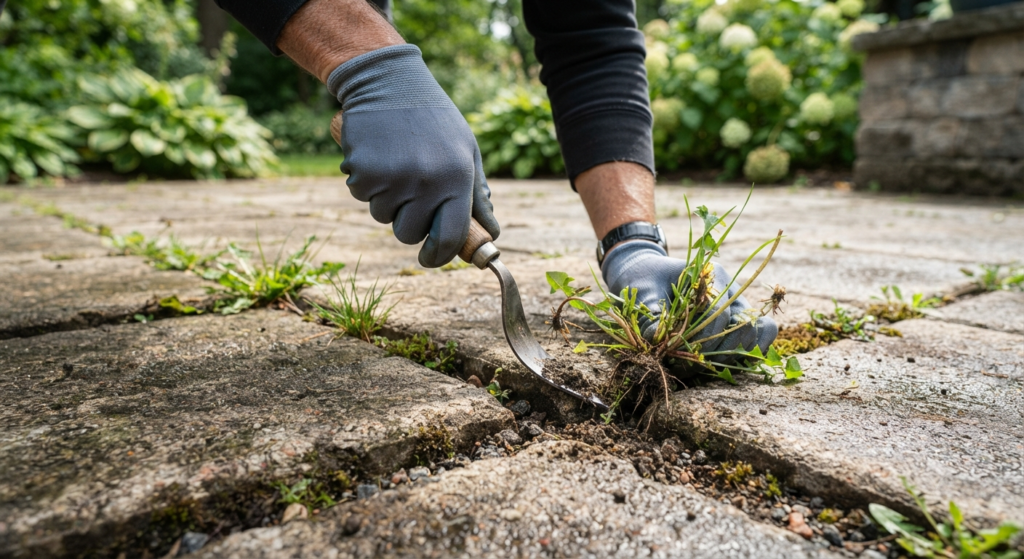
I know it’s not glamorous, but sometimes the best move is just getting down on your knees with a joint knife or a weed puller and yanking things out by the root. This works best right after a rain, when the soil in the joints is soft and roots slide out easily instead of snapping off at the surface.
A few tools I actually use:
- A margin trowel or paver joint knife for scraping along cracks
- A dandelion weed puller with a forked tip for deep taproots
- An old butter knife, honestly, for the really narrow joints where nothing else fits
Physical removal doesn’t leave any chemical residue and works instantly, but it’s temporary if you don’t refill the joint afterward. An empty joint is an open invitation for the next seed that blows by.
Flame Weeding: Fast, Dramatic, and Not for Every Yard
A propane weed torch is one of the most satisfying tools I own. You pass the flame quickly over the weed, just enough to burst the plant cells, and within hours the weed wilts and dies.
It’s fast, doesn’t involve chemicals, and honestly kind of fun to use on a Saturday afternoon. But I’d be lying if I said it was risk-free. Flame weeding near wood fencing, dry mulch, or during any kind of drought warning is asking for trouble. I only pull mine out on calm, damp days, and I always keep a hose nearby, just in case.
If your city or county has burn restrictions, check before you buy a torch. Some areas restrict open-flame tools entirely during fire season.
The Weeds You’ll Actually Run Into (and What Beats Them)
Not every weed between your pavers behaves the same way, so it helps to know what you’re up against before you pick a method.
- Dandelions are the ones everybody recognizes, and they’re stubborn because of that long taproot. Boiling water knocks back the top growth fast, but if you don’t follow up with physical removal or a repeat treatment, that root will send up a new rosette within a couple of weeks. I always try to get the puller in there and twist the whole root out if I can reach it.
- Crabgrass spreads low and wide, hugging the paver edges instead of growing straight up. It germinates from seed every year rather than coming back from a root, which makes it a perfect candidate for corn gluten meal in early spring. Once it’s established and spreading across multiple joints, though, vinegar spray works faster than waiting on a pre-emergent to catch it.
- Moss isn’t technically a weed, but it loves the same damp, shaded joints that weeds do, and it makes pavers slick and dangerous underfoot. Moss doesn’t respond well to vinegar or boiling water the same way broadleaf weeds do. Baking soda is actually my top pick here, since the alkaline shift really disrupts moss growth, and a stiff brush scrub afterward clears out what’s left.
- Clover tends to show up in patios that get partial shade and slightly compacted joint sand. It’s shallow-rooted, so honestly, hand-pulling after a rain works about as well as anything chemical. I wouldn’t waste vinegar on clover unless it’s covering a huge area.
Knowing which weed you’re dealing with saves you from wasting a Saturday on a method that was never going to work for that particular plant in the first place.
Real Talk: What’s Not Worth the Effort
I want to be honest about a few things that get recommended constantly online but that I’ve found underwhelming in practice.
Bleach gets tossed around as a weed killer in a lot of forum posts, and while it does kill plants, it also kills soil microbes and can discolor natural stone pavers permanently. I made this mistake on a limestone patio years ago and ended up with a faded, blotchy patch that never fully matched the rest of the stone again. Skip it.
Landscape fabric under paver joints sounds smart in theory, but in practice, it just gives weed roots something to grip onto as they grow sideways looking for a way up. I’ve torn out more fabric-backed weed problems than I’ve prevented with it. Not worth the extra step during installation.
And smothering weeds with cardboard or newspaper between pavers is basically pointless on a hardscaped surface. That method works great in garden beds with soil underneath, but on pavers, there’s rarely enough depth or moisture retention for it to smother anything effectively. You’ll just end up with soggy cardboard peeking out of your joints after the next rain.
Boiling water and vinegar also share one frustrating limitation: neither one addresses the seed bank already sitting in your joint sand. You can clear the surface weeds all season long and still get new sprouts every couple weeks unless you tackle the joint material itself with polymeric sand or a consistent pre-emergent routine.
Building a Weed-Free Routine That Actually Sticks
The biggest mistake I see people make is treating weed control as a one-time event instead of a seasonal habit. Here’s the rhythm that’s worked best for me over the years:
In early spring, before weeds germinate, I apply corn gluten meal across the whole patio. In late spring and summer, I do a boiling water pass every couple of weeks on anything that slipped through, saving the vinegar spray for stubborn patches that keep coming back. By fall, I do a full joint inspection, refilling any spots where sand has washed out with fresh polymeric sand before winter sets in.
It sounds like a lot written out, but each step only takes twenty or thirty minutes. Compare that to the hours I used to spend on my knees every weekend, and it’s a massive time save.
Parting Wisdom
Weeds between pavers aren’t a sign you’re a bad gardener or a lazy homeowner. They’re just doing exactly what nature designed them to do: find a gap and grow. The trick isn’t finding one magic natural weed killer. It’s stacking a few of these methods together so you’re attacking the problem from every angle, roots included.
Start with what’s already in your kitchen, boiling water and vinegar cost you almost nothing to try this weekend. Then, when you’re ready for something longer-lasting, invest in polymeric sand or a corn gluten meal routine and watch how much less time you spend crouched over your patio come July.
What’s the toughest weed you’re dealing with between your pavers right now? Drop it in the comments below, and I’ll tell you exactly which method I’d try first.

About Syprose Kiche
Syprose Kiche is the creator and writer behind My Besuited Home, a practical home and garden website covering DIY projects, gardening, lawn care, landscaping, home improvement, and outdoor living. She focuses on turning everyday homeowner questions into clear, practical guides backed by careful research and useful real-world considerations.