

My dog Biscuit used to eat anything green that grew within nose-shot of the back porch. Grass, clover, the occasional mystery weed poking up between the patio stones — all of it went straight into his mouth before I could yell “drop it.” That habit is exactly why I stopped reaching for the blue jug of weedkiller at the hardware store years ago. One trip to the emergency vet after he got into a treated flower bed two doors down was enough to scare me straight.
If you’ve got a dog who treats the yard like a salad bar, or a cat who likes to nap in the flower beds, you already know the fear. You want a lawn and garden that don’t look like a crime scene of dandelions, but you also don’t want to spend Saturday night explaining to a vet tech why your pet is drooling and lethargic.
Here’s the good news: pet-safe weed control is a real thing, and it actually works if you use it right. I’ve spent over a decade testing every method under the sun on my own quarter-acre, mostly because I refused to accept “safe” and “effective” couldn’t exist in the same bottle. Below are the seven that earned a permanent spot in my garden shed, plus one bonus trick I only use in specific situations.
1. Horticultural Vinegar (Not the Kitchen Stuff)
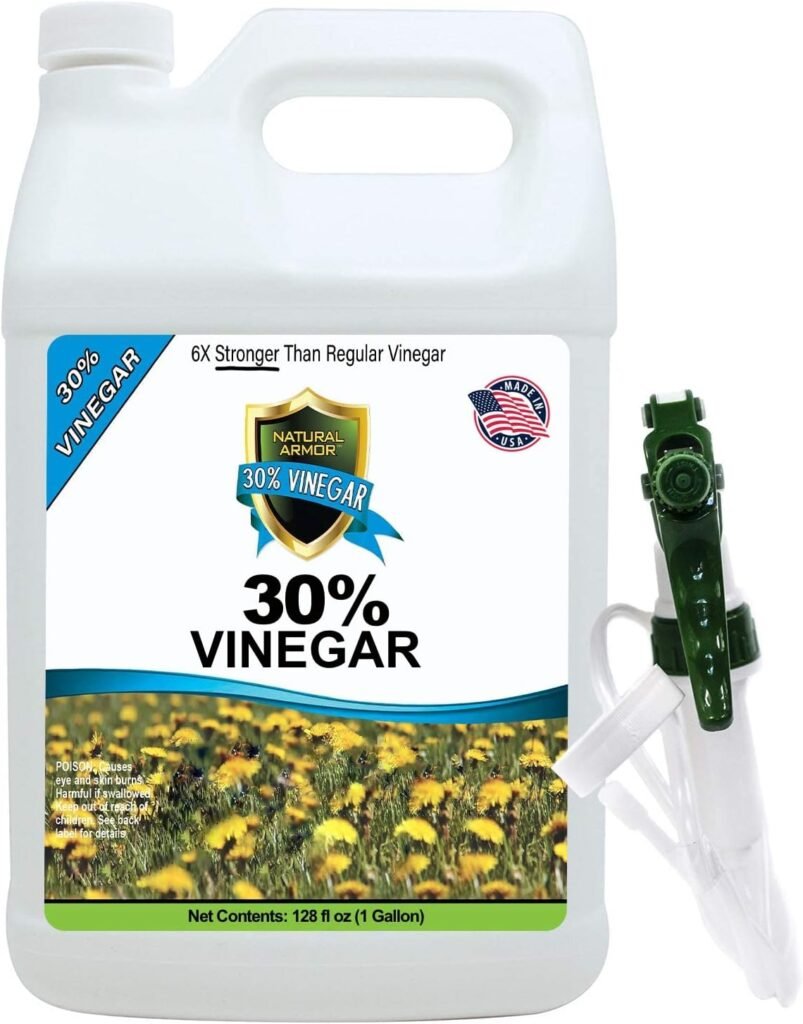
Regular white vinegar from your pantry is 5% acetic acid. It’ll knock back a few weeds if you catch them young, but it’s mostly hype dressed up as a miracle cure. Horticultural vinegar, on the other hand, comes in at 20% acetic acid, and that concentration is what actually kills plant tissue on contact.
I keep a jug of 20% horticultural vinegar in a pump sprayer specifically for cracks in the driveway and gravel paths. Spray it directly on the leaves of the weed on a sunny, dry day, and you’ll see the plant wilt within a few hours. By the next morning, it looks like it’s been through a heat wave.
The catch is that horticultural vinegar is nonselective, meaning it’ll kill your petunias just as fast as it kills crabgrass. It also doesn’t touch the root system on established perennial weeds, so things like dandelions and bindweed will usually bounce back in a few weeks. I treat it as a spot treatment for pathways and patios, not a whole-lawn solution.
One safety note that actually matters: 20% acetic acid can irritate skin and eyes, both yours and your pet’s, while it’s wet. Spray it, then keep animals off that patch until it dries completely, usually an hour or two. Once dry, it’s inert and won’t cause the same problems that synthetic herbicide residue can.
2. Boiling Water for Cracks and Walkways
This is the cheapest weed killer you’ll ever use, and I mean genuinely free if you’re already boiling water for pasta. Pour boiling water directly onto the crown of a weed growing in a sidewalk crack or gravel driveway, and the heat cooks the plant cells almost instantly.
I use an old kettle I keep just for this job. Fill it, bring it to a rolling boil, then walk the driveway pouring a stream directly onto whatever’s sprouting between the pavers. Within a day, everything treated turns brown and crispy. It’s oddly satisfying, honestly, in the same way popping bubble wrap is satisfying.
The limitation is obvious: boiling water only works on hardscape weeds, not lawn weeds, because you’d scald your grass right along with the target plant. It also won’t kill deep taproots on things like dandelions, so you might get a few weeks of clean pavement before regrowth shows up. For annual weeds with shallow roots, though, one treatment is often enough to finish the job.
Safety-wise, this method is about as pet-friendly as it gets since there’s zero residue and nothing toxic involved. The only real risk is to you: carrying a kettle of boiling water across an uneven yard is asking for a burn if you’re not paying attention. Wear closed shoes, and keep pets and kids out of your path while you’re pouring.
3. Corn Gluten Meal for Preventing Weeds Before They Sprout
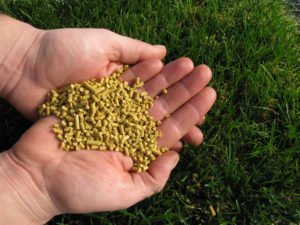
Corn gluten meal is a byproduct of corn processing, and it happens to be a natural pre-emergent herbicide. It won’t kill weeds that are already growing, but it stops weed seeds from developing roots after they germinate. That makes timing everything with this product.
I put corn gluten meal down on my lawn in early spring, right around when forsythia blooms in my area, because that’s my low-tech signal that soil temperatures are warming up enough for weed seeds to start germinating. I broadcast it with a regular lawn spreader at the rate listed on the bag, then water it in lightly.
The tricky part is that corn gluten meal doesn’t discriminate between weed seeds and grass seed, so you can’t use it if you’re also trying to overseed your lawn that same season. I learned to plan my spring routine around one or the other: either put down corn gluten to prevent weeds, or overseed bare patches, but not both in the same six-week window.
For pet safety, corn gluten is essentially a food product, so it’s about as low-risk as lawn treatments get. My neighbor’s Labrador has eaten handfuls of it straight off the lawn with zero issues beyond a slightly upset stomach from overeating. It’s not something I’d encourage, but it beats a trip to the emergency vet by a mile.
4. Manual Pulling With the Right Tool
I know this isn’t glamorous, but a good weeding tool is still one of the most reliable weapons in my arsenal. A dandelion fork, sometimes called a cape cod weeder, lets you pop out a taproot cleanly without leaving fragments behind that regrow into new plants.
My method is simple: after a rain or a good watering, when the soil is soft, I go out with my fork and work through problem areas for fifteen minutes at a time. Fifteen minutes doesn’t sound like much, but doing it two or three times a week keeps a small yard genuinely weed-free without ever reaching for a chemical.
The tradeoff is time and, frankly, your knees. Manual pulling doesn’t scale well if you’ve got a large property or a serious infestation of something aggressive like bindweed, which can regenerate from tiny root fragments left in the soil. For those situations, pulling alone becomes a losing battle, and you’ll want to pair it with one of the other methods on this list.
Pet safety here is a non-issue since there’s nothing applied to the yard at all. My cat actually supervises most of my weeding sessions from a sunny spot nearby, which tells you everything about how low-risk this method is. It’s slow, but it’s the gold standard for spot treatment in beds where pets and kids play constantly.
5. Iron-Based Herbicides (Chelated Iron)
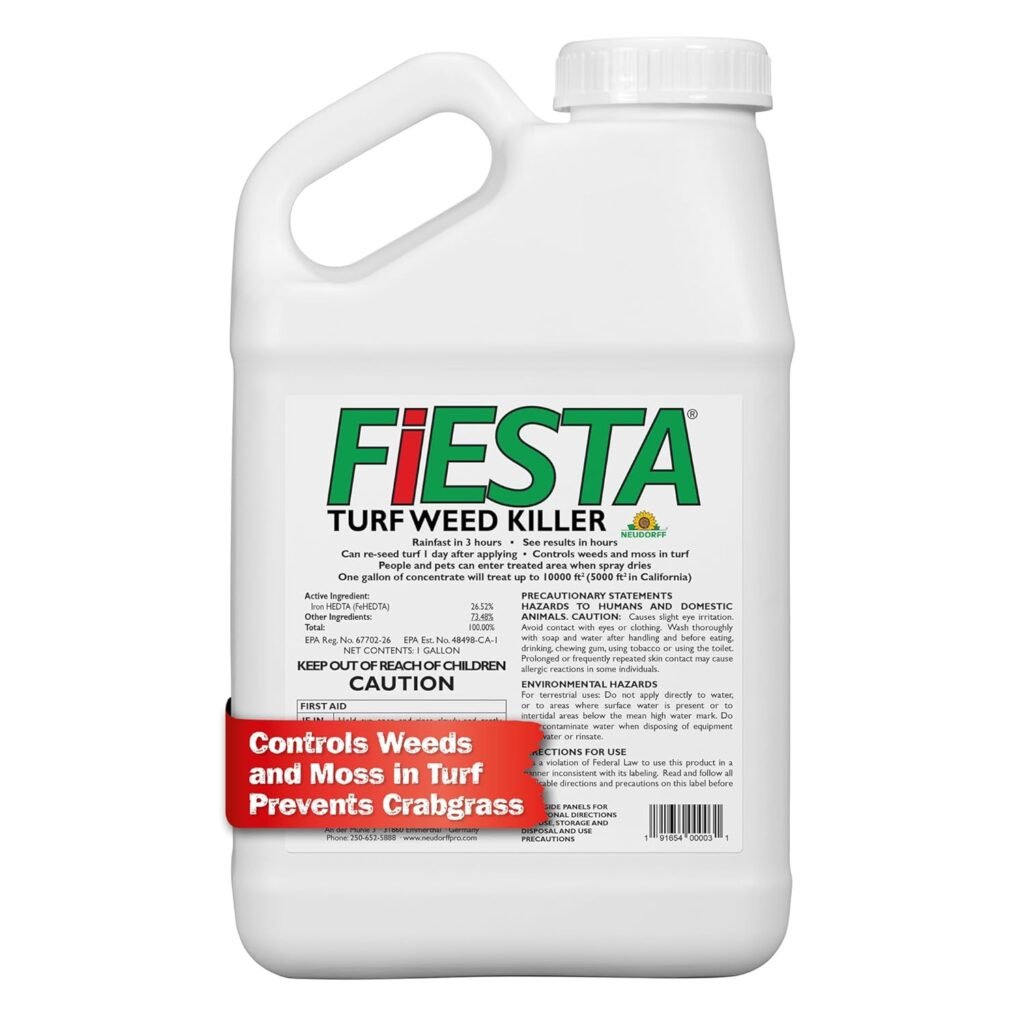
Chelated iron herbicides work by overloading broadleaf weeds with iron, which causes the cells to rupture, while leaving grass largely unharmed. This makes them a genuinely useful tool for lawns specifically, since most other pet-safe options aren’t selective enough to spare your turf.
I’ve used an iron-based spray on clover and dandelions scattered through my front lawn with solid results. The weeds turn a dark, almost black-blue color within a day, which looks alarming at first but means it’s working. Full dieback usually takes about a week.
The downside is that iron herbicides can temporarily stain concrete, siding, and fencing if you’re not careful with overspray, so I always treat on a still day and keep the sprayer nozzle low and close to the target weeds. It’s also a slower process than synthetic broadleaf killers, and stubborn perennial weeds sometimes need a second application three or four weeks later.
According to product labels and standard lawn-care guidance, chelated iron products are generally considered low-toxicity for pets once dry, since iron is a nutrient rather than a systemic poison. I still keep Biscuit off treated areas until the spray has fully dried, which is typically a couple of hours, just to be safe with any wet application.
6. Flame Weeding for Open Areas
A propane weed torch sounds intense, and it kind of is, but it’s become one of my favorite tools for gravel driveways, fence lines, and open patches where I don’t have to worry about anything flammable nearby. You pass the flame over the weed for a second or two, just enough to rupture the plant cells with heat, not to actually set it on fire.
I run mine along the base of my fence every few weeks during summer. You’ll know you’ve done it right when the leaves go from bright green to a dull, wilted olive color. There’s no need to char the plant black; that’s overkill and wastes propane.
The obvious caution is fire risk, so this tool is off-limits during dry spells, burn bans, or anywhere near mulch, dry leaves, or wood structures. It’s also strictly a hardscape tool since you’d torch your actual lawn right alongside the weeds. I keep a hose nearby whenever I use it, more out of habit than necessity, but it’s a smart habit to build.
For pets, flame weeding leaves zero chemical residue, which makes it one of the safest options on this list once the area cools down. The main pet risk is curiosity: keep dogs and cats a good distance away while you’re actually operating the torch, since a startled pet running toward you mid-treatment is a genuinely bad scenario.
7. Clove Oil and Citrus Oil Sprays
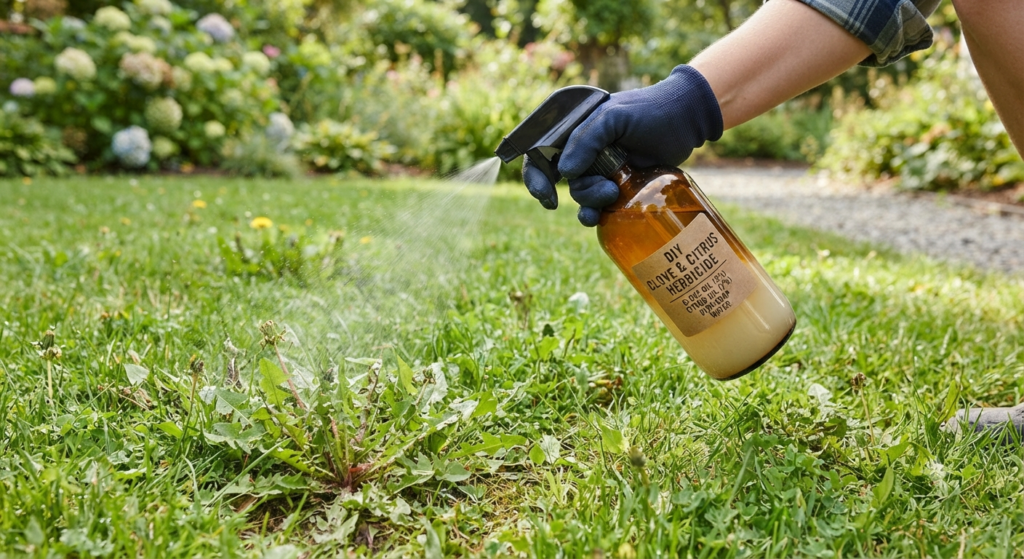
Clove oil, and its cousin d-limonene made from citrus peels, both work as contact herbicides by breaking down the waxy outer layer of weed leaves, which causes them to dry out and die. Commercial blends combine clove oil, citrus oil, and sometimes vinegar into a single spray-and-go product.
I picked up a clove oil-based spray a few summers back for my vegetable garden paths, where I didn’t want anything synthetic anywhere near what I was eventually going to eat. It works fastest on young, actively growing weeds in full sun; something about the heat seems to accelerate how quickly the oils break down the leaf surface.
Like vinegar, this is a contact killer, not a systemic one, so established weeds with deep roots will often grow back within a few weeks. I’ve had the best luck using it as a maintenance spray every couple of weeks rather than a one-and-done solution. It smells fantastic while you’re spraying it, for what it’s worth, like walking into a spice cabinet.
Pet safety is generally solid here too, though the strong scent can be off-putting to some cats and dogs while it’s wet. I let it dry fully, usually under an hour in good sun, before letting Biscuit anywhere near the treated patch. Once dry, there’s no lingering residue that would cause harm if licked or walked through.
Bonus: Mulch as a Weed-Prevention Sidekick
This one isn’t technically a “weed killer,” so I’m calling it a bonus rather than tip number eight. A thick layer of mulch, three to four inches deep, blocks sunlight from reaching weed seeds and smothers a huge percentage of them before they ever sprout. I use it in every garden bed I own, paired with whichever active method I’m using that season. It’s not glamorous, but it cuts my weeding time by more than half, and it’s completely inert once it’s down, so pets can nap right on top of it with zero risk.
How to Choose the Right Method for Your Yard
With seven options plus a bonus, picking where to start can feel overwhelming, so here’s how I actually think about it. If the problem is cracks in your driveway or gravel path, boiling water or a flame torch will handle it in an afternoon with zero prep work. If it’s your actual lawn, chelated iron or corn gluten meal are your best bet since they won’t nuke your grass along with the weeds.
For garden beds where you’re growing food, I lean on clove oil sprays, mulch, and old-fashioned hand pulling, since I don’t want anything with a strong chemical smell anywhere near my tomatoes. And if you’ve got a serious infestation that’s been building for a few seasons, expect to combine at least two or three of these methods rather than relying on just one.
Budget matters too. Boiling water and manual pulling cost you nothing but time. Corn gluten meal and mulch require a bit of an upfront investment but pay off over a full season. Flame torches and iron-based sprays are the priciest tools on this list, but if you’ve got a large property, the time they save is usually worth it.
Frequently Asked Questions About Pet-Safe Weed Killers
How long should I keep pets off a treated area? As a general rule, I wait until the treated area is completely dry to the touch before letting Biscuit anywhere near it. For most sprays, that’s somewhere between one and three hours depending on sun and humidity. Boiling water and flame weeding just need time to cool.
Are pet-safe weed killers actually approved by the EPA? Products like corn gluten meal, iron-based herbicides, and horticultural vinegar are generally classified as minimum-risk or low-toxicity products, but formulations vary by brand. Always read the actual label on whatever product you buy rather than assuming every bottle marketed as “natural” meets the same standard.
Can I use these methods on artificial turf? Boiling water and flame torches can damage synthetic grass fibers, so stick to vinegar or clove oil sprays if weeds are popping up through the seams of artificial turf.
Do pet-safe weed killers work as fast as synthetic ones? Honestly, no, and I won’t pretend otherwise. Most synthetic systemic herbicides kill the entire plant, roots included, in one application. The methods on this list mostly target the visible plant, which means more frequent touch-ups but a much lower risk to the animals sharing your yard.
Real Talk: What Actually Goes Wrong With Pet-Safe Weed Control
Here’s where I’ll be straight with you instead of selling you a fantasy. Pet-safe weed killers are not as fast or as thorough as the synthetic stuff, and anyone who tells you otherwise is trying to sell you something. If you’ve got a lawn overrun with crabgrass or a bindweed infestation that’s been building for three seasons, none of these methods will fix it in a single weekend.
Most of these options are contact killers, which means they damage the leaves and stems of a weed but leave the root system intact on perennial plants. That’s the tradeoff you’re making for pet safety: you’ll be repeating treatments every few weeks instead of applying something once a season and forgetting about it.
Horticultural vinegar and flame weeding are also both nonselective, meaning they’ll happily kill your prized tomato plant right alongside the crabgrass growing next to it. I’ve torched a hosta by accident because I got sloppy with the propane torch, and it never fully recovered. Precision matters more with these methods than with a targeted synthetic spray.
And a quick side note that I think gets glossed over constantly: “pet-safe” doesn’t always mean “pet-proof the second it hits the ground.” Wet applications, even natural ones like vinegar or clove oil, can irritate paws, skin, and eyes until they dry. Always give treated areas time to dry completely before letting animals back out there, and keep an eye on curious pets who might decide a freshly sprayed weed looks like a snack.
Final Thoughts
The best pet-safe weed control isn’t one product, it’s a system. I mix corn gluten in spring, pull weeds by hand through summer, spot-treat cracks with vinegar or a torch, and mulch everything I can to cut down on future work. No single method on this list is a silver bullet, but layered together, they’ve kept my yard clean for years without a single vet visit.
What’s your biggest weed battle right now, and which of these have you already tried? Drop a comment below and let me know, I read every one and I’m always curious what’s working (or not working) in other people’s yards.

About Syprose Kiche
Syprose Kiche is the creator and writer behind My Besuited Home, a practical home and garden website covering DIY projects, gardening, lawn care, landscaping, home improvement, and outdoor living. She focuses on turning everyday homeowner questions into clear, practical guides backed by careful research and useful real-world considerations.