
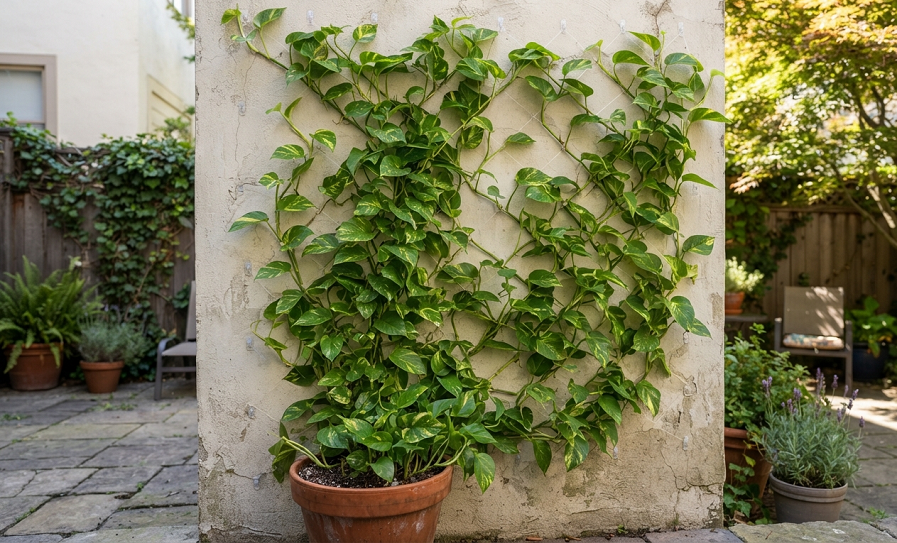
My pothos used to sit in a plastic hanging basket on top of my fridge, doing absolutely nothing with its life. Every few months I’d trim the vines back because they were dragging in the cat’s water bowl. It felt like a waste of a genuinely great plant.
Then a neighbor showed me her stairwell, and I stood there for a solid two minutes just staring at it. She’d trained her pothos up a piece of driftwood and across a window frame until it looked like something out of a plant magazine. That was the moment I stopped treating pothos like a “let it dangle and forget it” plant and started treating it like the climber it actually wants to be.
Here’s the thing nobody tells you when you buy your first pothos: in its natural habitat, this plant climbs. It’s not a trailing vine by choice. It’s a jungle floor plant that scrambles up tree trunks, using those little brown nubs on the stem (called aerial roots) to grip onto bark. When you let it hang instead of climb, you’re basically asking a rock climber to lie on the couch forever. It’ll survive, sure. But it won’t thrive, and the leaves definitely won’t get as big.
If you’re searching for pothos climbing ideas, indoor plant wall inspiration, or ways to train pothos on a trellis, you’re in the right spot. I’ve tried most of these methods myself, killed a few plants figuring out what NOT to do, and I’m going to walk you through the ones that actually work.
Why Pothos Climb Better Than They Trail
Before I get into the list, let me explain why this matters, because it changes how you approach every idea below.
Pothos leaves grown on a support structure get dramatically bigger than leaves left to trail. I’m talking postcard-sized leaves versus the small, almost stunted leaves you see on hanging baskets. This happens because climbing triggers something in the plant called “leaf fenestration” readiness, plus the extra humidity and contact from aerial roots signals the plant to mature. A trailing pothos basically stays in its juvenile form forever.
So every idea on this list isn’t just about aesthetics. It’s about unlocking what your pothos is actually capable of.
1. Moss Poles: The Classic for a Reason
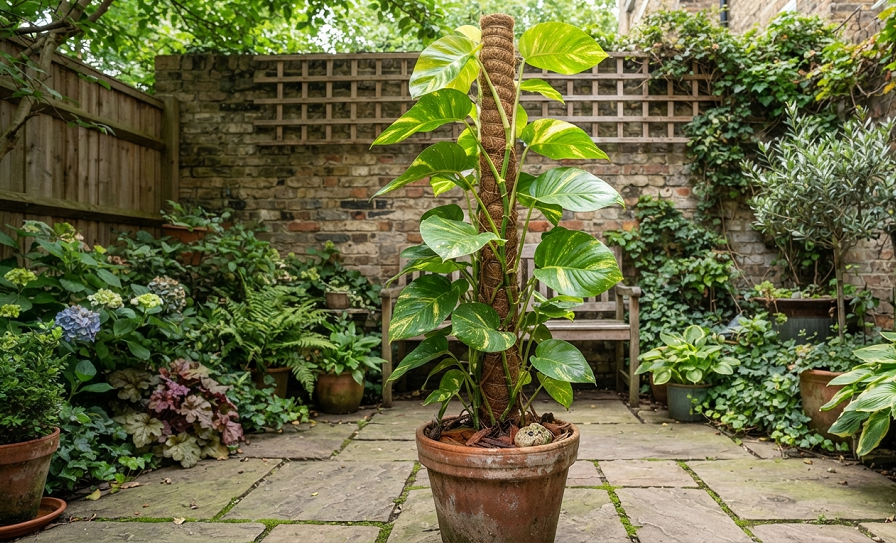
Moss poles are the first thing most people try, and honestly, they’re the first thing I’d recommend too. A moss pole is a vertical stake wrapped in sphagnum moss that you keep damp. The pothos aerial roots burrow into that moss just like they would burrow into tree bark in the wild.
I made my first moss pole out of a wooden dowel and a roll of sphagnum moss from the garden center, held together with fishing line. It looked a little rough for the first month. Vines don’t just latch on immediately; you have to help them by loosely tying the stems to the pole with plant twist ties or soft twine until the aerial roots catch.
The trick that took me embarrassingly long to figure out is that the moss actually needs to stay moist, not just the soil. I used to mist the leaves and call it a day, completely ignoring the pole itself. Once I started spraying the moss pole every couple of days, the aerial roots started gripping within about three weeks instead of just sitting there doing nothing.
If you want a low-maintenance version, look for a coco coir pole instead of moss. It holds moisture longer and doesn’t mold as easily in humid climates, which was a real problem for me the first rainy season I tried this.
2. Bark Boards for a Jungle Look
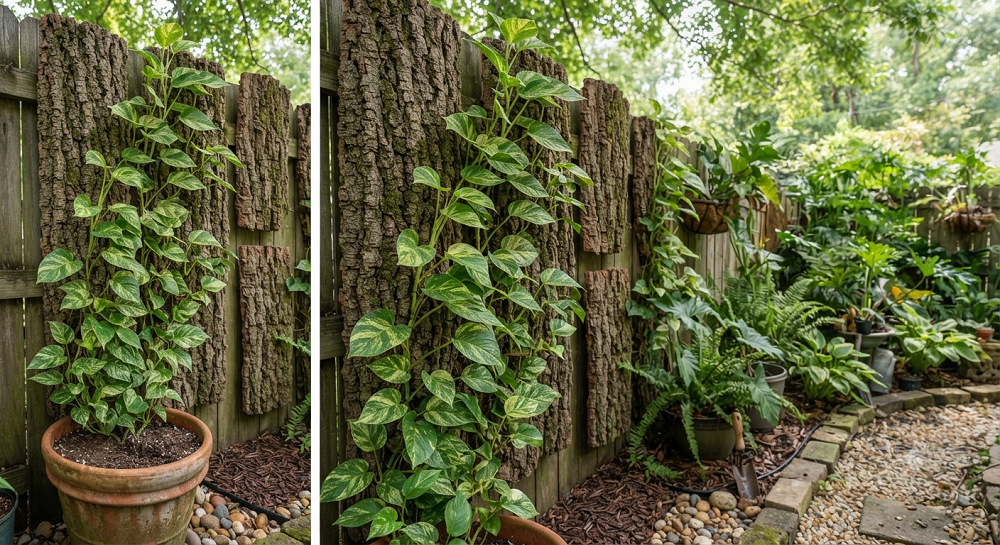
A bark board is exactly what it sounds like: a flat piece of cork bark or driftwood mounted vertically, usually attached to the wall or propped in a pot. This is the setup my neighbor used, and it’s still my favorite for anyone who wants their plant wall to look genuinely wild rather than “store-bought trellis.”
Cork bark has natural grooves and texture, so the aerial roots have plenty of surface to grab onto. You attach the board to the wall with a French cleat or heavy-duty picture hooks, then plant your pothos in a pot at the base, gently training the vines onto the bark with garden clips as they grow.
The visual payoff here is huge. Because the roots dig directly into rough bark rather than smooth wood, the plant grows faster and the leaves fenestrate (get those cool splits and holes) sooner than almost any other method I’ve tried. I had a golden pothos on cork bark that started splitting leaves in under four months, something that never happened in six years of trailing it in a basket.
One warning: cork bark isn’t cheap, and it’s heavy. Make sure whatever you’re mounting it to can handle the weight, especially once the plant and moisture add to it. I did not check this the first time and ended up with a chunk of drywall damage I’m still slightly embarrassed about.
3. Trellises for a Tidier, Structured Climb
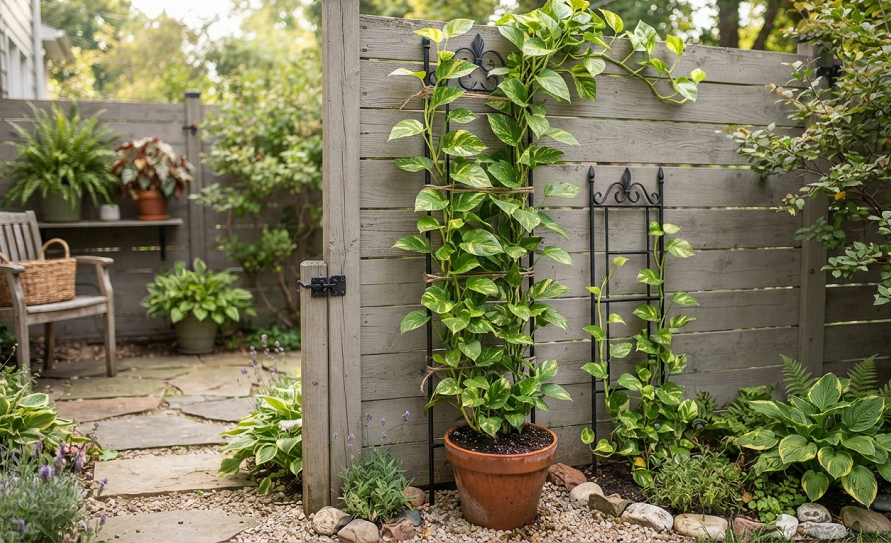
If bark boards feel too rustic for your space, a simple wire or bamboo trellis gives you that structured, almost topiary look. This works especially well in a living room or office where you want green without the jungle chaos.
Trellises come in dozens of shapes now: fan trellises, ladder trellises, even heart and hoop shapes if you’re feeling extra. I went with a basic fan-shaped metal trellis for my home office, and it turned a boring corner into the first thing people notice when they walk in.
The key with trellises is patience during the early training phase. Pothos vines don’t cling to smooth wire the way they cling to bark or moss, so you’ll be doing more manual weaving and clipping. I check mine every week and gently redirect any vine that’s decided to go rogue and grow sideways instead of up.
A nice bonus with trellises is portability. Unlike a wall-mounted bark board, you can move a trellis-and-pot combo around the house as the light changes with the seasons, which matters more than people think for keeping the leaves full and not leggy.
4. Window Frame Training for Natural Light Lovers
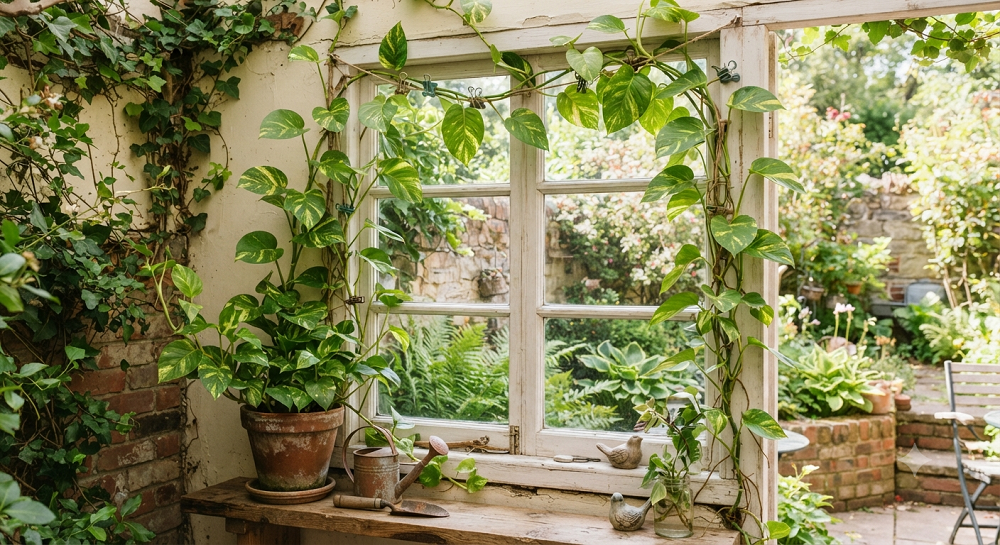
This is the cheapest idea on the whole list, and it might be my favorite for renters. You literally train the vines to climb the frame of a window using small adhesive plant clips, no drilling required.
I did this in my first apartment where I wasn’t allowed to put holes in anything. I used clear adhesive hooks along the window trim and gently guided the vines up and around, letting them frame the window like a leafy curtain.
The obvious perk is light. Pothos climbing right at the window get more consistent, even light exposure than plants sitting on a sill, which usually leads to fuller growth on both sides of the vine instead of the plant stretching awkwardly toward one light source.
Just watch the adhesive hooks in direct sun or humid rooms like a bathroom. Mine lost their grip a few times in a steamy bathroom window and I came home to vines sagging on the floor. Command strips rated for higher humidity solved that problem for me.
5. Ladder Shelves Turned Living Green Walls
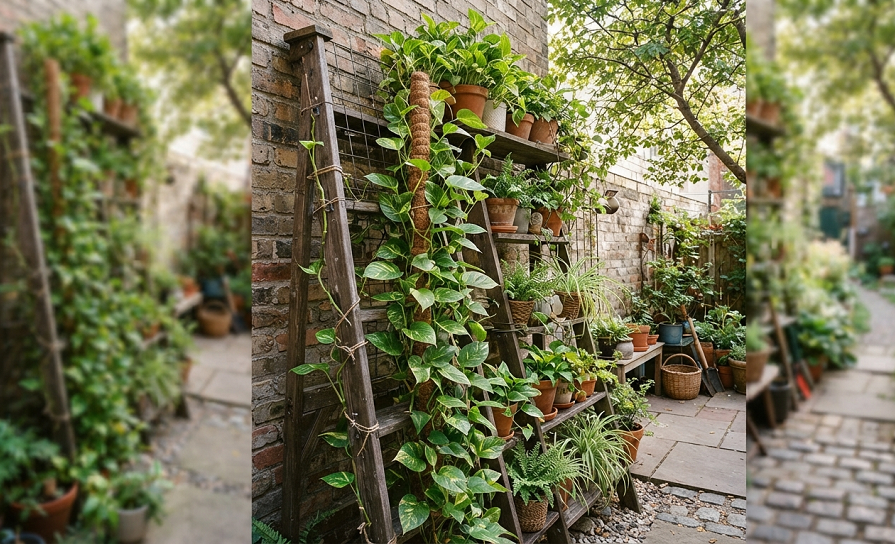
A wooden ladder shelf, the kind usually used for blankets or towels, makes a surprisingly great pothos climbing structure. You thread the vines through the rungs as they grow, and over a few months the whole ladder disappears under leaves.
I picked up a secondhand wooden ladder shelf for basically nothing and turned it into a green room divider between my kitchen and living room. It does double duty as storage on the lower rungs and a full plant wall up top.
Because the rungs are spaced out, the vines have room to fill in naturally without looking forced or over-trained. I don’t clip mine much at all; I just tuck the growing tips through a new rung every week or two and let gravity and growth habit do the rest.
The one thing I’d tell you upfront is that ladders like this get heavy fast once several vines mature. I reinforced mine against the wall with an anti-tip strap, the same kind you’d use for a bookshelf with kids in the house, just to be safe.
6. Macrame Hanging Combined With Wall Anchors
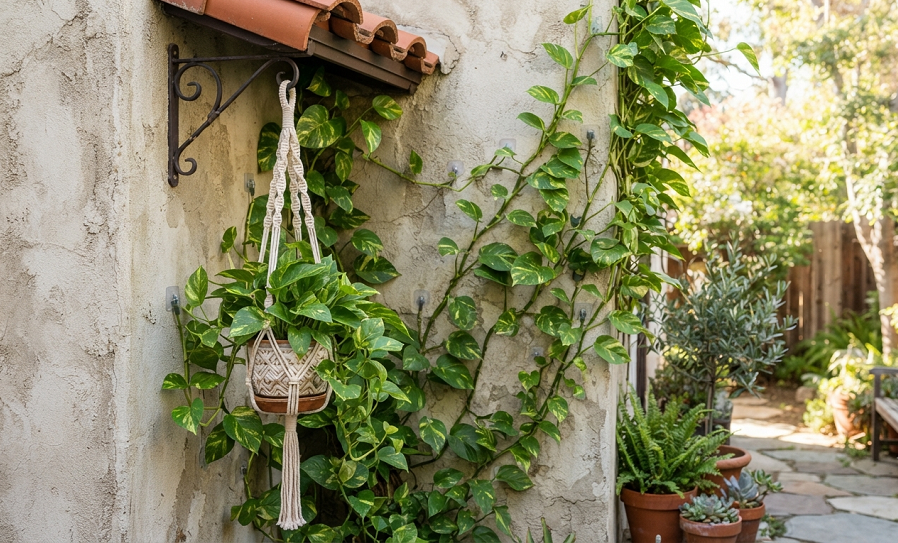
This one’s a hybrid: you start the pothos in a macrame hanger, but instead of letting it trail down, you anchor a few vines upward and outward onto small wall hooks or cup hooks nearby, creating a fan of growth radiating from the hanger.
I did this above a reading chair, and it created this cool canopy effect without needing a full trellis structure. It’s less commitment than a full living wall, which makes it a good starting point if you’re not sure you’re ready to go all in.
The training process is slower here because you’re working against the vine’s instinct to just hang down. I found looping the vines loosely rather than clipping them tightly worked best, since tight clips on immature stems can actually snap them.
Side note on this one: it looks best with a mature, already-bushy pothos rather than a small starter plant. If you try this with a tiny cutting, you’ll be waiting a long time before there’s enough vine to create that fan effect.
7. PVC or Copper Pipe Frames for a Modern Look
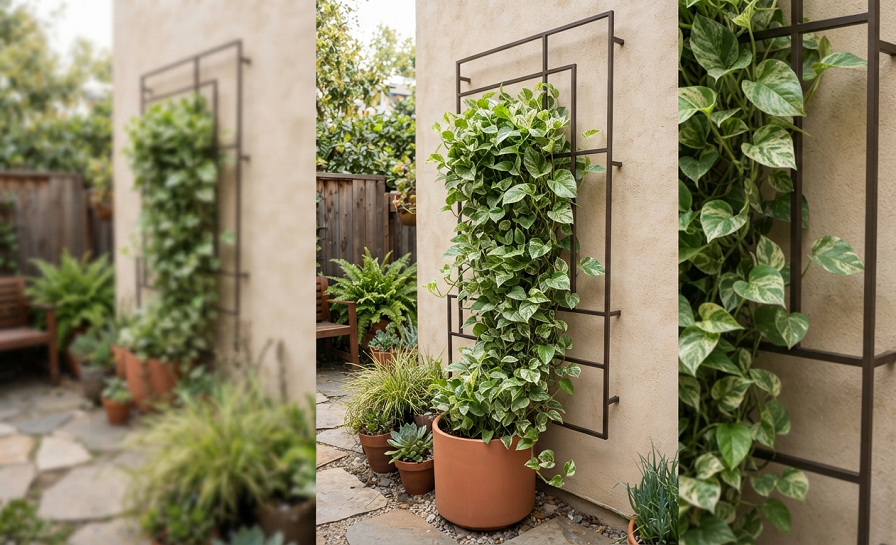
If your style leans more minimalist or industrial, a frame built from copper or PVC pipe fittings gives your pothos wall a totally different vibe than moss and bark. Think geometric shapes, clean lines, almost architectural.
I built a simple rectangular copper frame using pipe fittings from the hardware store, no soldering required since most fittings just slide and friction-fit together. Total cost was under thirty dollars, and it’s held up for over two years now.
Training pothos onto metal or PVC takes more manual guiding than a textured surface, since there’s nothing for aerial roots to grip. You’ll be using garden twine or soft wire ties at multiple points along each vine, checking every week or so to redirect growth.
This idea is opinionated, but I’ll say it anyway: skip the plastic PVC unless you’re painting it. Bare white PVC pipe against green leaves looks like a science project, not decor. Copper ages into a nice patina and actually looks intentional.
8. Repurposed Bookshelf or Ladder Bookcase
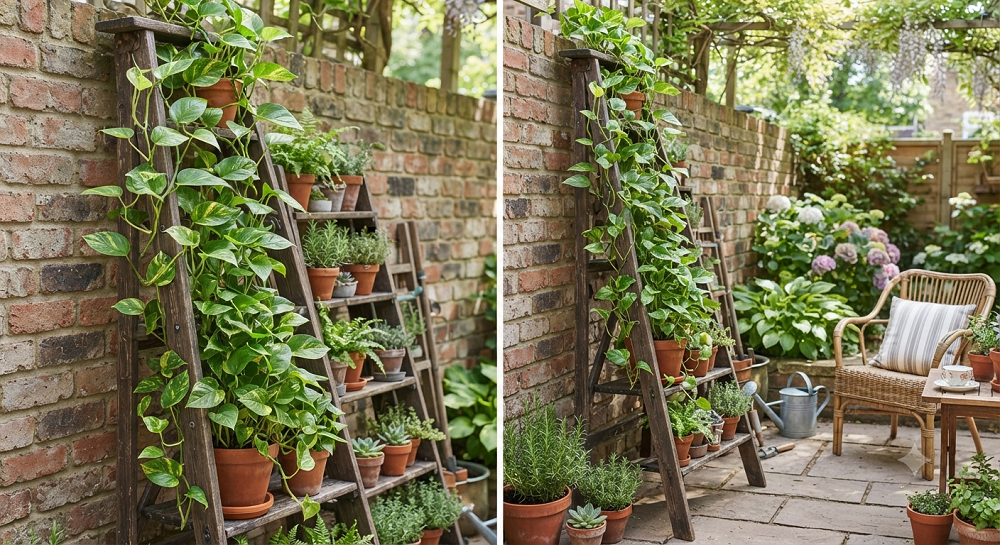
An open-back bookshelf, especially a ladder-style bookcase, works almost the same way as the wooden ladder shelf idea, except it gives you actual storage space too. You weave vines through the open shelving, letting them climb from a pot on the bottom shelf all the way to the top.
I used an old bookshelf that was headed for the curb and turned it into a “library meets greenhouse” corner of my apartment. Books on the lower shelves, cascading and climbing pothos filling the upper ones.
This method needs a bit more upkeep than a dedicated moss pole, mainly because the shelf wasn’t designed with plants in mind. I keep a small saucer under the pot to catch drips and rotate the shelf occasionally so all sides of the plant get light, not just the front-facing leaves.
What surprised me most is how much fuller the plant looked within just a couple of months, purely because the horizontal shelves gave the vines something to rest on and branch from, rather than hanging straight down under their own weight.
9. Fishing Line and Hook Grids for an Invisible Look
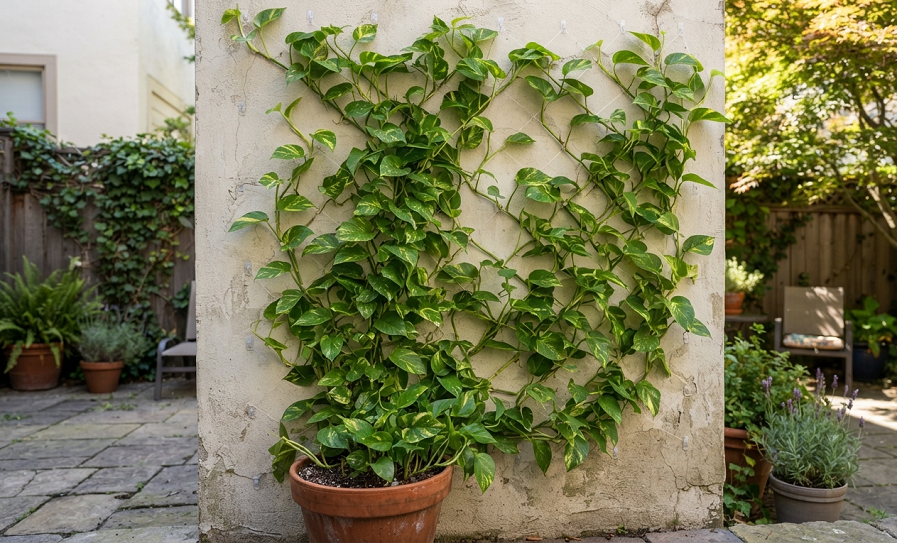
This is the idea for people who want the “floating leaves” effect, where it looks like the pothos is climbing the wall with no visible support at all. You install small cup hooks in a grid pattern on the wall, then run clear fishing line between them, training vines along the nearly invisible lines.
I tried this in my bedroom because I didn’t want anything bulky competing with a gallery wall of photos nearby. From more than a few feet away, it genuinely looks like the vines are just growing straight up the drywall.
It takes real patience though. You’re manually looping and re-looping vines around fishing line every few days at first, since there’s nothing for the plant to naturally grip. I won’t pretend this is a “set it and forget it” method.
Honestly, I’ve found that people either love this method or find it way too fussy for the payoff. If you’re not someone who enjoys the process of tending plants regularly, skip this one and go with a moss pole instead.
10. Room Dividers Built From Climbing Panels
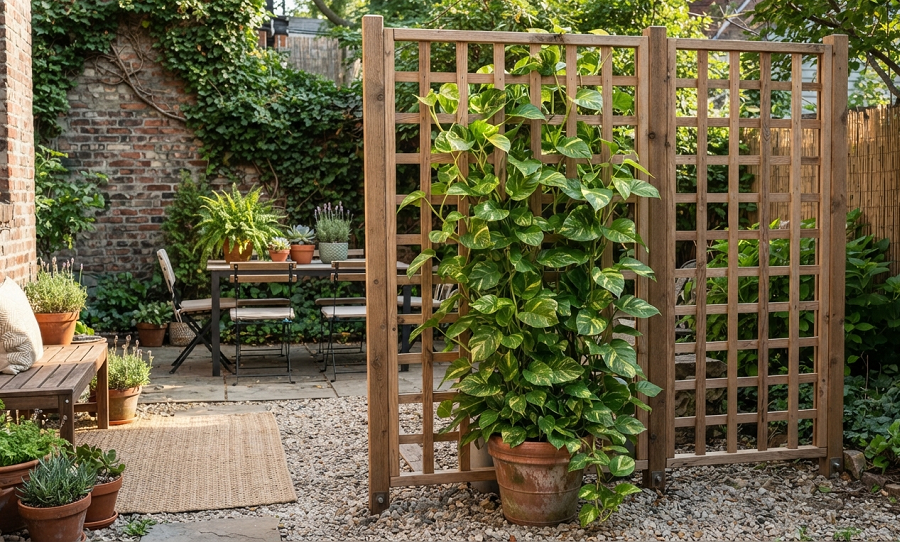
A freestanding trellis panel, the kind you’d normally use for climbing roses or clematis outdoors, makes an excellent indoor room divider once it’s covered in pothos. You place it between two spaces, like a studio apartment’s sleeping and living areas, and let the vines fill it in as a living, breathing wall.
I saw this done in a friend’s studio apartment using a simple black metal garden trellis panel on a stand, and it completely changed how the space felt without adding a single piece of drywall.
The panel needs to be wide and tall enough to actually block sightlines once it fills in, so measure your space before buying. A trellis that’s too small just looks like a random plant in the middle of the room instead of an intentional divider.
Give this one time. It took my friend close to eight months of steady growth before the panel was actually dense enough to function as a real divider rather than a decorative accent. If you need privacy right away, this isn’t your fastest option.
11. Ceiling-Mounted Cascades That Climb Upward First
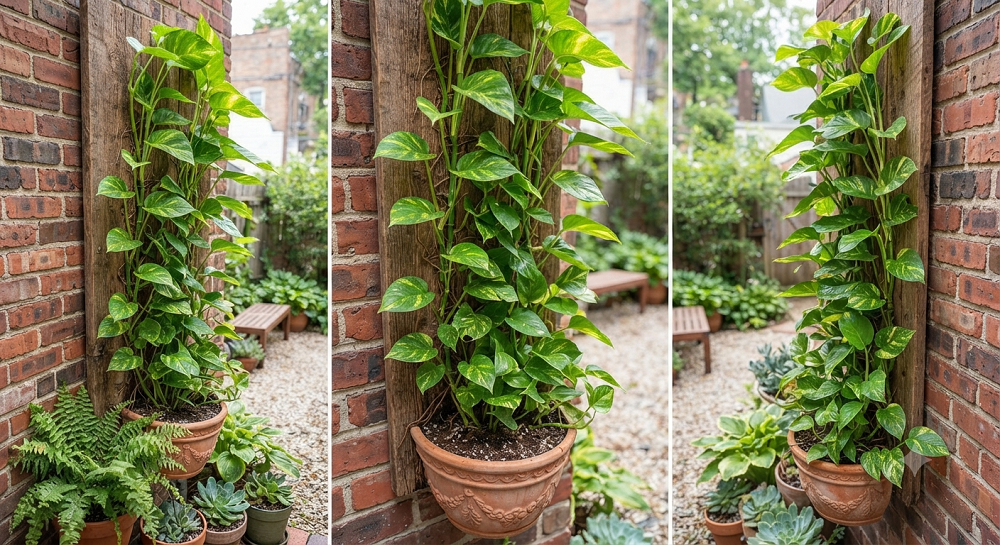
Here’s a twist most people don’t think about: mount the pot near the ceiling and train the vines to climb a short support upward before letting the rest cascade down. You get the fullness of a climbing plant up top and the drama of a trailing plant below, all from one pot.
I did this above a bookshelf using a small trellis hoop mounted just above the hanging planter, training the newest growth up and over the hoop before it naturally started to fall.
This method plays with the plant’s natural habit instead of fighting it completely. Pothos wants to climb when it’s young and near a support, then trail once it’s past that support and searching for the next thing to grab. Working with that instinct instead of against it gets you a fuller-looking plant overall.
Quick side note: this one is trickier in low-ceiling rooms. If your ceiling’s under eight feet, the cascading portion won’t have much room to show off before it hits furniture, so measure your vertical space before committing to this setup.
12. Vertical Garden Pockets for a Full Wall Effect
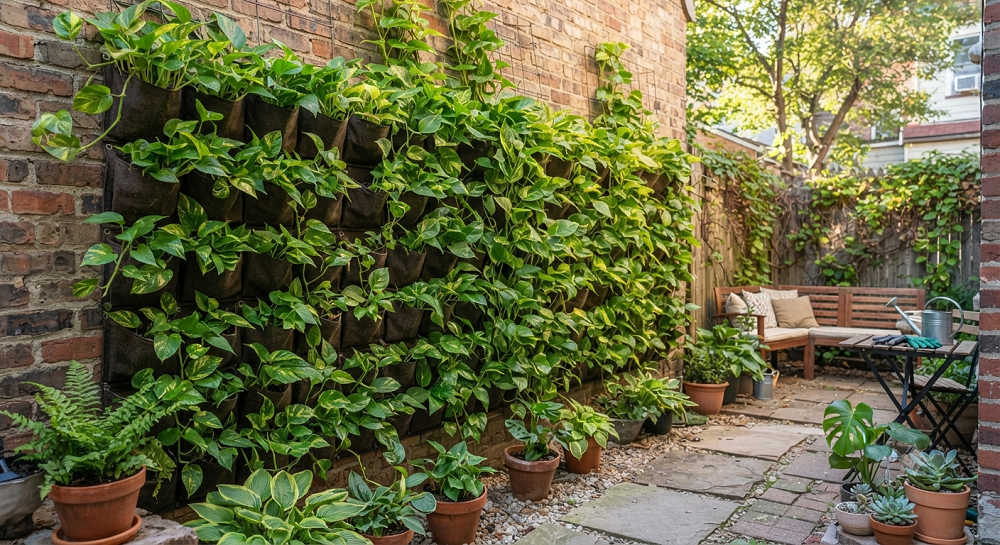
Felt or fabric wall pockets, usually marketed for vertical herb gardens, work surprisingly well for training multiple pothos plants into one dense wall of green. You plant a small pothos in each pocket and let the vines from each one climb and interweave with the plants above and beside it.
I used a six-pocket felt system on a balcony wall, and within about five months, you genuinely couldn’t tell where one plant ended and the next began. It reads as one solid green wall instead of a collection of separate plants.
Watering is the trickiest part of this method. Each pocket dries out at a different rate depending on its position, so I check each one individually rather than watering the whole system on a schedule. The bottom pockets usually need less because gravity pulls moisture down from above.
This is one of the more expensive setups on this list once you add up multiple plants and the pocket system itself, but the payoff for an apartment balcony or small courtyard is honestly worth it if a full green wall is your goal.
13. Bonus Idea: Combine Two Structures for a Statement Piece
I’m breaking the pattern a little here because this last one isn’t really a single method, it’s a mash-up. My favorite living wall in my own house combines a cork bark board at the base with a fishing line grid above it, so the plant climbs up something textured before continuing onto something nearly invisible near the ceiling.
Mixing structures gives you the best of both: fast, strong root attachment low down on the bark, then a cleaner, more minimal look higher up where you don’t necessarily want a bulky bark board reaching all the way to the ceiling.
This isn’t a beginner move. I’d only recommend combining structures once you’ve already successfully trained a pothos on at least one support and understand how your specific plant likes to grow, since every pothos has slightly different habits depending on light and variety.
If you do try it, transition the vine from one structure to the next gradually, over a couple of weeks, rather than trying to force the switch in one afternoon. Plants get “confused” by sudden changes in support just like they do by sudden changes in light.
Real Talk: What Can Go Wrong With Pothos Climbing Walls
Not everything about training a pothos to climb is Pinterest-perfect, and I want to be straight with you about the parts that trip people up.
- Mold on moss poles. If you live somewhere humid, a constantly damp moss pole can grow mold, especially if airflow in the room is poor. I’ve had this happen twice, and both times a small fan pointed at the wall (not directly at the plant) solved it.
- Aerial roots that just won’t grip. Sometimes a pothos simply refuses to attach to its support for weeks, especially younger cuttings. This is usually a light or humidity issue, not something wrong with your technique. Don’t panic and start over; just keep the support consistently damp and give it time.
- Weight problems. A fully grown, climbing pothos with dozens of vines is heavier than people expect. I’ve seen adhesive hooks fail, ladder shelves tip, and cheap trellis frames bend under the weight of a mature plant. Always over-build your support structure a little more than you think you need.
- Overwatering because the setup looks thirsty. A big, lush climbing wall makes people want to water more, but the plant’s actual water needs haven’t changed just because it looks bigger. I still let my climbing pothos dry out between waterings the same way I would a small potted one.
- Pest hiding spots. Dense, climbing pothos walls give mealybugs and spider mites a lot more places to hide than a simple trailing plant. I check the undersides of leaves and the crevices near the support structure at least once a month, especially in spring when pests tend to show up uninvited.
None of these are dealbreakers. They’re just things I wish someone had told me before I started, instead of finding out the hard way with a moldy moss pole in my bathroom.
Final Thoughts on Building Your Own Pothos Wall
A climbing pothos wall isn’t a weekend project, it’s more like a slow-motion home makeover that keeps getting better every month you leave it alone to do its thing. Pick one method from this list, start small, and resist the urge to redesign the whole wall the moment it’s not perfect after two weeks. Plants work on their own schedule, not yours.
Which of these setups matches your space best, the moss pole, the bark board, or something more minimal like the fishing line grid? Drop your pick (or your own climbing pothos hack) in the comment box below, I’d genuinely love to see how your wall turns out.

About Syprose Kiche
Syprose Kiche is the creator and writer behind My Besuited Home, a practical home and garden website covering DIY projects, gardening, lawn care, landscaping, home improvement, and outdoor living. She focuses on turning everyday homeowner questions into clear, practical guides backed by careful research and useful real-world considerations.