
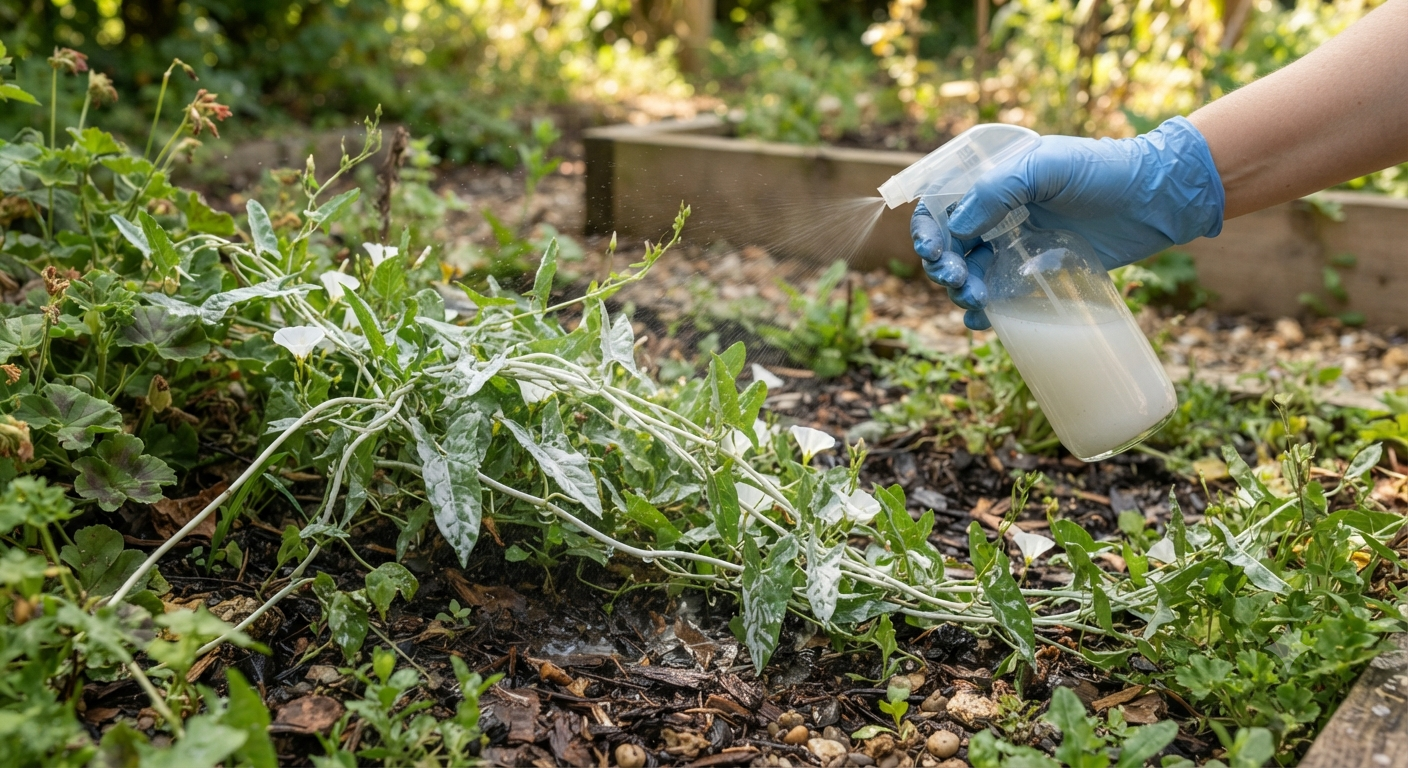
If you’ve ever pulled a bindweed vine and watched it snap off two inches below the soil, laughing at you from somewhere down in the earth, you already know why this weed has a special place on my most-hated list. Bindweed doesn’t just grow. It strangles. It wraps around your tomato cages, your fence posts, your prized delphiniums, and squeezes until the plant underneath gives up.
I’ve been gardening for over a decade, and bindweed is the one weed that’s made me question my life choices. Roots can run 20 feet deep and spread 10 feet sideways underground, which means the vine you see topside is just the tip of a very stubborn iceberg. Pull it, and you’ll likely leave root fragments behind. Every fragment can sprout a brand-new plant. It’s basically a hydra with heart-shaped leaves.
The good news: you don’t need a truckload of chemical herbicide to fight back. I’ve tested a pile of homemade bindweed killers over the years, in raised beds, along fence lines, and in one particularly bindweed-infested corner of my yard that I now just call “the problem.” Some of these methods work fast. Some take patience. All of them beat standing there yanking vines every weekend for the rest of your life.
Why Bindweed Is So Hard to Kill in the First Place
Before we get into the recipes and methods, it helps to understand what you’re up against. Field bindweed (the vine with the little white or pink trumpet-shaped flowers that people sometimes mistake for morning glory) spreads two ways: seeds and roots. The seeds can stay viable in soil for up to 20 years. Yes, two decades. The roots store enormous amounts of energy, so even if you kill the top growth, the plant can push out new shoots from root reserves for months.
This is why a single spray-and-done approach almost never works. Bindweed control is a campaign, not a battle. You need repeated treatments, and you need to hit the plant when it’s actively growing and pulling energy up from the roots to the leaves, not when it’s dormant.
Keep that in mind as you read through these methods, because the biggest mistake I see people make is trying one homemade spray once, getting frustrated when the vine comes back three weeks later, and giving up. Consistency wins this fight.
1. Vinegar and Dish Soap Spray
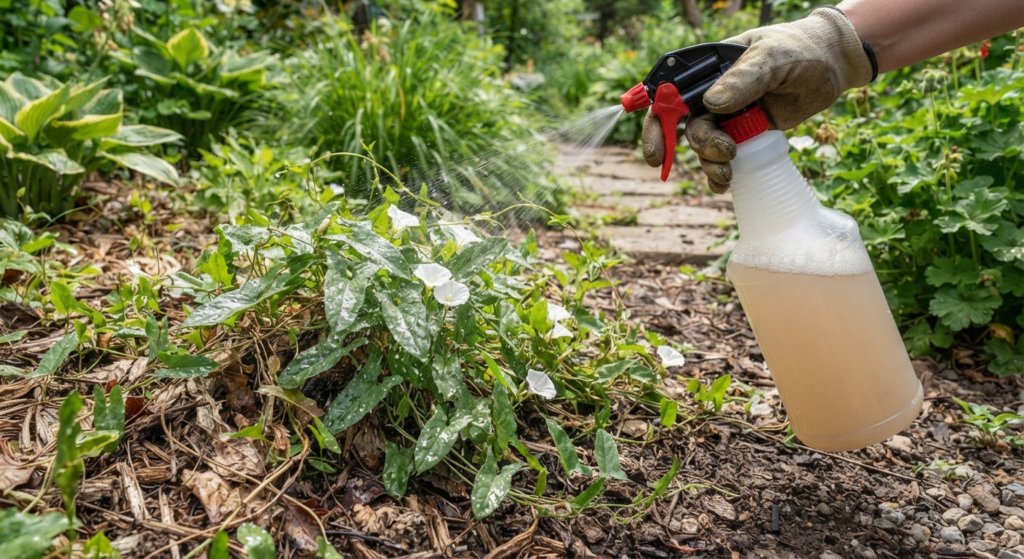
This is the go-to homemade bindweed killer that most people try first, and for good reason. It’s cheap, it’s fast-acting on foliage, and you probably already have the ingredients in your kitchen.
What you need:
- 1 gallon of white vinegar (the regular 5% stuff from the grocery store works, though horticultural vinegar at 20% acetic acid works faster)
- 1 tablespoon of liquid dish soap
- A spray bottle or garden sprayer
Mix the vinegar and dish soap together gently (don’t shake it hard, or you’ll get a bottle full of foam) and pour it into your sprayer. The dish soap acts as a surfactant, which is a fancy way of saying it helps the vinegar stick to the waxy leaves of the bindweed instead of beading up and rolling off.
Spray the vine’s leaves thoroughly on a dry, sunny day. You’ll want at least a few hours without rain in the forecast so the vinegar has time to work. Within 24 to 48 hours, you’ll see the leaves start to shrivel and brown.
Here’s the catch, and it’s a big one: vinegar is a contact herbicide. It burns whatever it touches but doesn’t travel down into the root system. That means the top growth dies, but the roots are sitting down there completely unbothered, ready to send up new shoots. I learned this the annoying way after celebrating my “win” over a patch of bindweed near my mailbox, only to watch it come roaring back two weeks later like nothing happened. Vinegar is best used as part of a repeated knockdown strategy, not a one-and-done solution. Spray every time new growth appears, and you’ll slowly wear the root system down as it keeps burning through stored energy trying to regrow leaves.
2. Boiling Water Treatment
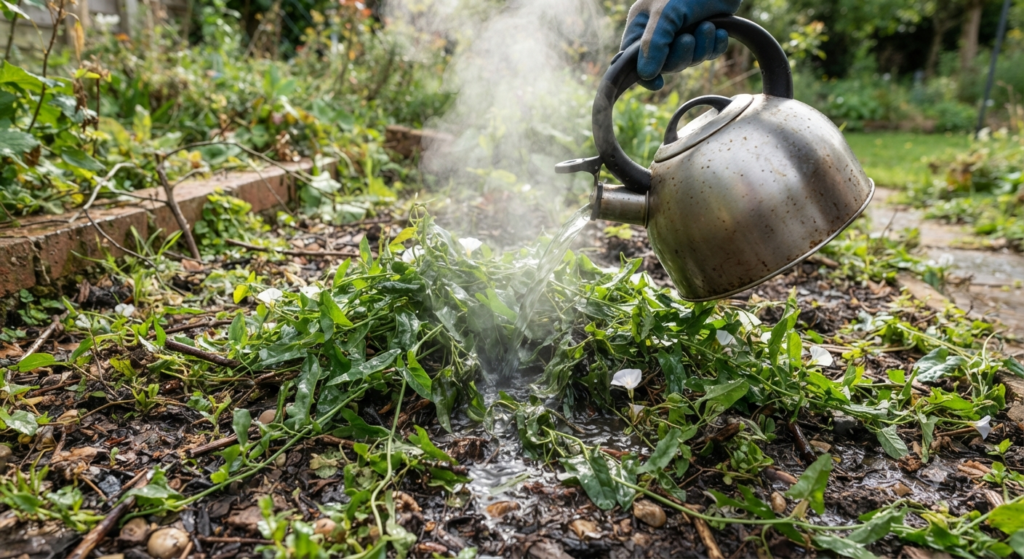
Boiling water is about as low-tech as weed killers get, and I genuinely think it’s underrated. If you’ve got bindweed poking up through cracks in a patio, driveway, or gravel path, this is one of the easiest homemade fixes around.
Just boil a full kettle or pot of water and pour it directly onto the base of the bindweed vine, right where it emerges from the soil or crack. The scalding water damages the plant cells on contact, and the vine will wilt within a day.
The main limitation is precision. Boiling water doesn’t discriminate, so it’ll kill or damage any nearby grass, flowers, or vegetables it splashes on. That makes it a poor choice for bindweed tangled up in your perennial border, but a great choice for bindweed growing in hardscape cracks, gravel, or bare patches where nothing else is growing.
I use this method religiously on the bindweed that pops up between the pavers on my back patio. It’s satisfying in a slightly unhinged way to watch the vine go from perky and green to limp within minutes. Like the vinegar method, though, it’s a surface treatment. The root system underground shrugs it off, so plan on repeat pours every time new growth shows up.
3. Rubbing Alcohol Spray
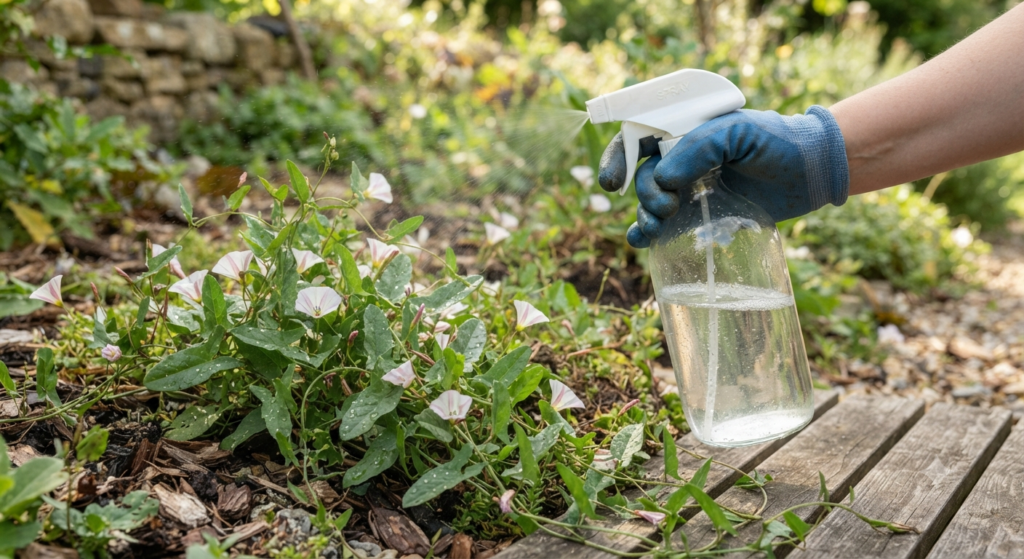
This one surprises people, but isopropyl alcohol (the kind you’ve got in your medicine cabinet) works as a desiccant, meaning it dries out plant tissue on contact. It’s a solid option when you want something a bit stronger than vinegar but still don’t want to reach for a commercial herbicide.
What you need:
- 1 cup of isopropyl rubbing alcohol (70% concentration works fine)
- 1 quart of water
- A few drops of dish soap
Combine everything in a spray bottle and shake gently. Spray it directly on the bindweed leaves and stems, ideally in the late morning after any dew has dried, since diluted moisture on the leaf can reduce how well the alcohol sticks.
You’ll notice wilting within a few hours on a hot, sunny day. The heat actually helps this method along, because alcohol evaporates fast, and the faster it pulls moisture out of the leaf tissue, the more damage it does before it evaporates away completely.
I’ll be honest: this method works best as a supporting player, not the star of the show. It’s great for spot-treating small patches or vines that have wound their way up through a shrub where you can’t easily get a shovel in. For larger infestations, I’d lean on smothering or root-digging methods instead, which we’ll get to shortly. Side note: don’t use rubbing alcohol near open flames or a hot grill. It’s flammable, and nobody wants to explain that mishap to their homeowner’s insurance.
4. Cardboard and Mulch Smothering
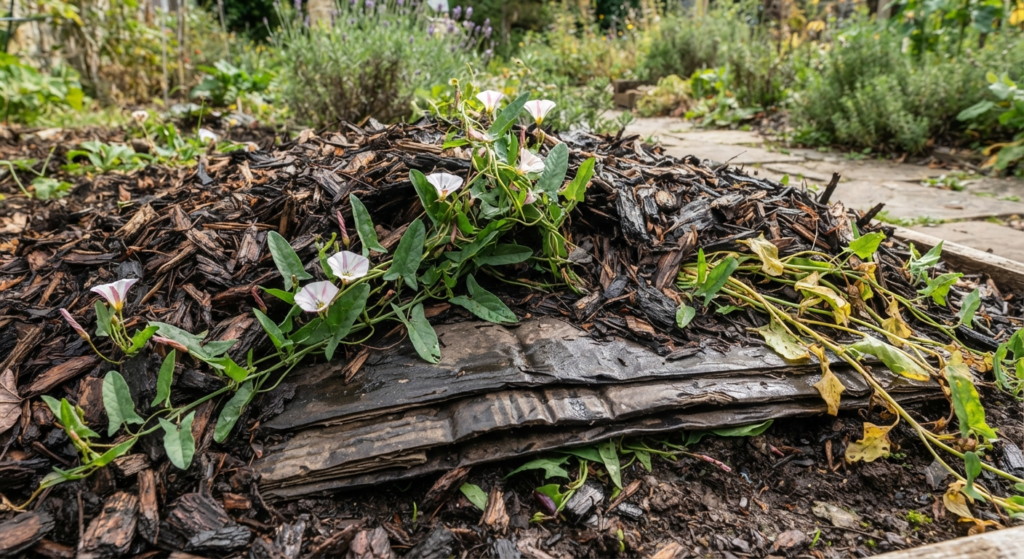
If vinegar and alcohol are the quick jabs, smothering is the slow, patient strangle-hold that actually gets results long-term. This method works by cutting off sunlight to the bindweed, which eventually starves the roots since the plant can’t photosynthesize without leaves in the sun.
How to do it:
- Cut the bindweed vines back to the soil line.
- Lay down a thick layer of plain cardboard (remove tape and glossy labels) over the entire infested area, overlapping the edges by at least 6 inches so the vine can’t sneak through gaps.
- Wet the cardboard down so it stays in place and starts breaking down faster.
- Pile on 3 to 4 inches of mulch, wood chips, or straw on top.
- Leave it alone. Don’t peek. Don’t pull it back to check progress every week.
The waiting game is the hard part. Bindweed roots have enough stored energy to try pushing shoots sideways looking for light for months, sometimes over a year for a well-established patch. But if you keep the area covered consistently, the plant eventually exhausts its reserves.
I used this method on a strip along my garden shed where bindweed had wrapped itself around a downspout so thoroughly I couldn’t even see the metal anymore. It took about eight months of solid cardboard coverage before I felt confident pulling it back up, and even then I found a few stray shoots trying to escape around the edges. Persistence matters here more than with any other method on this list.
5. Baking Soda Root Treatment
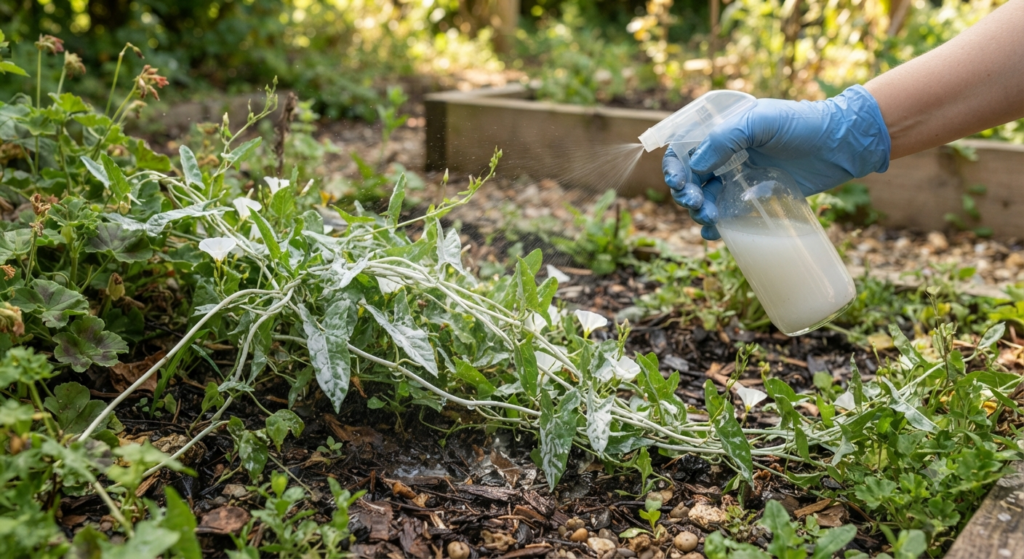
Baking soda works a little differently than the contact killers above. When it comes into direct contact with plant roots or gets worked into the soil around the base of a vine, it raises the soil’s salt content and pH to a level that most plants, bindweed included, can’t tolerate long-term.
To use it, dig down carefully around the base of the bindweed vine to expose as much root as you reasonably can without disturbing nearby plants you want to keep. Sprinkle baking soda directly onto the exposed roots, roughly a cup for a decent-sized patch, then cover the area back up with soil.
This method takes a few weeks to show results since it’s working on the roots gradually rather than burning leaves on contact. You’ll notice the vine’s regrowth getting weaker and more stunted over time rather than dying outright overnight.
A word of caution: baking soda changes your soil chemistry, and not in a way that’s friendly to future plantings. I wouldn’t use this in a vegetable bed or anywhere you plan to plant something else soon, because it can take a season or two for the soil to recover enough to support healthy growth again. I’ve found this method works best for bindweed growing in areas you’re planning to convert to gravel, mulch beds, or hardscape anyway, where you don’t need the soil to stay productive.
6. Full-Strength Horticultural Vinegar with Salt and Orange Oil
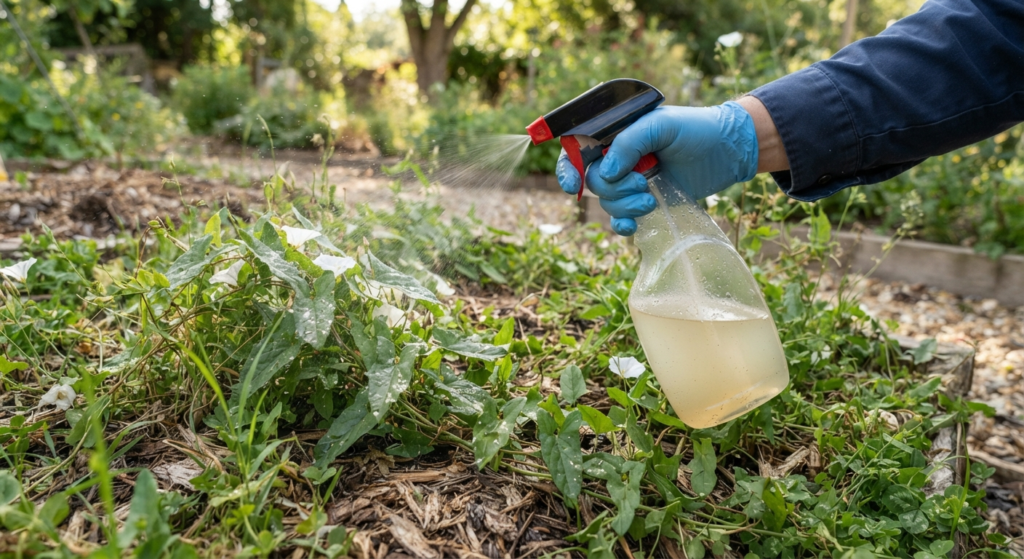
This is the heavy-hitter homemade recipe, and I save it for the truly stubborn patches that laugh off regular vinegar spray. It combines three ingredients that each attack the plant differently: acetic acid burns foliage, salt disrupts water uptake in the soil, and orange oil (d-limonene) breaks down the waxy cuticle on the leaves so everything else penetrates better.
What you need:
- 1 gallon of 20% horticultural vinegar (much stronger than kitchen vinegar, available at garden centers or hardware stores)
- 1 cup of table salt
- 1 tablespoon of orange oil or citrus-based cleaner
- 1 tablespoon of dish soap
Mix everything together, making sure the salt fully dissolves, and pour into a sprayer. Because this mix is significantly stronger, wear gloves and eye protection when applying, and avoid spraying on a windy day since drift can damage nearby plants you actually want.
Apply directly to bindweed foliage on a hot, sunny afternoon for the best results. This combination often kills top growth within hours rather than days, and repeated applications will genuinely wear down even established root systems over a season.
Here’s my honest opinion on this one: it’s the closest thing to a “real” herbicide you can make at home, and it works better than any of the gentler recipes. But the salt is a long-term liability for your soil. I only use this recipe along fence lines, gravel paths, or areas where I have zero intention of growing anything edible or ornamental in the future. If you’re dealing with bindweed weaving through your perennial bed, skip this one and use smothering or targeted digging instead.
7. Manual Root Digging Combined with Solarization
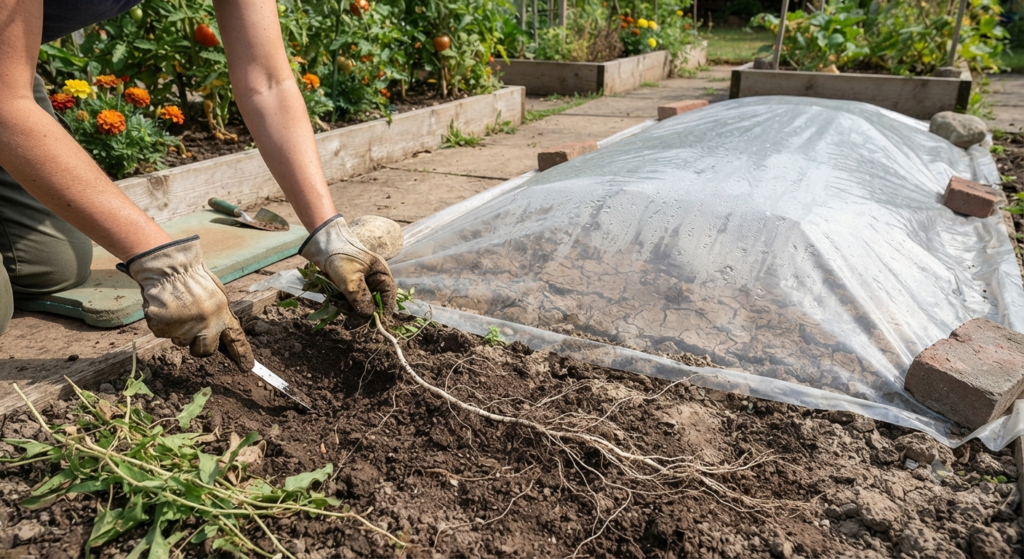
This last method isn’t a spray or a pour, and it’s the most labor-intensive item on this list, but it’s also the one that gets closest to actually eliminating the plant rather than just knocking it back.
Start by digging down along the vine as deep as you reasonably can, following the root and removing as much of it as possible. Use a digging fork rather than a shovel, since a fork is less likely to chop the root into a dozen fragments (remember, every fragment can regrow). Bag up everything you pull, roots included. Do not compost it unless your compost pile runs seriously hot, because bindweed roots and seeds can survive a lukewarm compost heap just fine and come back to haunt your garden beds later.
After digging out what you can, cover the disturbed area with clear plastic sheeting, pinned down at the edges with rocks or landscape staples, and leave it through the hottest stretch of summer. This is called solarization, and it uses trapped heat under the plastic to cook whatever root fragments you missed, along with a good chunk of the weed seed bank sitting in that soil.
Combining digging with solarization tackles bindweed from both directions: you’re physically removing the bulk of the root system, and you’re using heat to finish off what’s left behind. I did this along the back fence line, where bindweed had been an annual nightmare for three summers running. It took a full digging session plus one summer of solarization, but the following spring, that section stayed clear for the first time in years.
Real Talk: What’s Not Worth the Effort
I want to be straight with you about a few things before you go full weekend warrior mode on your bindweed patch.
Spot-treating a massive, established infestation with just spray bottles is not going to cut it. If bindweed has taken over a quarter of your yard, you need a combination approach: cut back, smother large sections, spot-spray new shoots as they pop up along the edges, and accept that this is a multi-season project. Anyone who tells you one spray will clear a serious infestation is selling you something.
Pulling bindweed by hand without digging out the roots is, in my opinion, mostly a waste of time and a good way to actually make your problem worse. Every time you snap a root and leave a fragment behind, you’ve potentially created a new plant. If you’re only going to pull, at least pull consistently, every few days, to keep exhausting the plant’s energy reserves, rather than doing one big yank session and walking away.
I’d also skip pouring bleach on bindweed, which is a “tip” I’ve seen floating around online. Bleach is harsh on soil life, can leach into groundwater, and honestly isn’t more effective than the vinegar and salt combinations above. It’s not worth the environmental trade-off for a marginal gain in kill speed.
And one more thing: don’t till or rototill an area with established bindweed roots. Tilling chops the roots into dozens of pieces, and each piece is a potential new plant. I made this mistake early on, tilling a bed to “clear it out” before planting, and ended up with triple the bindweed sprouting up within a month. Sometimes the tool you reach for out of habit is exactly the wrong one for the job.
Final Thoughts
Bindweed is patient, and honestly, that’s the biggest lesson it’s taught me over the years. It doesn’t rush. It just keeps sending up shoots, season after season, waiting for you to get tired first. Your job is to be more patient than the weed, which sounds impossible until you actually commit to a method and stick with it through a full growing season.
Pick one or two of these homemade bindweed killers based on where the vine is growing and how established it is, and give yourself permission to treat this as a long game rather than a weekend project. Consistency beats intensity every time with this particular weed.
What’s your bindweed battle looking like right now? Drop a comment below and let me know which method you’re planning to try, or if you’ve got a homemade trick of your own that’s worked in your yard. I read every comment and I’m always looking to add new tricks to my own arsenal.

About Syprose Kiche
Syprose Kiche is the creator and writer behind My Besuited Home, a practical home and garden website covering DIY projects, gardening, lawn care, landscaping, home improvement, and outdoor living. She focuses on turning everyday homeowner questions into clear, practical guides backed by careful research and useful real-world considerations.