
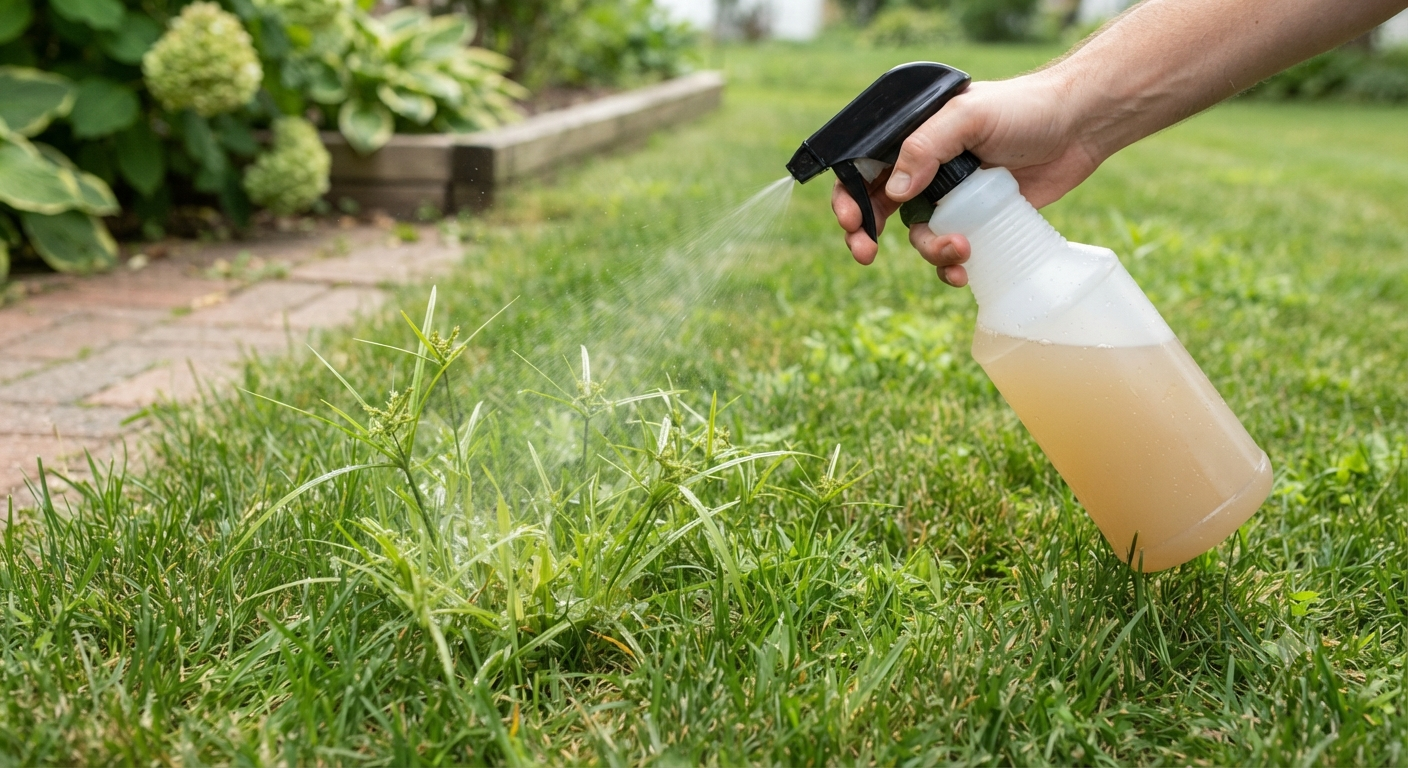
You’re out there admiring your lawn with your morning coffee, and then you see it. A patch of grass that’s growing faster than the rest, a shade lighter, with leaves that look almost waxy and triangular when you roll the stem between your fingers. By the next week, it’s spread three feet wider. Congratulations, you’ve got nutsedge, and it’s not going anywhere without a fight.
I’ve battled this stuff in three different yards across two states, and I can tell you right now: most of the advice floating around online is either useless or so aggressive it’ll torch your good grass right along with the weed. That’s the tightrope walk with nutsedge. You want it dead, but you don’t want a scorched, patchy mess where your fescue used to be.
This guide covers what actually works, why nutsedge is such a stubborn pain in the first place, and how to get rid of it without nuking your entire yard in the process.
What Is Nutsedge and Why Is It So Hard to Kill
Nutsedge isn’t grass, even though it likes to hide in plain sight pretending to be grass. It’s a sedge, which means its stems are triangular instead of round or flat. If you’ve ever pulled a suspicious clump and rolled the stalk between your thumb and finger and felt distinct edges, that’s your confirmation.
There are two main culprits homeowners deal with: yellow nutsedge and purple nutsedge. Yellow nutsedge is more common in northern lawns and has light green to yellowish leaves with tan seed heads. Purple nutsedge is the meaner cousin found more in southern climates, with darker leaves and reddish-purple seed heads. Purple nutsedge is generally considered the tougher one to eliminate.
Here’s the part that makes nutsedge so brutal to deal with: it spreads through underground tubers called nutlets. A single plant can produce hundreds of these things, and they can sit dormant in the soil for years waiting for the right conditions. Pull the visible plant and leave even a fragment of tuber behind, and you’ve basically just pruned it. It’ll be back within two weeks, often stronger.
My first house had a nutsedge patch by the mailbox that I yanked out by hand every single weekend for an entire summer, feeling proud of myself each time. By August I finally figured out I’d been spreading it, not stopping it. Every tug snapped tubers loose and left fragments in the soil, which is basically like taking a plant cutting and replanting it for the weed. That’s when I started actually researching instead of just yanking.
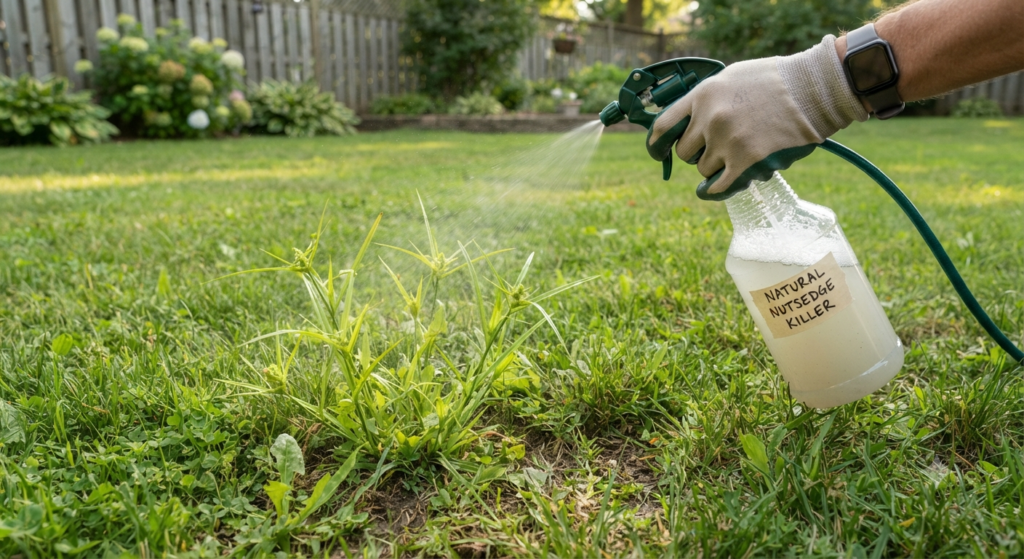
Why Nutsedge Shows Up in the First Place
Nutsedge is an opportunist. It thrives in conditions where your regular turf grass is struggling, which is exactly why it tends to show up in wet, poorly drained spots, compacted soil, or areas that get watered too often and too shallow.
If you’ve got a low spot in your yard that stays soggy after rain, or a sprinkler zone that runs every day for ten minutes, you’ve basically built a five-star resort for nutsedge. It genuinely loves standing water and moist soil far more than most turfgrass varieties do.
Compacted soil is another big trigger. When soil gets packed down from foot traffic, mower tires, or heavy clay content, oxygen and drainage suffer. Regular grass roots struggle in that environment, but nutsedge tubers don’t seem to mind nearly as much, so it muscles in while your lawn is busy struggling to breathe.
Fixing these underlying conditions is honestly half the battle. You can spray and pull all season long, but if you’re still overwatering a compacted, poorly drained patch of yard, you’re just going to keep growing more nutsedge to replace whatever you kill.
How to Tell Nutsedge From Regular Grass
Before you go to war on a patch, make sure you’re actually looking at nutsedge and not just a fast-growing clump of crabgrass or a different grass variety that got mixed into your lawn. Misidentifying the weed is one of the fastest ways to waste an entire season on the wrong treatment.
Check the growth speed first. Nutsedge grows noticeably faster than the surrounding turf, so within a week of mowing you’ll usually see it poking up taller than everything around it again, giving your lawn that uneven, stubbly look right after you cut it.
Check the stem shape next. This is the giveaway test I use every single time. Roll the base of the stem between your fingers, right where it meets the soil. Grass stems are round or flat. Nutsedge stems are triangular, and once you’ve felt the difference once, you’ll never mix it up again.
Check the color and leaf texture too. Yellow nutsedge tends to run lighter and more yellow-green than surrounding turf, with leaves that have a slightly glossy, almost waxy shine to them. Purple nutsedge runs darker with a more matte finish and reddish tints in the seed heads. Either way, the leaves fold into a sharp V-shape down the middle, unlike most grass blades which are flatter.
If you dig down a couple inches around a mature plant, you’ll often find small round or oblong tubers attached to the roots, sometimes described as looking like little nuts, which is genuinely where the name nutsedge comes from. Finding these tubers is basically a confirmed diagnosis.
Natural and Non-Chemical Ways to Kill Nutsedge
1. Improve Drainage and Fix Compaction First
Before you touch a single spray bottle, aerate the area. Core aeration pulls small plugs of soil out of your lawn, which relieves compaction and lets water and oxygen actually reach the root zone of your grass instead of just pooling on top.
If you’ve got a genuinely soggy low spot, consider regrading it slightly or adding a French drain if the water has nowhere to go. I redid the grading on a low corner of my backyard a few years back after nutsedge kept colonizing it every June like clockwork. Once the water stopped sitting there, the nutsedge pressure dropped by more than half the following season, no sprays needed for most of it.
This step alone won’t wipe out an established patch, but it removes the welcome mat. Combined with the other methods below, it makes everything else more effective and more permanent.
2. Adjust Your Watering Schedule

Nutsedge loves frequent, shallow watering. Your turf grass, on the other hand, actually prefers deep, infrequent watering that encourages roots to grow down instead of staying near the surface.
Switch to watering deeply once or twice a week instead of a light sprinkle every day. This single change does double duty: it strengthens your existing grass and it makes the environment noticeably less hospitable for nutsedge tubers trying to sprout.
Early morning watering, before 10 a.m., also helps because it gives grass blades time to dry out during the day, which cuts down on fungal issues too. It’s a small tweak, but I’ve seen yards turn a corner on nutsedge just from fixing the sprinkler timer alone.
3. Hand-Pull the Right Way
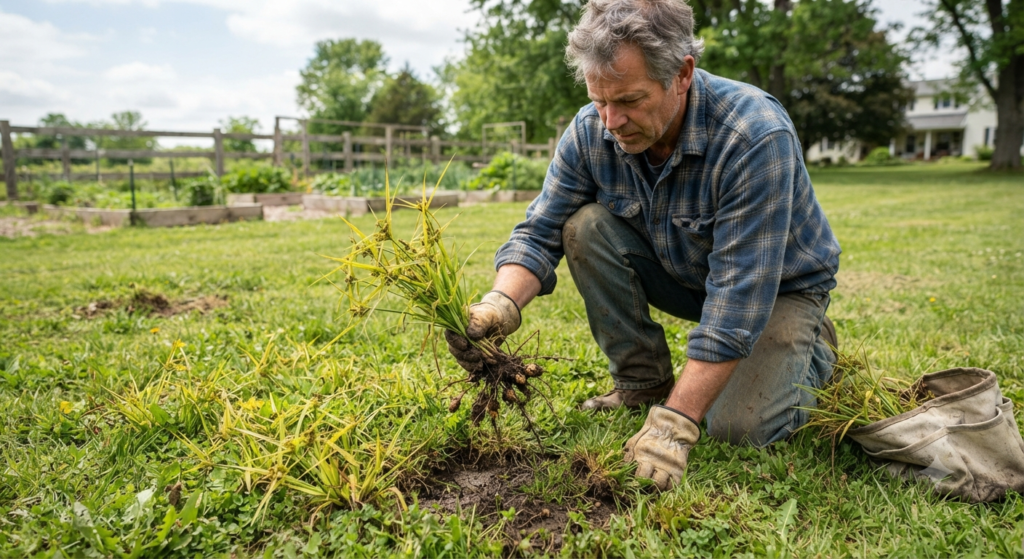
Yes, you can still hand-pull nutsedge, but you have to do it correctly or you’re just propagating it, like I did that whole summer by the mailbox. The trick is catching it young, ideally within five to six weeks of it emerging, before the plant has had time to form new tubers underground.
Water the area first so the soil is soft. Grip the plant low, right at the base near the soil line, and pull slowly and steadily rather than yanking. You want to ease the whole root and tuber system out intact rather than snapping the stem off at the surface.
Do this consistently, every week or two, for an entire growing season, and you can genuinely exhaust a small patch over time since each pull that gets the tuber is one less nutlet in the soil bank. For anything beyond a few small clumps, though, hand-pulling alone becomes a part-time job real fast.
4. Solarize Small, Isolated Patches
If you’ve got a stubborn patch in a spot where you don’t mind sacrificing the grass temporarily, solarization can cook the tubers right in the soil. Clear the area, water it well, and cover it tightly with clear plastic sheeting, sealing the edges with soil or rocks so heat can’t escape.
Leave it in place for four to six weeks during the hottest part of summer. The trapped heat under the plastic can reach temperatures that damage or kill the tubers sitting below the surface.
This method works best on smaller, well-defined patches rather than a nutsedge situation that’s spread across your whole backyard. You’ll also need to reseed or resod the area afterward since solarization doesn’t discriminate between the weed and your turf.
5. Boost Your Turf Density
A thick, healthy lawn is one of the best natural defenses against nutsedge you’ll ever find. Nutsedge needs light and open soil to get established, so a dense stand of turf grass simply crowds it out before it gets a foothold.
Overseed thin or bare patches every fall, and stick to a regular fertilizing schedule appropriate for your grass type. Mow at the correct height for your species too, since scalping your lawn short opens up the canopy and gives nutsedge exactly the sunlight it’s looking for.
I started overseeding aggressively every September after that mailbox fiasco, and within two seasons my nutsedge pressure across the whole yard dropped dramatically, not because I sprayed more, but because there was simply less bare soil for it to colonize in the first place.
6. Smother Persistent Patches With Cardboard or Landscape Fabric
For patches in beds or non-lawn areas where you don’t mind waiting it out, smothering can work as a slower, gentler cousin of solarization. Lay down plain cardboard, overlapping the edges generously, then cover it with three to four inches of mulch on top.
This blocks the light nutsedge needs to photosynthesize, and over a matter of months, the plants underneath weaken and eventually die back since they can’t keep feeding the tuber bank without sunlight. It’s a slower process than solarization, usually taking a full season rather than four to six weeks, but it doesn’t require the intense heat that solarization does, so it works in cooler climates or shadier spots too.
The catch is that this method really only makes sense for garden beds, along fence lines, or other areas where cardboard and thick mulch won’t look out of place. You obviously can’t smother a patch in the middle of your front lawn without killing your good grass right along with it.
7. Try a Baking Soda Spot Treatment for Small Patches
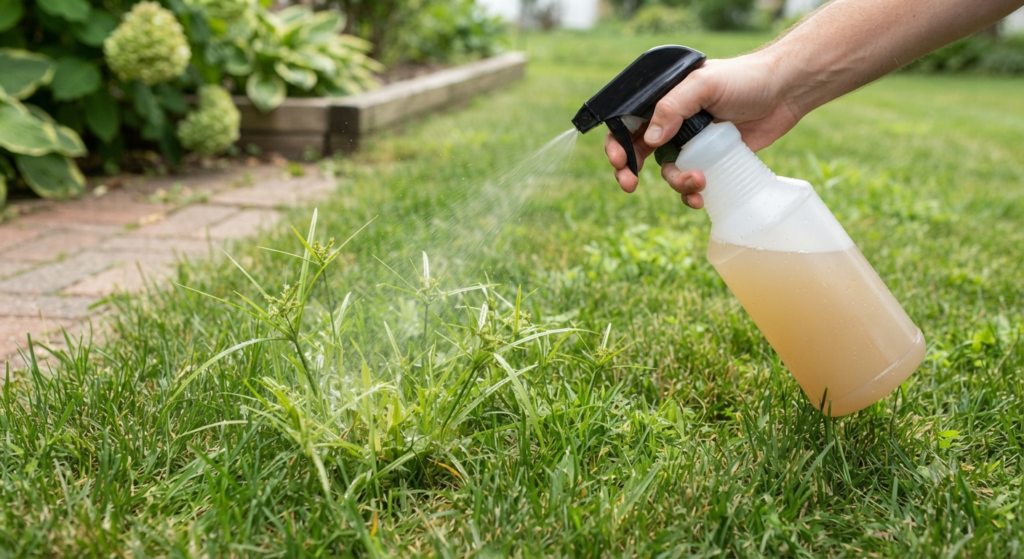
For tiny, isolated patches, some gardeners have had luck with a concentrated baking soda solution applied directly to the nutsedge foliage, avoiding surrounding grass as much as possible. Mix a strong solution, roughly a cup of baking soda dissolved in a gallon of warm water, and apply it directly onto the leaves on a dry, sunny day.
I’ll be honest with you, this one is hit or miss and works better as a suppression tool than an outright kill for anything beyond a few isolated shoots. It raises the surface pH and dehydrates the leaf tissue, but like vinegar, it won’t touch tubers sitting below the soil line. Treat it as a stopgap for tiny patches near hardscaping, not a real solution for anything spread across your lawn.
Quick Side Note: What About Vinegar and Boiling Water
You’ll see a lot of blog posts pushing household vinegar or boiling water as a natural nutsedge killer, and I want to be straight with you: these are contact killers only. They’ll brown off the visible leaves within a day or two, but they do absolutely nothing to the tubers sitting several inches underground.
The nutsedge will just regrow from those tubers within a couple weeks, often looking exactly like it did before you poured anything on it. Worse, straight vinegar and boiling water will also kill any turf grass they touch, so you’re trading a weed problem for a bare dirt problem in the same spot. I’d skip both unless you’re dealing with nutsedge growing in a gravel driveway crack where you don’t care about surrounding plants at all.
Real Talk: What’s Not Worth the Effort and What Can Go Wrong
I’m not going to pretend every method above works like magic, because it doesn’t. Here’s where people waste time and money.
Mulch alone rarely solves an active nutsedge problem. Nutsedge is strong enough to punch through several inches of mulch that would smother most other weeds without breaking a sweat. It’ll help suppress new seed germination in flower beds, but for an established patch with a tuber bank underground, don’t expect mulch to do the heavy lifting by itself.
Corn gluten meal, which gets marketed as a natural pre-emergent for all kinds of weeds, doesn’t have solid results against nutsedge specifically. It’s a decent tool for crabgrass and some broadleaf weeds, but I wouldn’t spend money on it expecting it to touch a sedge problem.
One-and-done treatments basically don’t exist with nutsedge. Whatever method you pick, plan on a full season, sometimes two, of consistent follow-through. The tuber bank in the soil can persist for years, and even a great growing season for your lawn won’t erase tubers that are already sitting dormant six inches down waiting for their moment.
And here’s the mistake I see constantly: people treat the visible patch and ignore the underlying moisture or compaction issue that invited nutsedge in the first place. You’ll spend an entire summer pulling and solarizing, feel victorious, and then watch it come right back the following June because the low, soggy spot that started the whole thing never got fixed. Treat the symptom and the cause together, or you’re just running in circles.
How Long Does It Actually Take to Get Rid of Nutsedge
I get asked this constantly, and the honest answer nobody wants to hear is: longer than you’d like. A single, small, newly established patch caught early might genuinely clear up within one growing season if you’re consistent with hand-pulling or solarization. That’s the best-case scenario, and it’s not the most common one.
A well-established patch with an underground tuber bank that’s had a few years to build up is a different story entirely. Realistically, plan on one to two full growing seasons of consistent effort before you see the patch shrink to something manageable, and possibly longer before it’s truly gone. Tubers can remain viable in the soil for three years or more, which means new shoots can keep popping up even after you think you’ve won.
The pace also depends heavily on how aggressively you combine methods. Fixing drainage alone and doing nothing else will take years to show real results. Fixing drainage, adjusting your watering, overseeding bare patches, and hand-pulling or solarizing consistently all in the same season stacks the odds heavily in your favor and speeds things up considerably.
Final Thoughts
Nutsedge is genuinely one of the most frustrating lawn weeds out there, mostly because it plays a long game that most of us aren’t prepared for when we first spot it. The real secret isn’t some miracle spray, it’s patience combined with fixing what made your lawn hospitable to it in the first place. Improve your drainage, water deeply instead of often, and keep your turf thick enough that nutsedge never gets the open ground it needs.
Have you tangled with nutsedge in your own yard? I’d genuinely love to hear what’s worked, or spectacularly failed, for you in the comment box below. Drop your worst nutsedge story or your best trick, and let’s compare notes.

About Syprose Kiche
Syprose Kiche is the creator and writer behind My Besuited Home, a practical home and garden website covering DIY projects, gardening, lawn care, landscaping, home improvement, and outdoor living. She focuses on turning everyday homeowner questions into clear, practical guides backed by careful research and useful real-world considerations.