
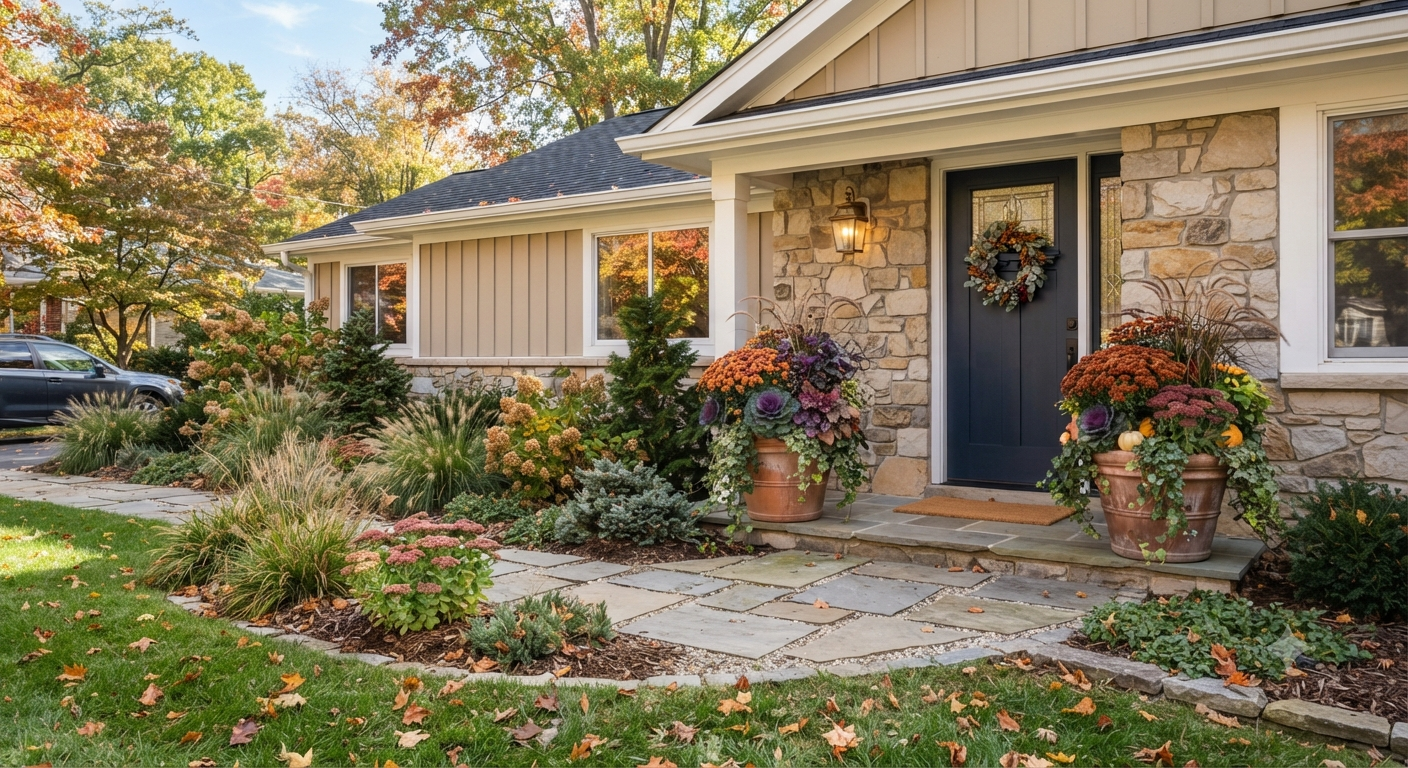
Every September, I watch the same thing happen on my street. Neighbors go from “my yard looks great” to “why does my yard look like a crime scene” in about three weeks flat. Leaves pile up, the summer annuals turn to mush, and suddenly everyone’s front yard looks like it gave up on life.
Here’s the thing nobody tells you: fall landscaping doesn’t have to mean hours of raking, planting, and mulching every weekend until Thanksgiving. I’ve spent over a decade turning my own front yard into something that looks intentional in October without turning into a second job. Some of these ideas took me three tries to get right. One of them cost me a full flower bed the first year I tried it (more on that later).
If your front yard needs a fall refresh but your weekends are already booked, these eleven ideas will get you there. No fluff, no Pinterest fantasies that fall apart the second real weather hits.
1. Swap Annuals for Fall-Blooming Perennials
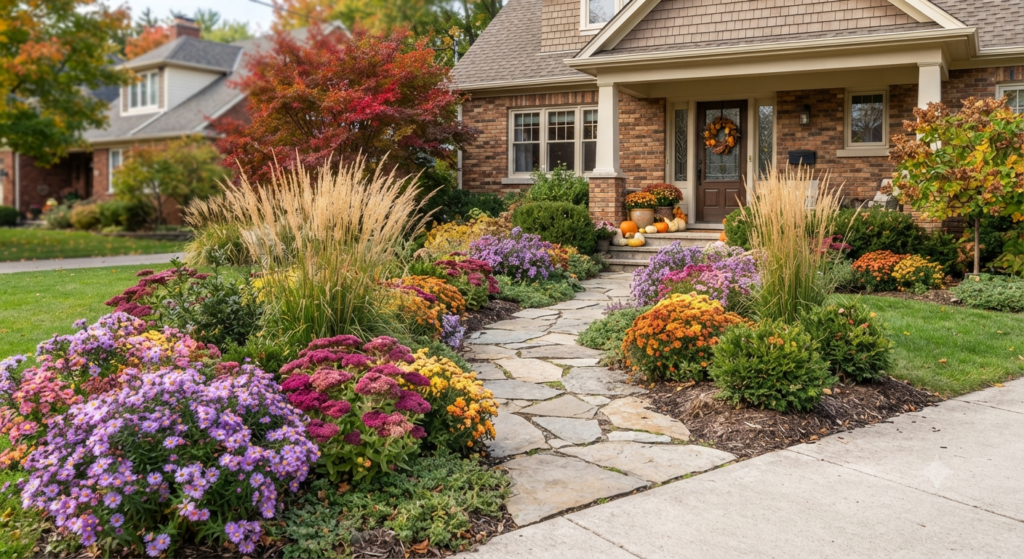
Annuals are a trap. I get it, mums are cheap and they’re everywhere in September, but you’re basically buying a plant that’s going to die in six weeks. That’s money straight into the compost bin.
Instead, I plant perennials that actually bloom in fall and come back every year. Sedum “Autumn Joy” is my go-to. It starts green in summer, then turns this rusty pink color right when everything else is fading. Asters are another workhorse. Mine have survived three separate droughts and a rabbit invasion.
The upfront cost is higher than a flat of mums, sure. But I’m not replanting every single year, and after year two, the perennials have paid for themselves. Plant them in early fall so the roots have time to settle before the ground freezes.
One thing I’d tell any beginner: don’t crowd them. I planted my sedum too close together my first year, thinking I’d get instant fullness. Three years later I was digging up half the bed to give everybody room to breathe. Give each plant the spacing on the tag, even if it looks sparse at first.
2. Plant Ornamental Grasses for Texture That Lasts Through Winter
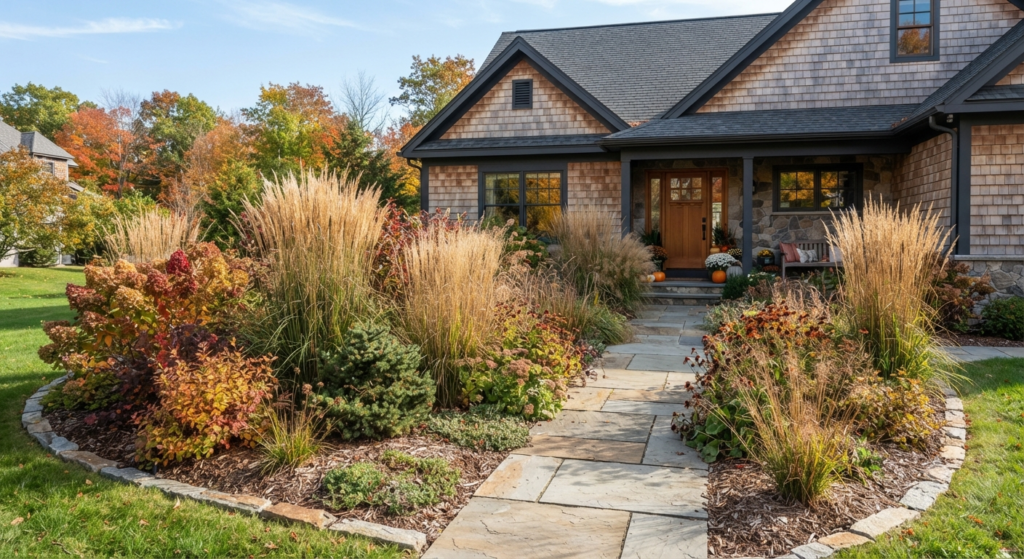
Ornamental grasses are the most underrated plant in fall landscaping, full stop. They move in the wind, they catch the light, and they don’t need deadheading, watering, or fussing.
Feather reed grass and little bluestem are the two I use most in my own front beds. They turn gold and copper in October and stay standing through most of winter, giving you actual structure in the yard when everything else has gone dormant.
The maintenance is almost nothing. You cut them back once, in late winter or very early spring, right before new growth starts. That’s it. No pruning schedule, no fertilizer routine, no babying them through a hot summer.
I’ll be honest, the first grass I ever planted was pampas grass, and I regretted it. It got enormous, the blades will slice your hands open if you’re not careful, and digging it out two years later took me an entire weekend and a rented mattock. Stick with the smaller native grasses unless you’ve got a genuinely huge yard and a high tolerance for pain.
3. Add a Layer of Mulch Before the First Frost
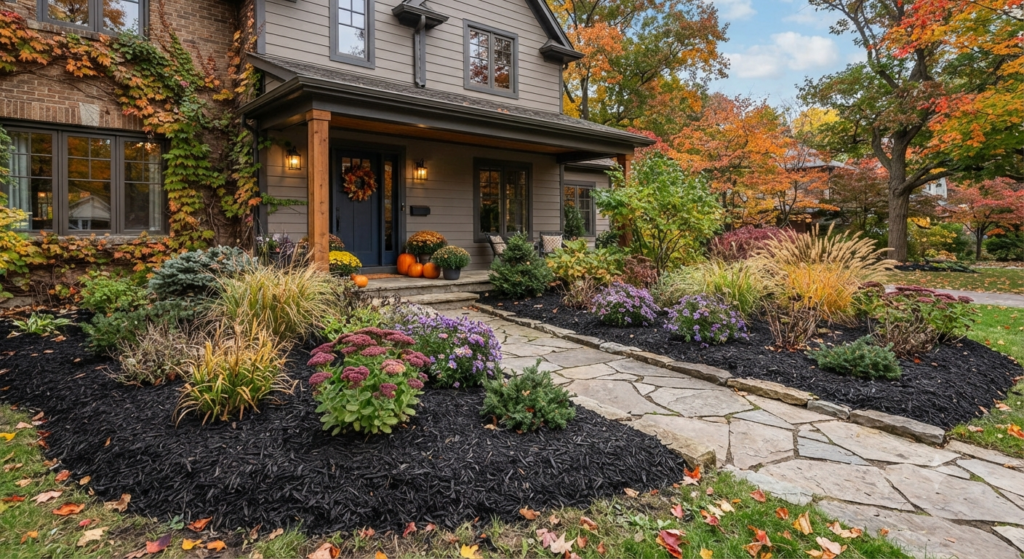
This one sounds boring, but it’s the single highest-impact, lowest-effort thing you can do for your front yard this fall. A fresh two-to-three-inch layer of mulch does three jobs at once: it insulates plant roots through winter, it keeps weeds from getting a foothold, and it makes every bed look freshly tended even if you haven’t touched anything else.
I use shredded hardwood mulch because it breaks down slowly and actually improves the soil as it decomposes. Pine straw is a good option too if you’re in a region where it’s cheap and available.
Timing matters here. Mulch too early, while the soil is still warm, and you can actually trap heat in a way that confuses your plants. I wait until after the first light frost, when the ground has started to cool, then lay it down thick enough that I can’t see soil poking through.
Quick side note: keep mulch a couple inches away from tree trunks and shrub stems. Piling it right up against the bark, sometimes called a mulch volcano, traps moisture against the plant and invites rot and pests. I made this mistake with a young maple years ago and spent the next spring nursing it back from bark damage.
4. Rake Leaves Into Mulched Beds Instead of Bagging Them
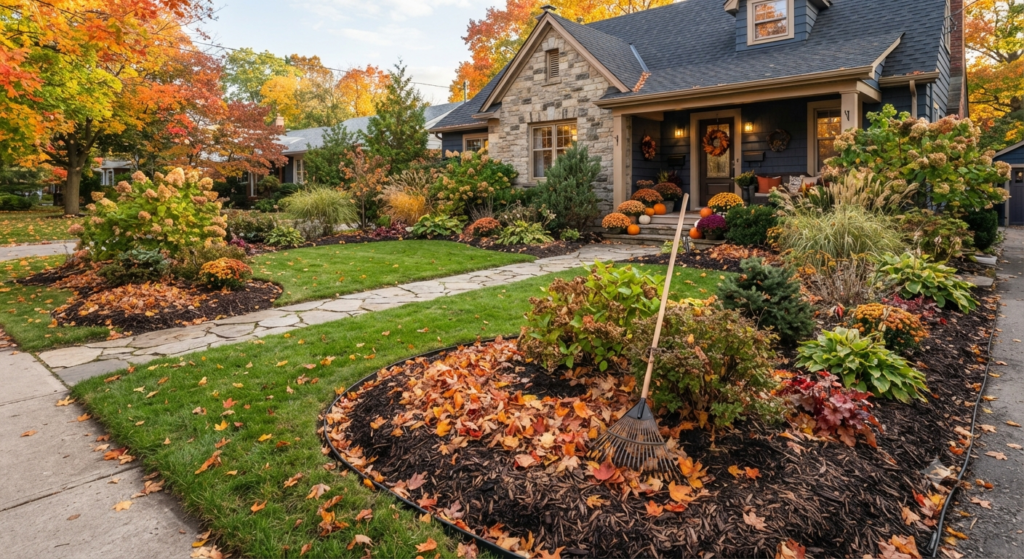
I used to spend entire Saturdays bagging leaves for pickup. Then I did the math on how many bags of store-bought mulch I was buying in spring while throwing away a free, equivalent resource every fall. Now I mow over the leaves once with the mulching setting on my mower, then rake the shredded bits directly into my flower beds.
Shredded leaves break down over winter and feed the soil naturally. They also insulate perennial roots the same way commercial mulch does, so in beds where I’ve done this, I’m buying noticeably less bagged mulch every spring.
The key word is shredded. Whole, unshredded leaves mat down into a soggy layer that can smother grass and small plants instead of protecting them. One pass with the mower blade on a dry day breaks them up enough to use safely.
This is genuinely one of the laziest, cheapest upgrades in this whole list, and it’s the one I recommend to every neighbor who complains about how much time they spend on yard work in October.
5. Plant Spring-Blooming Bulbs Now for a Payoff Later
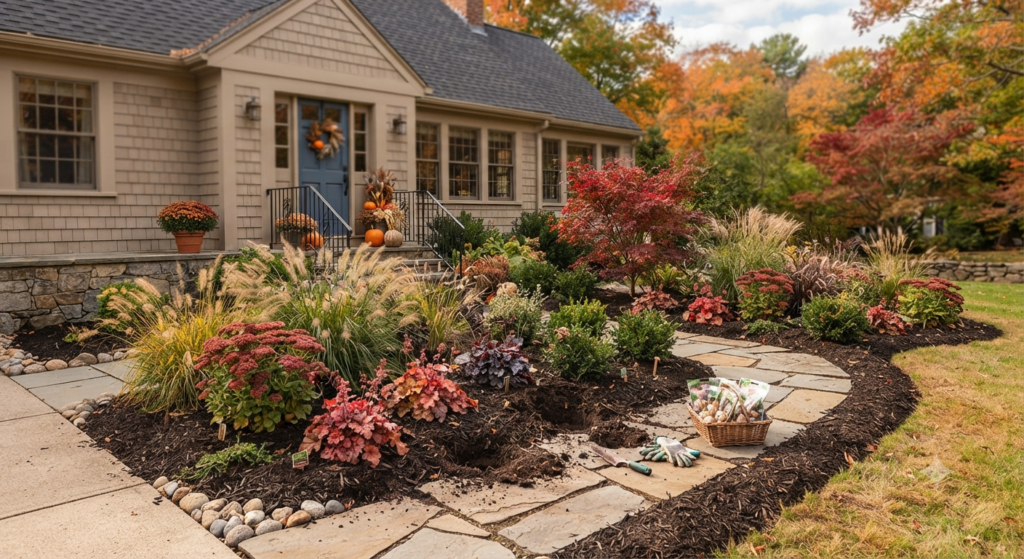
Fall is bulb-planting season, and this is the one task on this list that requires you to trust the process without seeing results for months. Tulips, daffodils, and crocuses all need to go in the ground before it freezes so they can chill through winter and burst up in spring.
I plant mine in loose clusters near the front walkway, not in straight rows. Rows look like a municipal park. Clusters look like something happened naturally.
Daffodils are my favorite for low-maintenance yards specifically because deer and rabbits leave them alone. Tulips, unfortunately, are basically a salad bar to every rabbit in the neighborhood, so if you’ve got a wildlife problem, lean toward daffodils and alliums instead.
Depth matters more than people think. General rule is to plant a bulb about three times as deep as the bulb is tall. Too shallow and they can heave out of the ground during freeze-thaw cycles. I learned that lesson the first year I planted tulips, when half of them ended up sitting on top of the soil by February looking confused.
6. Choose a Focal Point Tree With Real Fall Color
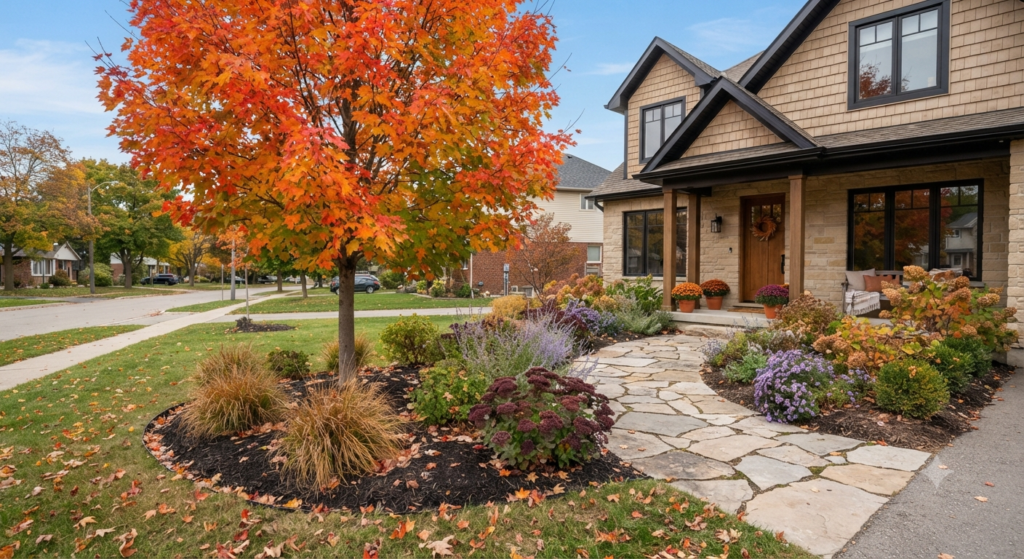
A single well-placed tree can do more for your front yard’s fall curb appeal than an entire bed of seasonal plants, and it requires almost no ongoing work once it’s established.
Japanese maples are popular for a reason. The color show in October is genuinely stunning, and most varieties stay compact enough for a front yard without overwhelming the space. Red maple and sweetgum are good options if you want something bigger with a strong central presence.
Plant it in early-to-mid fall, while the soil is still workable but temperatures are cooling. This gives the roots a head start before the tree goes dormant and before summer heat stress becomes a factor.
I’ll admit, my sweetgum was a bit of an impulse buy at a nursery closeout sale. I didn’t fully research it first, and now every fall I’m also raking up spiky seed pods that my dog refuses to walk near. Do your research on mature size and any “gotchas” like messy seed pods before you commit to a focal tree, because you’ll be living with it for decades.
7. Install Landscape Lighting to Extend Your Curb Appeal Into the Evening
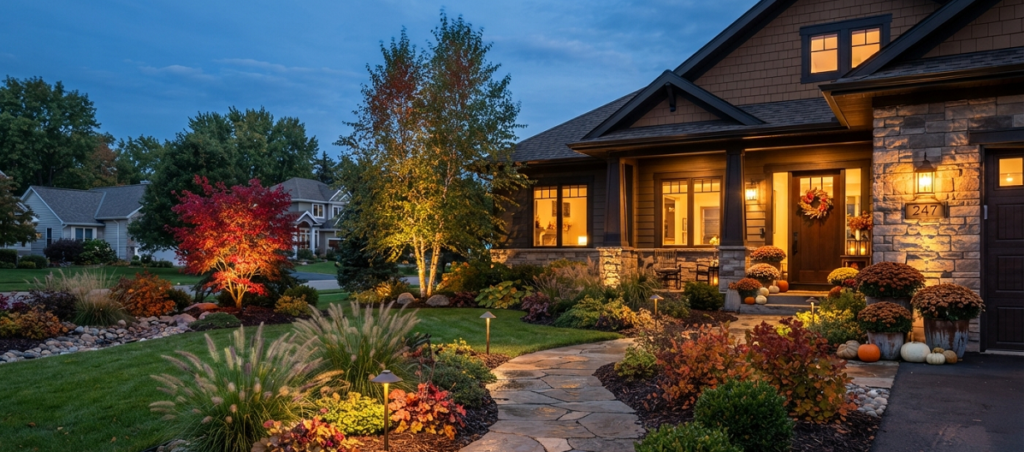
Fall means shorter days, which means your front yard is sitting in darkness by 6 p.m. whether you like it or not. Solar path lights along the walkway or a couple of uplights aimed at your focal tree change the whole feel of the house without any wiring or electrician involved.
I use solar stake lights along my front walk. Zero maintenance beyond wiping the panels off occasionally, and they charge themselves during the day.
The trick is not overdoing it. I’ve seen front yards lit up like a runway, and it reads as trying too hard. Two or three well-placed lights highlighting your best features, whether that’s a tree, an entry gate, or a stone path, does more than a dozen scattered everywhere.
Battery-powered and solar options mean this is a genuinely low-maintenance upgrade. No trenching, no outdoor outlets, no calling an electrician. If you want something brighter and more permanent, low-voltage wired lighting kits exist, but that’s a bigger weekend project than most people want this time of year.
8. Edge Your Beds for an Instant Clean Look
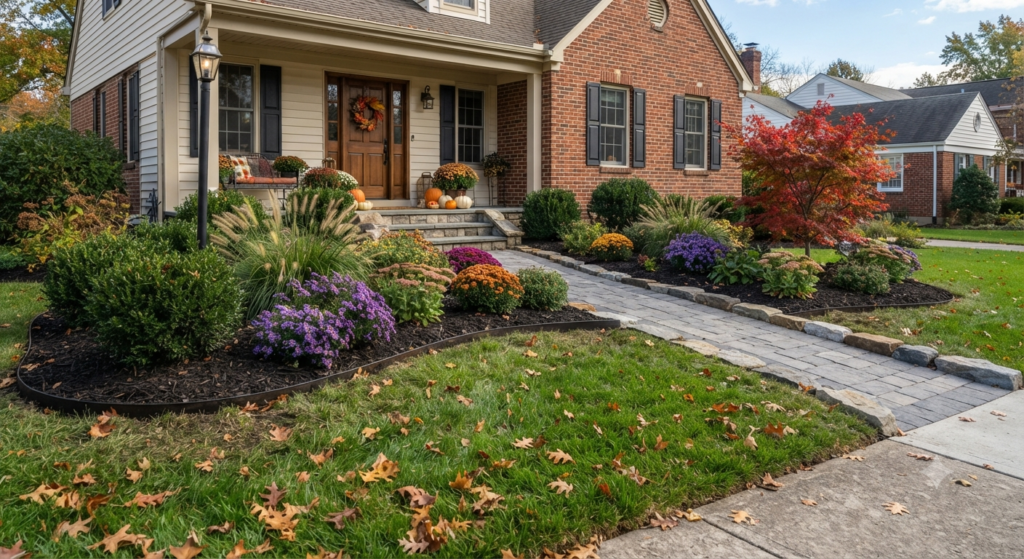
I cannot overstate how much a clean, defined edge does for a yard that’s otherwise just okay. Crisp edges between lawn and bed make everything look intentional, even if the plants inside the bed are just okay.
A half-moon edger and twenty minutes is really all it takes for a small front yard. For something more permanent, I installed steel edging along my main beds a few years back, and I haven’t had to touch it since. Grass stopped creeping into the mulch, and the whole yard reads as more polished with zero extra plant maintenance.
Do this in fall specifically because it makes your winter yard, which is otherwise pretty bare, still look cared for. A well-edged bed full of just mulch and dormant perennials still looks like a design choice instead of neglect.
If you’re on a tight budget, even a simple spade-cut edge redone once in fall will hold its shape through most of winter in milder climates. It’s not permanent, but it’s free.
9. Add Container Plantings Near the Entryway
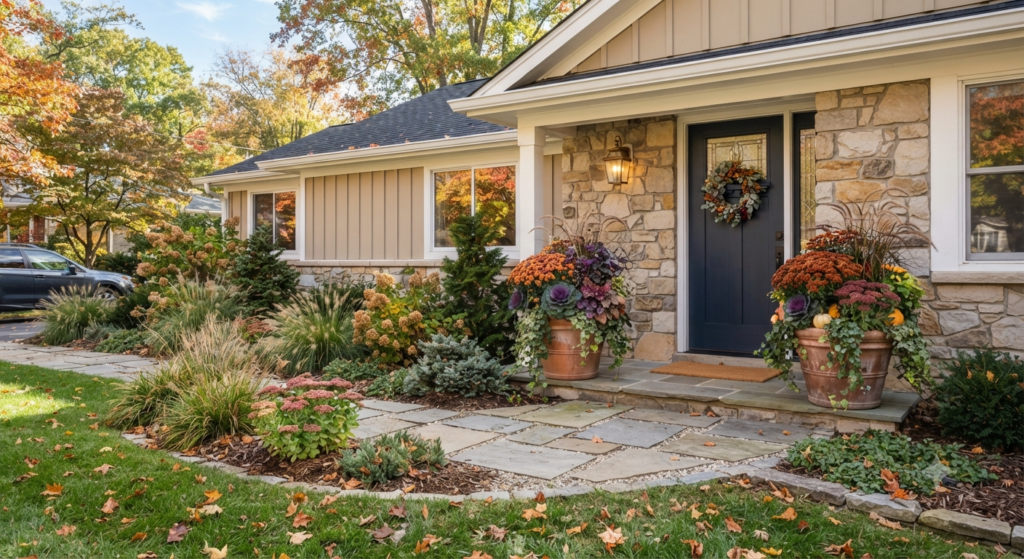
Not every fall upgrade needs to go in the ground. A couple of large containers flanking your front door, planted with ornamental kale, pansies, and a few stems of dried wheat or millet, gives you a seasonal pop without committing to permanent landscaping.
I switch my containers seasonally rather than replanting the whole yard four times a year. It’s faster, cheaper, and it means I can experiment with color combinations without risking my established beds.
Ornamental kale is genuinely one of the toughest fall container plants out there. It handles frost and even light snow without flinching, and the purple and white ruffled leaves actually get more vibrant as temperatures drop.
Water containers less often once temperatures cool, since evaporation slows down significantly. I check mine about once a week in fall versus every other day in July, and that alone saves a chunk of maintenance time.
10. Cut Back Summer Perennials That Have Gone to Seed
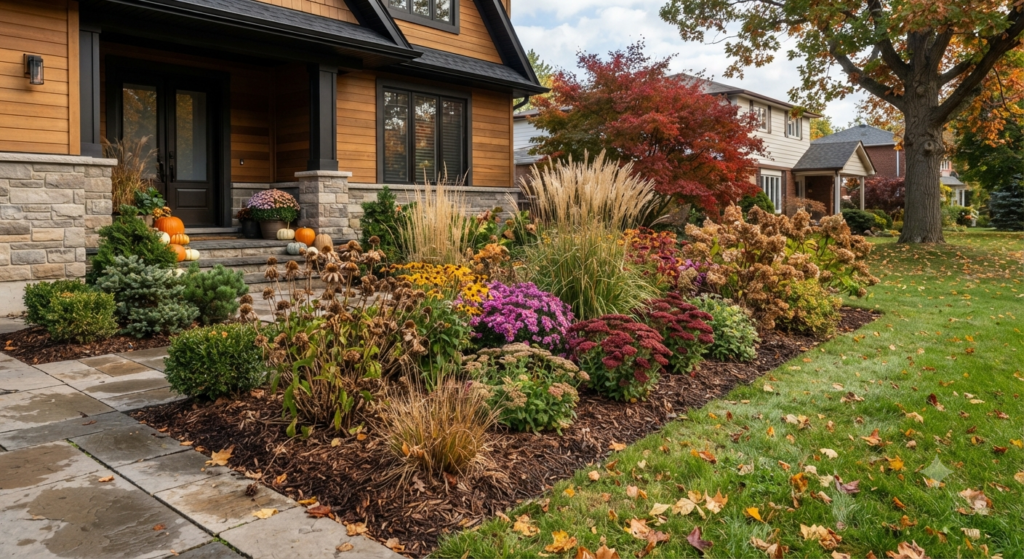
Some of your summer bloomers are done by now, and leaving them standing looking scraggly does your curb appeal no favors. A quick cutback of spent perennials tidies the whole bed in under an hour.
I don’t cut everything, though. Coneflowers and black-eyed Susans get left standing because their seed heads feed birds all winter and add visual interest against snow. But anything that’s just flopped over and browning, like spent daylilies or hosta leaves, gets trimmed to the ground.
This isn’t about making the bed look perfectly manicured. It’s about removing the stuff that looks dead and keeping the stuff that still has a job to do, whether that job is feeding birds or standing up to add winter structure.
Do this over one afternoon in mid-to-late fall rather than spreading it across multiple weekends. It’s genuinely one pass with pruners and a yard bag, and then you’re done until spring.
11. Group Pumpkins and Gourds With Your Existing Landscaping Instead of Buying Extra Decor
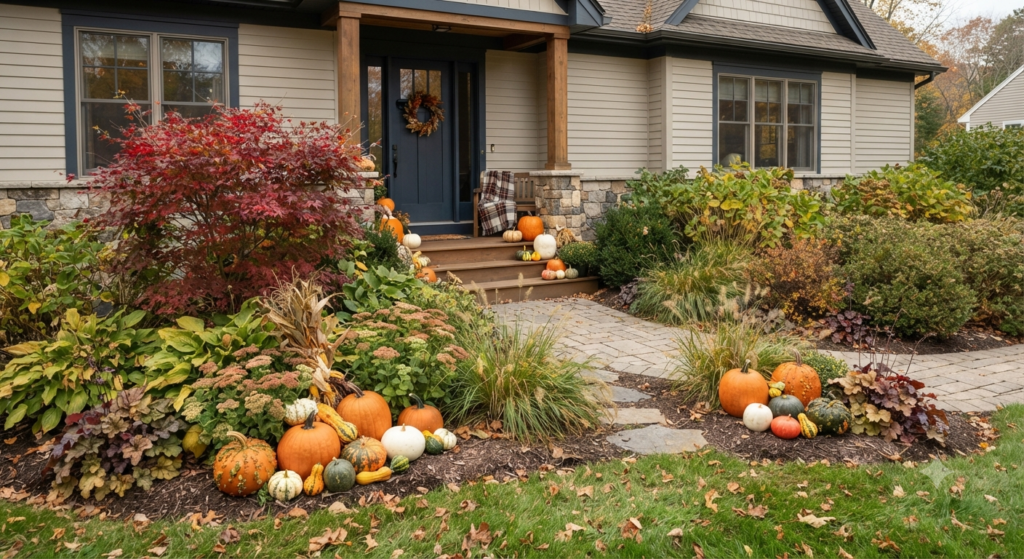
You don’t need a full “fall display” from the craft store. A cluster of real pumpkins, gourds, and a bale of straw tucked next to your porch steps or at the base of your focal tree does the same job as store-bought decor, and it costs less and composts when you’re done with it.
I group mine in odd numbers, usually three or five, at varying heights using an overturned crate or a stack of firewood underneath a couple of the pumpkins. Odd numbers and varied height read as more natural than a straight row of matching pumpkins.
Local farm stands or grocery store bins are usually cheaper than garden center “decorative” pumpkins, and honestly the pumpkins look the same once they’re sitting on your porch.
When you’re done in November, don’t just toss them in the trash. I break mine up and toss them straight into the compost pile or directly into a garden bed as a slow-release nutrient boost. It’s the one holiday decoration that actually improves your soil on the way out.
Bonus Idea: Leave a “Wild Corner” Alone on Purpose
Here’s a tip that saves you actual work: pick one corner of your yard, maybe behind a shrub or along a fence line, and just don’t touch it this fall. Leave the leaf litter, leave any spent stems, and let it be.
That untouched corner becomes overwintering habitat for beneficial insects and pollinators, which pays you back next spring with better pest control and pollination in the rest of your yard. It’s the only item on this list where doing less is literally the entire strategy.
I started doing this behind my garage a few years back mostly out of laziness, not strategy, and it’s turned into the healthiest, most bug-active patch of my whole property. Sometimes the best landscaping move is just stepping back.
Real Talk: What’s Not Worth the Effort (and What Can Go Wrong)
Not everything you see in fall landscaping inspiration photos is worth replicating. A few honest warnings from someone who’s tried most of it:
Skip the elaborate corn stalk teepees and full straw-bale structures unless you genuinely enjoy building and dismantling them. I built one my second year here, and between securing it against wind and hauling the straw away in November, it ate an entire weekend for about six weeks of curb appeal. A simple pumpkin cluster gets you 80% of the visual payoff for 10% of the labor.
Watch your timing on mulch and bulbs. Mulching too early traps summer heat against roots. Planting bulbs too late means they don’t get enough cold exposure to bloom properly in spring. Fall has a real window for both of these tasks, and missing it costs you results, not just convenience.
Be careful with invasive ornamental grasses. Some varieties of pampas grass and certain miscanthus cultivars spread aggressively and are actually banned or discouraged in some regions. Check what’s invasive in your specific area before planting anything new, because digging out an established grass clump is brutal work.
Don’t overplant your containers. It’s tempting to cram every container full for a lush look, but overcrowded roots compete for water and nutrients, and half your plants end up stunted by November. Give them the spacing the tag recommends, even though it looks sparse on day one.
And finally, don’t let “low-maintenance” become an excuse to ignore your yard completely until spring. A little bit of fall prep, an hour here, twenty minutes there, saves you a much bigger cleanup job in April. The whole point of this list is spreading small efforts across a few weekends instead of doing nothing and then facing a disaster later.
Final Thoughts
Fall landscaping isn’t about doing more. It’s about doing the right few things at the right time, then letting the season do the rest of the work for you. Mulch, structure, a couple of well-chosen plants, and a little restraint (looking at you, wild corner) will get your front yard through October looking like you know what you’re doing, even on the weekends you’d rather just sit on the porch.
Pick two or three of these ideas to start with this year. You don’t need all eleven at once.
What’s your front yard struggling with most this fall? Drop a comment below and let me know, I read every one and I’m always up for troubleshooting somebody else’s flower bed.

About Syprose Kiche
Syprose Kiche is the creator and writer behind My Besuited Home, a practical home and garden website covering DIY projects, gardening, lawn care, landscaping, home improvement, and outdoor living. She focuses on turning everyday homeowner questions into clear, practical guides backed by careful research and useful real-world considerations.