
Your plants are drowning. Not from neglect — from too much love from the sky.
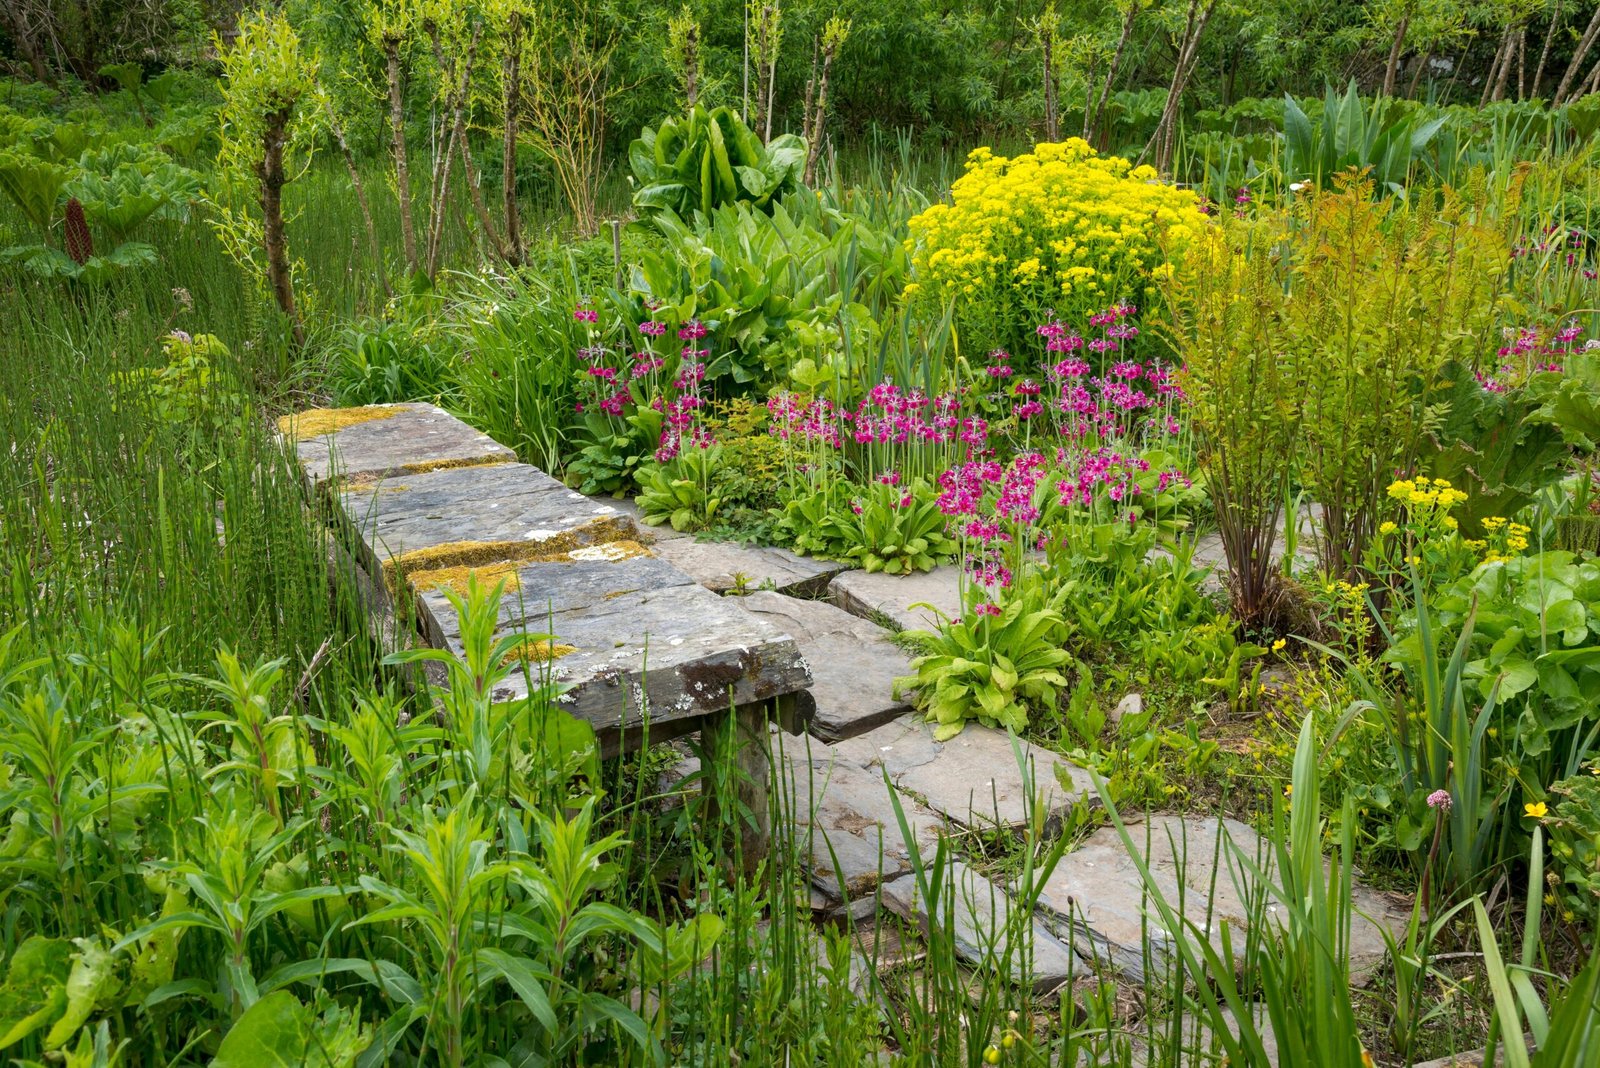
If you garden in a tropical climate, you already know the gut-punch of walking outside after a heavy rainy season downpour and finding your beds sitting in puddles. Your tomatoes are yellowing. Your pepper plants look like they’ve given up on life. And your banana tree, which was supposed to be the easiest thing you ever grew, is rotting from the collar down.
I’ve been there. More times than I care to admit. The summer my entire raised bed turned into a miniature swamp — plants and all — was the summer I finally decided to stop guessing and start actually fixing my drainage problem. What I learned over the next ten-plus years of mud, trial, and error is what I’m sharing with you today.
These aren’t Pinterest-perfect ideas. These are real-world, budget-conscious, field-tested solutions for waterlogged tropical garden soil.
Why Poor Soil Drainage in Tropical Gardens Is Such a Big Problem
Before we get into the fixes, let’s be real about why this matters so much in tropical climates specifically.
Tropical gardens deal with rainfall intensity that temperate gardeners simply never face. We’re not talking about a gentle English drizzle. We’re talking about 50mm of rain in 30 minutes, sometimes day after day during the wet season. That kind of water volume overwhelms even decent soil if there’s no plan in place.
When soil stays saturated for too long, roots can’t breathe. Plants need oxygen at the root zone just as much as they need water. Waterlogged soil kicks out all that oxygen and replaces it with anaerobic conditions — basically a slow suffocation that turns roots brown and mushy. Fungal diseases like root rot, Pythium, and Phytophthora love that environment. Your plants don’t.
The good news: every single one of these drainage problems is fixable. You just need the right tools and the patience to do the work once, properly.
1. Improve Your Soil Structure with Organic Matter (The Foundation Fix)
This is the unsexy answer that most people skip because it feels too basic. Don’t skip it.
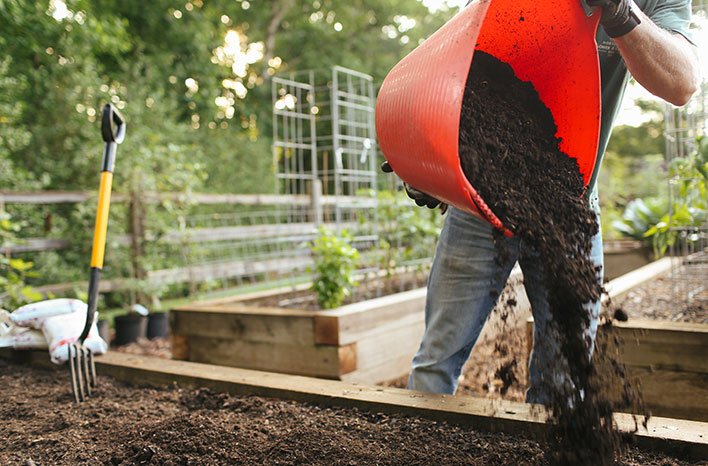
The number-one reason tropical garden soil drains poorly is compaction combined with low organic matter content. Tropical soils — especially red laterite soils common across East Africa, Southeast Asia, and the Caribbean — tend to be dense, iron-rich, and almost brick-like when dry. They drain terribly when wet and crack badly when dry. Adding bulk organic matter changes the particle structure of your soil over time, creating air pockets and channels that water can actually move through.
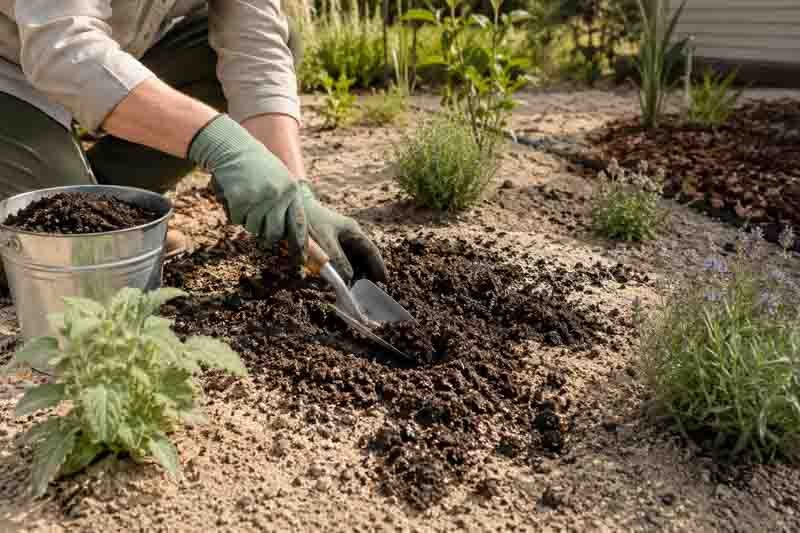
My go-to materials are aged compost, well-rotted animal manure, and shredded dried leaves. I aim for at least a 3-to-4 inch layer worked into the top 12 inches of soil each season. The first year feels like nothing changed. By year two or three, you’ll start noticing how differently water behaves.
One thing I’ll say plainly: bagged “garden soil” from the hardware store is, in my experience, a total waste of money for this specific problem. It’s often mostly peat or coir with very little actual structure-building capacity. Make your own compost or source bulk municipal compost instead. Your wallet and your garden will thank you.
I also add biochar when I can get it. It’s pricey, but even a small amount (10–15% by volume mixed into your planting holes) improves drainage and moisture retention simultaneously — which sounds contradictory but makes perfect sense once you understand how its porous structure works.
2. Build Raised Beds to Lift Plants Above the Waterline
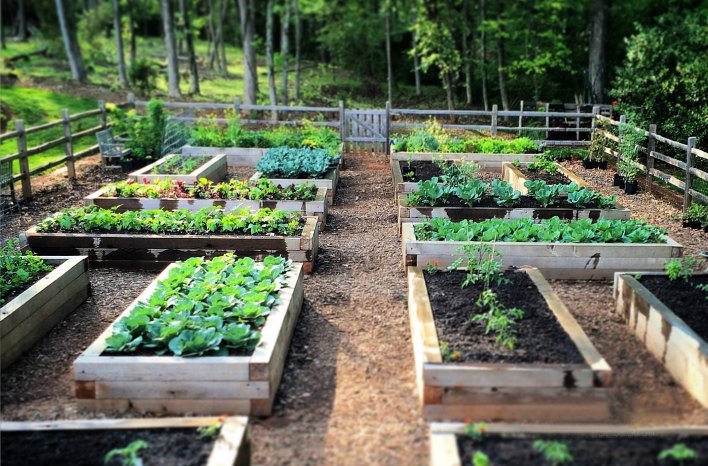
If your soil is genuinely terrible — and some tropical soils just are — stop trying to fix what’s under your feet and build on top of it instead.
Raised beds are my most-recommended solution for tropical gardens dealing with chronic waterlogging. You control everything that goes inside: the soil mix, the drainage layer, the depth. You’re essentially creating a new growing environment entirely.
For tropical climates, I build my raised beds at least 30–40cm (12–16 inches) deep. Anything shallower and you still risk roots hitting that poorly draining native soil below, especially during extended wet seasons. Fill with a mix of 50% good topsoil, 30% compost, and 20% coarse river sand or perlite. That ratio has served me well across three different properties.
The frame material matters less than people think. Timber, concrete blocks, brick, recycled plastic lumber — all fine. What does matter is that you leave open bottoms and don’t use anything treated with chemicals you wouldn’t want near food (old railway sleepers treated with creosote, I’m looking at you).
One rookie mistake I made early on: building my raised beds right up against a wall with no gap. Water was pooling against the wall base, wicking back into the beds, and causing drainage to flow the wrong direction. Leave at least 30cm of clearance on all sides.
3. Install French Drains for Serious Water Management
When surface runoff is your enemy — water flowing across your property from higher ground and saturating your beds — a French drain is the proper fix.
A French drain is simply a trench filled with gravel and a perforated pipe that redirects subsurface water away from your garden and toward a more appropriate outlet: a storm drain, a lower section of your property, or a collection point. It sounds complicated, but it’s really just a ditch with attitude.
For a basic French drain, dig a trench at least 30cm wide and 45cm deep, sloping away from the problem area at a gradient of about 1% (that’s 1cm of drop per 1 metre of length). Lay a layer of landscape fabric first to prevent soil from clogging the gravel over time. Add 10cm of washed gravel, lay your perforated pipe (holes facing down — this surprised me when I learned it), cover with more gravel, fold the landscape fabric over the top, and backfill with soil.
The one mistake that drives me crazy when I see it: people skip the landscape fabric. Within two rainy seasons, fine soil particles migrate into the gravel and block everything up. Do not skip the fabric.
French drains are more labour-intensive than most solutions on this list. But for properties with genuine subsurface water movement problems, nothing else comes close to solving it permanently.
4. Create Swales to Slow, Spread, and Sink Rainwater
This is the permaculture solution, and I say that with full respect. Swales are one of the smartest things I ever put in a tropical garden, and I resisted them for years because I thought they sounded too “crunchy.”
A swale is a level trench dug on contour — meaning it runs perpendicular to the slope of your land, not down it. Instead of directing water away, a swale holds it temporarily and lets it sink slowly into the soil. You plant the mounded berm on the downhill side of the swale with deep-rooted plants that use that stored moisture.
The result: excess rainfall gets captured before it can rush across your property and cause erosion or pooling. Your garden beds uphill and downhill both benefit. And the plants on the berm (bananas, papayas, and cassava work brilliantly for this) act as a living sponge.
I’ll be honest — swales require you to understand your land’s topography before you dig. If you get the contour even slightly wrong, you create a water channel that flows to one end and pours off, which defeats the whole purpose. Spend an afternoon with a simple A-frame level (you can build one for almost nothing) before you ever pick up a shovel.
5. Amend Heavy Clay Soil with Coarse Sand and Gypsum
Heavy clay soil in tropical gardens is a special kind of frustrating. It drains poorly, compacts easily, and in the dry season, it turns into something close to concrete.
The fix most people reach for first is adding sand. That’s correct — but only if you add enough. This is critical: adding a small amount of sand to clay soil actually makes drainage worse. The clay particles fill in the spaces between sand particles, creating a cement-like matrix. You need to add coarse builder’s sand at a ratio of at least 50% by volume to see any real improvement. That’s a lot of sand. I’m talking wheelbarrow loads.
Gypsum (calcium sulfate) is my secret weapon here. It works on a chemical level to break apart clay particles, improving soil structure without changing pH the way lime does. I apply about 1–2 kg per square metre, work it in, and reapply each season. It’s slow. After one season, you might think nothing happened. After three seasons, your clay soil starts to behave like something you can actually work with.
Combine both approaches — generous sand amendment and regular gypsum application — and pair it with the organic matter strategy from tip #1. That trilogy of interventions is what I’d call the full clay-soil rehabilitation plan.
6. Use Hugelkultur Mounds to Create Self-Draining Planting Areas
Hugelkultur is a German word that means “mound culture,” and the concept is as old as European peasant farming. The reason I include it in a tropical garden drainage guide is because it’s genuinely one of the most effective long-term solutions for soggy, low-lying areas.
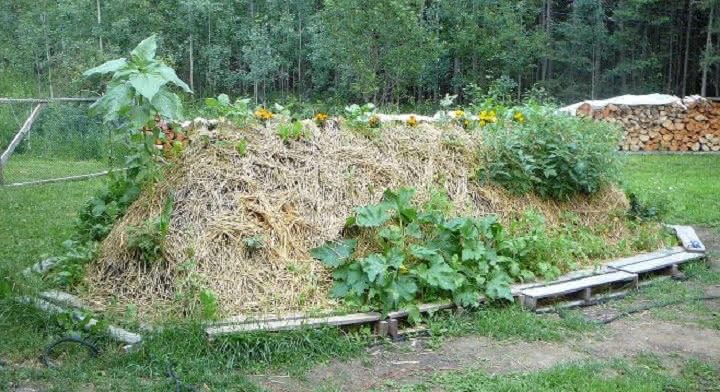
The idea: bury a pile of rotting logs and woody debris under a mound of soil. As that wood breaks down over years, it acts like a sponge during heavy rain (absorbing excess moisture) and slowly releases that moisture back into the root zone during dry periods. The mounded structure itself also ensures that plant roots are elevated well above any waterlogged ground below.
To build a basic hugelkultur mound, gather logs, branches, and wood chips. Pile them in a mound shape, with the largest logs at the base. Layer on top with leaves, straw, compost, and then finished topsoil. The mound should be at least 60–90cm high at the centre. It will settle over time.
My first hugelkultur mound smelled a bit funky for the first couple of months as the buried wood started decomposing. That’s completely normal. By month three, it was one of the most productive growing areas in my entire garden.
7. Add Gravel or Perlite Drainage Layers to Planting Holes
For container gardens and individual planting holes, adding a drainage layer at the bottom is one of the quickest, easiest fixes available.
The classic advice is gravel at the bottom of a pot or planting hole. I want to be upfront: in containers, research has shown that a gravel layer can actually raise the “perched water table” inside the pot, meaning the soil above the gravel stays wetter, not drier. For this reason, in containers I now exclusively use perlite mixed throughout the potting mix (around 20–25% perlite by volume) rather than a bottom gravel layer.
In the ground, however, a French drain-style gravel layer at the base of a deep planting hole does help redirect water away from the root zone faster. For fruit trees especially — mangoes, avocados, and citrus — I dig my planting holes 60cm deep, add 15cm of washed gravel at the base, backfill with an amended soil mix, and plant proud (meaning the root flare sits slightly above ground level rather than below).
Perlite is the one amendment I genuinely cannot garden without. Yes, it’s a bit of an eyesore if it works its way to the surface and you get little white pellets everywhere. I don’t care. It works.
8. Plant Water-Loving Vegetation in Wet Zones Instead of Fighting Them

Sometimes the most honest solution is to stop fighting where water wants to be and work with it instead.
If you have a consistently wet, low-lying corner of your garden that floods every rainy season no matter what you do, consider accepting it as a feature rather than a flaw. Plant it with species that genuinely love wet conditions: taro (cocoyam), water spinach (kangkong), vetiver grass, or ornamentals like elephant ears (Colocasia) and lobster claw heliconias.
I had a low-lying strip along my back fence that flooded every single year. I tried drains, amendments, raised beds — nothing fully solved it. The year I planted a row of taro and edged it with vetiver grass was the year I stopped stressing about that corner. The taro thrived, the vetiver’s deep roots slowly started improving drainage over time, and that strip now produces something useful instead of just problems.
This isn’t giving up. This is smart garden design. Not every square metre of your property needs to grow the same things.
9. Grade and Slope Your Garden Beds Away from Structures
Poor surface grading is one of the most overlooked causes of drainage problems in home gardens, and fixing it costs almost nothing — just time and a wheelbarrow.
The basic principle: water should always flow away from your house, your raised beds, your tree trunks, and your garden infrastructure. If any of these are sitting in a low spot — or if the surrounding soil has settled over time to create a bowl effect — water collects, saturates, and causes problems.
Walk your garden after a heavy rain and watch where water flows and where it pools. That observation alone is worth hours of research. Mark the problem spots and then, in the dry season, add topsoil or compost to those areas and grade them with a rake so water runs away from the problem zones.
The slope doesn’t need to be dramatic. Even a 2% grade (2cm of drop per 1 metre of distance) is enough to get water moving in the right direction. This is one of those fixes that seems almost too simple to be real — and then it works beautifully.
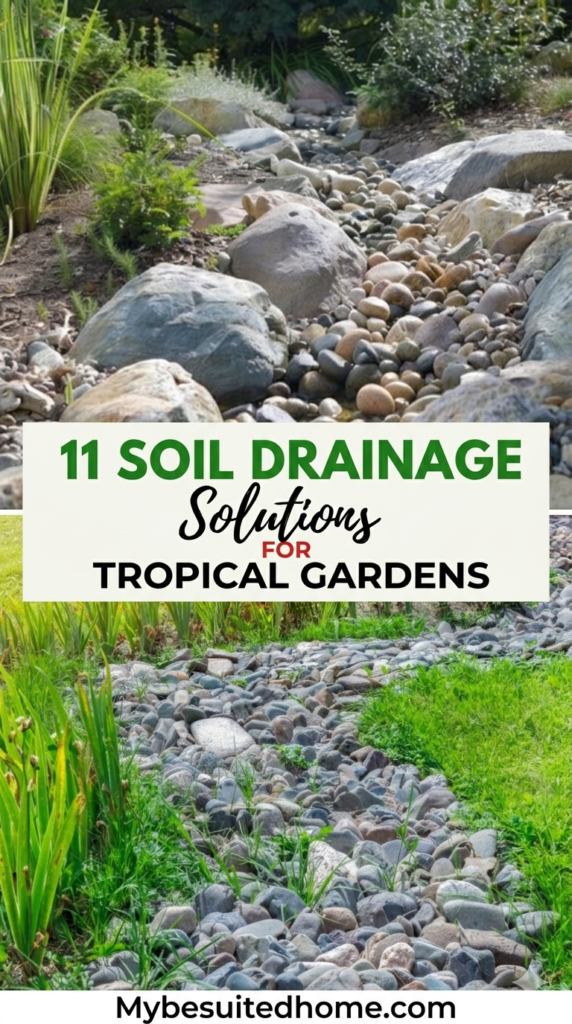
10. Install Catch Basins or Dry Riverbeds to Direct Water Flow
For gardens that deal with significant surface water volume during heavy rain, sometimes the best solution is to give that water a designated path and an endpoint.
A catch basin is a surface drain with a grated top that collects pooling water and channels it underground through a pipe to a designated outlet. They’re common in commercial landscaping and completely appropriate for residential tropical gardens with serious drainage issues. Installation requires some digging and basic plumbing knowledge, but the result is a permanent, low-maintenance solution.
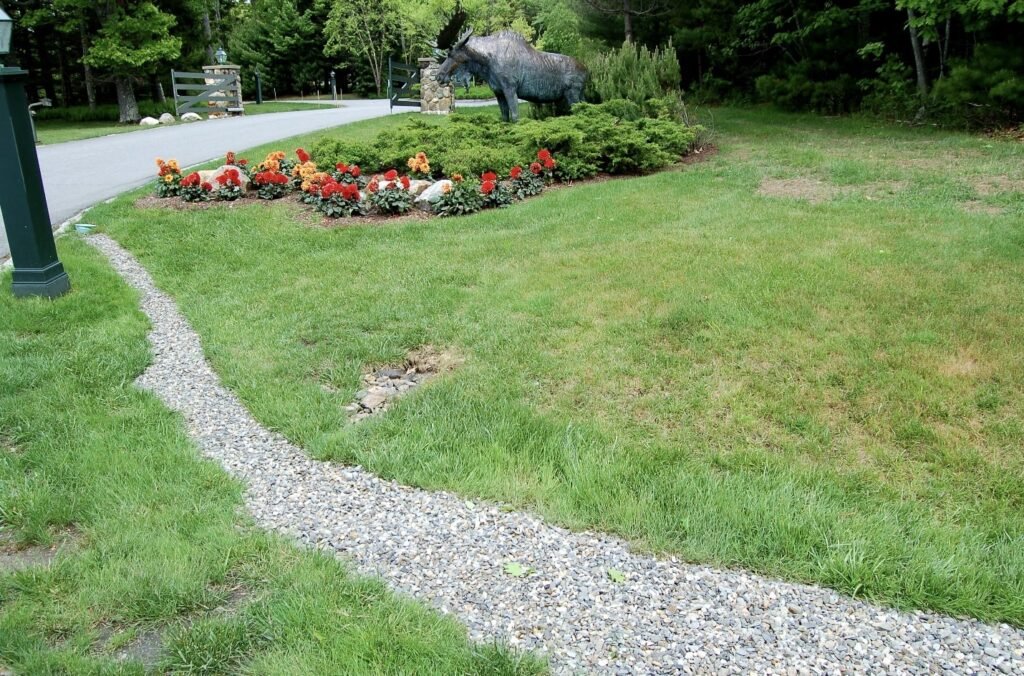
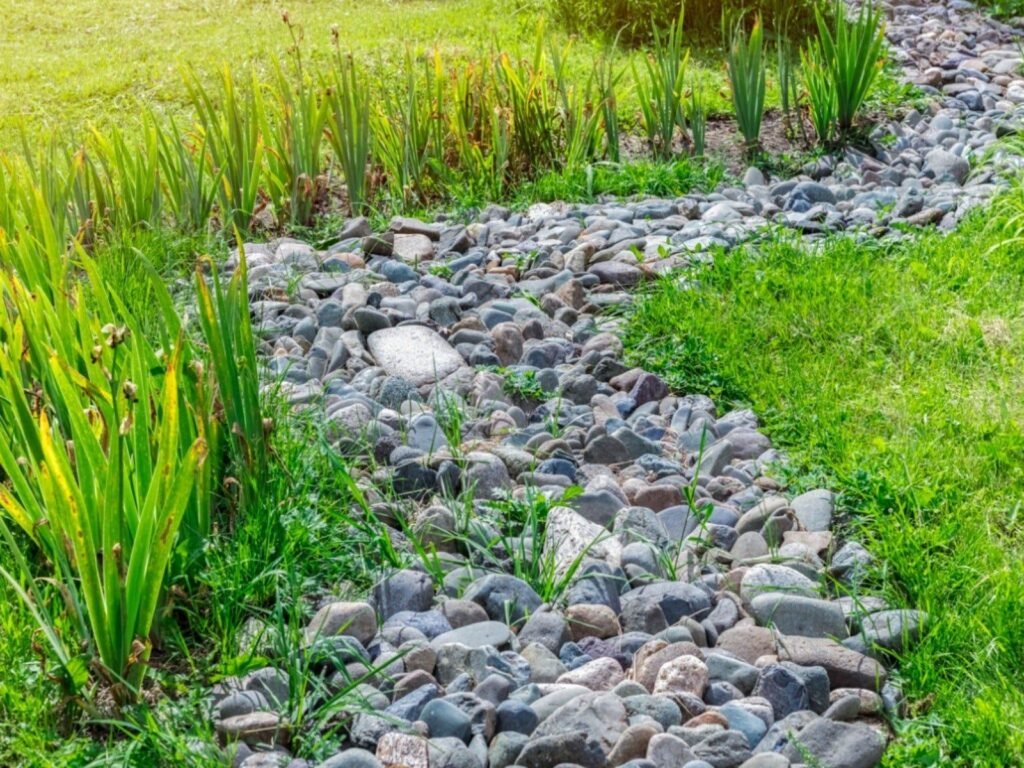
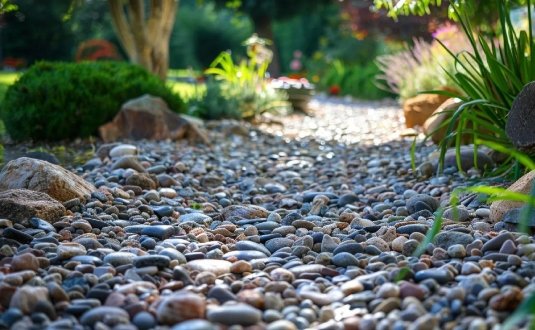
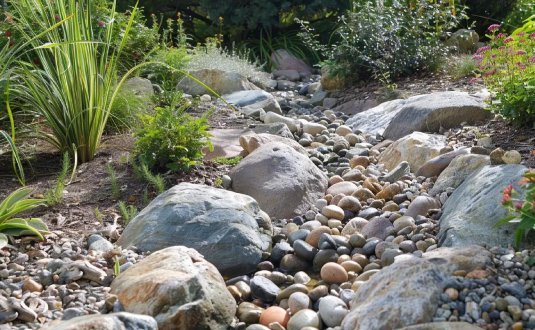
A dry riverbed (also called a drainage swale) is the more attractive and lower-cost alternative. It’s essentially a shallow channel lined with rounded river stones that guides water across your property in a controlled direction. During the dry season, it looks like a decorative landscape feature. During heavy rain, it becomes a functional watercourse.
My dry riverbed took a weekend to install and cost mostly the price of river stones. It completely eliminated the flooding that used to swamp my vegetable patch every wet season. It’s also become my favourite design element in the entire garden, which I did not expect.
11. Try Vertical Mulching to Break Up Compacted Soil Layers
Here’s one most gardeners haven’t heard of, which is a shame because it’s incredibly effective for tropical soils with hardpan layers.
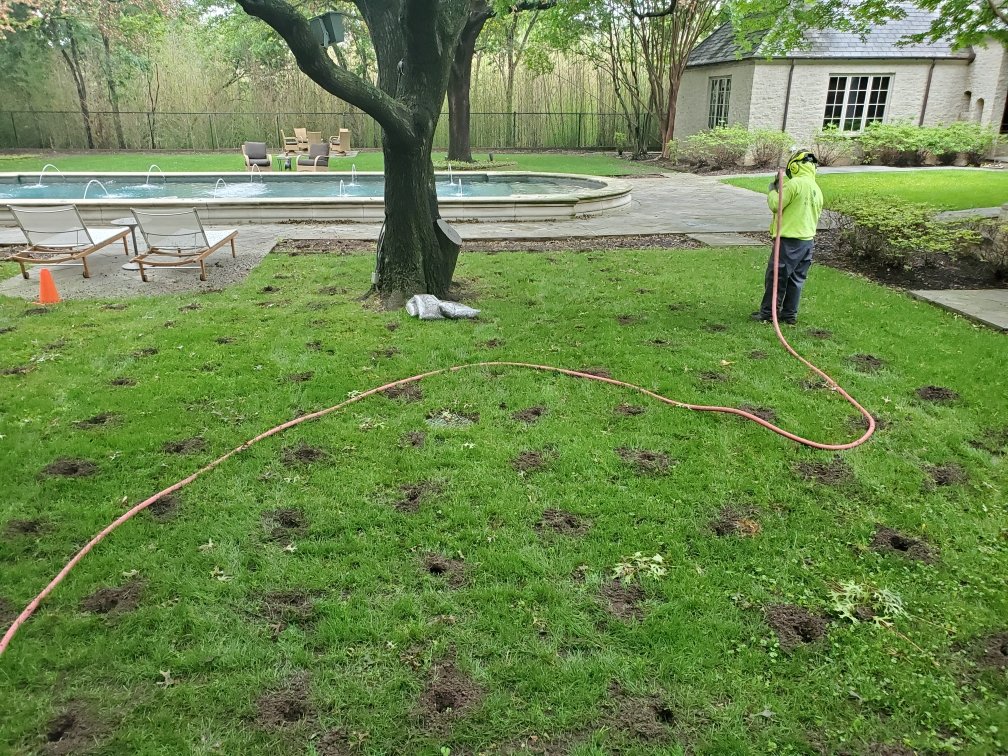
Vertical mulching involves drilling or digging narrow holes (about 5cm wide, 30–45cm deep) in a grid pattern across a compacted area, then filling those holes with compost, biochar, and/or coarse sand. The idea is to create direct pathways through compacted soil layers that water, roots, and air can actually use — without the full disruption of tilling.
It’s especially useful around established trees where you can’t dig or rototill without damaging roots. I use a basic soil auger attachment on a power drill. Drill holes every 30–45cm in a grid. Fill with compost. That’s it. After one rainy season, you can usually see improved water absorption and healthier surface vegetation around those treated zones.
Quick side note: vertical mulching is also a fantastic way to apply compost tea, diluted liquid fertiliser, or mycorrhizal inoculants directly to the root zone. You’re not just fixing drainage — you’re feeding the soil biology at depth.
Real Talk: What’s Not Worth the Effort (And What Goes Wrong)
I’d be doing you a disservice if I only told you what to do. Here’s what doesn’t work as advertised.
Cheap drainage fabric without proper gravel depth. I’ve installed landscape fabric alone in wet areas thinking it would help. It doesn’t. It just creates a barrier that eventually fills with silt and makes water movement worse. Fabric only works as part of a properly installed French drain system.
Gypsum in already well-draining sandy soil. Gypsum is specifically for clay soils. I once applied it to a bed that was already draining fine, thinking “more drainage improvement is better.” It changed nothing. Know your soil type before you buy amendments.
Ignoring the slope of your property. Every drainage fix in the world is temporary if your overall site grading is working against you. I’ve watched people install beautiful French drains that filled with water from a neighbour’s higher property because nobody accounted for where all that water was ultimately coming from. Look at the big picture first.
Over-tilling as a drainage fix. Tilling does temporarily break up compaction. But in tropical climates with heavy rain, loose, over-tilled soil compacts again within one or two rainy seasons — sometimes worse than before because you’ve destroyed the soil structure. Minimum tillage, maximum organic matter addition. That’s the long game.
Parting Wisdom: Fix the Soil, Not Just the Symptom
Here’s what I’ve learned after years of waterlogged failures and hard-won successes: good drainage in a tropical garden isn’t one thing you fix once. It’s an ongoing relationship with your soil, your rainfall, and your plants.
Start with the cheapest interventions first. Observe your garden seriously after rain. Add organic matter every single season without fail. Then layer in the more structural solutions — raised beds, swales, French drains — as your budget and time allow.
The gardeners I see struggle the most are the ones who want a single magic fix. There isn’t one. But stack these solutions together thoughtfully, and over two or three seasons, you’ll have a garden that handles tropical rainfall like it was built for it. Because it will be.
Now I want to hear from you: what’s your biggest drainage headache in your tropical garden right now? Are you dealing with clay soil, a low-lying patch, a hillside runoff problem, or something else entirely? Drop your question or situation in the comments below — I read every single one and I love a good soil puzzle.