

A house mouse can pass through an opening about the diameter of a pencil, roughly a quarter inch. That is far smaller than the hole most people imagine when they walk the outside of a house looking for the way in. They look for something they could put a finger through, find nothing, and decide the house is tight. Meanwhile the mice are using a gap beside the dryer vent that a pencil would barely fit into.
This matters because trapping only deals with the mice already inside. Whether more arrive depends on the openings, and most houses have several: some left by the builder, some created by weather and settling, and some opened up by the mice themselves, since rodent teeth are very good at enlarging a gap that is almost big enough.
Below are the seven places mice most commonly get in, how to spot each one, and what to seal it with. First, though, two things are worth sorting out so the work holds up: whether mice are still in the house, and which materials they can chew through.
Before You Seal Anything, Find Out Whether Mice Are Still Inside
Sealing a house with mice in it can make things worse. Mice that can’t get out may gnaw a fresh hole somewhere less convenient, or die inside a wall where you’ll smell them for weeks.
The usual signs of an active problem:
- Droppings. Mouse droppings are dark, about the size of a grain of rice (roughly a quarter inch), with pointed ends. Fresh ones are dark and slightly soft; old ones are gray and crumble.
- Gnaw marks. Look at the corners of food boxes, pet food bags, soap bars, and wooden edges near suspected entry points.
- Rub marks. Mice travel along the same routes and leave dark, greasy smudges along baseboards and at the edges of the holes they use. Those smudges are one of the best clues when you’re looking for an entry point.
- Nests. Shredded paper, insulation, fabric, or cardboard packed into a hidden spot such as behind an appliance or inside a stored box.
- Noise. Scratching or scampering in walls or ceilings, mostly at night.
If you find fresh signs, trap first (more on that near the end), and seal the openings as you go. A common approach is to seal everything except the entry you think is most active, trap or use a one-way exclusion device there, and close it once activity stops. If the sign is only old droppings and nothing new has appeared in a couple of weeks, you may simply be dealing with past visitors, and sealing can go ahead.
What Actually Holds Against Mouse Teeth (and What Doesn’t)
The material matters as much as the location. A gap sealed with the wrong thing will often be reopened within days.
Hardware cloth is the workhorse. It is welded galvanized steel mesh, and for mice you want openings of one-quarter inch. It can be cut with tin snips and screwed or stapled over vents and larger gaps. Don’t confuse it with chicken wire. Chicken wire has openings far larger than a mouse needs and is thin enough to bend or chew; it’s a poor choice here.
Copper mesh and stainless steel mesh (sold as pipe-hole stuffing products) can be packed into irregular gaps. They don’t rust the way ordinary steel wool does, which matters because rusting steel wool crumbles over time and can leave the gap open again. If you use plain steel wool, treat it as a filler that needs a covering layer of caulk, mortar, or foam to hold it in place, since a mouse can pull loose strands out.
Cement, mortar, and hydraulic cement are the right choice for foundation cracks and holes in masonry. Mice can’t chew through cured cement.
Metal flashing and sheet metal work for edges mice gnaw on repeatedly, such as the bottom of a door, a kick plate, or the lower edge of siding.
Exterior-grade caulk is for sealing small gaps and for holding mesh in place. On its own, it is not a barrier against a determined mouse over a wide gap, because it can be chewed through, so pair it with mesh for anything bigger than a hairline.
Expanding spray foam is useful as a sealer, not a barrier. Mice chew through plain foam readily, so push mesh into the gap first and foam over it. Some products are marketed as rodent-resistant, but check the manufacturer’s claims on the label, and keep foam away from flues, vents for combustion appliances, and heat sources. Read the can’s instructions for fire and ventilation cautions.
Avoid wood alone, plastic, rubber, weatherstripping alone, and cardboard or paper-based patches. All of these are chewable.
A flashlight, a small mirror for tight spots, a notepad, tin snips, work gloves, a caulk gun, and a roll of 1/4-inch hardware cloth will cover most of what follows.
How to Search the House So You Don’t Miss Anything
First, do the light test. Turn off the lights in the garage, basement, or any room with an outside door, then look at the door edges and any wall penetrations on a bright day. If daylight shows through, a mouse can get through, or soon will.
Second, walk the outside of the house slowly with a flashlight, even in daylight, looking at the foundation line first, then work upward. Crouch to look at the bottom six inches of the wall, where most entries are. A mirror helps behind downspouts and pipes.
Third, check the inside in the places mice prefer: under sinks, behind the refrigerator and stove, inside the water heater closet, along the basement ceiling where the rim joist meets the foundation, and anywhere a utility line comes through a wall or floor. Mice rarely cross open floor if they can run along an edge, so look at where walls meet floors.
Now, the seven.
1. Gaps Around Pipes, Cables, and Utility Lines
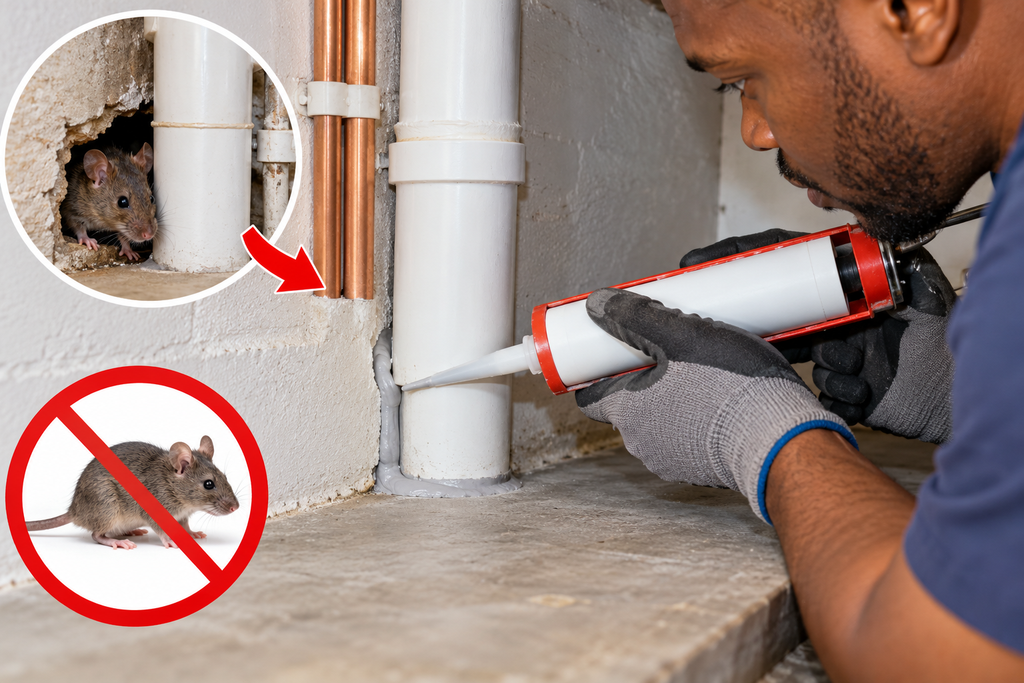
If you could only check one place, this would be the one. Every pipe, wire, and cable that enters a house passes through a hole, and builders often drill that hole larger than the line it carries. Sometimes it is filled with nothing; sometimes with a ring of caulk that has shrunk or cracked.
Common spots include:
- the hose bib (outdoor spigot)
- the gas line entrance
- the air conditioner line set, where copper refrigerant lines run into the wall
- cable, phone, and electrical service entrances
- plumbing under kitchen and bathroom sinks, where the pipe passes through the back wall or floor
The fix depends on the size of the gap. For a small gap around a pipe, press copper mesh or stainless mesh into it with a screwdriver until it is packed firmly, then cover the surface with exterior caulk or, in masonry, a coat of cement patch. For a larger opening, cut hardware cloth to fit around the line, screw it to the wall, and seal the edges.
Inside, check the decorative metal rings (escutcheon plates) around pipes under sinks. They often hide a hole much larger than the pipe, and they can be pulled forward to see. Fill what you find with mesh and seal the edge.
Two cautions. Around an air conditioner line set, don’t pinch or crush the insulated copper lines while stuffing mesh around them. And if you smell gas near a gas line, leave the house and call the utility; don’t try to work on it.
2. The Bottom Edge of the Garage Door and Exterior Doors
A garage door that looks closed can leave a gap along the floor you could slide a finger under, and a mouse needs far less. The rubber or vinyl seal along the bottom hardens, cracks, and gets chewed, and the two bottom corners, where the seal meets the door tracks, often have gaps that the seal doesn’t cover at all.
The door between the garage and the house deserves the same attention, since a mouse that makes it into the garage has an easy next step. So do back doors, basement doors, and sliding doors with worn tracks.
What to do:
- Garage door: Replace a worn bottom seal with a new one that fits the channel on the door. Vinyl works, but heavier-duty seals with a metal or thick rubber profile last longer under pressure. Side and top seals can also be added where the door meets the frame.
- Exterior doors: Install a door sweep, which is a strip that screws to the inside bottom of the door, and make sure it touches the threshold along its full length. Aluminum or steel-backed sweeps resist gnawing better than plain rubber or brush.
- Pet doors: Flap-style pet doors are an open invitation. Closing or locking them overnight, when mice are most active, reduces the risk.
A gap at the bottom of a door is easy to find and cheap to fix, but doors also shift as houses settle, so check them again after a season of heavy use.
3. Foundation Cracks and the Joint Where Siding Meets the Foundation
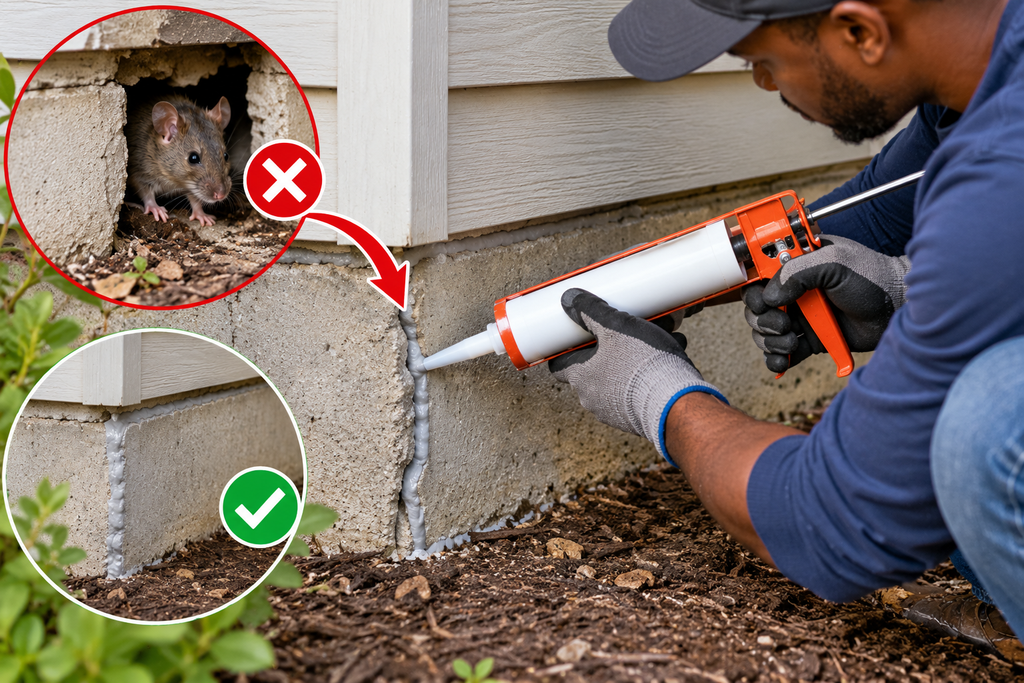
Foundations crack. Most hairline cracks are cosmetic, but a mouse can use one that is wider than about a quarter inch, and even a narrower crack gets enlarged by gnawing and by soil moving in freeze and thaw cycles.
There is also a less obvious spot: the line where the bottom of the siding meets the top of the foundation, and the gap between the foundation and the wooden sill plate that sits on it. Settling or poorly fitted trim can leave a slit along this edge that runs for several feet.
Here is how to deal with each:
- Cracks in concrete or block: Clean out loose debris, then fill with hydraulic cement or a concrete patch designed for exterior use. Follow the product’s directions for mixing and curing time.
- A gap where siding meets foundation: Push in copper mesh, then seal with exterior-grade caulk, or cover the gap with a strip of metal flashing, screwed on and caulked at the top edge.
- Larger voids at the sill: Staple hardware cloth over the opening and cover it with mortar or foam.
Watch the character of the crack as well. A crack that is widening, runs horizontally, or looks stair-stepped along mortar joints in brick can point to a structural problem, not just a mouse entry. Patching it will hide the symptom but won’t solve the cause, so have a foundation specialist or structural engineer look at it.
4. Vents: Dryer, Foundation, Crawl Space, and Attic
Vents exist to move air, which means they are deliberately open, and a damaged or poorly screened one is a ready-made doorway.
Dryer vents. A dryer exhaust cap has a flap or louvers that should close when the dryer stops. If the flap is broken, missing, or stuck open with lint, mice can walk straight into the duct. Replace a damaged cap with one that has a tight-closing damper. One warning: don’t cover a dryer vent with fine mesh or a screen to keep rodents out. Lint collects on mesh and restricts airflow, which is a fire hazard. A hooded cap with a working damper is the right solution.
Foundation and crawl-space vents. Look for torn screens, bent louvers, and gaps between the vent frame and the wall. If the screening is thin, back it with 1/4-inch hardware cloth, secured to the framing so it can’t be pushed out. Don’t block these vents permanently without understanding why they’re there: many crawl spaces rely on them for ventilation and moisture control, and some local codes address them.
Attic gable vents and soffit vents. These often have thin insect screen that a mouse can chew. Adding hardware cloth over the inside of the opening keeps airflow and blocks rodents.
Bath fan and range hood exhaust caps. Check that the damper flaps close. A cap stuck open from age or debris lets mice into the duct, and from there into the ceiling or attic.
Of the seven locations, vents are the easiest to overlook because they look intact from a distance. Look closely at the screen itself, not only at the frame.
5. The Roofline: Eaves, Soffits, Fascia, and Where the Roof Meets the Wall
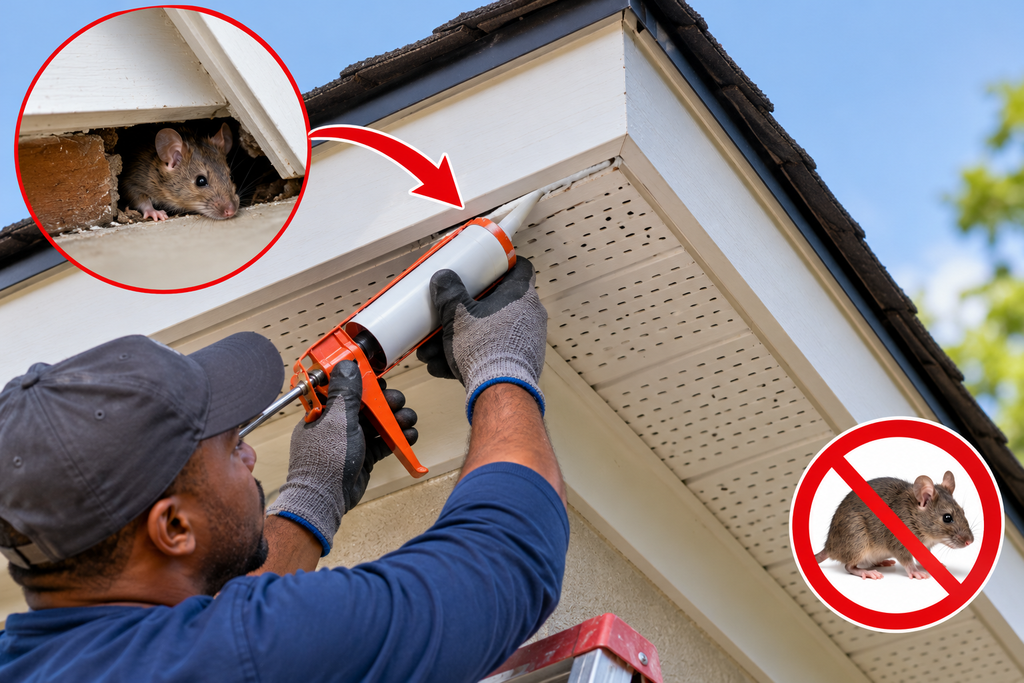
Mice are accomplished climbers. Rough siding, brick, vines, wires, and downspouts all work as ladders, and a mouse can enter a house at a height people don’t expect. In fall, scratching noises in an attic or upper ceiling often trace back to an opening high on the house.
Look for:
- gaps between the fascia board and the roof deck
- damaged or missing soffit panels
- places where the roof meets a wall (such as a dormer or a second-story section) with failing flashing
- openings around vent stacks and where wires enter the house at the roof
- gaps at the ridge and under shingles on older roofs
Fix these with metal flashing, hardware cloth, or replacement soffit and trim, and avoid relying on foam alone at this height. Trim tree branches so they sit several feet back from the roof and walls, since limbs act as bridges. Trim vines off the siding, too.
Heights deserve respect. A short extension ladder and a ground-level view will cover many soffit and eave checks, but steep roofs, multiple stories, or anything that requires walking on the roof are better left to a roofer or pest-exclusion professional. A fall is a far more serious risk than a mouse.
6. Brick Weep Holes, Siding Laps, and Trim Gaps
Brick veneer homes have small openings along the bottom course, spaced every few feet. These are weep holes, and their job is to let moisture escape from behind the brick. They are also a standard-size doorway for a mouse.
The tempting move is to fill them with mortar or caulk. Don’t. Sealing them shut can trap water behind the wall and cause rot and mold. Instead, use a product designed for the purpose, such as a vented weep hole cover, or push a small plug of stainless steel or copper mesh into each opening. Water still drains, but a mouse can’t push through.
Other spots in this category:
- Vinyl and wood siding: Look for cracked or warped boards, loose J-channel at corners, and gaps where siding meets window trim or the garage corner.
- Trim and corner boards: The seam where two trim boards meet often leaves a vertical slit a mouse can use.
- Behind loosened gutters and downspouts: A downspout pulled away from the wall can hide a gap.
Seal small gaps with exterior caulk, replace damaged boards, and attach metal flashing where gnawing is evident.
7. Basement Windows and Window Wells
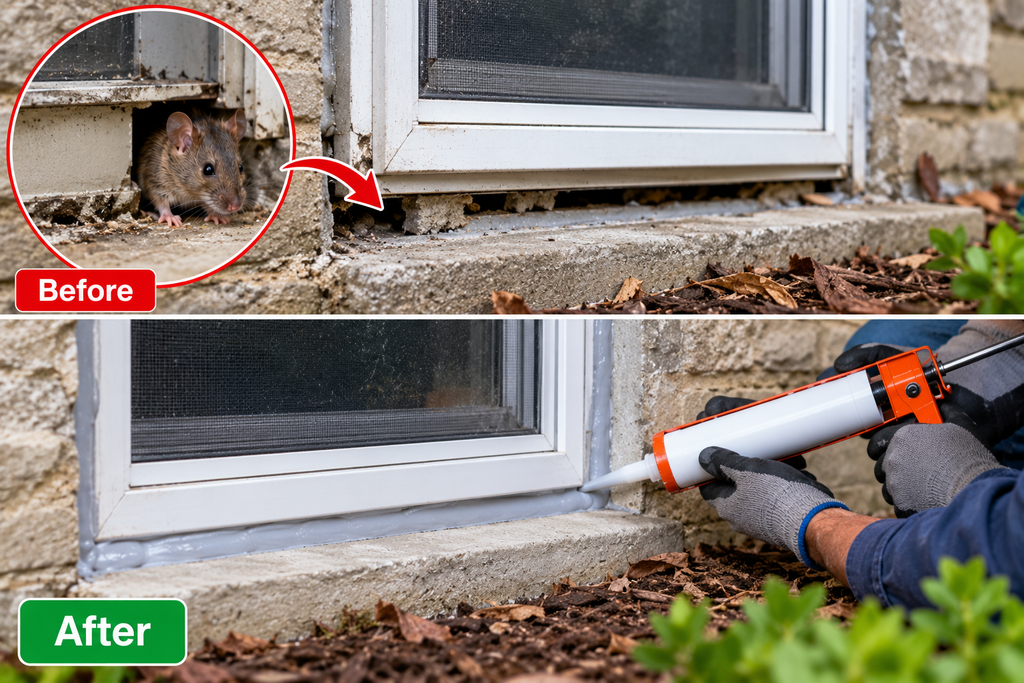
Basement windows sit close to the ground, which puts them within easy reach. The weak points are cracked or missing panes, deteriorated frames, gaps between the window frame and the masonry opening, and screens that have torn or rusted.
Window wells add another problem. The metal or concrete ring around a basement window collects leaves and debris, which gives mice a sheltered place to nest right against the glass. Once a window is cracked or its frame is soft, the way in is short.
Steps to take:
- Replace broken glass and torn screens. Metal screening resists chewing better than fiberglass.
- Fill gaps between the frame and the foundation with exterior caulk, and use mesh behind it for anything larger than a hairline.
- Clear debris out of window wells and check the drain at the bottom.
- Consider a clear polycarbonate well cover, which keeps leaves out and still lets in light.
- Check the crawl space access door, if there is one, for gaps along its edges.
Mistakes That Undo the Work
Sealing only the one hole you found. Mice that lose one route will look for another. Finish the inspection of all seven areas before deciding you’re done.
Using foam or caulk alone for bigger openings. It looks tidy and fails fast. Mesh goes in first.
Using chicken wire or ordinary steel wool by itself. One is too coarse, the other rusts and gets pulled out.
Sealing mice inside. Confirm activity has stopped before closing the last opening.
Relying on scents or devices. Peppermint oil and similar repellents are popular, but university extension programs generally describe the evidence for them as weak, and ultrasonic devices have not been shown to work reliably either. Treat them as unproven, and don’t let them substitute for sealing.
If Mice Are Already Inside: Trapping and Cleanup
Trapping. Snap traps remain the most common and generally most dependable tool. Place them along walls, with the trigger end toward the wall, in places where you’ve seen droppings or rub marks, since mice travel along edges. Peanut butter is a widely used bait, and a very small amount works better than a lot. Check traps daily so a trapped mouse doesn’t sit and so you can see where activity is concentrated.
Poison baits (rodenticides) carry real risks. Pets and children can get into them, wildlife that eats poisoned mice can be harmed, and a poisoned mouse often dies somewhere inside the structure. If you use any, follow the label exactly and place baits in tamper-resistant stations. Many homeowners find traps plus exclusion enough.
Cleanup. Mouse droppings, urine, and nesting material can carry disease. The Centers for Disease Control and Prevention (CDC) notes that hantavirus, which is mainly associated with deer mice, can spread when contaminated dust is stirred up and breathed in. The risk is low in most homes but easy to reduce:
- Don’t sweep or vacuum dry droppings. That sends particles into the air.
- Ventilate the space for a while before starting, by opening doors and windows.
- Wear rubber or nitrile gloves.
- Spray droppings and nests with a disinfectant or a diluted bleach solution until thoroughly wet, let it sit for several minutes, then wipe up with paper towels. The CDC publishes the current recommended dilution, so check it before mixing. Never mix bleach with ammonia or other cleaners.
- Double-bag the waste and throw it out, then wash your hands thoroughly.
For heavy contamination, such as an attic with a lot of droppings and soiled insulation, wear a properly fitted respirator or hire a company that does rodent cleanup.
Timing and Keeping Mice Out Long Term
Mice tend to move indoors as nights turn cool, so late summer through early fall is the best time for inspection and sealing. A second look in spring, and one after major storms or construction on the house, catches new gaps.
A few habits make the sealing more effective. Keep soil and mulch from piling up against the siding, and keep shrubs and vines trimmed back so they don’t touch the wall. Store firewood on a rack away from the house. Keep pet food and bird seed in sealed metal or thick plastic bins, since they are food sources close to the building. Inside, store pantry goods in containers with tight lids.
When to Call a Professional
Most entry points can be handled by a homeowner with basic tools, but some situations call for help:
- Mice keep returning even after you’ve sealed every opening you can find.
- You hear activity in the attic or walls and can’t reach the entry points safely, especially on a steep or tall roof.
- Wires have been chewed. Gnawed insulation on wiring is a fire risk, and an electrician should inspect it.
- Cracks in the foundation look structural.
- There’s significant contamination or nesting in the attic or crawl space.
Look for a company that offers exclusion work, meaning they find and close the entry points, not just place traps or bait.
Questions Readers Often Ask
How will I know the sealing worked?
New droppings, fresh gnaw marks, and night noises should taper off. A reasonable approach is to keep a few traps set for a couple of weeks after sealing and to check for new signs. If you still see activity after that, there’s still an opening somewhere, or mice are still inside the walls. Go back and repeat the light test and the inspection of vents and rooflines.
Do I need to worry about gaps smaller than a quarter inch?
The quarter-inch figure is a commonly cited guideline, not a hard limit. Young mice may fit through slightly smaller openings, and gnawing enlarges anything that’s close. If a gap shows rub marks or you can see through it, seal it, even if it’s narrower than you’d expect.
Do ultrasonic repellers help?
Research and extension guidance has generally found them unreliable for rodents. Mice may avoid the sound at first and then get used to it, and the sound doesn’t travel well through walls and around furniture. Sealing the house does more.
Final Thoughts
Mouse-proofing is mostly a matter of being methodical. Start with the light test in the garage and basement, then walk the foundation line at ground level, then check the vents, pipes, and roofline. Keep a list, buy the materials in one trip (1/4-inch hardware cloth, copper mesh, exterior caulk, a cement patch, and a door sweep cover most jobs), and finish all seven areas in a weekend or two. That will do more to keep mice out through winter than any trap or repellent.

About Syprose Kiche
Syprose Kiche is the creator and writer behind My Besuited Home, a practical home and garden website covering DIY projects, gardening, lawn care, landscaping, home improvement, and outdoor living. She focuses on turning everyday homeowner questions into clear, practical guides backed by careful research and useful real-world considerations.