
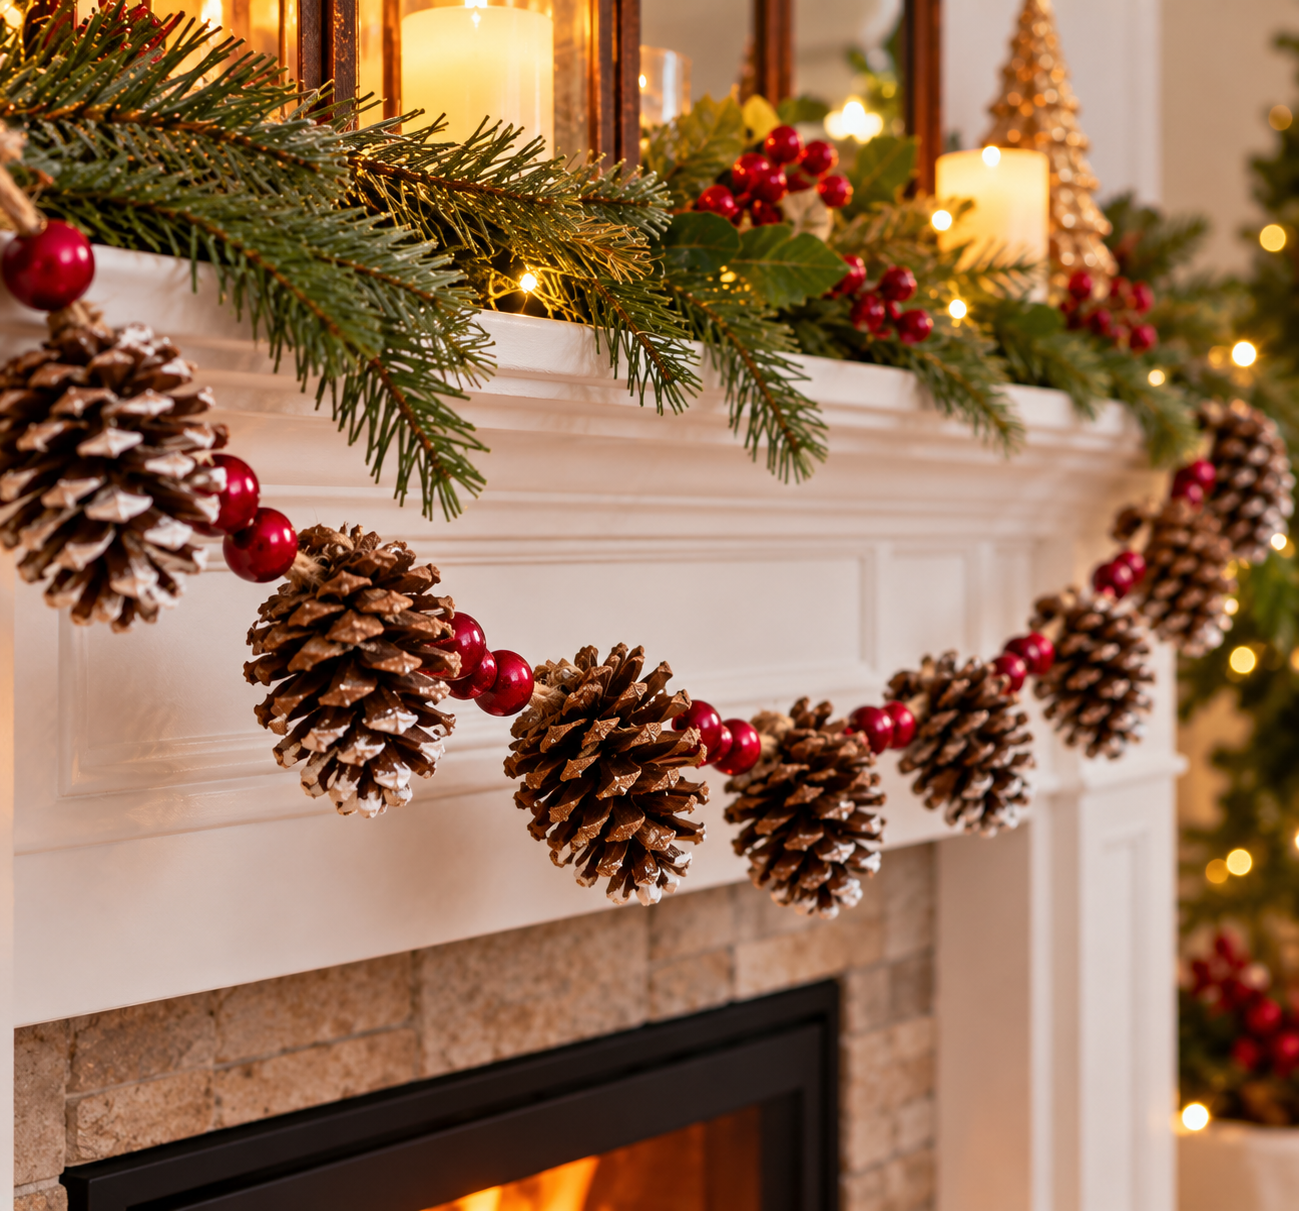
Pine cones picked up off the ground tend to disappoint. They are clamped shut, tacky with sap, and sometimes still occupied by spiders or beetle larvae that were using them for shelter. Glue slides off the resin, paint beads up, and a cone that looked perfect on the trail ends up shedding scales across the mantel. Most pine cone projects that go wrong go wrong at this stage, before a single craft supply comes out.
So this list starts with preparation, then moves through twenty projects grouped by who they suit best: eight for Christmas and seven for adults who want something more refined.
How to Clean, Dry, and Open Pine Cones Before You Craft
Cones gathered outdoors can carry dirt, sap, and insects. A quick two-part cleanup handles all three, and it is worth doing even for projects that will only sit on a shelf, because insects that survive indoors tend to wander out of the cone eventually.
Step 1: Rinse or soak. Brush off loose debris, then submerge the cones in a bucket or sink of water with white vinegar. A ratio of about 1 cup of vinegar per gallon of water is commonly used. The cones float, so set a plate or a heavy bowl on top to keep them under. Soaking also makes the scales close tight, which is normal and temporary.
Step 2: Dry them. Drain the cones and let them air-dry on a towel or rack until they feel dry to the touch. As they dry, the scales reopen. Large cones can take a few days.
Step 3: Bake them. Heat the oven to 200°F. Line a rimmed baking sheet with foil or parchment, spread the cones in a single layer, and bake for roughly 20 to 60 minutes. Small, clean, non-sticky cones sit at the short end. Big, sappy ones need the long end. Heat kills insects and eggs, hardens the sap so it stops being sticky, and finishes opening the cones.
A few cautions matter here:
- Stay in the kitchen. Sap is flammable, and a cone that drips resin onto an oven element can smoke. Keep foil from touching the oven walls and use a tray with a rim.
- Published temperatures vary. Most guides use 200°F. Some suggest 250°F for very sappy cones because it melts the sap more thoroughly. Higher heat raises the risk of scorching, so staying at 200°F and extending the time is the more conservative choice. If a cone is still dripping with fresh liquid sap, it is usually better to leave it outdoors for a few weeks to weather than to fight it in the oven.
- Bake before you decorate. Never put painted, glued, scented, or glittered cones in the oven.
- Cones that refuse to open after an hour or so are often immature. Use them closed, or save them for projects where a closed cone looks right, like mini trees.
- Check local rules before collecting. Many parks, forests, and nature preserves restrict gathering plant material. Backyards, roadsides on private property with permission, and craft stores are safer sources.
If you would rather not use the oven, air-drying for several days handles the moisture but is less reliable for insects and sap.
Matching the Cone to the Project
Size changes which crafts work. Tiny hemlock and spruce cones, around an inch or two long, suit ornaments, place cards, and small figures. Eastern white pine cones are long and slender and look best in garlands and as tree shapes. Chunky, rounder cones from species like Scotch pine, along with the wide-open cones from ponderosa or larger pines, work for wreaths and centerpieces. Sugar pine cones can run longer than a foot and are better treated as a single sculptural piece than as craft supplies.
For adhesive, a hot glue gun gives the fastest grip on dry, baked cones, though standard guns run hot enough to burn skin. Low-temp guns or tacky craft glue are better for children. Acrylic craft paint sticks well once sap is hardened. Spray paint works too, but only outdoors with ventilation. Cones will reclose if they absorb moisture, so anything displayed outside or in a humid bathroom should get a clear sealer coat.
Eight Pine Cone Crafts for Christmas
1. Hanging Ornaments With a Painted Tip
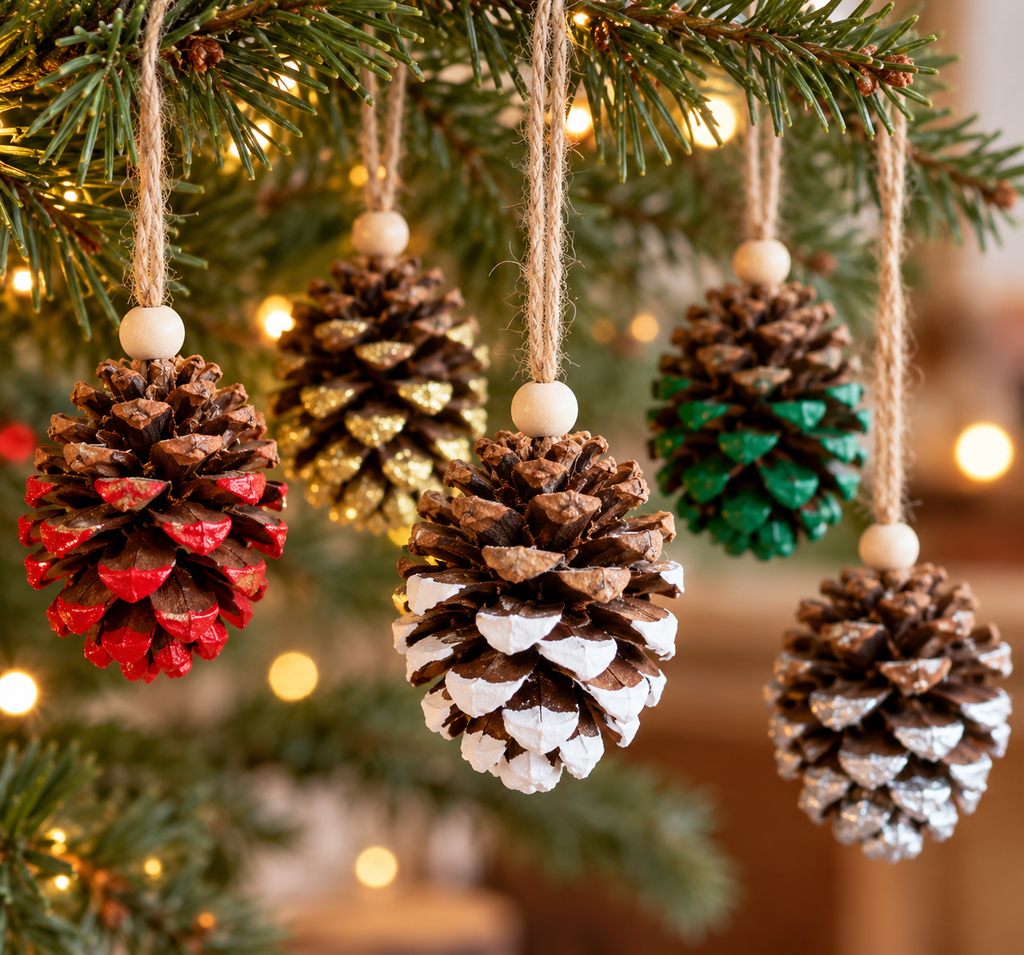
The simplest version is also one of the best-looking. Screw a small eye pin into the top of a baked cone, loop jute twine through it, and brush white acrylic paint on the scale tips so the cone looks lightly snowed. A tiny dot of glitter on the wet paint adds sparkle without turning it into a craft-aisle cliché. Smaller cones hang better on a tree, because heavy ones pull branches down.
2. Tabletop Mini Trees
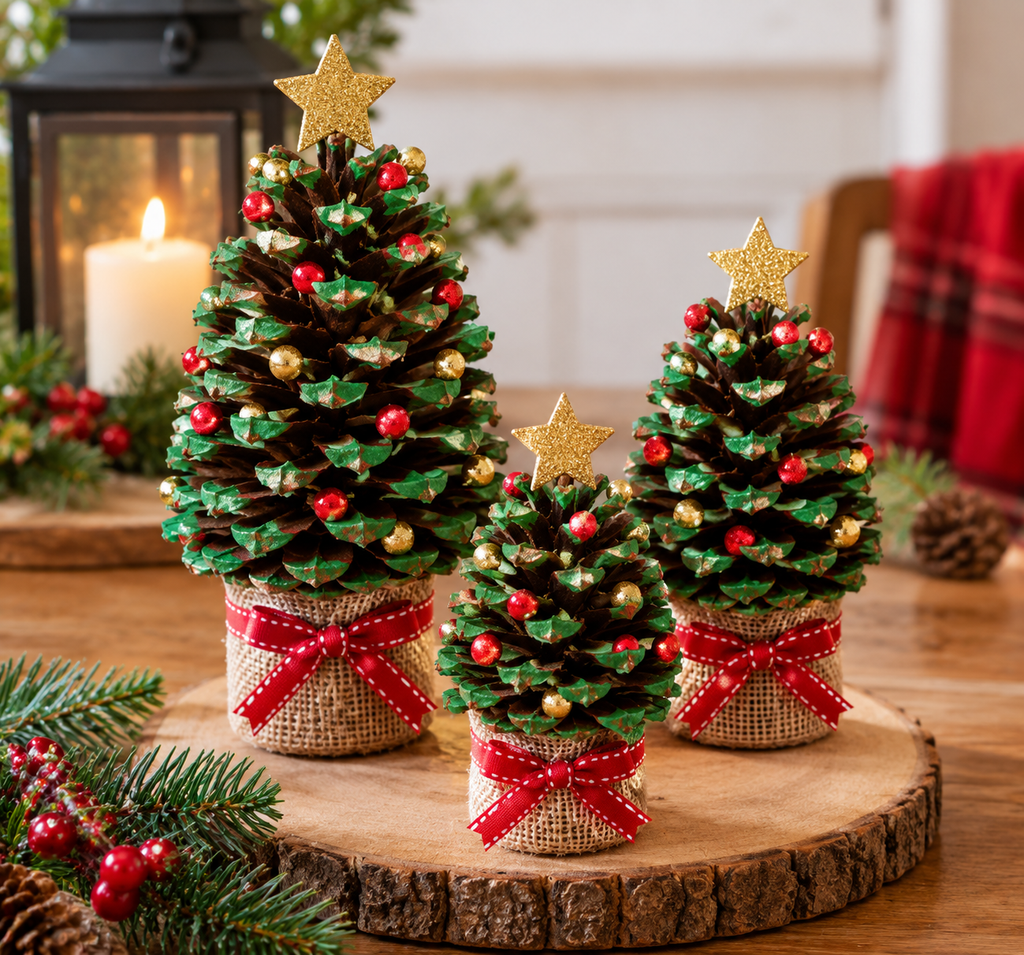
Stand a cone upright on its flat base, and it already has a tree’s silhouette. Brush the tips green, white, or deep red, glue a small wooden bead or star button on top, and mount the base on a wood slice with hot glue so it stands level. A cluster of three in different heights makes a better display than a row of identical ones.
3. Garland Strung With Cones and Cranberries
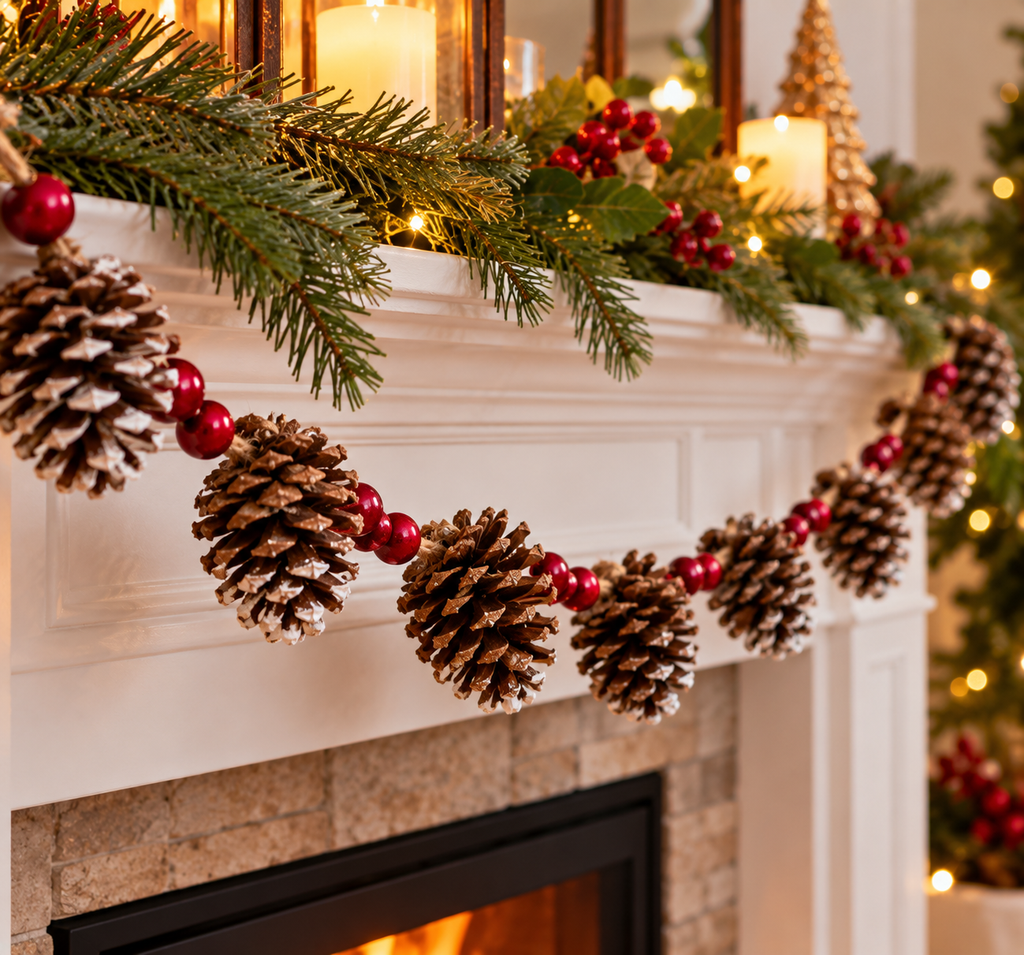
For a mantel garland, wrap florist wire around the base of each cone, leaving two tails. Twist the tails around a length of jute or thin rope, spacing the cones four to six inches apart. Between them, add dried orange slices or faux cranberries. Real cranberries get soft and eventually mold indoors, so skip them for any garland you plan to keep.
4. A Wreath Built on a Foam or Grapevine Base
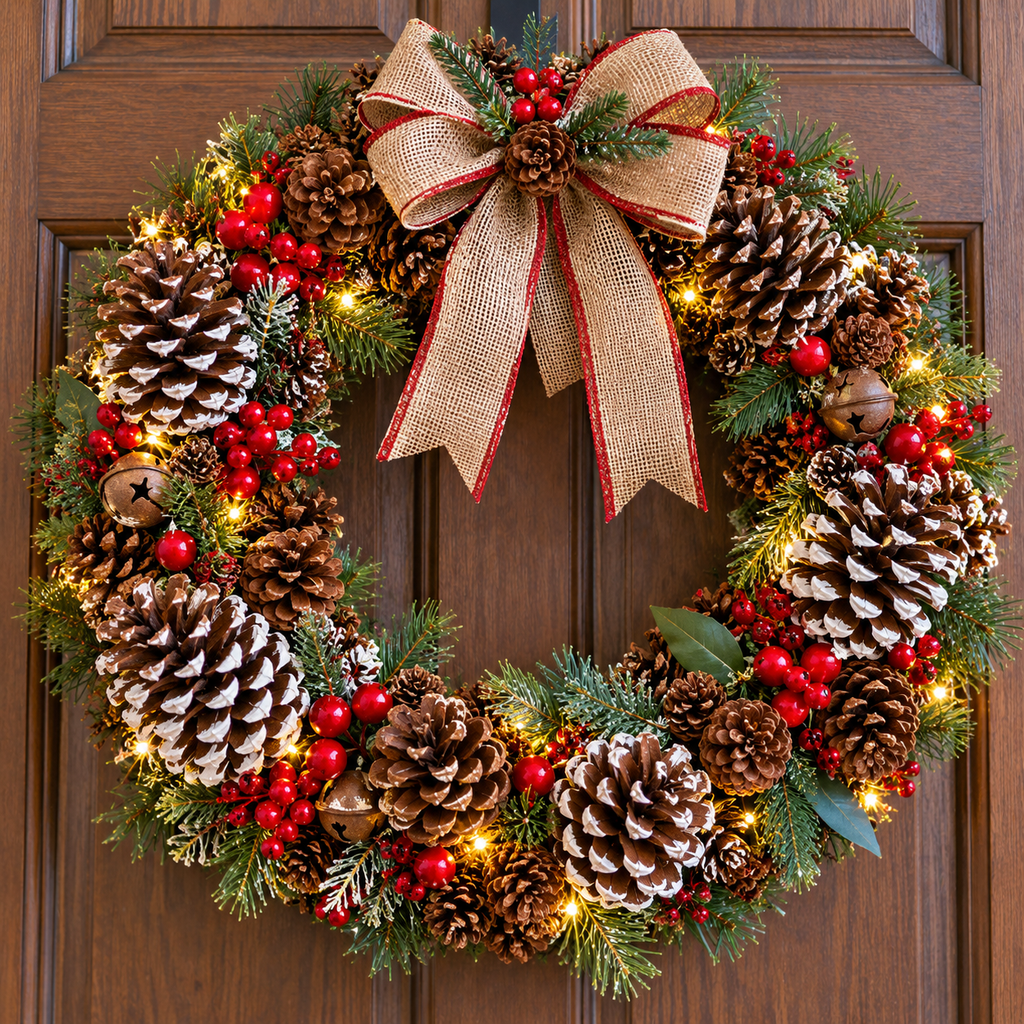
A foam ring is easier to cover evenly. A grapevine ring has more texture but needs more glue. Start with large cones along the outer edge, angled outward, then fill the middle with medium cones, then fill gaps with small ones. Work in a single direction around the ring so the cones appear to flow rather than point at random. Plan on about 30 to 50 cones for a standard 14-inch ring, depending on size. A ribbon in one color is enough finishing.
5. Snow-Frosted Cones
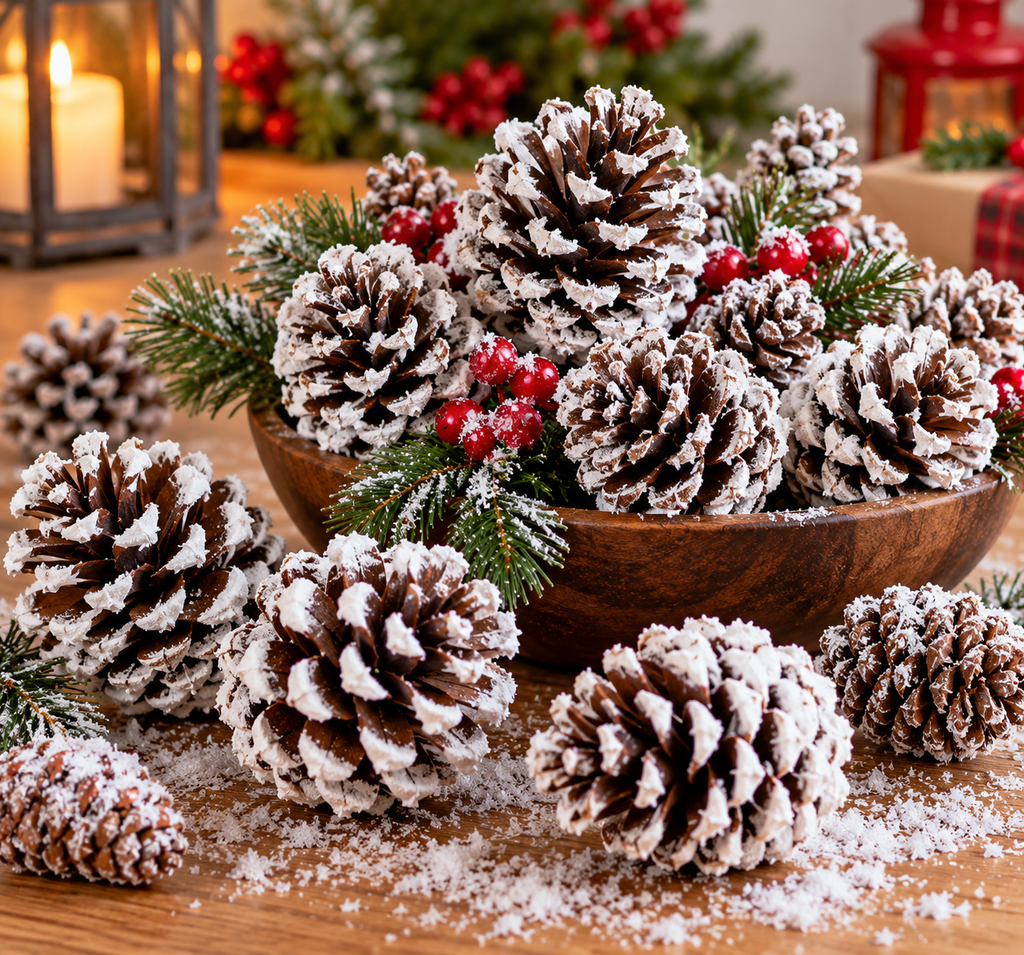
Brush a thin coat of white craft glue or decoupage medium onto the scale tips, then sprinkle with Epsom salt, which dries to a crystal-like frost. Shake off the extra and let them dry flat for several hours. The finish stays brittle, so these look best in bowls or on wreaths where they will not be handled. Do not use them for children’s play, since the salt can get into mouths.
6. Place Card Holders for the Dinner Table
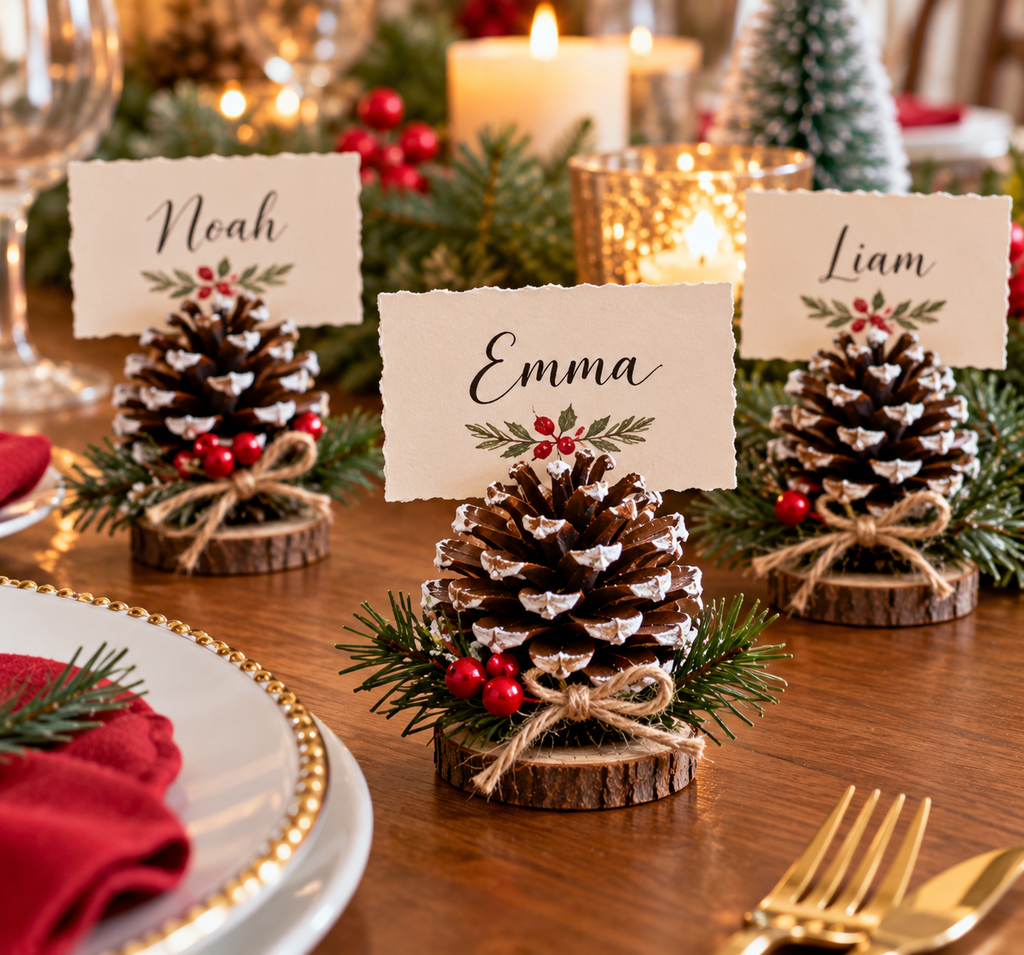
Use the smallest cones you have. Glue each one to a short wood slice or flat button so it stands up, then slide a folded name card between two scales. Spray the tips gold or white, and each guest gets a small keepsake. Make one extra in case a name needs to be redone.
7. Gift Toppers

Tie a cone to a wrapped box with baker’s twine, or hot-glue one beside a sprig of fresh evergreen. Small cones work best, since they sit flat and do not crush the paper. Paint a thin line of metallic gold on the scale edges for a more polished look.
8. A Centerpiece With Flameless Candles
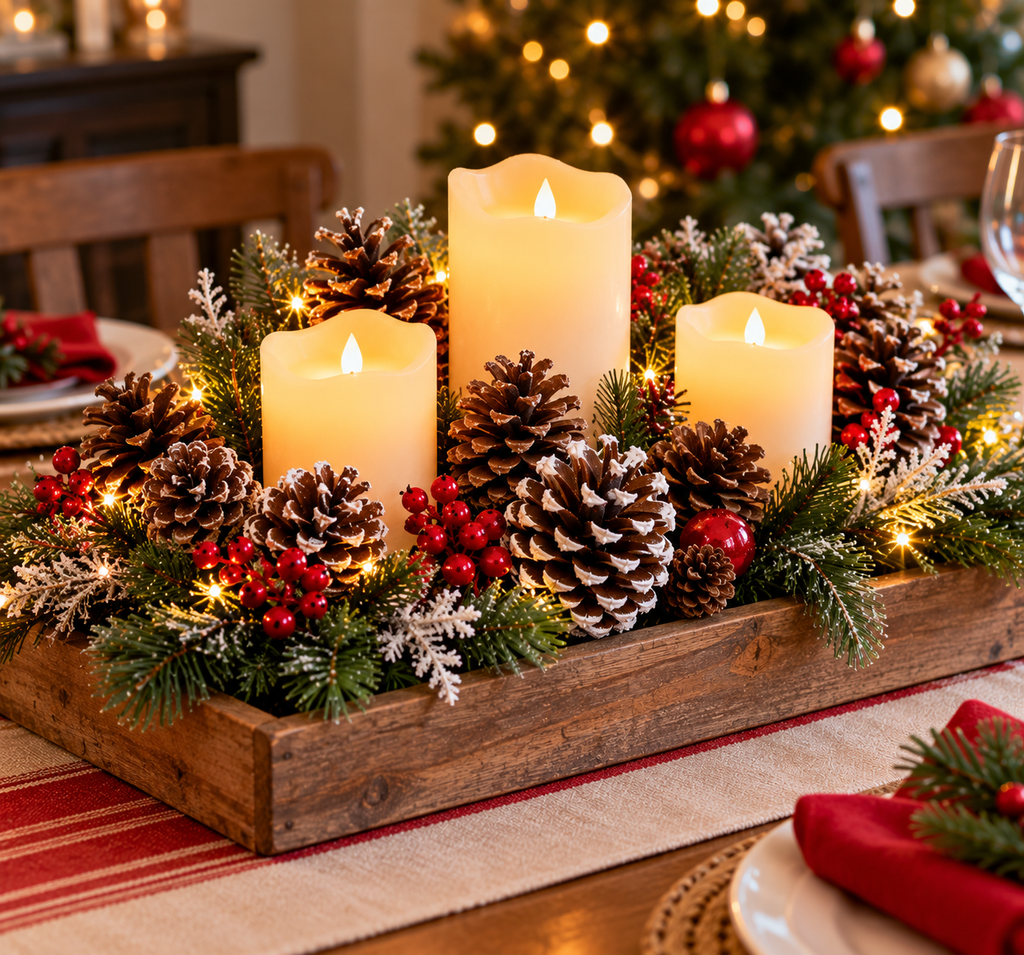
Fill a shallow tray or wooden bowl with cones of mixed sizes, set three LED pillar candles among them, and tuck in a few evergreen sprigs. Skip real flames. Dry cones and dried resin ignite easily, and a tea light in the middle of a cone bowl is a genuine fire hazard.
Seven Pine Cone Crafts for Adults
9. Wax-Dipped Fire Starters
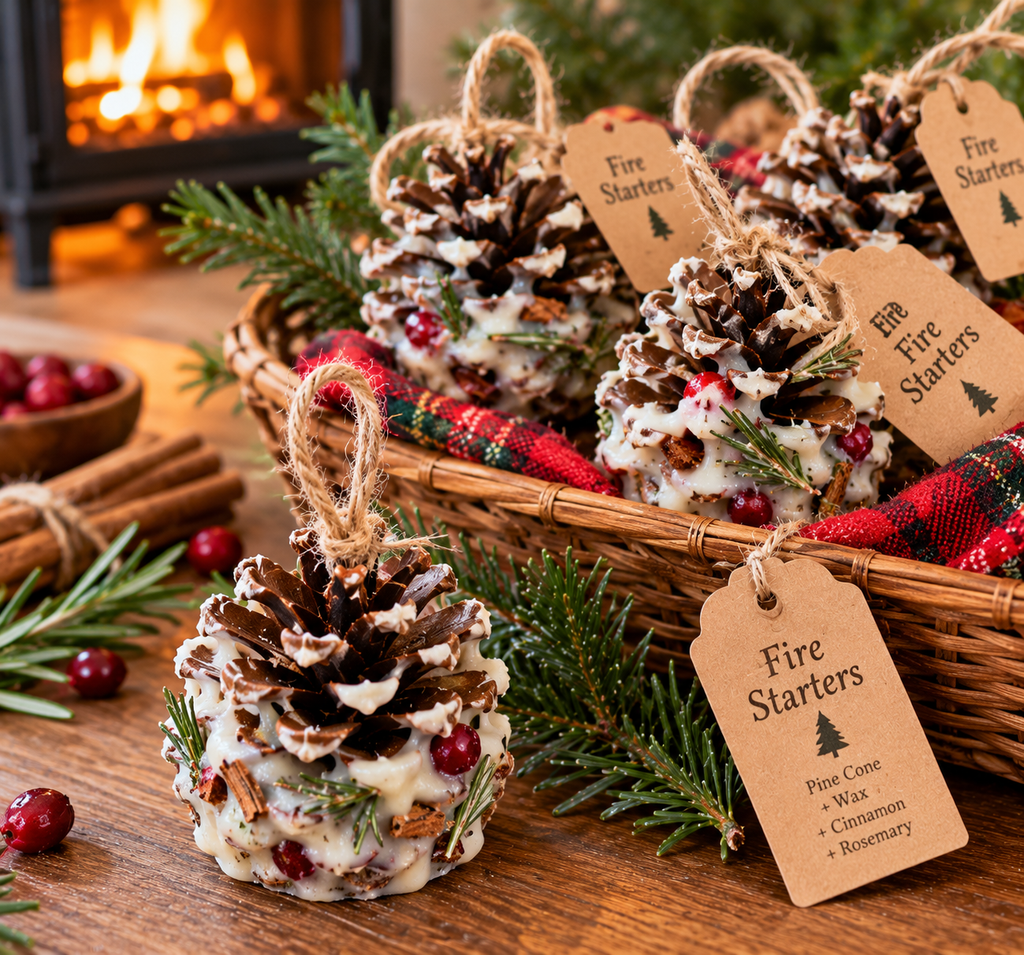
These are practical rather than decorative. Melt old candle wax or soy wax in a double boiler (never directly over a burner or in a microwave), dip a cone upside down, and set it on parchment to harden. Add a wick or a piece of jute through the center if you want an easier light. Use them only in fireplaces, wood stoves, fire pits, and campfires, never as indoor decor. Keep melted wax away from open flames and do not leave the pot unattended.
10. Pine Cone Roses

With a clamp, a pair of pruners or a fine-toothed saw, and eye protection, slice the base off a cone so the scales fall into a ring of layered petals. The cut end is the flower, and the scales fan out like a rose. Trim a few at different angles for varied shapes, then glue them to wreaths, picture frames, or a stem of floral wire. Always cut away from the body, and clamp the cone rather than holding it by hand. A cone is slippery and spiky.
11. Dip-Dyed and Ombre Cones
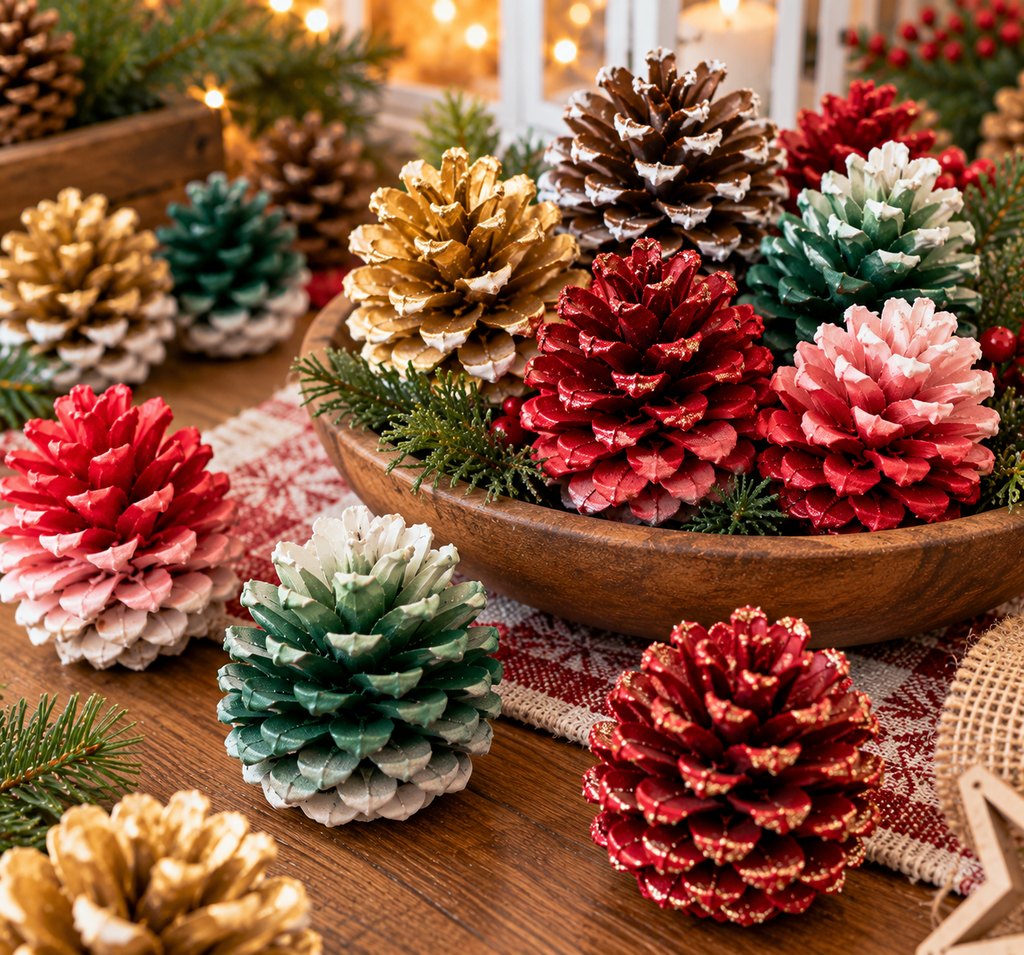
Hold the base and dip the tips into diluted acrylic paint or fabric dye, then dry them upside down on a wire rack. For an ombre look, dip once into pale paint, then again a little shallower into a deeper shade. These work in modern spaces where a plain brown cone feels too rustic. Matte black and warm brass tones read as more contemporary than glitter.
12. Scented Pine Cones

Cones soak up scent if they are fully dry. Place a few drops of cinnamon, orange, or pine oil in a sealed bag with the cones for a day or two. Two warnings: scent fades over weeks, not months, and many essential oils are toxic to cats and dogs, so keep scented cones out of homes with pets that chew or knock things over.
13. Air Plant Holders
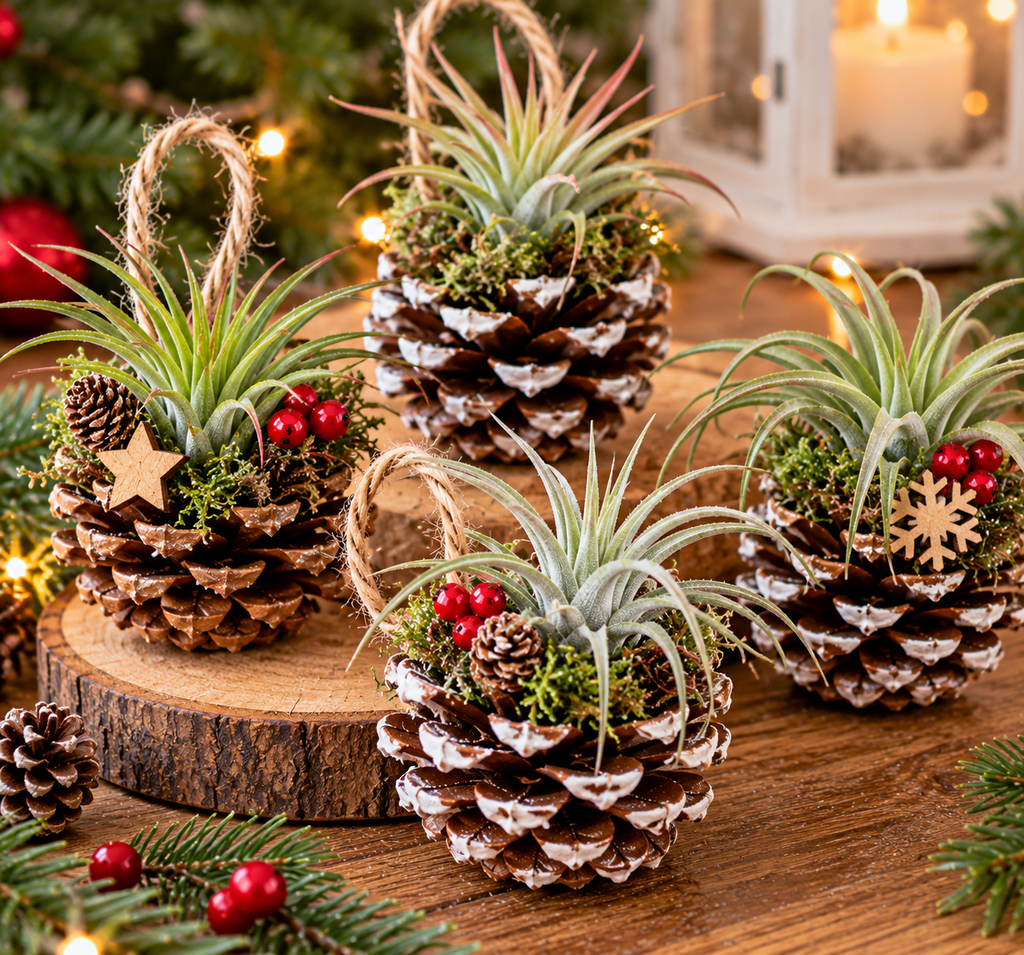
A small cone makes a natural cradle for an air plant. Wedge the plant between two scales or glue it into the open center. Remove the plant for watering, since a wet cone that stays damp can mold. This is also a good use for cones that opened lopsided or came out crooked.
14. Backyard Bird Feeders
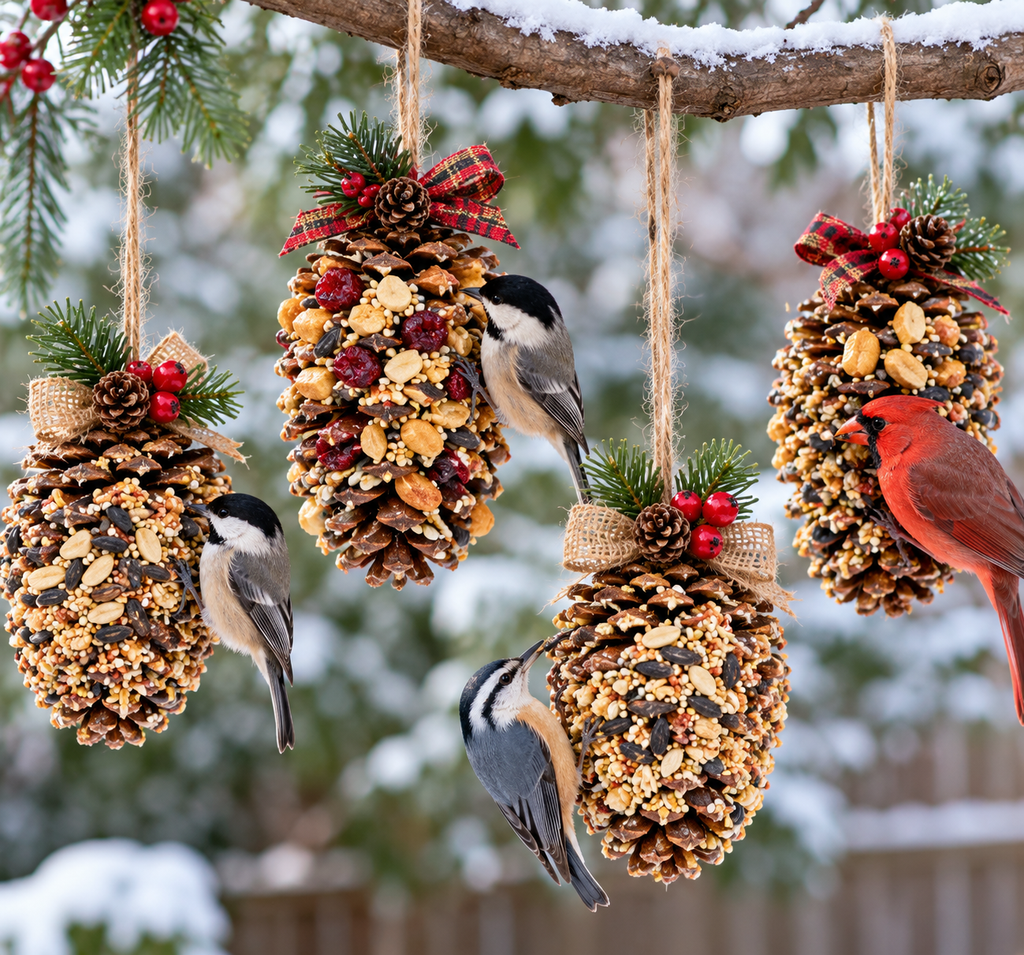
Tie a loop of twine around the top of a cone, pack the scales with a mix of plain, unsalted peanut butter or suet and seed, and hang it from a branch. Roll it in seed to finish. Use no added salt or sugar, and keep it in cool weather since fat softens and spoils in heat. Bring the feeder in or replace it if it grows moldy. Squirrels will go for it, so hang it on a thin branch away from the trunk.
15. Shadow Box Wall Art
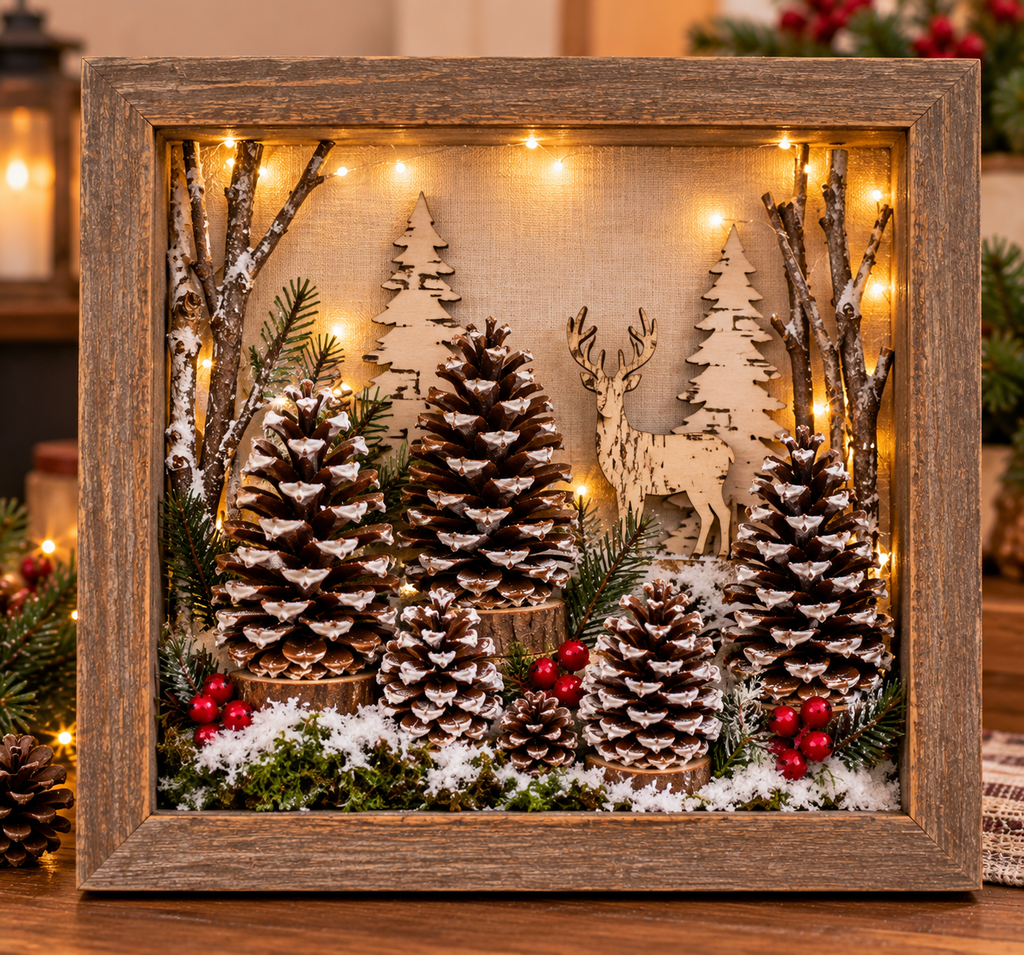
Arrange a graduated line of cones in a deep frame, with the smallest at one end and the largest at the other, and hot-glue each one to a linen or painted backing board. The simplicity of this works best with a muted background color. Seal the cones first with a clear spray, since moisture trapped in a glass-fronted frame can encourage mold.
Questions Readers Often Ask
Do store-bought cones need baking too? Bagged cones from craft stores are often already treated, but labels vary. If the packaging does not say they are cleaned or heat-treated, a short bake at 200°F is inexpensive insurance. Do not bake scented, dyed, or glittered cones.
Why will my cones not open? Cones that are still immature may never fully open. Cones that have simply absorbed moisture will reopen after drying in a warm, dry spot or a low oven.
Can I use pine cones outdoors? Yes, but they will reclose in damp weather unless sealed. A clear acrylic sealer helps for porch wreaths and outdoor displays.
Key Takeaways
Preparation decides how a pine cone craft turns out. Soak, dry, and bake the cones at a low temperature before anything gets glued or painted, and match the cone’s size to the project instead of forcing a large cone into a small design. For Christmas, keep real flames away from dry cones. For crafts involving children, move the heat and the glue to an adult’s hands. And if you only have time for one project from this list, the dipped-tip hanging ornament and the spider are the two that need the fewest supplies and the least skill.

About Syprose Kiche
Syprose Kiche is the creator and writer behind My Besuited Home, a practical home and garden website covering DIY projects, gardening, lawn care, landscaping, home improvement, and outdoor living. She focuses on turning everyday homeowner questions into clear, practical guides backed by careful research and useful real-world considerations.