
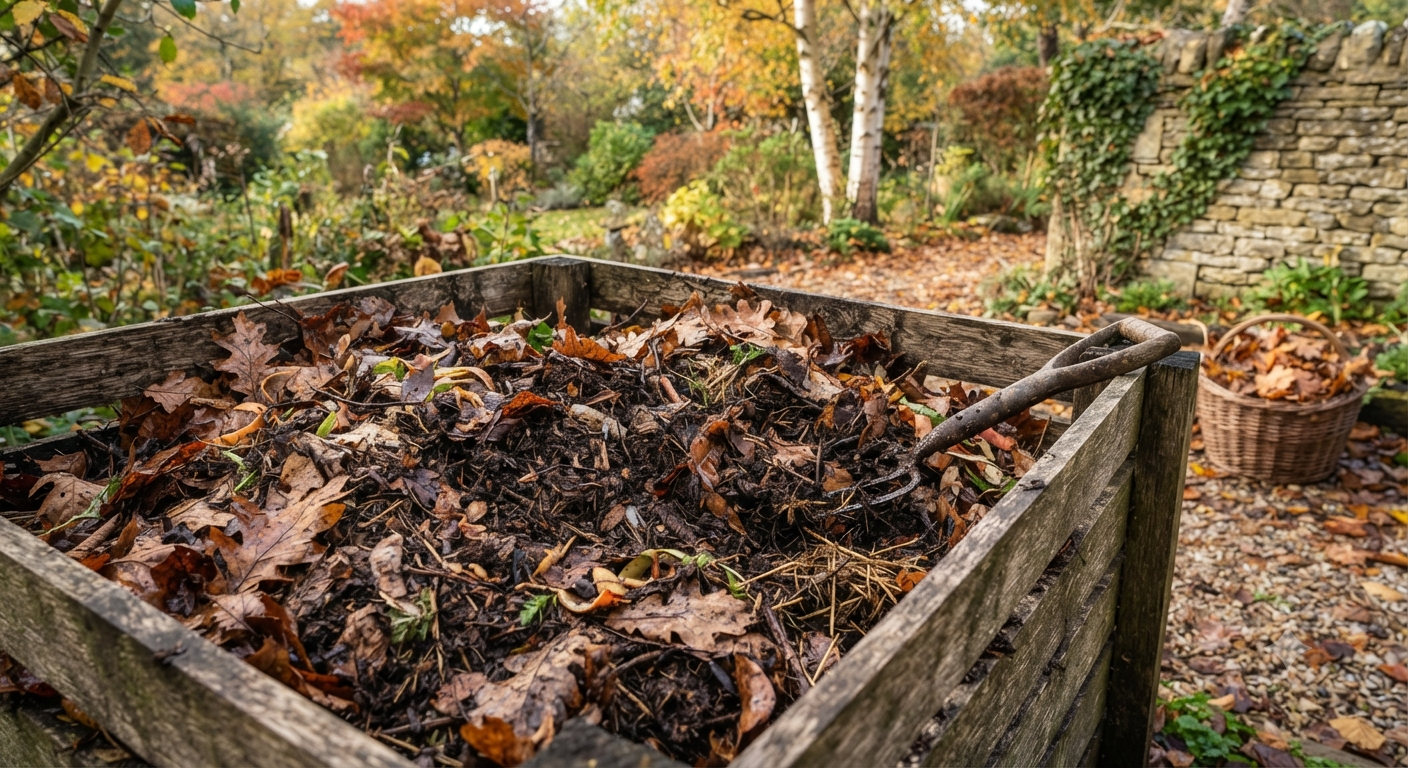
Every October, my neighbor Pete rakes his leaves into a giant pile, sticks a “compost” sign on it, and forgets about it until June. By then it’s a soggy, matted mess that still looks like leaves, just angrier and slightly moldy. He asks me every single year why his “compost” never actually turns into anything.
Here’s the problem: leaves alone are lazy. They’re mostly carbon, they mat down flat the second they get wet, and they can take a full two years to break down if you just pile them up and walk away. If you’ve raked your yard, bagged up a mountain of leaves, and wondered whether you’re supposed to just wait around until spring, I’ve got good news. You don’t have to wait that long, and you definitely don’t need a fancy tumbler bin or a science degree.
I’ve been composting leaves for over a decade, and I’ve killed enough piles through neglect to know exactly what makes the difference between fast, crumbly, black gold compost and a slimy leaf brick that smells like a swamp. Below are the four secrets that actually speed things up, plus one bonus trick that most guides skip entirely.
Why Leaves Alone Take So Long To Break Down
Before we get into the fixes, it helps to know why leaf piles stall out in the first place. Leaves are what composters call a “brown” material, meaning they’re high in carbon and low in nitrogen. Decomposition happens when microbes, fungi, and bugs eat through organic material, and those microbes need a mix of carbon and nitrogen to work efficiently, kind of like how your body needs both carbs and protein to function.
A pile of pure leaves is basically an all-carbon diet for your microbes. They can survive on it, but they multiply slowly and work at a crawl. On top of that, whole leaves are shaped like tiny shingles. When they get wet, they stack together and block airflow, which suffocates the very organisms you’re relying on to break them down.
That’s really the whole story behind slow leaf compost: not enough nitrogen, not enough surface area, and not enough air. Fix those three things and you can go from a two-year wait to finished compost in as little as two to four months.
Secret #1: Shred Your Leaves Before You Pile Them
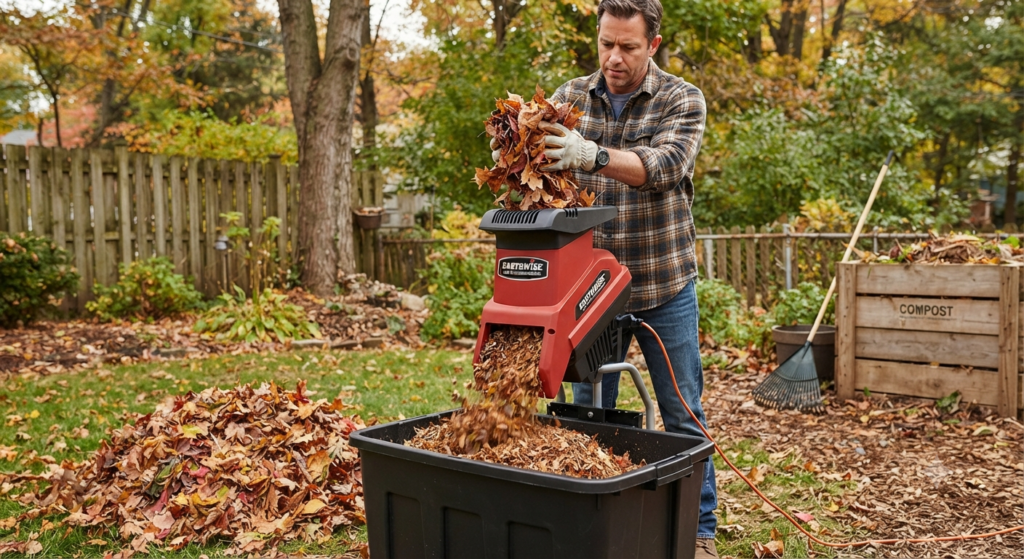
If I could only give you one tip, this would be it. Shredding your leaves is, hands down, the single biggest factor in how fast they break down.
Whole leaves have a waxy coating and a flat shape that resists decomposition. Shredded leaves have way more surface area exposed, which means more spots for microbes and fungi to attack at once. I’ve run the same pile both ways in my own backyard: whole leaves took almost 14 months to turn into something usable, while shredded leaves from the same tree were dark and crumbly in under 10 weeks.
You don’t need a wood chipper for this. A regular lawn mower with a bagging attachment works great. Just rake your leaves into a low, even layer on the lawn and mow over them a couple of times. If you don’t have a mower, a string trimmer inside a large trash can does the job too, just be careful and wear eye protection. Some folks swear by running leaves through a leaf blower set to “vacuum” mode, since most of those have a built-in mulching blade.
Aim for pieces roughly the size of a quarter or smaller. You’ll know you’ve shredded enough when the leaves have gone from crunchy whole shapes to a texture that looks more like confetti than foliage. This one step alone can cut your composting time by more than half, and it’s genuinely the easiest change to make.
Secret #2: Add Nitrogen To Balance The Carbon
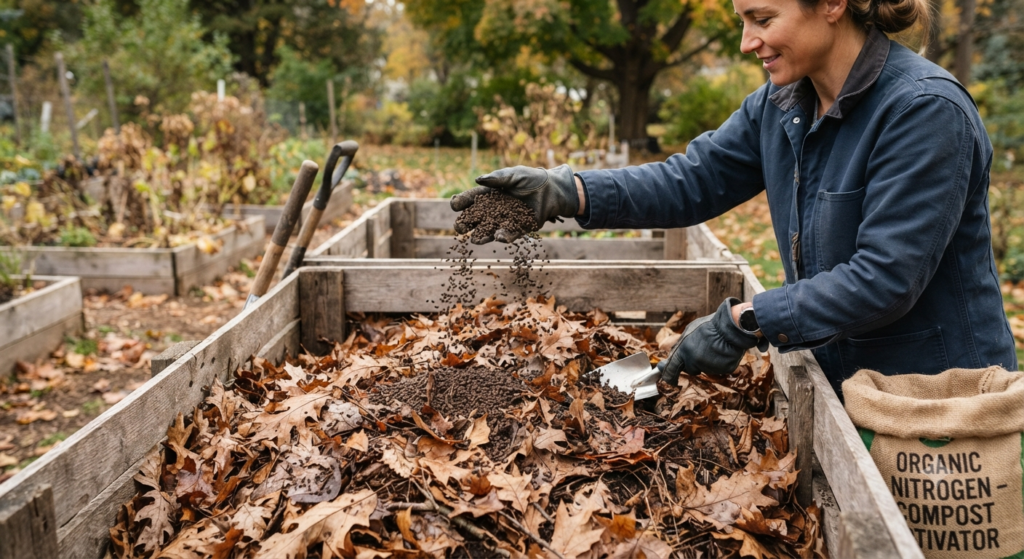
Remember how I said leaves are basically an all-carbon diet for your compost pile? This is where you fix that. Composting works best with a carbon-to-nitrogen ratio somewhere around 25 to 30 parts carbon to 1 part nitrogen. Dry leaves on their own usually sit closer to 60:1, which is way too carbon-heavy for fast decomposition.
To balance things out, you need to add “green” materials, which is just compost lingo for anything high in nitrogen. Good options include:
- Fresh grass clippings – These are probably sitting right there in your yard already, and they’re one of the fastest ways to heat up a pile.
- Coffee grounds – If you or a local coffee shop go through a lot of coffee, grounds are surprisingly nitrogen-rich and free for the asking.
- Vegetable scraps – Kitchen waste like carrot peels, apple cores, and lettuce ends work well mixed into the leaves.
- Manure from herbivores – Chicken, cow, rabbit, or horse manure (aged, not fresh) adds a serious nitrogen boost if you have access to it.
A good rule of thumb I use is roughly a 3-to-1 ratio of leaves to greens by volume. So for every three buckets of shredded leaves, mix in one bucket of grass clippings or kitchen scraps. You’ll notice the pile starts heating up within a few days if you’ve gotten the ratio right. If it stays cold and lifeless, add more greens.
One thing I want to clear up: you do not need to buy a bag of “compost starter” or “compost accelerator” from the garden center. I tried one of those products years ago expecting some kind of magic microbe formula, and honestly, a shovelful of finished compost or good garden soil mixed into your pile does the exact same job for free. Save your money.
A word of caution on grass clippings, since they’re the most common green material people reach for in fall. If you’ve treated your lawn with a weed-and-feed product recently, skip using those clippings in compost that will touch your vegetable garden. Herbicide residue can survive the composting process and stunt sensitive plants like tomatoes and peppers the following season. Untreated clippings are perfectly fine, I just like to mention this because it trips people up every year.
If you’re short on greens, kitchen scraps add up faster than you’d expect once you start saving them on purpose. I keep a small covered bucket under my sink specifically for coffee grounds, fruit peels, and vegetable trimmings during leaf season, and I dump it into the pile every couple of days. Just steer clear of meat, dairy, and oily foods, since those attract pests and slow everything down instead of speeding it up.
Secret #3: Keep The Pile Moist, Not Soggy
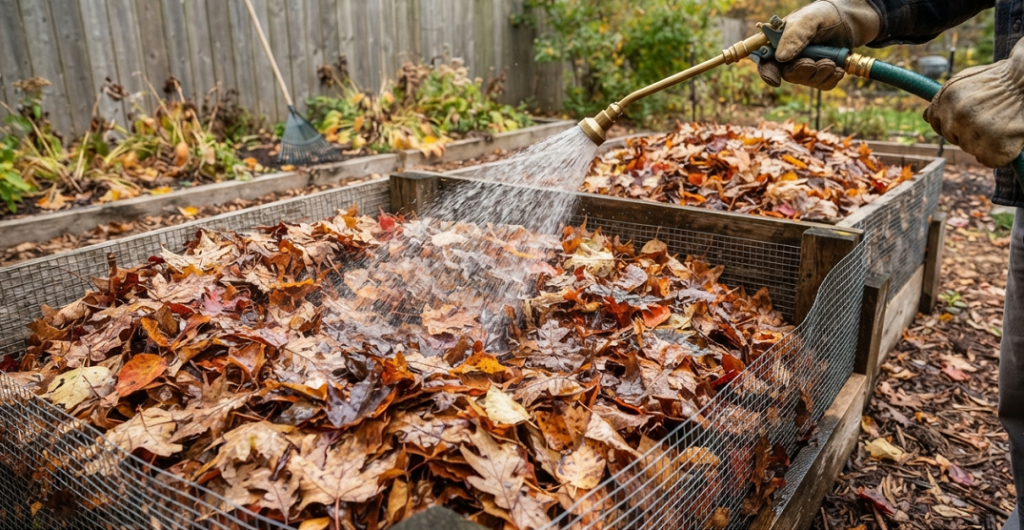
This is where most beginner composters mess up, usually in one of two opposite directions. Either the pile dries out completely and decomposition basically stops, or it gets so waterlogged that it turns anaerobic, meaning it runs out of oxygen and starts to smell like rotten eggs instead of earthy soil.
You’re aiming for a moisture level about like a wrung-out sponge. If you grab a handful of material from the middle of the pile and squeeze it, you should get maybe one or two drops of water out, not a stream, and not nothing at all.
Fall leaves are notoriously dry when you first rake them up, especially if it’s been a dry autumn where you live. Don’t be afraid to hose down each layer as you build your pile. I usually water mine every time I add a new batch of shredded leaves, just enough to dampen everything without creating puddles at the bottom.
On the flip side, if you get a few days of heavy rain and your pile turns into sludge, that’s a sign you need more dry, fluffy material mixed in, like extra shredded leaves or shredded cardboard, to soak up the excess moisture and open the pile back up.
A tarp thrown loosely over the top of the pile can help regulate this in either direction. It keeps heavy rain from oversaturating things while still letting you peek in and add water when needed. I keep an old blue tarp specifically for this job, and it’s saved more than one pile from turning into a swamp during a wet November.
Secret #4: Turn The Pile Regularly For Oxygen
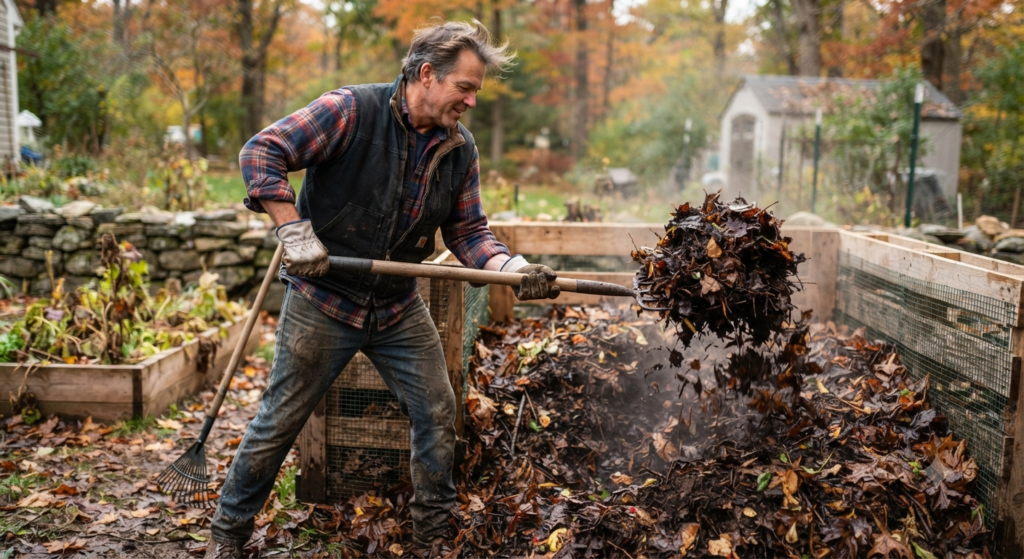
Oxygen is the piece people forget about most, and it’s honestly the reason Pete’s pile down the street never goes anywhere. The microbes that break down organic material fastest are aerobic, meaning they need oxygen to survive and multiply. A pile that never gets turned compacts under its own weight, air gets squeezed out, and the whole process slows to a crawl or shifts over to slower, smellier anaerobic decomposition instead.
Turning the pile mixes fresh oxygen back into the center, redistributes moisture, and brings undecomposed material from the edges into the hot, active core where the real breakdown happens. I turn mine with a simple pitchfork about once a week for the first month, then every couple of weeks after that as things slow down naturally.
If a pitchfork sounds like too much work, a compost aerator tool (it looks like a giant corkscrew) works well for smaller piles and takes a lot less effort. Some people build their pile inside a wire cylinder specifically so they can lift the whole cylinder off, set it down next to the pile, and fork the material back into it, which turns and relocates everything in one motion.
Here’s a trick I use to know when it’s time to turn: stick your hand or a thermometer into the center of the pile. An actively decomposing pile should feel noticeably warm, sometimes even hot, in the middle. Once that heat starts to fade, it usually means oxygen or moisture has run low, and it’s time to turn things again.
Pick The Right Size And Spot For Your Pile
Size matters more than most people realize when it comes to composting speed. A pile that’s too small won’t hold heat, and heat is what drives fast decomposition. I aim for a minimum of about 3 feet by 3 feet by 3 feet, which is roughly a cubic yard. Anything smaller than that struggles to build up the internal temperature needed for quick breakdown, especially once cold fall nights set in.
On the other end, don’t go much bigger than about 5 feet in any direction unless you’re turning it with equipment, since a bigger pile gets harder to turn by hand and the center can actually compact and go anaerobic under its own weight.
Location matters too. I put my pile in a spot with partial shade and decent drainage, away from downspouts that would flood it every time it rains. A patch of bare soil is better than concrete or a tarp underneath, since it lets worms and beneficial soil organisms migrate up into the pile on their own. If you’re working with a small yard, a simple wire bin about 3 feet across tucked behind the garage works just as well as a sprawling open pile.
Bonus Tip: Layer Your Materials Like A Lasagna
Quick side note here, because this one isn’t strictly necessary but it genuinely makes the whole process smoother. Instead of dumping shredded leaves and greens into one big mixed heap, try building your pile in alternating layers, roughly 4 to 6 inches of shredded leaves, then 1 to 2 inches of greens, then repeat.
This “lasagna method” gives you a more even carbon-to-nitrogen distribution throughout the pile instead of pockets of pure leaves sitting next to pockets of pure grass clippings. When you turn the pile the first time, those layers naturally mix together, and you’ll usually see faster, more even heating as a result.
I don’t always bother with this step if I’m in a hurry, honestly. But on the piles where I’ve taken the extra ten minutes to layer things out, I’ve noticed the compost finishes noticeably more evenly, with fewer dry, undecomposed clumps left over at the end.
Real Talk: What Can Go Wrong (And What’s Not Worth The Effort)
Let’s be honest about the parts nobody puts on the seed packet.
- Whole leaves left unshredded are basically a waste of a season. If you skip the shredding step because you’re short on time, just know you’re signing up for a much longer wait. I’ve seen whole-leaf piles still recognizable as leaves after 18 months. If you don’t have time to shred, at least be honest with yourself that you’re making leaf mold, not compost, and that’s a totally different (and much slower) process.
- Certain leaves are more trouble than they’re worth. Black walnut leaves contain a compound called juglone that can suppress the growth of other plants, so I don’t recommend composting them unless you’re very patient and let the pile fully mature for over a year. Diseased leaves, like ones covered in powdery mildew or leaf spot fungus, should go in the trash or a municipal green bin instead, since most backyard piles don’t get hot enough to kill off plant diseases.
- Buying a fancy compost tumbler isn’t necessary for leaves specifically. I know tumblers look great on Pinterest, all shiny and low-effort, but they’re honestly a poor match for a leaf-heavy compost pile. Leaves are bulky, and tumblers have limited volume, so you end up needing several batches to process what one simple wire bin could handle at once. I’ve found that a basic wire cylinder or even just a free-standing pile does the job just as well for a fraction of the cost.
- A pile that smells bad means something’s off, not that composting is inherently smelly. A properly balanced, well-aerated compost pile should smell like damp earth or a forest floor, not rotten eggs or ammonia. If yours stinks, it’s almost always too wet, too compacted, or has too much nitrogen relative to carbon. Add dry shredded leaves and turn it, and the smell usually clears up within a few days.
- Don’t expect finished compost overnight, even with all four secrets applied. Even with perfect shredding, moisture, nitrogen, and turning, you’re still looking at roughly 6 to 10 weeks for hot, actively managed compost, or 3 to 4 months for a more relaxed schedule. Anyone promising finished compost in “just one week” is either exaggerating or talking about a tiny volume that doesn’t reflect a real backyard pile.
How To Tell When Your Leaf Compost Is Actually Done
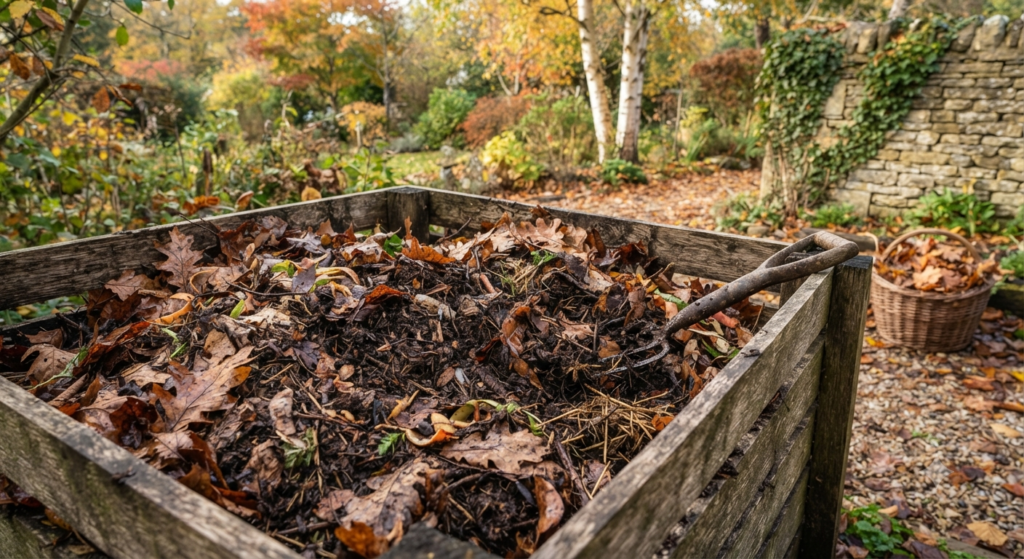
You’ll know your compost is finished when it no longer looks or smells like leaves at all. Finished leaf compost should be dark brown to black, crumbly, and smell earthy and sweet, almost like walking through the woods after rain. You shouldn’t be able to identify individual leaf shapes anymore, and the pile should have shrunk down significantly from its original size, sometimes by half or more.
If you can still see recognizable leaf outlines or the material still feels stiff and papery, give it more time and keep turning it. It’s better to wait an extra couple of weeks than to spread half-finished compost on your garden beds, since unfinished compost can actually rob nitrogen from your soil as it continues to decompose.
Wrapping Up: Turn This Fall’s Mess Into Next Spring’s Best Soil
Composting leaves fast really comes down to giving your microbes what they need: smaller pieces to work with, enough nitrogen to balance the carbon, the right amount of moisture, and plenty of oxygen from regular turning. Skip any one of those and you’ll end up with something closer to Pete’s forgotten leaf pile than the rich, crumbly compost you’re after.
The parting wisdom I’d leave you with is this: don’t overthink it. You don’t need special equipment, expensive additives, or a chemistry background. You need a mower, a hose, a pitchfork, and a little patience over the next couple of months.
What about you? Have you tried composting leaves before, and did it work out, or did you end up with a leaf brick like Pete’s? Drop your questions or your own tips in the comments below. I’d love to hear what’s worked in your yard this fall.

About Syprose Kiche
Syprose Kiche is the creator and writer behind My Besuited Home, a practical home and garden website covering DIY projects, gardening, lawn care, landscaping, home improvement, and outdoor living. She focuses on turning everyday homeowner questions into clear, practical guides backed by careful research and useful real-world considerations.