
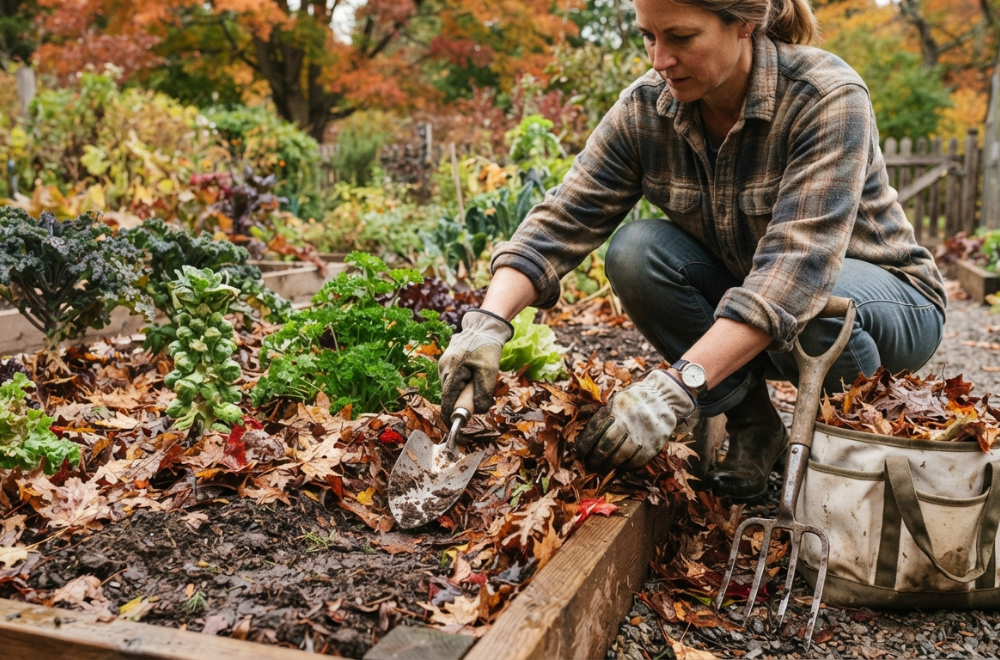
Ever watch a sudden autumn frost turn your prized perennial bed into limp, blackened toast overnight? I have, and it still stings.
The year my favorite coneflowers and bleeding hearts turned to mush because I waited until November to think about insulation was the year I finally smartened up. Fall mulching isn’t just about making your garden beds look tidy for the neighbors; it’s about wrapping your soil in a warm winter coat before Jack Frost decides to punch hard and early.
If you want to keep your plants alive through freezing winter nights, you need a strategy that actually works. Let’s skip the generic textbook fluff and get right into how to protect your plant roots the right way.
Why Fall Mulching Matters for Perennial Roots
Most folks think mulch is just there to block weeds or make the yard look pretty. While it does both, its main job in autumn is thermal regulation.
Soil without mulch acts like an open window in January. It freezes deep, thaws out during a random warm spell, and then freezes hard again. That constant expansion and contraction is called “frost heaving,” and it will literally push your young perennials right out of the soil by their roots. I lost an entire row of expensive strawberries to this exact phenomenon back when I thought straw was just decorative bedding for farm animals.
Applying a proper layer of mulch creates a stable thermal blanket. It doesn’t keep the ground warm like a heated blanket; rather, it keeps the ground cold consistently. By preventing rapid temperature swings, it tricks your plants into staying safely dormant instead of waking up prematurely during a freak warm week in December.
Furthermore, autumn rains can batter bare soil, washing away top nutrients and compacting the earth into concrete. A good layer of organic cover intercepts those heavy raindrops, keeping the soil structure loose, airy, and packed with moisture until spring rolls back around.
Best Time to Apply Fall Mulch
Timing is everything in gardening, and messing this up can cause more harm than good. If you mulch too early, you trap summer heat and create a cozy, five-star resort for voles, mice, and overwintering pests to chew on your dormant stems.
I made the mistake of mulching in early September during an unseasonably warm autumn a few years back. By October, mice had built a bustling metropolis right underneath my ornamental grasses, completely stripping the bark off the base of my favorite shrubs.
You want to wait until after the first hard freeze—the kind where the top inch or two of soil actually crusts over and daytime temperatures stay consistently chilly. This tells your perennials that winter has officially arrived and it is safe to sleep.
Checking your local frost dates is a smart move, but Mother Nature always has the final say. Watch your weather app: once the overnight lows drop into the upper twenties for a few consecutive nights and your annuals have given up the ghost, grab your wheelbarrow.
Choosing the Right Organic Materials for Winter
Walk into any big-box home improvement center, and you will see dozens of options lining the shelves, from neon-dyed red wood chips to rubber pellets. Let me save you some cash and a headache: most of those commercial options are garbage for perennial root protection.
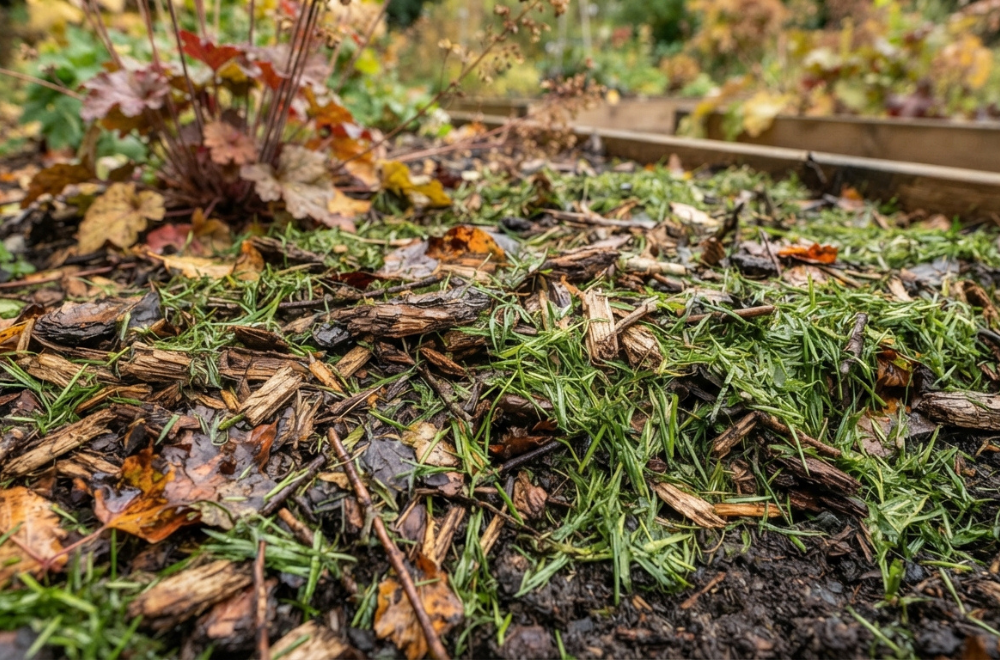
Shredded hardwood bark or leaf mold are absolute game-changers for autumn garden care. They knit together loosely, allowing air and water to pass through while trapping just enough heat to shield tender root systems.
Avoid heavy, flat sheets of whole leaves like oak or maple if you don’t shred them first. Left whole, they mat down into a slimy, waterproof blanket that suffocates your soil and blocks vital oxygen.
Straw is another favorite of mine for vegetable beds and herbaceous perennials, but make sure you buy “weed-seed-free” straw, or you’ll spend your entire spring pulling out rogue wheat stalks. As for those dyed rubber chips? Leave them at the store. They do nothing for soil health, leach chemicals into your beds, and trap too much summer heat.
Step-by-Step DIY Fall Mulching Guide
Doing this job right takes a little bit of sweat, but your garden will reward you tenfold when spring arrives. Here is the exact routine I use in my own yard every single autumn.
1. Clean Up Debris and Diseased Foliage
Before you drop a single shovelful of mulch, clear out the dead weight. Snip back diseased perennial foliage, remove rotting fruit, and clear away heavy weed patches. Leaving diseased plant material on the soil surface is practically sending out an engraved invitation for fungal spores to overwinter and attack your plants next year. Toss the healthy material into your compost pile, but bag up and throw away anything plagued by powdery mildew or rust.
2. Water Your Beds Deeply
People often forget this step because autumn air feels crisp and damp, but your soil might be bone dry underneath. Give your perennial beds a deep, thorough soaking before you insulate them. Dry soil freezes much faster and deeper than moist soil. A well-hydrated root system can handle sub-zero temperatures far better than a parched one.
3. Calculate Your Ideal Depth
Do not pile your mulch an extra foot high thinking more is better. Piling heavy organic matter right against the stems or trunks of your plants is a classic rookie mistake—one I am guilty of making on my favorite hydrangeas. Keep the mulch about two to three inches away from the actual stems to prevent crown rot and pest infestations. For overall depth, aim for a consistent two to three inches across the bed.
4. Spread and Rake Smooth
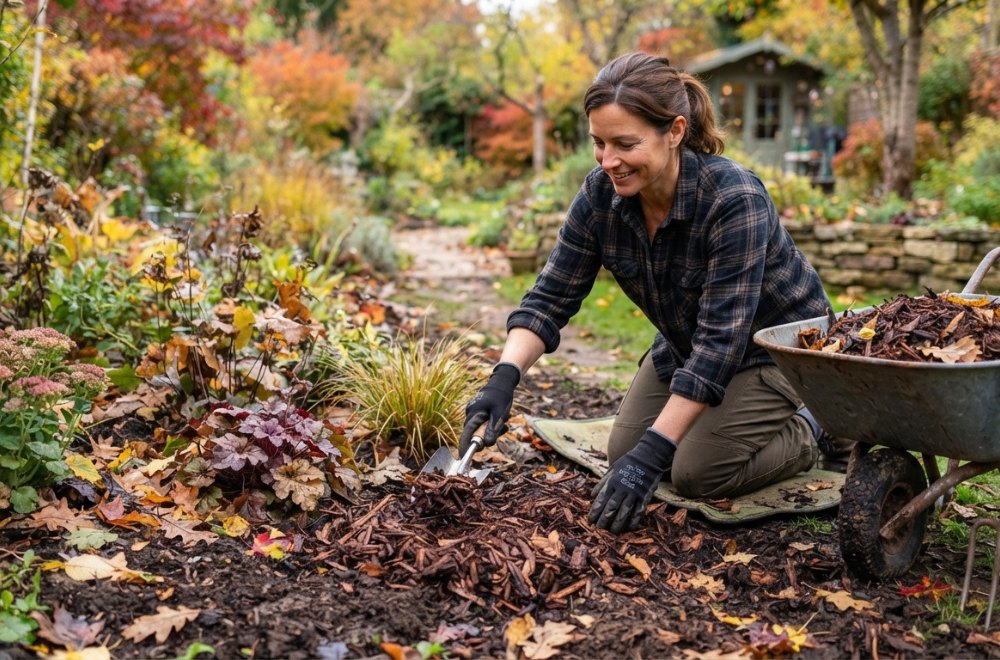
Distribute your chosen material evenly across the bed using a garden rake or your bare hands. Break up any clumps so the layer remains uniform and airy. If you are using shredded leaves, mix them with a little bit of compost to add an extra nutrient punch that will slowly break down all winter long.
What Can Go Wrong: The Real Talk Section
Let’s be honest: even with the best intentions, things can go sideways in the garden. Here is what you need to watch out for so you don’t accidentally wreck your hard work.
The biggest hazard is volcano mulching. Piling organic matter up around plant stems like a mountain peak traps moisture directly against the bark. This invites wood-boring insects, collar rot, and hungry rodents looking for a winter snack. Always pull the material back a few inches from the base, creating a little moat or crater around each plant stem.
Another common trap is buying cheap, contaminated municipal mulch. A neighbor of mine grabbed free wood chips from a town cleanup site last fall, and by spring, his entire perennial border was overrun with aggressive invasive weed seeds and stubborn fungal pathogens. If you aren’t 100% sure where the material came from, spend the few extra dollars on bagged, certified weed-free product or make your own from your yard waste.
Finally, don’t assume your job is done once the snow flies. Throughout the winter, heavy winds can blow lightweight materials away from exposed corners of your yard. Take a quick walk around your property on mild winter days and redistribute any bare spots you find.
Parting Wisdom
Protecting your garden against winter isn’t about coddling your plants; it’s about working with nature to give them a fighting chance against brutal seasonal shifts. Take your time, get your hands dirty, and remember that a little prep work in November saves you hours of replanting in May.
What is your absolute go-to material for winter garden protection, and have you ever made a mulch disaster mistake like I did? Drop a comment below with your thoughts or questions, and let’s talk dirt!

About Syprose Kiche
Syprose Kiche is the creator and writer behind My Besuited Home, a practical home and garden website covering DIY projects, gardening, lawn care, landscaping, home improvement, and outdoor living. She focuses on turning everyday homeowner questions into clear, practical guides backed by careful research and useful real-world considerations.