
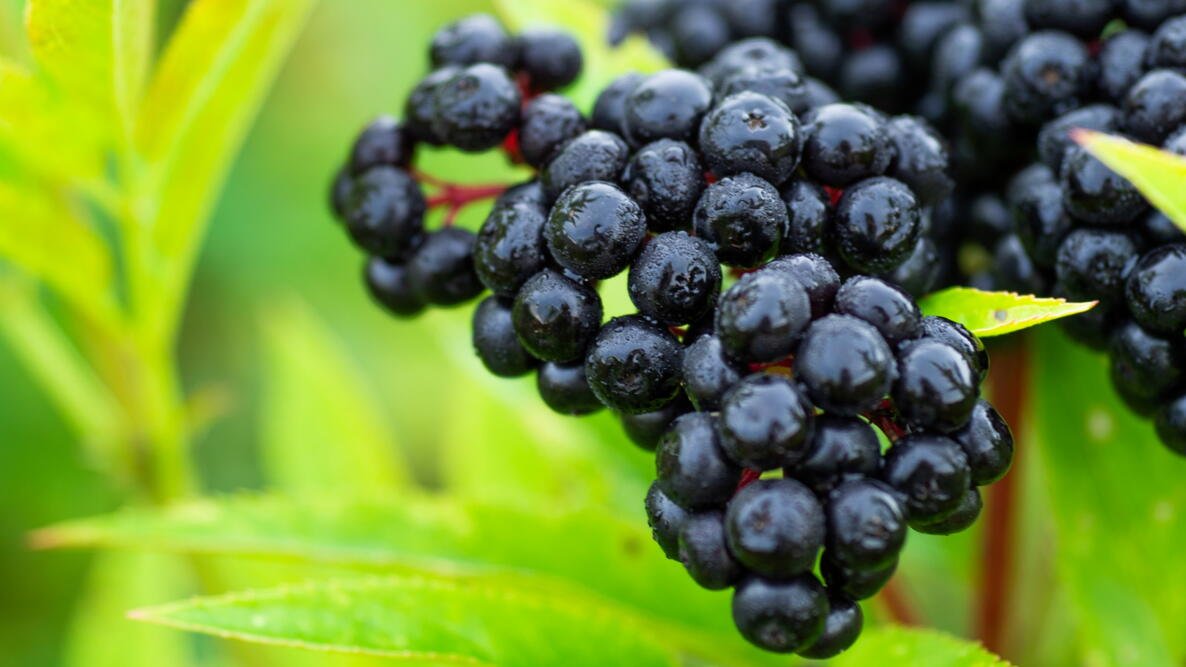
Your elderberry bush is either drowning, starving for sun, or sulking in a spot it hates. I can usually tell within about ten seconds of walking up to a struggling plant which of these three problems it has. Elderberries are tough, forgiving shrubs, but they are not miracle workers. Stick one in the wrong corner of your yard and you will spend three years wondering why you’re getting more sad, shriveled clusters than actual berries.
I’ve planted elderberries in a floodplain garden, a bone-dry hillside patch, and a shady spot next to a fence line that I was warned not to use. One of those spots worked beautifully. The other two taught me some expensive lessons about drainage and sunlight. This guide is everything I wish someone had told me before I put a single shovel in the ground.
Why Location Matters More Than Variety for Elderberries
People obsess over picking the “best” elderberry variety. York versus Adams versus Bob Gordon. Honestly, the cultivar matters less than you think. What matters more is whether you’ve picked a spot that matches what elderberries actually want in the wild.
Elderberries (Sambucus canadensis and Sambucus nigra, depending on where you live) are native to wet meadows, stream banks, and forest edges across North America and Europe. They evolved to handle soggy soil that would kill most other shrubs. That single fact tells you almost everything about where to plant them.
If you give an elderberry a site that mimics its natural habitat, it will reward you with wild growth and heavy fruit production. Put it somewhere bone dry and sun-baked with compacted clay, and you’ll get a stunted, stressed plant no matter how expensive the variety was.
Best Growing Conditions for Elderberry Bushes
Full Sun to Partial Shade
Elderberries want at least six hours of direct sunlight a day for the best fruit production. I’ve grown them in partial shade too, and they survive just fine, but the berry clusters get noticeably smaller and the plant gets leggy, reaching for light instead of bushing out.
If you’re planting for fruit and not just as an ornamental hedge, chase the sun. South-facing slopes or open areas along a property line tend to work best. My most productive bush sits along a south-facing fence where it gets sun from about 8 a.m. until sunset.
Partial shade isn’t a dealbreaker if that’s all you’ve got. Four to five hours of dappled light will still get you a decent harvest. Just don’t expect the same volume you’d get from a plant baking in full sun all day.
Moist, Well-Drained Soil
This is where most people mess it up, and I mean that. Elderberries like consistently moist soil, but “moist” and “waterlogged” are two very different things. A spot that floods for weeks at a time and never drains will eventually rot the roots, even on a plant that tolerates wet feet better than almost anything else in your yard.
The sweet spot is soil that stays damp but drains within a day or two after heavy rain. Low areas near a downspout, the edge of a rain garden, or the low point of a slope where water naturally collects are all excellent candidates. Stream banks and pond edges are basically elderberry paradise if you happen to have one on your property.
If your soil is heavy clay that holds water for a week straight, amend it with compost before planting or consider building a slightly raised bed. I made the mistake of planting straight into unamended clay once, and that bush sat there sulking for two full seasons before it finally took off.
Soil pH and Fertility
Elderberries aren’t picky about pH within a fairly wide range, roughly 5.5 to 6.5, which is slightly acidic. Most garden soil falls somewhere in that zone already, so you probably don’t need to test and adjust unless you know your soil runs heavily alkaline.
They do appreciate rich, organic soil. A yearly top-dressing of compost or aged manure around the base of the plant (not touching the stems) will do more for your harvest than any fancy fertilizer blend. I top-dress mine every spring right as the buds start to swell, and the difference in growth compared to years I skipped it is obvious.
Best Places to Plant Elderberries in Your Yard
Near Water Sources
If you have a low spot that collects runoff, a spot near a pond, or a seasonal creek that runs through your property, that is prime elderberry real estate. These plants were built for exactly this kind of environment, and they will out-produce anything you plant in a drier corner of the yard.
I planted three elderberry bushes along the edge of a drainage ditch that runs behind my property, and they’ve become the most productive plants I own without me doing much of anything besides an annual prune. Sun plus consistent moisture is the winning combination, and water sources give you the moisture part for free.
Property Lines and Windbreaks
Elderberries grow into large, dense shrubs, often 6 to 12 feet tall and just as wide, which makes them excellent for screening an unattractive view or blocking wind. Planting them along a fence line or property boundary gives them room to spread without crowding out other garden beds.
I use mine along the back fence, and it does double duty as a privacy screen and a bird magnet during harvest season. The birds will absolutely compete with you for the berries, so plan on either netting your bushes or planting enough that you don’t mind sharing.
Rain Gardens and Bioswales
If you’re already building or planning a rain garden to manage stormwater runoff, elderberries are one of the best shrubs you can add to it. They tolerate the wet-then-dry cycle these gardens go through better than most native shrub options, and they add height and structure to what’s often a low-growing planting scheme.
This is one of those situations where the plant and the purpose line up perfectly. You need something in the rain garden that can handle standing water after a storm and then dry conditions a week later. Elderberry does both without complaint.
Along Woodland Edges
If you’ve got a wooded area or tree line on your property, the edge where sun meets shade is another strong option. Elderberries are naturally an understory or edge-forest species, so they’re genetically wired to handle that transition zone between full sun and dappled shade.
Just make sure the spot still gets a solid stretch of direct sun for at least part of the day. Planting too deep into full shade under a dense tree canopy will get you a plant that survives but barely fruits.
Where NOT to Plant Elderberries
Dry, Sandy Soil With No Irrigation Plan
I put an elderberry on a hillside with sandy, fast-draining soil once, thinking it would be low-maintenance since I’d read they’re “tough plants.” That bush needed hand-watering three times a week all summer just to stay alive, let alone produce fruit. Tough doesn’t mean drought-tolerant. Elderberries are tough in the sense that they bounce back from wet conditions and cold winters, not in the sense that they’ll shrug off a dry summer.
If the only spot you have is dry and sandy, you can still make it work, but commit to a drip irrigation line or a consistent watering schedule. Skipping that step is setting yourself up for a disappointing harvest.
Right Next to Foundations or Septic Lines
Elderberry root systems spread aggressively, and the plants themselves get big fast. Planting one within a few feet of a house foundation, septic tank, or drain field is asking for trouble down the road. Give them at least 6 to 8 feet of clearance from any structure or underground utility line.
Deep, Dense Shade
I mentioned woodland edges as a good option, but full, dense shade under a thick tree canopy is a different story entirely. I tried tucking a bush under a mature oak once, thinking it would appreciate the “forest-like” setting. It grew tall and spindly, chasing whatever light it could find, and gave me maybe a dozen berries total that first year. Elderberries need real, direct sunlight for a meaningful chunk of the day. Deep shade just isn’t going to cut it.
How Far Apart to Space Elderberry Bushes
Give each elderberry bush 6 to 8 feet of space in every direction. They spread through suckering, meaning new shoots pop up from the root system beyond the main stem, so what starts as a single small shrub can become a thicket within a few years if you don’t manage it.
If you’re planting for maximum fruit production, most growers recommend planting at least two different varieties near each other. Elderberries produce better with cross-pollination, and having two cultivars close by (within about 50 feet) noticeably improves fruit set compared to a single lonely bush.
Best Companion Plants for Elderberry Bushes
Elderberries don’t need companions to survive, but the right neighbors can make your whole planting area more productive and easier to manage.
Comfrey is my favorite pairing. It’s a deep-rooted plant that pulls nutrients up from way down in the soil, and when you chop the leaves and drop them around the base of the elderberry as mulch, it breaks down fast and feeds the roots. I started doing this a few years ago and noticed thicker growth the following season.
Native wildflowers like echinacea, black-eyed Susan, and bee balm work well planted at the base or along the drip line. They attract pollinators, which helps with fruit set, and they don’t compete much for water since elderberries are already tolerant of the moist conditions these flowers also enjoy.
Avoid planting elderberries too close to walnut trees. Walnuts release a compound called juglone that stunts or kills a lot of other plants, and while elderberry has some tolerance, I wouldn’t push my luck by planting one directly under a black walnut canopy.
How Long Until an Elderberry Bush Produces Fruit
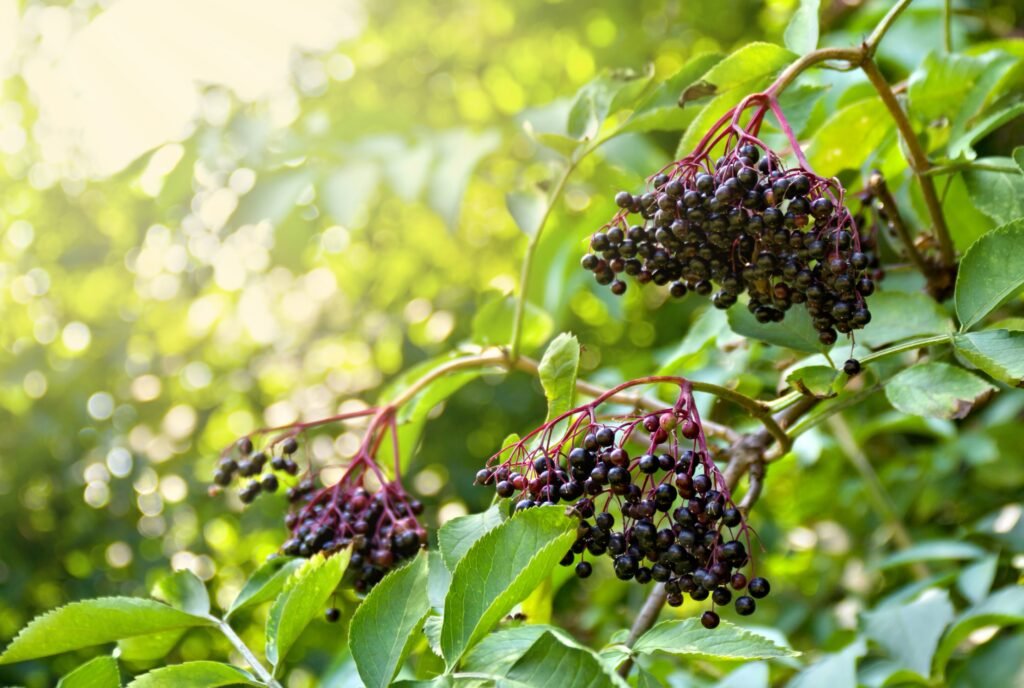
This is one of the most common questions I get, so I’ll answer it here instead of making you dig through a separate article. Most elderberry bushes need two to three years after planting before they start producing a meaningful harvest. You might see a small handful of berries in year one, but don’t expect real volume until the root system and canopy have had time to establish.
Bare-root plants tend to take a little longer to hit their stride than potted nursery stock, simply because they’re starting with less established roots. Either way, patience matters here. I’ve seen people rip out a “disappointing” two-year-old bush right before it was about to take off, which is a shame, because year three or four is usually when things get exciting.
Once established, a mature elderberry bush can produce anywhere from 12 to 15 pounds of berries per season, sometimes more if conditions are ideal and you’ve got good cross-pollination happening between varieties.
Preparing the Planting Site the Right Way
Before you even think about digging a hole, spend some time watching how water moves through your chosen spot. Walk out there during or right after a heavy rain and see where the water pools and how long it takes to soak in. This five-minute observation will tell you more than any soil test kit.
Dig a hole roughly twice as wide as the root ball but no deeper than the root ball itself. Planting too deep is a surprisingly common mistake, and it can suffocate the crown of the plant and lead to rot. Mix compost into the native soil you dug out rather than replacing it entirely with bagged garden soil, since a total soil swap can actually discourage roots from spreading out into the surrounding native ground.
Water thoroughly right after planting, then keep the soil consistently moist for the first full growing season while the roots establish. A thick layer of mulch, 2 to 3 inches deep and kept a few inches away from the stem itself, helps retain that moisture and keeps weeds down.
Real Talk: What Can Go Wrong With Elderberries
Elderberries have a reputation as a “plant it and forget it” shrub, and while there’s some truth to that, it’s not the whole picture. Here’s where things actually go sideways.
- Root rot in poorly drained heavy clay. Even though elderberries love moisture, standing water that never drains at all will kill the roots. There’s a difference between soil that stays damp and soil that’s basically a swamp year-round with no drainage. If your only available spot floods and stays flooded for weeks, you’ll need to build up a raised area before planting.
- Birds will beat you to the harvest. I mentioned this earlier, but it deserves its own callout. Robins, starlings, and cedar waxwings will strip a bush clean in a day or two if you’re not paying attention. Bird netting works, but it’s a hassle to install on a 10-foot shrub. Some years I just accept the loss and plant enough bushes that there’s plenty for everyone.
- Suckering can get out of hand fast. If you don’t want a full elderberry thicket taking over that corner of the yard, you need to prune out unwanted suckers every year. Skip this for two or three seasons and you’ll be renting a stump grinder to get your yard back.
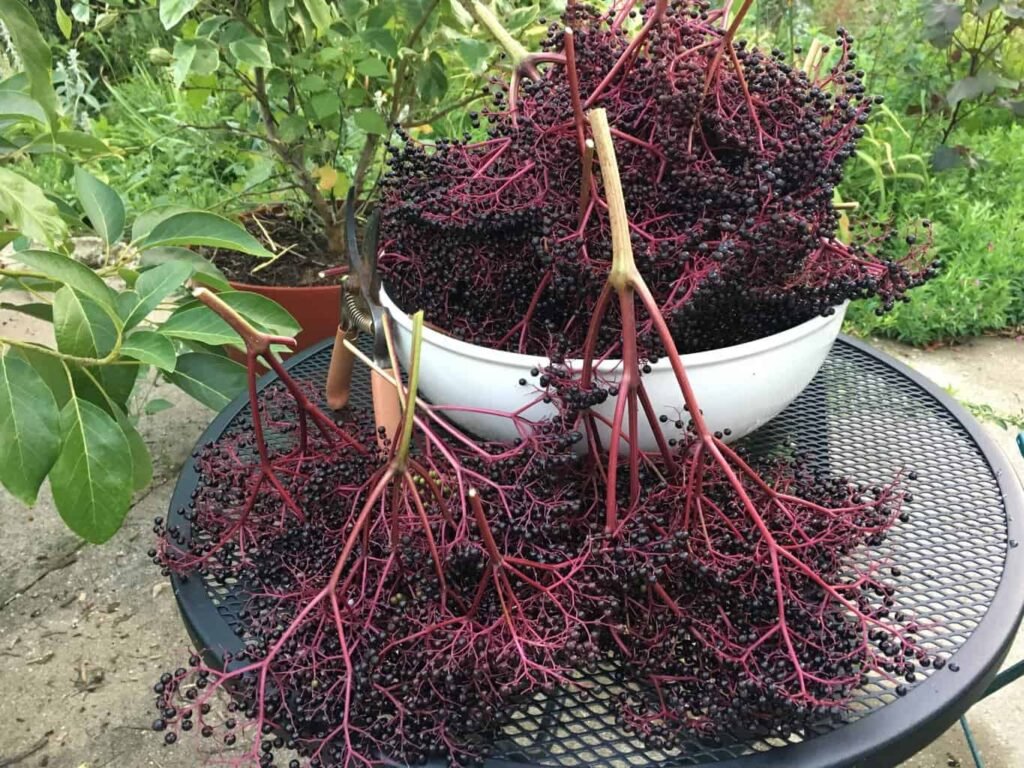
- Toxicity of raw berries and other plant parts. This one is important enough that I’m not burying it. Raw elderberries, along with the leaves, stems, bark, and unripe berries, contain compounds that can cause nausea and digestive upset. The berries need to be fully ripe and cooked before eating or processing into syrup, jam, or juice. Don’t let kids or pets snack on them straight off the bush.
- It’s honestly not worth planting just one bush. A single elderberry, isolated with no partner variety nearby, will still grow and might even produce a modest crop through self-pollination, but you’re leaving a lot of potential harvest on the table. If you’ve got the space, plant two different cultivars from the start rather than adding a second one later as an afterthought.
Quick side note: if you’re gardening in a small urban lot with no low-lying wet area, don’t count yourself out. A large container with excellent drainage holes, placed in full sun and watered consistently, can work as a stopgap. It won’t match the production of an in-ground bush in ideal conditions, but it beats not growing elderberries at all.
Elderberry Growing Conditions by Region
Where you live changes a few of these recommendations slightly.
In hot, humid climates like the southeastern US, elderberries appreciate a little afternoon shade to avoid leaf scorch during the worst of summer. Morning sun with some relief in the late afternoon works well.
In cooler northern climates, chase every bit of sun you can get, since the growing season is shorter and the plant needs to pack in as much growth and fruiting as possible before frost.
In arid western regions, irrigation isn’t optional. Even a spot near a water source will likely need supplemental watering during the dry summer months. Drip irrigation on a timer takes the guesswork out of it.
Final Thoughts on Picking the Right Elderberry Spot
If I had to boil this whole guide down to one sentence, it’s this: find the wettest sunny spot on your property and put your elderberry there. That’s about 90% of the battle. The rest is just patience, an annual prune, and a plan for keeping the birds from eating your entire harvest before you get to it.
Elderberries are forgiving plants once they’re established, but that first year or two of getting the location right sets the tone for everything that follows. Don’t rush the decision just to get something in the ground.
Where are you thinking about planting your elderberry bush, and what’s your soil like there? Drop a comment below and I’ll help you figure out if it’s a good spot before you commit a shovel to it.

About Syprose Kiche
Syprose Kiche is the creator and writer behind My Besuited Home, a practical home and garden website covering DIY projects, gardening, lawn care, landscaping, home improvement, and outdoor living. She focuses on turning everyday homeowner questions into clear, practical guides backed by careful research and useful real-world considerations.