
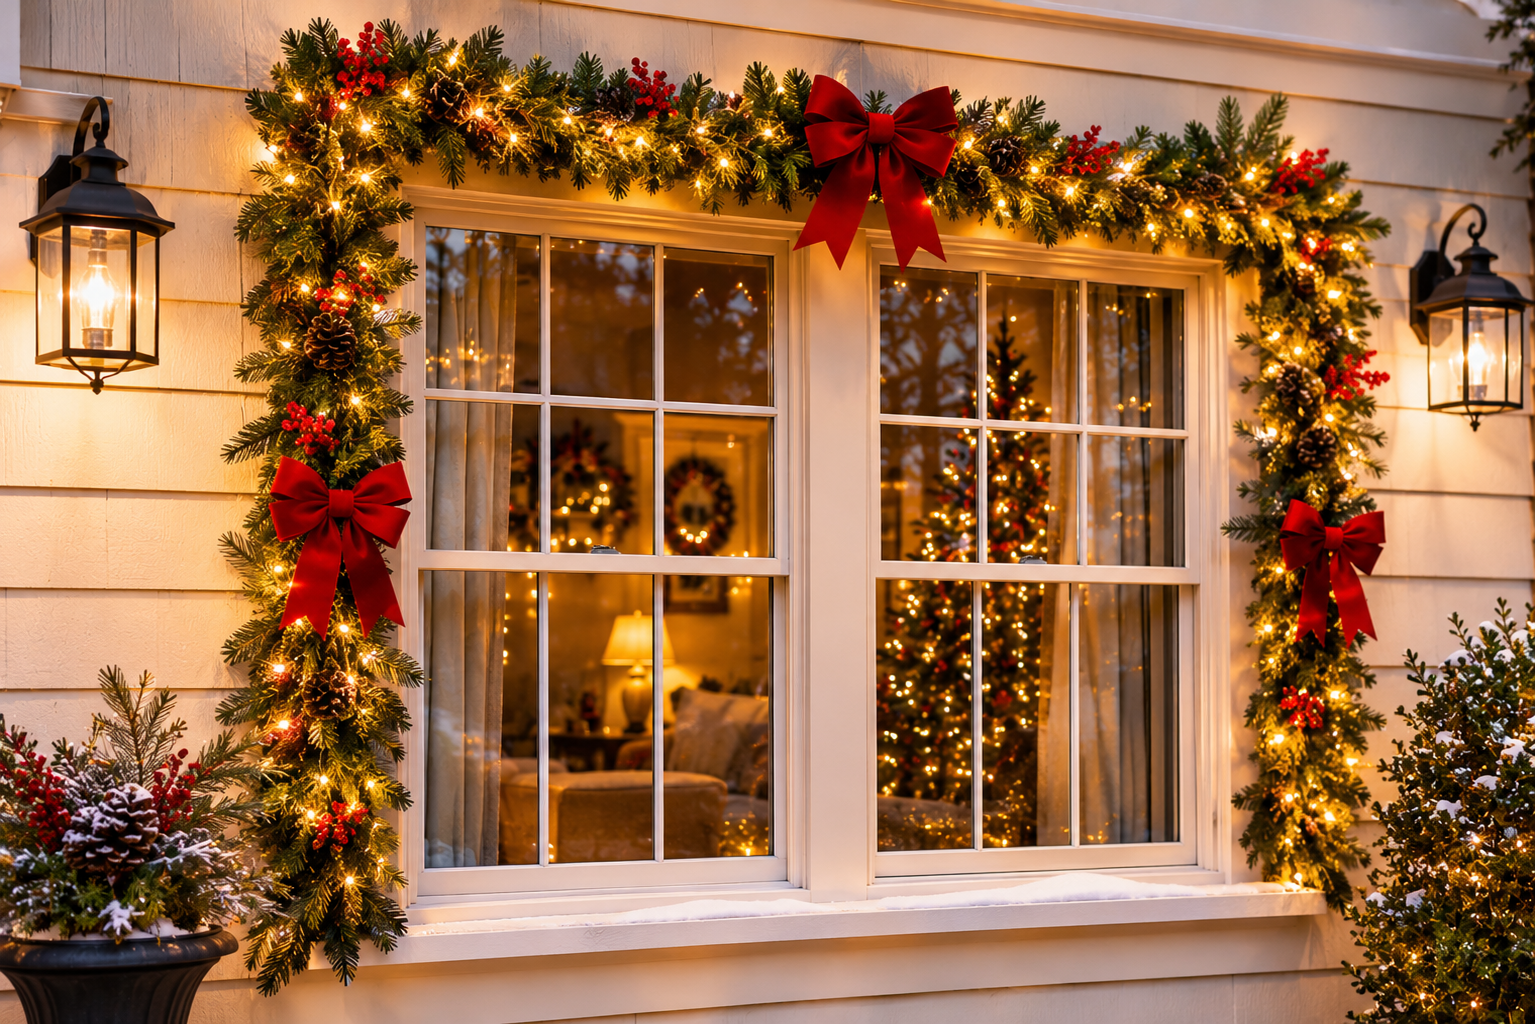
A string of lights that looks perfect in the box often looks wrong on a window. The spacing is uneven, the cord shows in daylight, the glass throws back a reflection of the room instead of a glow, and one corner sags because the clip let go on the first cold night. Windows are also the one spot in a house that gets viewed from two directions, which changes how lights behave in a way that wall trim or a porch rail never does.
This guide covers both sides of the glass: seven ideas for the outside of the window and eight for the inside, plus the practical details that decide whether they last through December. That includes how much light strand to buy, which attachment method fits which surface, and where the electrical risks sit.
Decide Four Things Before You Buy a Single Strand
Most disappointing window displays trace back to a purchase made before these four decisions.
Indoor or outdoor rating. Lights are sold for indoor use, outdoor use, or both, and the packaging says which. Anything mounted on the outside of the house, including a window frame, trim, or window box, needs an outdoor-rated product. Lights that sit entirely inside, behind the glass, are an indoor use, though they still need to stay clear of window condensation (more on that below). Look for a listing mark from a recognized testing laboratory, such as UL or ETL, on the cord or tag. A string with no listing mark is not worth hanging on a house.
Warm white or cool white. Warm white reads as golden and slightly amber, close to the glow of older incandescent bulbs. Cool white leans blue and looks crisp, sometimes icy. Neither is wrong, but mixing them across the same house is the most common visible mistake. Two windows side by side with different white tones look like a mismatch from the street, even to people who could not say why. Buy all the white strands for a display from the same product line, ideally in the same order, and compare them in the store or at least in the packaging photos.
Wire color. The thin wire between bulbs shows up more than most people expect. Green wire disappears into garland, wreaths, and evergreen branches. White wire blends into white trim and white vinyl. Clear or transparent wire works best on glass. Black wire is rarely the right choice for a window unless the frame itself is black.
Power source. Plug-in strands give steady brightness but need an outlet within reach. Battery-powered strands are flexible and cordless, but the batteries run down faster in cold weather, and they typically provide a dimmer glow than a plug-in strand with the same number of bulbs. Solar strands depend on sunlight that is thin and short in December, and a window under a porch roof or shaded by a tree may charge poorly. Of the three, solar is the weakest fit for a window display.
Measuring Before You Buy
For an outline, measure the perimeter: add the width and height, then double it. A window that is 36 inches wide and 60 inches tall has a perimeter of 192 inches, or 16 feet. Add 10 to 15 percent for slack at corners and the distance to the outlet. Strands are sold by the lit length, and the plug end plus a lead cord at the start add extra length that does not light up, so check the product description for the lit length specifically.
For curtain lights, measure the width of the glass and the drop you want. Curtain sets are listed by width and drop, such as a 6-foot width with a 6-foot drop, and are easier to match to a window than to improvise from loose strands.
Why Lights Look Different From Outside Than Inside
By night, a lit room turns its own window into a partial mirror, particularly when the room is brighter than the street. This is basic optics: glass reflects more when the light on one side is stronger than on the other. The effect is why an indoor display can look washed out to someone standing on the sidewalk, even though it looks fine from the couch.
A few adjustments reduce it:
- Place the lights close to the glass rather than hanging them several inches away.
- Dim or switch off the overhead lights in that room during the evening, so the window is the brightest thing in view.
- Use a sheer curtain or a plain backdrop behind indoor lights if the room beyond is cluttered. A cluttered background competes with the glow.
- Choose a warmer white if the street view looks harsh. Cool white tends to look stark against dark glass.
From inside, the reverse problem appears. Outdoor lights on the exterior frame can create glare in the eyes of anyone sitting near the window. Smaller bulbs, a warm color, and a dimmer setting, if the lights have one, make the view less irritating.
Outdoor Christmas Window Lights
These seven ideas go on the exterior of the house. All of them need outdoor-rated lights and an outdoor outlet or approved extension cord, covered in the safety section further down.
1. A Clean Warm White Outline Around the Window Frame
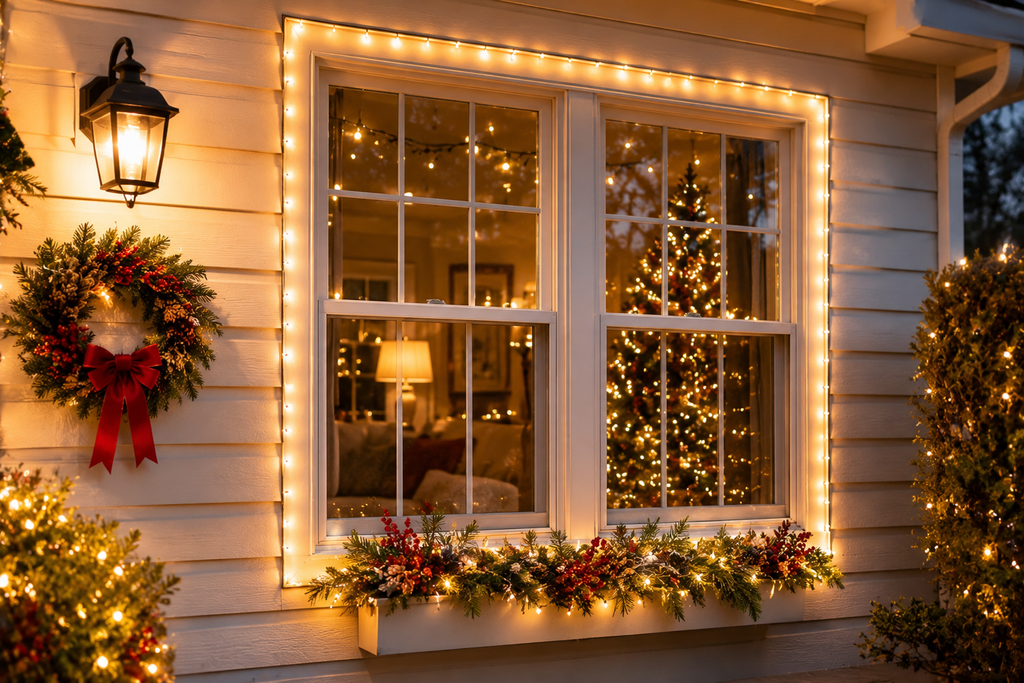
It is the simplest idea and also the one that rewards patience. A single strand of small warm white bulbs following the edge of the frame gives each window a definite shape in the dark, so the house looks outlined rather than decorated.
The keys are spacing and corners. Clips designed for the surface keep the line straight, and placing one every 8 to 12 inches avoids droopy sections. At corners, secure a clip on each side of the turn rather than bending the cord around a sharp angle. Sharp bends are hard on the insulation, and they also tend to pop the clip loose after a few cold nights.
Test the whole strand on the ground before climbing anything. A dead section is easier to find and swap while it is lying on the lawn.
On a window with multiple panes, outlining the outer frame alone is usually enough. Wrapping each individual pane from the outside means many more cord turns and far more places for something to fail.
2. Icicle Lights Hung From the Top of the Window or the Eave
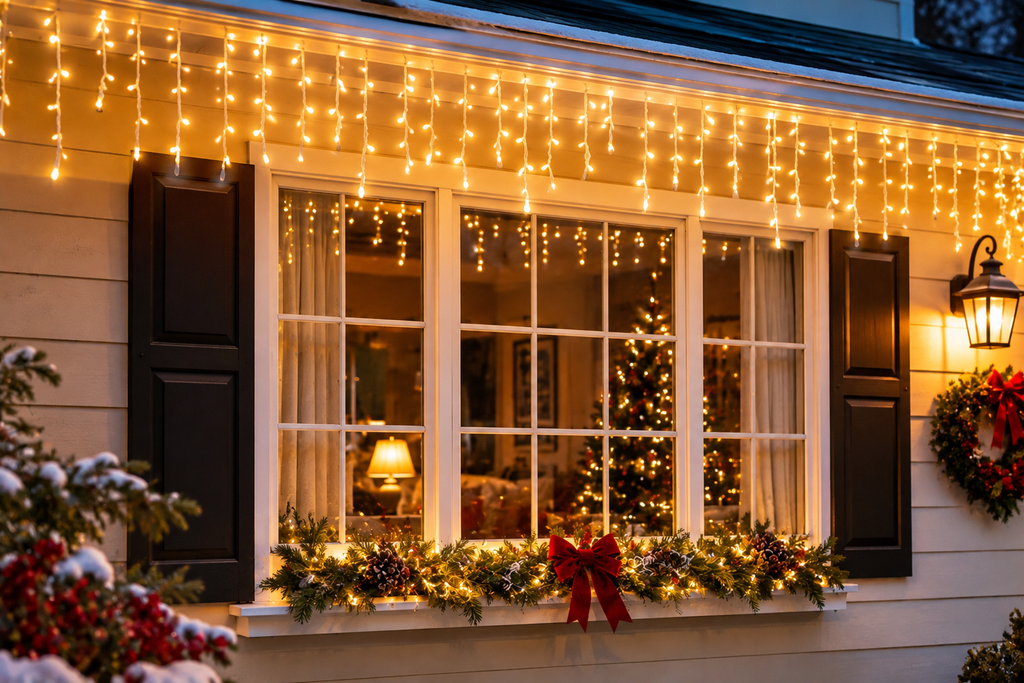
Icicle strands have a main cord with shorter drops of varying lengths hanging off it. Hung across the head of a window, or along the eave above it, they create a frozen-drip effect.
They suit windows under a roof overhang or awning, since the drops need something to hang from. They look sparse when the main cord is spaced too far from the next one, so measure the width of the window and buy a strand with a lit length slightly longer than that. If the display covers several windows along one wall, run a single continuous strand where the manufacturer’s connection limit allows, so the pattern of drops stays consistent.
Avoid mixing icicle lights with a different string style at the same level. A row of icicles above a window with a mini-light outline below it looks busy unless both use the same color and bulb temperature.
3. Pre-Lit Garland Framing the Window
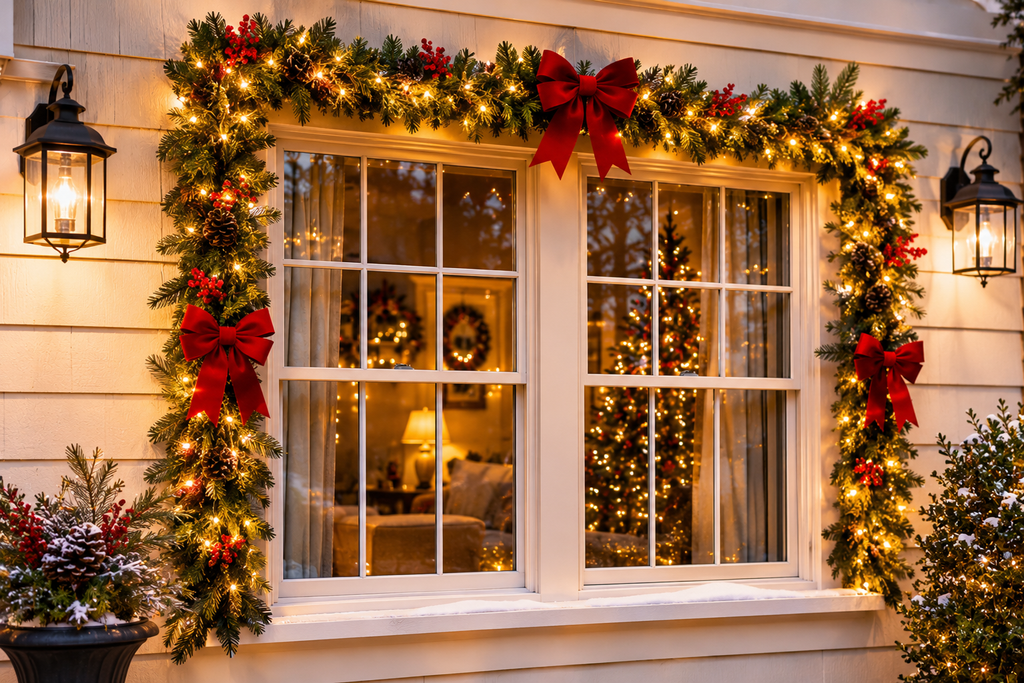
Pre-lit garland replaces both the lights and the greenery in one product, and an outdoor-rated, pre-lit version drapes along the top and sides of a window without the work of weaving lights into branches. Garlands come in several lengths, and the useful ones are bendable enough to follow the frame.
Security is the issue. Garland has weight, and a strong wind can pull it down if it is only held by a few clips. Secure it every foot or so using outdoor-safe hooks or clips suited to the siding. Ties or soft plant wire work on a porch post or railing, though neither should be wrapped tightly around the cord.
A full wreath at the top and garland running down both sides makes a wide-open window feel finished. A small window can look heavy with all three, so scale it to the glass. Typically a 6-inch-wide garland is generous on a narrow window, and an 18- to 24-inch-wide garland suits a wide picture window.
4. Lights in a Window Box
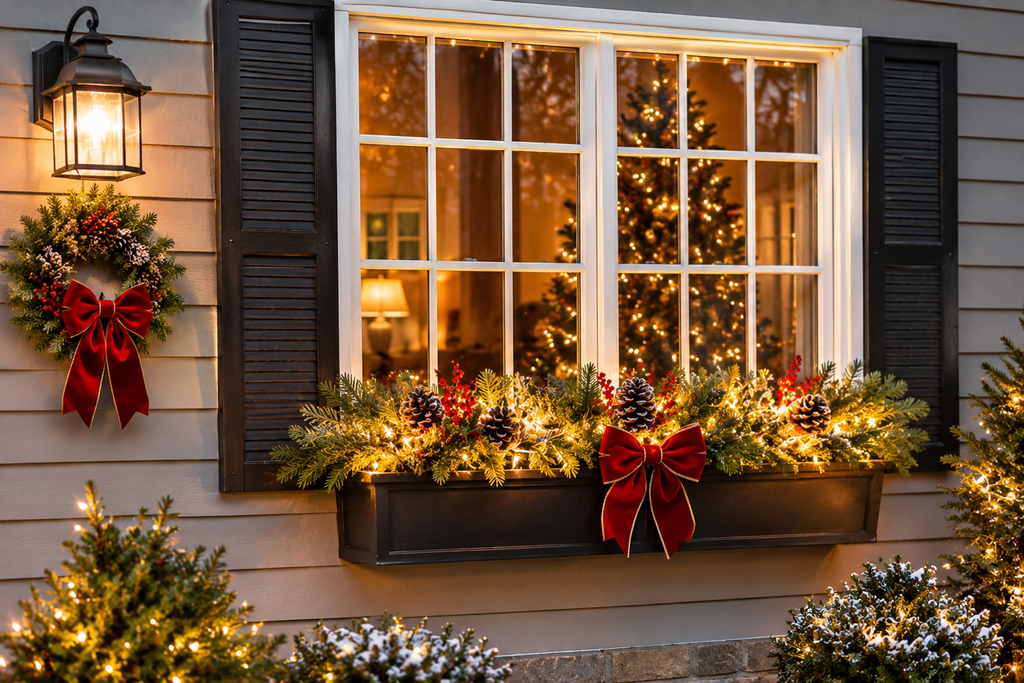
A window box becomes a Christmas display with a handful of evergreen branches, a few pinecones, and a battery-powered or plug-in outdoor string tucked among the greens. For gardeners, it is also a natural continuation of the container work done in fall.
Cedar, pine, fir, and boxwood trimmings hold up outdoors through December in cold climates, and in colder weather they stay fresh far longer than they would in a warm room. Push the stems into the soil or floral foam so they stand upright, and wind the lights through the middle of the arrangement rather than draping them across the top, where they end up looking like an afterthought.
Battery packs need a spot out of direct water. A zip bag with the cord running out, tucked behind the box, usually works, but follow the manufacturer’s guidance, since many packs are only splash-resistant. Lithium batteries generally hold up better in the cold than standard alkaline ones, so check what the product accepts. A built-in timer saves climbing back to switch it on each evening.
5. Large Retro Bulbs in a Single Accent Color
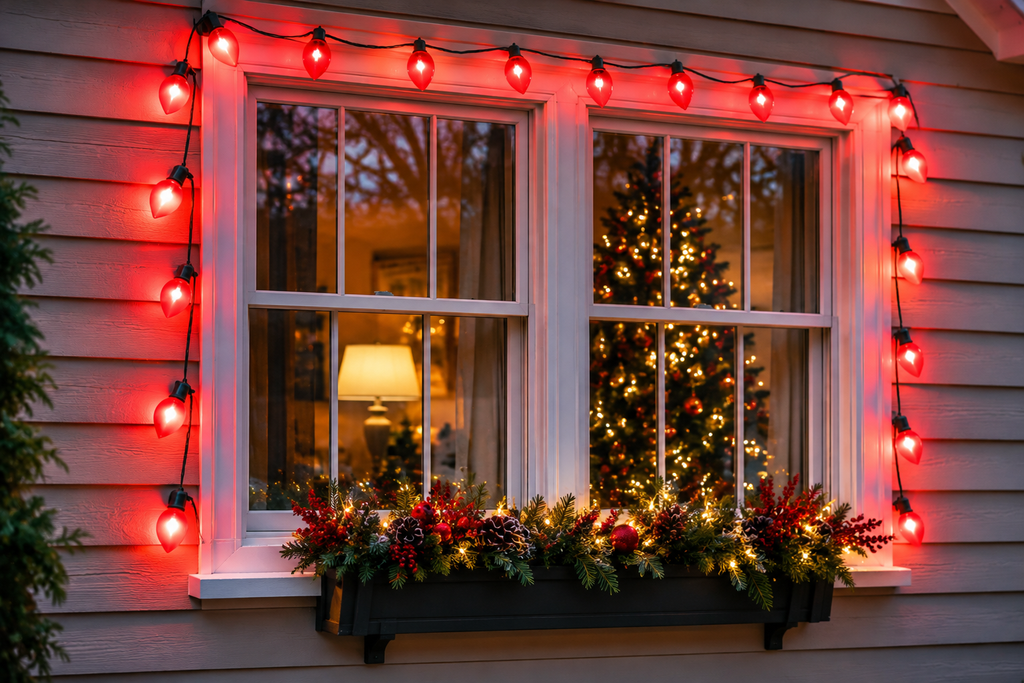
Larger bulbs in a traditional shape, such as the C7 and C9 sizes, give a bolder, more nostalgic look than tiny mini lights. Used on a window, they are best kept to a simple line along the top of the frame or the sill.
The color decision matters more here. Multicolor looks cheerful on a house with a simple facade, but it can clash with a brick or a strongly colored exterior. A single accent color, such as red or green on a white-trimmed house, often looks sharper than a rainbow. Repeat it on every window that faces the street, rather than switching colors between windows.
These bulbs generally draw more power per strand than mini LEDs, and many modern versions use LED bulbs in the same shape. Check the product’s wattage and the connection limit printed on the package, and do not exceed it.
6. Net Lights Over the Shrubs Beneath the Window
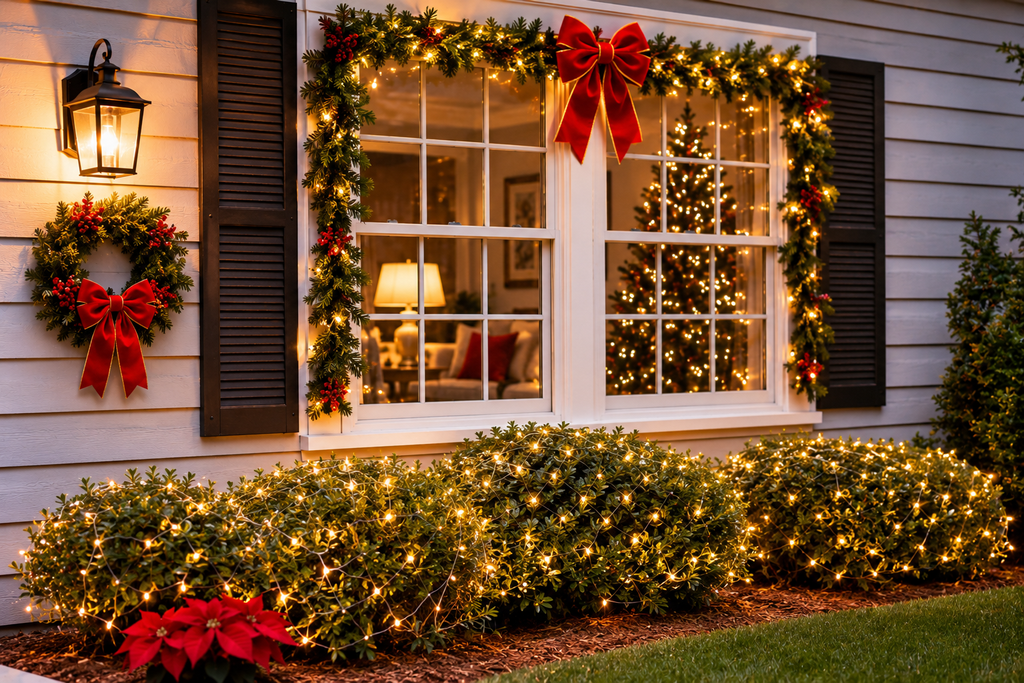
Net lights are a grid of bulbs on a mesh that drapes over a shrub in one pass. They solve the hardest part of lighting a bush, which is spacing the lights evenly, and they work well under a window where a foundation shrub rises toward the glass.
On a rounded shrub, drape the net across the top and let it fall over the sides. Pull it snug enough that it does not slide in the wind, but not so tight that it distorts the shape. On a window, the effect is a glow near the sill that pulls attention to the glass above.
For evergreens with thick growth, check periodically that the cord is not trapped against a branch that has swelled or shifted. Take the net off in spring before new growth wraps around the mesh.
7. Programmable Lights on One Feature Window
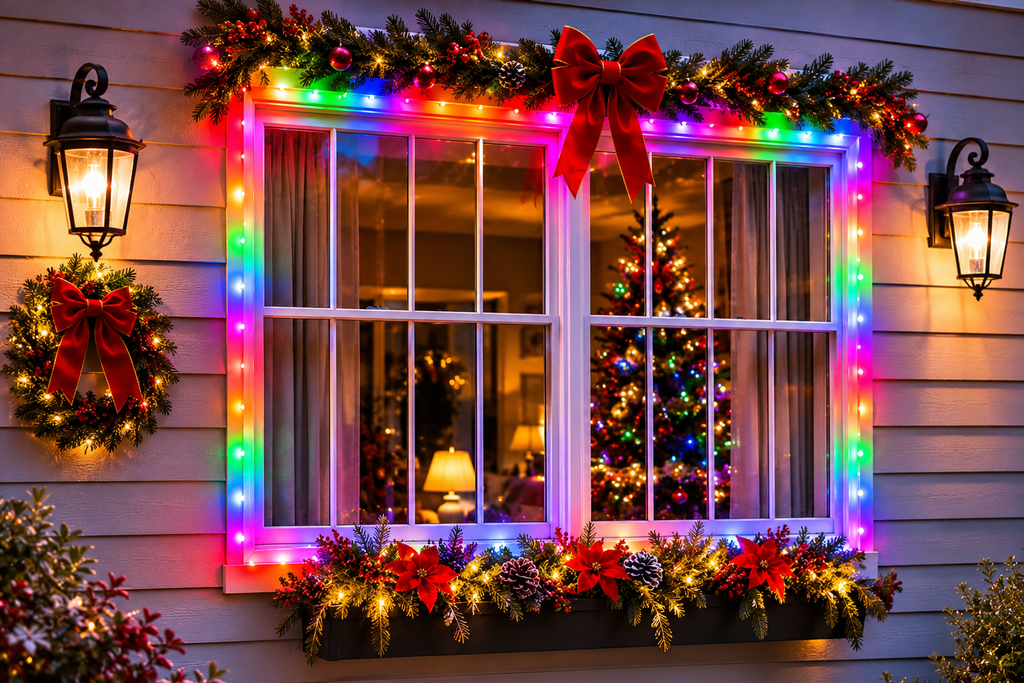
App-controlled strands let you change colors, patterns, and brightness from a phone, or choose a preset scene. They fit best on a single, deliberate focal point, such as a front-facing picture window, rather than the whole house, because the price per foot is usually higher than for basic strands, and the effect gets chaotic when every window runs a different pattern.
Before buying, check three things. First, is it rated for outdoor use, and does it say so on the product rather than just in marketing copy? Second, how long can one run be before the voltage drops and the far end looks dimmer? Many programmable strands specify a maximum run length. Third, does the app work without an account or a subscription, and what happens to the lights if the Wi-Fi drops? A good product has a fallback.
A steady warm white scene on a timer is often better looking than an animation, so use the effects sparingly.
Indoor Christmas Window Lights Ideas
Indoor lights are easier to install and replace, and they escape the weather. They also have a captive audience, because the people who see them most are the ones inside.
8. A Curtain of Lights Across the Glass
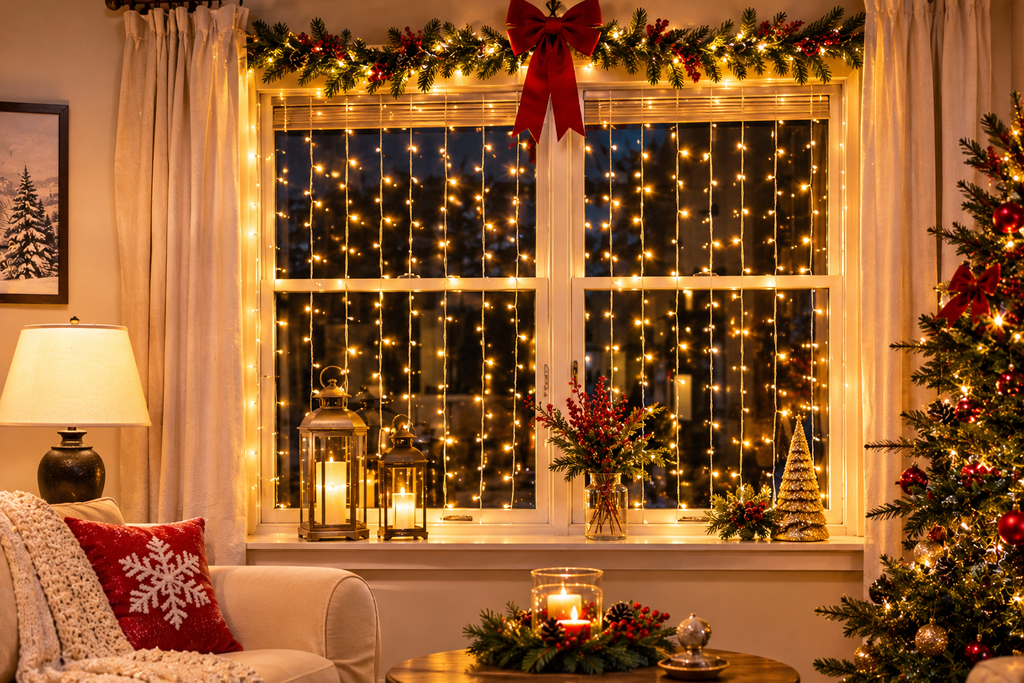
Curtain lights hang as vertical strands from one top cord, which gives a window a soft, evenly distributed glow. They are the most forgiving indoor option, since the strands do not need precise spacing and the effect hides small gaps.
Hang the top cord with removable adhesive hooks, or tuck it behind a curtain rod. Pick a set whose width roughly matches the window glass, and let the strands fall naturally. Cut-to-fit is not possible with most sets, so a set that is slightly too wide is easier to handle than one that is too narrow, since the extra width can be bunched at one side.
A sheer white curtain hung behind the strands softens the look and turns the lights into a glowing backdrop from the street. Keep bulbs from touching fabric, particularly if the lights are not LED, and never run them in contact with anything that could trap heat.
9. Garland and Lights on the Curtain Rod
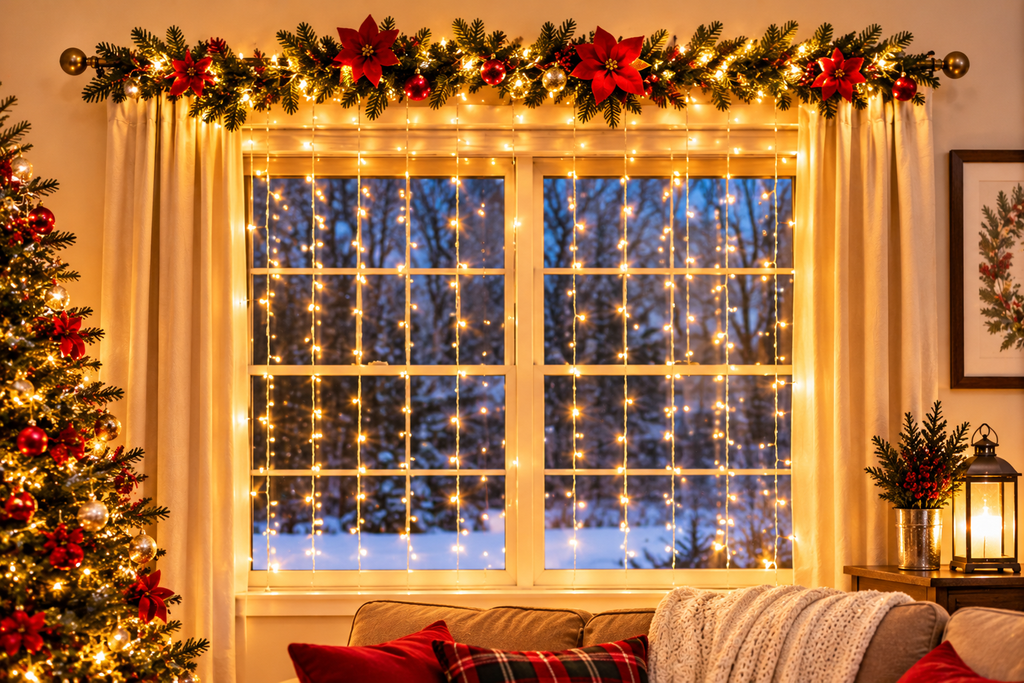
If the window already has a curtain rod, that rod can carry a garland, and a garland carries a string of lights. Pre-lit versions are easiest, but a plain garland with a battery or plug-in strand woven through works as well.
Secure the garland to the rod with floral wire or soft ties every few inches so it does not sag between the brackets. Let the plug end drop straight down behind the curtain panels to the outlet, not across the floor. A bow or a few ornaments tied in at intervals dress it up without piling on more cord.
A rod holds a modest amount of weight. A long, heavy faux garland can drag on lightweight brackets, so use a lighter style or add a center support if the rod bows.
10. Lit Wreaths Hung on the Glass
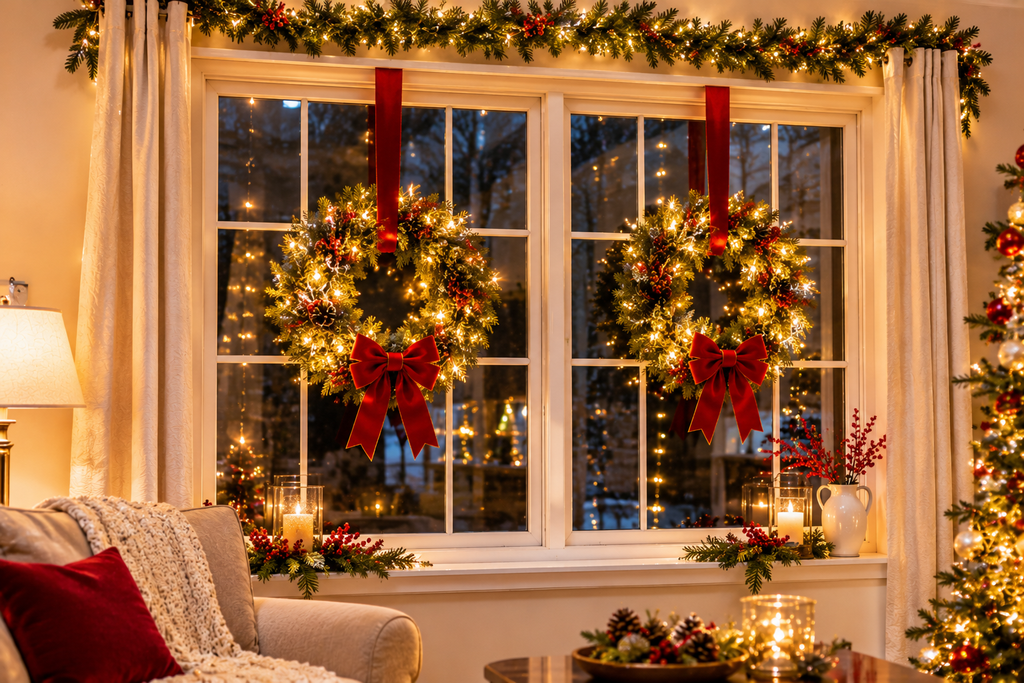
One wreath centered in each window is among the oldest window decorations, and a battery-lit wreath makes it glow from both sides. Hang it from a ribbon looped over the top of the sash or frame, rather than a suction cup alone, since the ribbon bears the weight and the cup only steadies it.
Match the wreath size to the pane. A wreath that fills about two-thirds of the glass looks deliberate, while a small wreath in a large window looks lost. On a window divided into panes, centering one wreath per pane is cleaner than one oversized wreath that crosses the dividers.
Check the battery pack location. A pack tucked behind the wreath keeps the front clean, but a pack that hangs below the wreath can be visible from the street.
11. A Lit Windowsill Scene
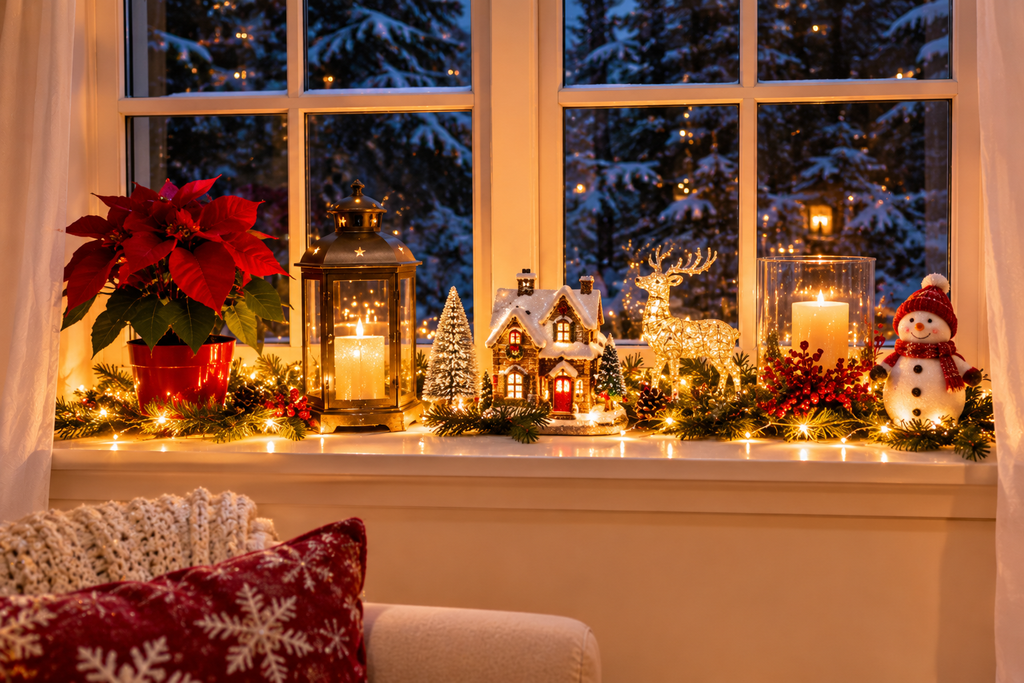
The sill is a shelf, and a small arrangement on it catches the eye from both sides. Typical elements include battery-powered micro lights in mason jars or glass bottles, flameless LED candles, a few evergreen sprigs, and some pinecones.
Use LED candles rather than real ones near curtains, blinds, and paper decorations. Real flames near fabric curtains are a household fire risk, and a windowsill is often right next to them.
Glass jars with a tiny strand of copper-wire lights coiled inside give a firefly effect and need no outlet. A group of three jars at different heights looks more intentional than a row of identical ones. If the sill is shallow, a narrow tray keeps everything from tipping.
The sill also gets cold. Condensation can form on glass in very cold weather, so keep battery packs and plug-in connectors away from any pooled moisture.
12. A Light Tree Shape Drawn on the Glass
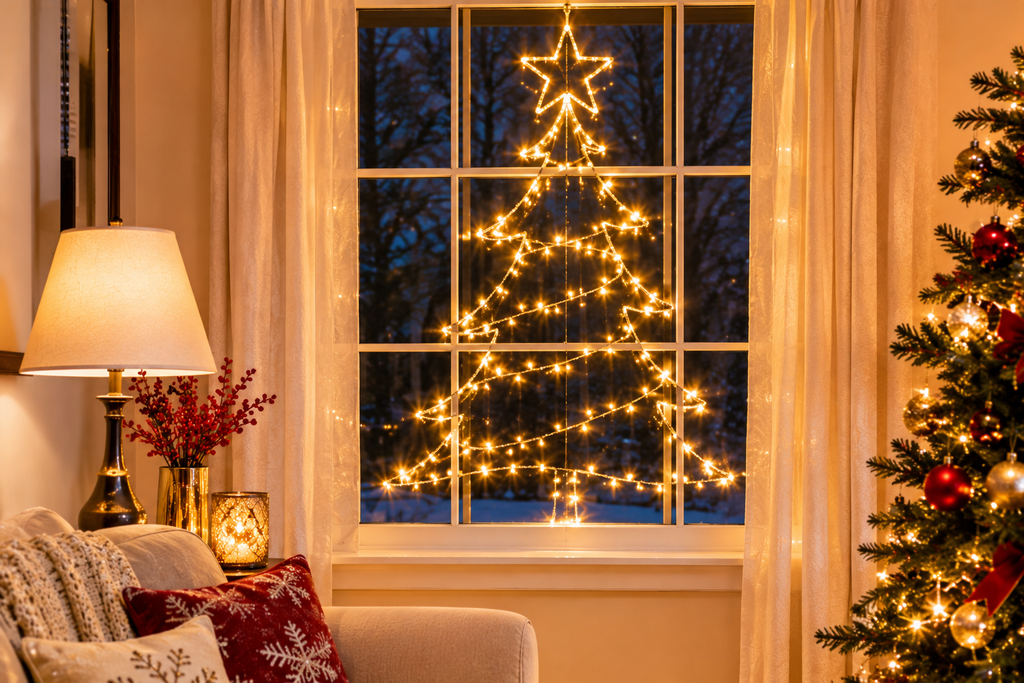
A string of lights can be arranged in a zigzag, with the tip at the top and the base at the bottom, to make the outline of a tree on the pane itself. It uses just one strand and no actual tree.
Mark the shape first. Painter’s tape on the glass, or a rough sketch on paper held up against the window, works for planning. Use small clear adhesive clips, one at each turn of the zigzag, and make sure the wire between clips stays reasonably taut so the sides are straight.
A star at the top, from a small star-shaped light or a cut-out, completes it. It works best on a tall, narrow window, where a triangle has room to stand. In a wide, short window, the proportions get squat.
Use LED strands for this one. They produce much less heat than older incandescent bulbs, which matters when the strand is in direct contact with glass for weeks.
13. Paper Stars or Lanterns Hanging in the Window
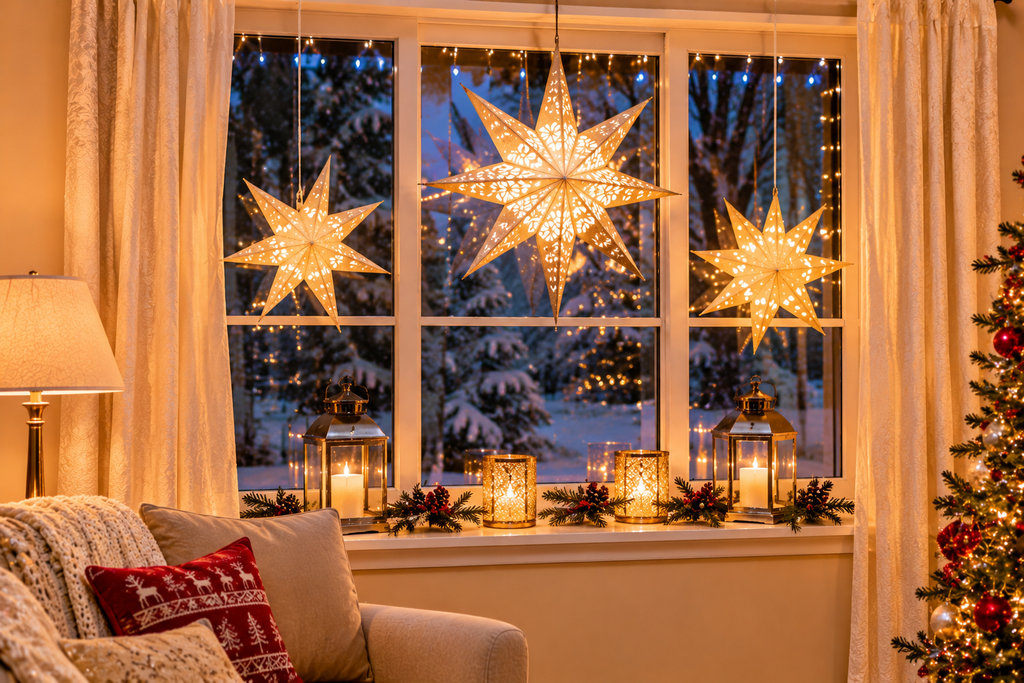
Hanging paper stars, the folded type often found in northern European holiday traditions, and lit paper lanterns give a window dimension and a handmade look. A small battery LED inside a lantern or star lights it from within, and the shape makes the glow look soft instead of pointed.
Hang them at different heights on clear fishing line from a curtain rod or a hook screwed into the window frame header. A cluster of three to five at varied lengths reads as a group; a single one looks like a stray decoration.
Keep paper away from anything hot. Only use LED lights inside paper shapes, since incandescent bulbs produce more heat, and never use a real candle inside paper of any kind.
14. Lit Branches in a Tall Vase
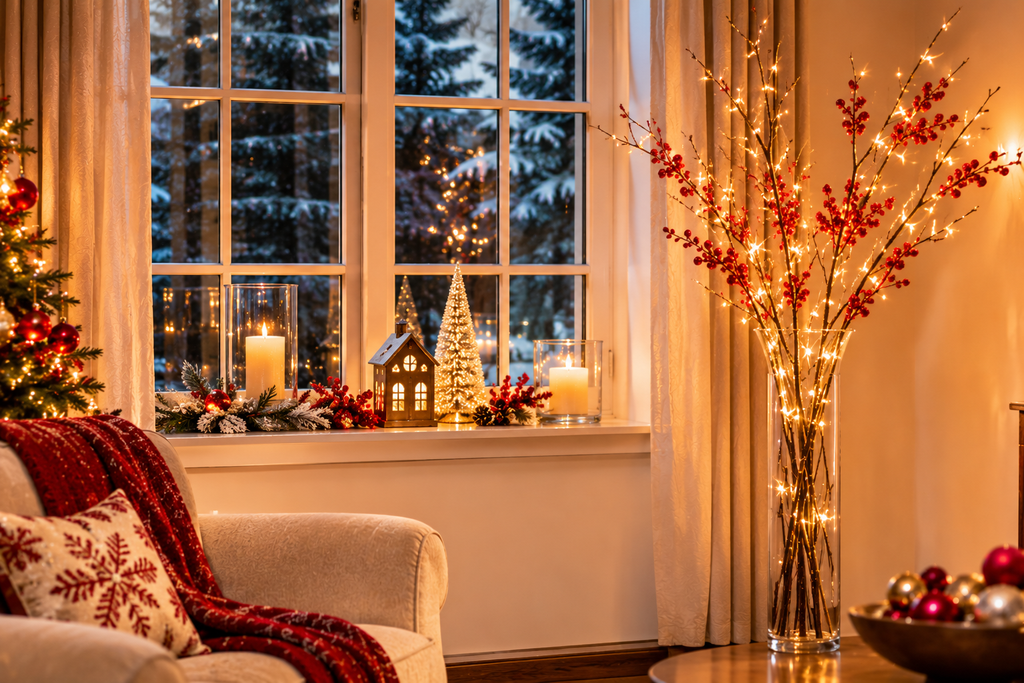
Bare or lightly frosted branches in a big floor vase, with a string of battery lights wound through them and a few small ornaments, make a sculptural centerpiece for a window alcove. It is a good use for the trimmings from fall cutting, such as birch, curly willow, or dogwood, as long as the branches have dried enough that they will not drip.
Fill the base of the vase with stones or sand to anchor a tall arrangement. Wind the lights from the bottom up in loose spirals, with extra wraps where the branches fork, and keep the battery pack tucked down in the vase out of sight.
It works better as a stand-alone feature than a second layer on top of another light display. A window with curtain lights already hanging behind a branch arrangement ends up cluttered, and one or the other is cleaner.
15. A Small Lit Tree Facing the Street
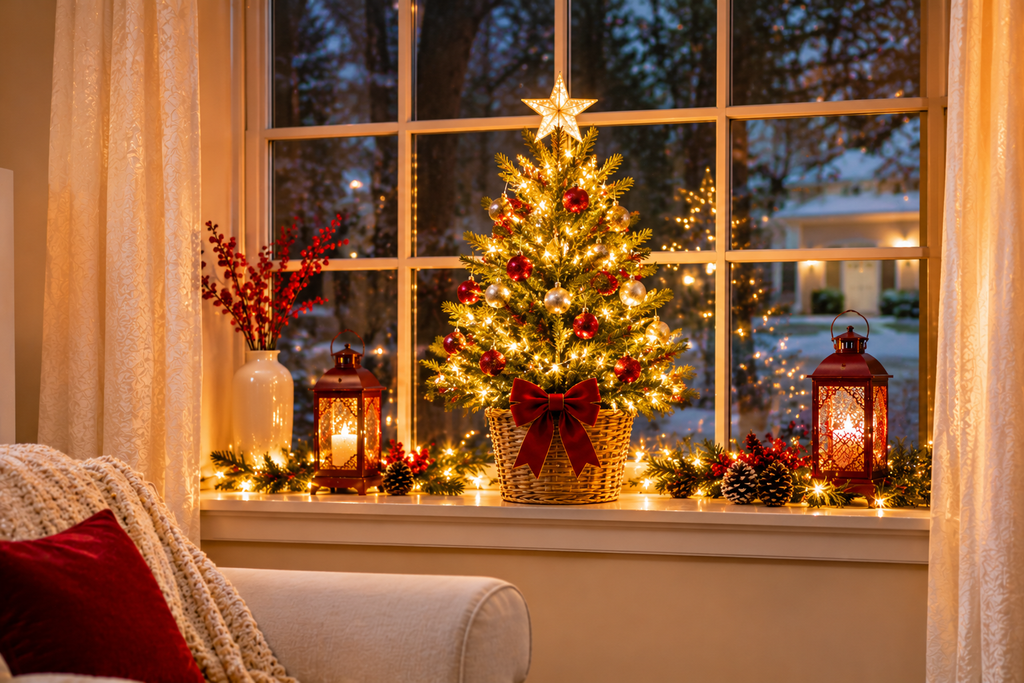
A tabletop or small floor tree placed in the window means a tree is visible from outside even if the main tree is elsewhere in the house. A pre-lit slim tree in the 3- to 4-foot range works well on a console or small table.
Put the tree on a sturdy surface and turn it so its best side faces the street, since the side that faces the room is rarely the one a passerby sees. Keep the plug on the side away from the glass, and use a timer so it switches off at a set hour. A real tree near a window should have plenty of water, and it should be kept well away from heating vents and any heat source. Dry needles ignite quickly, and the National Fire Protection Association and other fire-safety groups warn about it.
Attaching Lights Without Damaging Anything
The attachment method fails more often than the lights do, and the right choice depends on the surface.
| Surface | Typical attachment | What to watch for |
| Wood trim | Clips made for trim; small hooks | Avoid staples or nails through the cord |
| Vinyl siding | Siding clips that slide under the edge | Adhesive can leave residue or lift in cold |
| Gutters and eaves | Gutter clips | Check that clips fit your gutter profile |
| Brick or stucco | Brick clips that hook over the top edge, or masonry-safe hooks | Avoid drilling unless necessary |
| Window glass (inside) | Clear adhesive clips, removable hooks | Clean glass first, since adhesives hold poorly on dusty glass |
| Painted surfaces | Removable hooks; test a hidden spot first | Paint can lift when adhesive is peeled |
Two general rules apply to adhesives. Most work best when applied to a clean, dry surface at a moderate temperature, and many manufacturers say not to apply them in the cold, so put adhesive hooks up before the weather turns. Suction cups tend to release when the temperature swings, and condensation on the glass makes things worse. A suction cup is fine as a steadying point, but it should not carry weight alone.
When taking everything down, pull adhesive hooks slowly, following the manufacturer’s removal directions, and take down outdoor lights on a dry day. Wrap each strand around a piece of cardboard or a spool, which prevents the tangles that ruin cords in storage.
Electrical and Fire Safety for Window Displays
This is the part that is easy to skip, and the part with the most consequences.
- Use the right rating. Outdoor lights go outside, and indoor-only lights stay inside. An indoor-rated strand that gets wet is a shock and fire risk.
- Respect the connection limit. The package states how many strands may be joined end to end, and that figure is a safety limit tied to the cord’s capacity, not a suggestion. For older incandescent mini lights, the limit is often as low as three strands, while LED strands usually allow many more, but only the label for your product is the authority.
- Use a GFCI outlet outdoors. A ground-fault circuit interrupter cuts power when it detects current leaking to ground. Modern outdoor outlets are generally required to have this protection, but older homes may not. A plug-in GFCI adapter is an inexpensive fix, though an electrician is the right call if the house has no outdoor outlet at all.
- Choose extension cords rated for outdoor use and sized to the load. Keep the connection between the cords off the ground, out of puddles and snowmelt, and covered with a weather-resistant cover if the cord packaging suggests one.
- Never pinch a cord in a closed window or door. Squeezing the cord in the sash can crack the insulation. If a cord has to cross a threshold, look for products designed for it, or run it a different way.
- Do not staple or nail through a cord, and do not run it over sharp edges.
- Inspect the strands every year. Discard any with cracked insulation, exposed wire, loose bulb sockets, or a damaged plug.
- Turn them off when no one is home or everyone is asleep. Fire-safety groups commonly advise this, and a timer makes it automatic.
- Keep heat sources and decorations apart. Candles, space heaters, and fireplaces should stay well away from curtains, paper decorations, and live greenery.
- Ladders: keep both feet on a stable surface, set the ladder on level ground, and get help for anything above the first story. A second-story window is a job for a person who does this for a living, and no display is worth a fall.
Mistakes That Make Window Lights Look Cheap
Most of these come down to preparation, not budget.
Buying too few lights. A sparse outline looks like a few dots instead of a line. Closer bulb spacing, say 3 to 4 inches between bulbs on a mini strand, gives a fuller line than wide spacing, and the extra strand costs little.
Judging the result in daylight. Cords and clips that vanish at night can show up plainly in the afternoon. Check the finished display after dark, and again from across the street, since it is the viewing distance that matters.
Mixing too many styles. Icicles, nets, curtains, and large bulbs on one wall make a house look like a clearance rack. Choose one or two styles and repeat them.
Forgetting the timer. An unplugged display on a timer looks better, and it takes a decision out of every evening.
Skipping the test run. Plug in every strand before it goes up, including the ones that worked last year.
Ignoring the neighbors’ view of the cord. A long orange extension cord running from the outlet to the window is more visible than any bulb. Route it along the foundation or a trim line, and use a cord color that matches the siding where possible.
Questions Readers Often Have
Can indoor lights be hung in a window that faces out?
Generally, yes. Lights that stay inside, behind the glass, are an indoor use, and they do not need an outdoor rating. The caution is moisture. Condensation can collect on cold windows, so keep plugs, battery packs, and connections away from the lower part of the glass and the sill, where water tends to pool.
How long can I leave window lights on?
LED strands are designed for long runs and use far less energy than older bulbs, but running them unattended all night is not recommended by fire-safety groups. A timer set for early evening through bedtime meets most people’s needs without the risk.
Do I need a special kind of light for glass?
No, though LEDs are a better fit because they stay cooler than incandescent bulbs, and that is easier on adhesives, paper, and fabric nearby. Use clear or white wire so the cord is less obvious against the pane.
Why do my indoor lights look dim from the street?
Usually it is the room lighting. When the room is brighter than the street, the window reflects more than it transmits, and the lights fade into the glare. Turning off overhead lights in that room, moving the strands closer to the glass, and adding a plain backdrop behind them usually helps.
Will clips and hooks damage my siding or paint?
Properly matched clips usually do not, and that is why they are sold by surface. Adhesives are the higher-risk choice, especially on older paint, so test a hidden spot first and follow the removal instructions rather than pulling quickly.
Final Thoughts
Pick the side of the glass first, then choose one light style, one color temperature, and one attachment method that suits the surface. A consistent set of warm white outlines on every front-facing window usually looks better than a mix of six clever ideas, and it is easier to install, easier to store, and safer to run. If the display needs a focal point, give it to one window: a wreath, a curtain of lights, or a small lit tree.
Before anything goes up, measure each window, plug in every strand, and check the rating on the package. Once the lights are on a timer, the display looks after itself.

About Syprose Kiche
Syprose Kiche is the creator and writer behind My Besuited Home, a practical home and garden website covering DIY projects, gardening, lawn care, landscaping, home improvement, and outdoor living. She focuses on turning everyday homeowner questions into clear, practical guides backed by careful research and useful real-world considerations.