
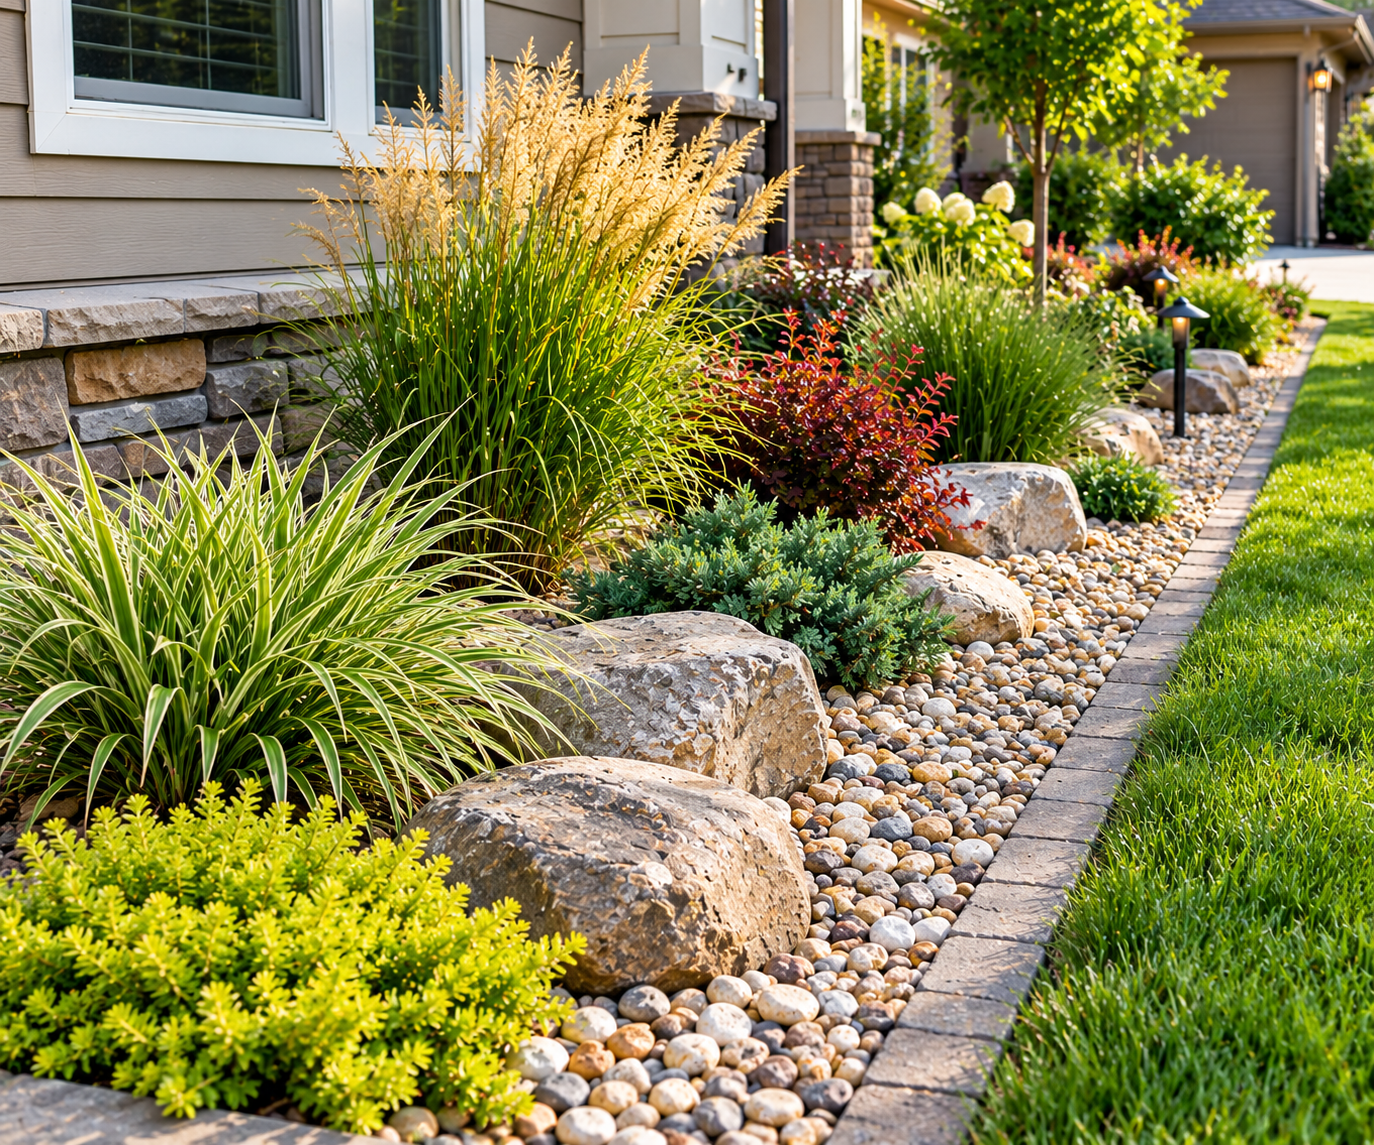
Bark mulch breaks down and needs topping up every year or two. Sod costs a few dollars per square foot before anyone has dug a bed or hauled a wheelbarrow. Stone, gravel and a handful of tough plants work differently. You pay once, and the result looks better each season as the plants fill in. The catch is that cheap stone landscaping can also go badly wrong. Gravel laid straight onto soil disappears within a year, and a bare gravel bed can be a weed nursery. A bed built with the wrong stone can also leave you with a bill larger than sod would have been.
The thirteen ideas below are ordered roughly by effort, and each one says what to buy and what to skip. Most of the savings come from small decisions: buying stone by the ton instead of by the bag, choosing plants that spread by themselves, and doing the base work properly the first time.
Before You Buy Anything: Where the Money Actually Goes
Three things drive the cost of a rock-and-gravel project: how you buy the stone, how you get it home, and what goes underneath it.
Buy bulk, not bags. Bagged decorative stone is convenient for a container or a small patch. Over a bed larger than about 30 square feet, it costs far more per cubic foot than the same material bought by the ton or cubic yard from a landscape supply yard. Prices vary a lot by region, and local quarry stone is almost always cheaper than anything shipped in. Call two or three suppliers and ask about delivery fees before you decide. A delivery charge is often lower than the fuel and wear of several trips with a car or small trailer.
Know how far a ton goes. As a rough guide, one ton of gravel covers about 100 square feet at 2 inches deep, though density varies by stone type. Ask the supplier to confirm coverage for the specific material, because lightweight stone like lava rock covers much more area per ton than dense granite. A simple calculation is length times width in feet, times depth in feet, divided by 27, which gives cubic yards. Round up slightly. Running short halfway through is expensive because a second small delivery costs nearly as much as the first.
Spend on the base, not the surface. A layer of landscape fabric or a thin layer of compacted crushed stone under decorative gravel is the cheapest insurance in the project. Without separation, soil works up into the gravel and the stone sinks. Both effects are slow, but both are the reason many gravel beds look tired after two or three years.
Ask about free or cheap sources. Some municipalities, quarries and construction sites offer leftover stone, fieldstone or fill at low or no cost. Your own property may be a source too: if you dig a new bed or footing and hit rocks, keep them. Quality varies, so look at what you’re getting before you commit.
1. A Dry Creek Bed That Solves a Drainage Problem
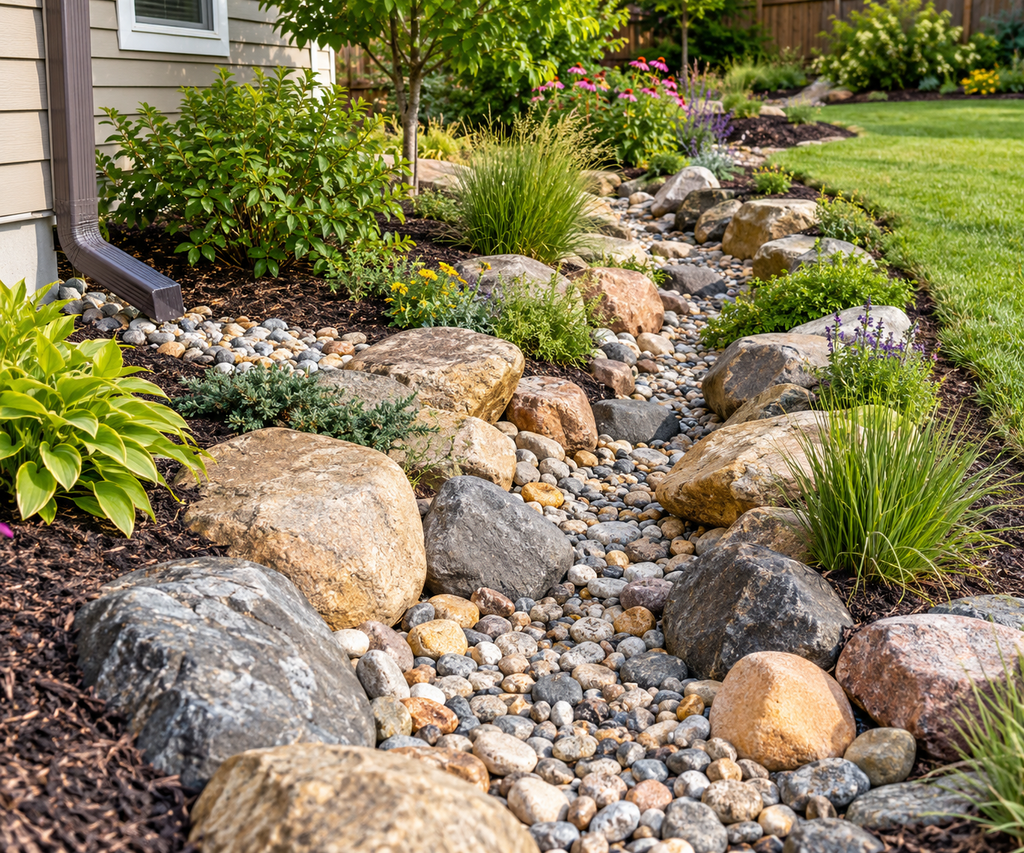
A dry creek bed is a shallow channel lined with stone that looks like a seasonal stream. Done well, it is also a working drainage feature. If runoff from a downspout or slope tends to carve a gully or puddle against the foundation, a creek bed gives the water a defined path instead of leaving it to find its own.
The budget-friendly approach is to dig a gently curving channel, usually 12 to 24 inches wide and 4 to 8 inches deep, and line it with landscape fabric. Fill it with a mix of sizes: larger river rock or fieldstone along the edges and in the middle for visual weight, and smaller gravel to fill the gaps. A straight trench looks like a drainage ditch. Curves and varied stone sizes make it look natural, and they slow the water down.
Slope matters. The channel needs enough fall for water to move away, and it must end somewhere useful: a lower part of the yard, a rain garden, or a drain. If the water has nowhere to go, the creek bed just becomes a long puddle. For serious drainage problems near the house, a grading issue or a heavy slope, it may be worth having a landscaper or drainage contractor assess the site before you build.
Plant the edges with moisture-tolerant, tough perennials such as ornamental grasses, daylilies or sedges. These hold the banks and soften the stone lines.
2. Gravel Pathways That Don’t Wash Away
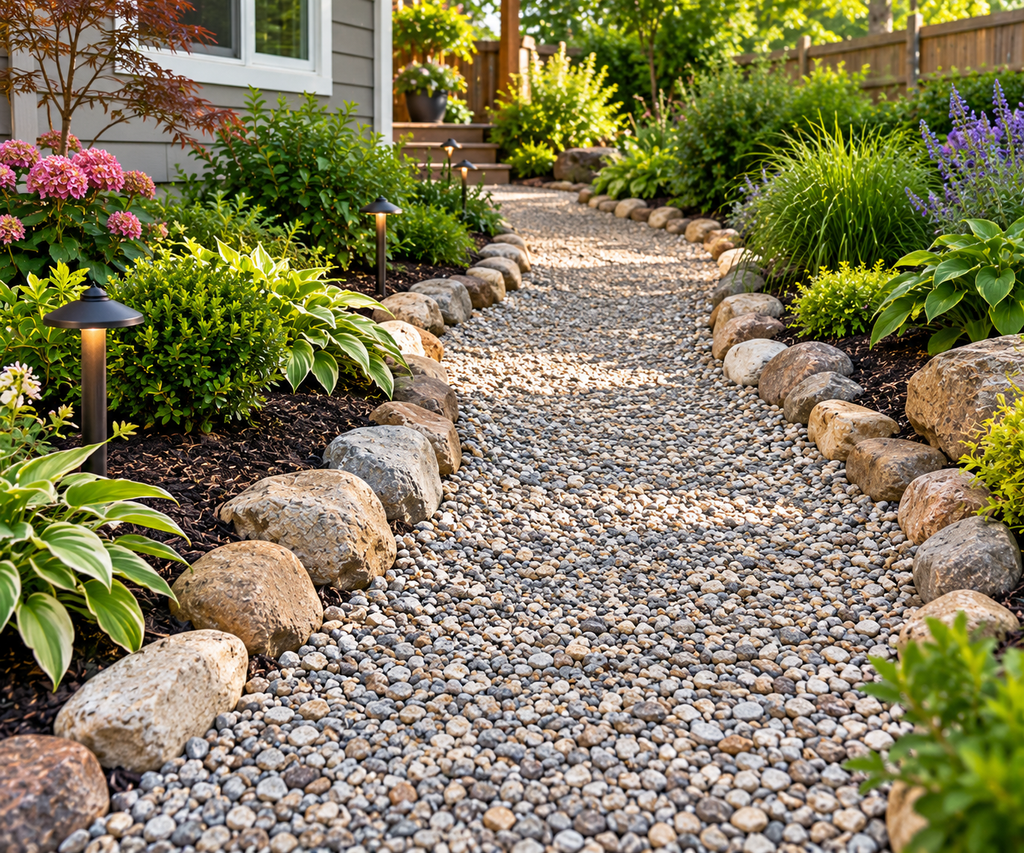
A gravel path is one of the cheapest hard surfaces you can build, which is why it’s so popular. It’s also the project most often done in a way that fails.
The common mistake is spreading loose gravel directly on grass or soil. It looks fine for a few weeks, then the stone sinks, scatters and mixes with dirt. A durable path has layers. Dig out 4 to 6 inches, lay landscape fabric, add 2 to 3 inches of compacted crushed stone (often sold as “road base” or “crushed stone with fines,” since the fine particles lock together when compacted), then top with 1 to 2 inches of the decorative gravel you actually want to see.
Edging keeps everything in place. Steel or aluminum landscape edging costs more than plastic but lasts better. Cheaper options include a row of buried bricks, or a line of fieldstone set on its side. Without any edge, gravel creeps into lawn and beds, and the mower will throw stones.
Choose the gravel size by use. Smaller, angular stones, around 1/4 to 3/4 inch, compact better and are more comfortable to walk on than rounded pea gravel, which shifts underfoot. Pea gravel looks lovely but is best for low-traffic paths or play areas with a firm edge.
3. A Low-Water Rock Garden on a Sunny Slope
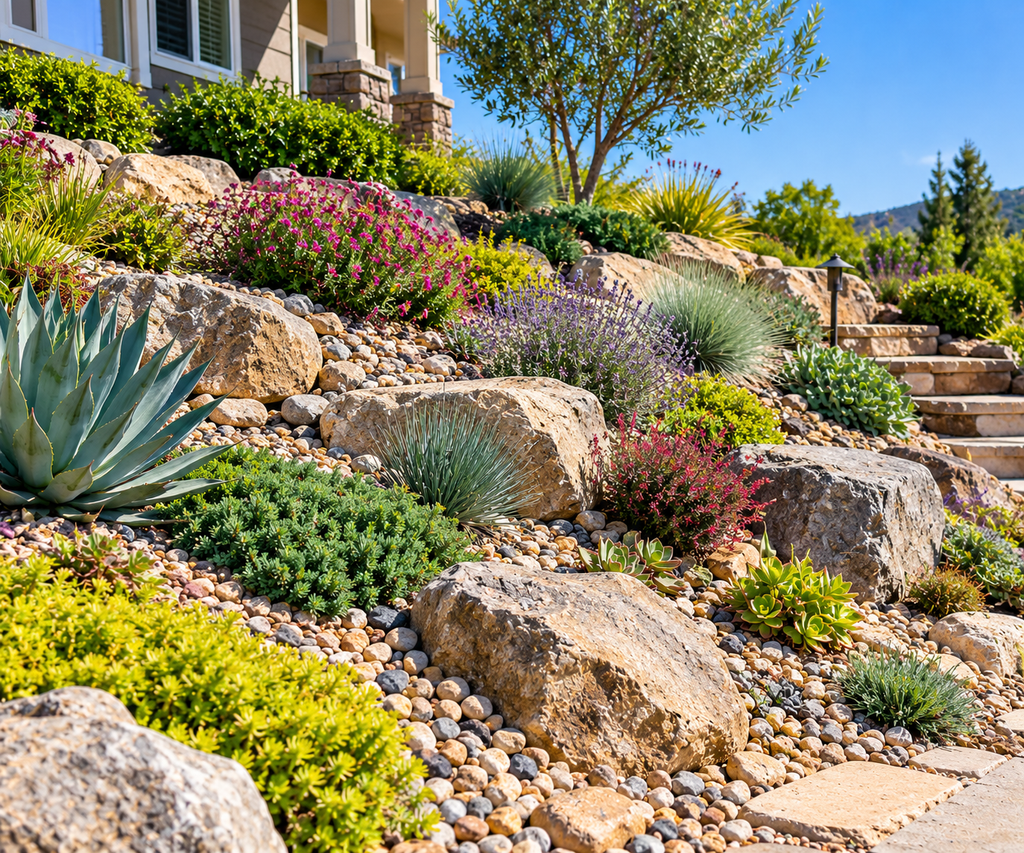
A sunny slope is hard to mow, tends to dry out and often looks neglected. A rock garden turns that liability into a feature, and slopes are where rock gardens look most natural.
Set larger stones first, burying roughly a third of each one so they look like outcrops rather than something dropped on the surface. Group stones in odd numbers and angle them in the same direction, as natural strata would run. Then plant between them with compact, drought-tolerant plants that handle lean, well-drained soil. Good candidates include creeping thyme, sedum (stonecrop), hens-and-chicks (sempervivum), creeping phlox and dianthus. Which ones suit you depends on your hardiness zone, so check a plant’s rated zone before buying.
Rock garden soil should drain quickly. If your native soil is heavy clay, mix in coarse sand or fine gravel, or build the bed slightly raised. Plants that thrive in sharp drainage will often rot in wet clay, and that’s a common reason rock gardens fail.
One economy move: buy small plants. Many rock garden plants spread quickly, and a 2- or 4-inch pot costs a fraction of a gallon-size one. Space them according to their mature spread and be patient. Mulching the gaps with fine gravel keeps weeds down while the plants fill in.
4. Replace a Strip of Struggling Lawn With Gravel and Grasses
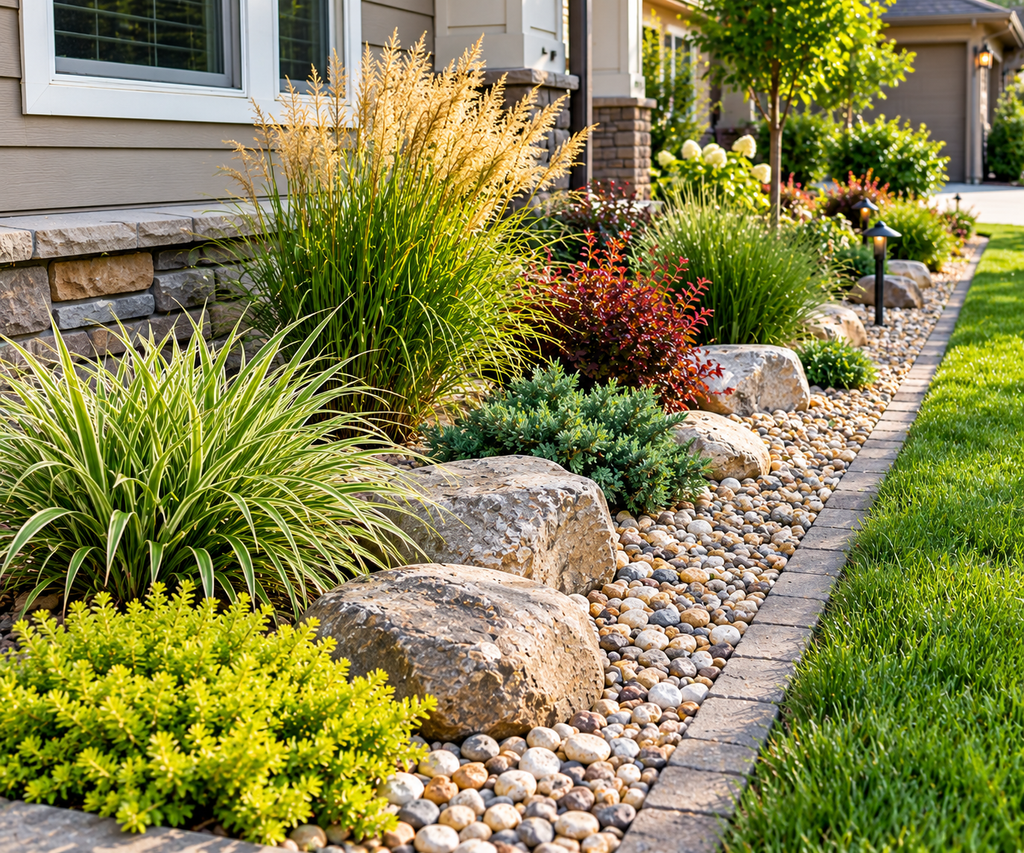
Some lawn areas are never going to be healthy: narrow strips beside driveways, dry corners under overhanging trees, or the dead patch where foot traffic compacts the soil. Fighting them with seed and fertilizer is a recurring expense. Converting them is a one-time cost.
Remove the sod (rent a sod cutter for large areas, or use a flat spade for small ones), level the soil, and lay fabric. Then plant clumps of ornamental grass in a loose group and mulch around them with gravel. Many ornamental grasses, such as fountain grass, little bluestem or blue fescue, are drought tolerant once established and need only an annual cutback. Check that the species you choose is not considered invasive in your area; some popular ornamental grasses are. A local extension office can tell you.
Gravel around grasses works best when the stone layer is about 2 inches deep. Too thin and weeds come through. Too thick and it’s wasteful and hard on the plant crowns.
5. Use Large Stones as Focal Points Instead of Buying Statuary
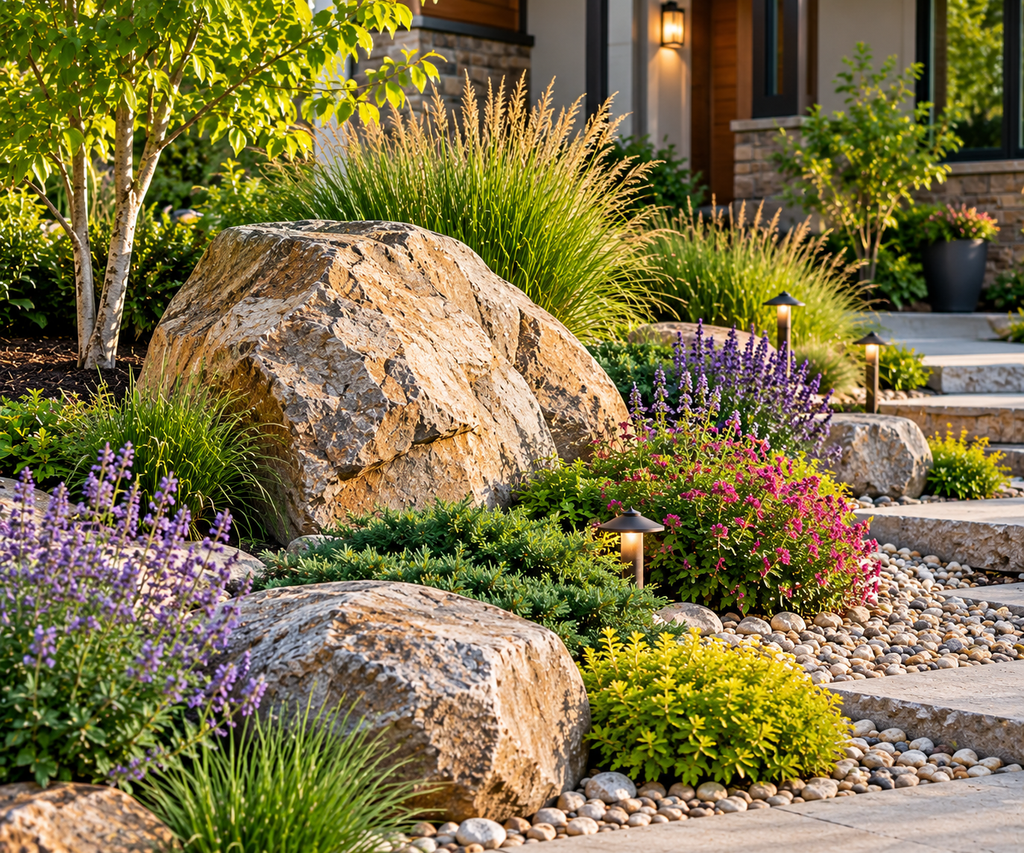
A single well-placed boulder does what a garden ornament does, at a lower price and with no maintenance. A cluster of three stones, partly buried and surrounded by low plants, creates a focal point that looks deliberate.
Stone sellers often price large boulders by weight, and delivery with placement can cost more than the stone itself. If you have heavy equipment access, ask whether the supplier can set it with a small loader. If not, choose stones you can move with a hand truck or a few strong helpers, and use planks and rollers rather than lifting. Heavy stones cause back injuries and crushed fingers, so don’t try to muscle a large one by yourself.
Place a focal stone off-center, and plant at its base to soften the transition. Low junipers, creeping sedums or ornamental grasses all work. Avoid setting one lone rock in the middle of a lawn, which tends to look like it landed there by accident.
6. A Gravel Patio Instead of Pavers
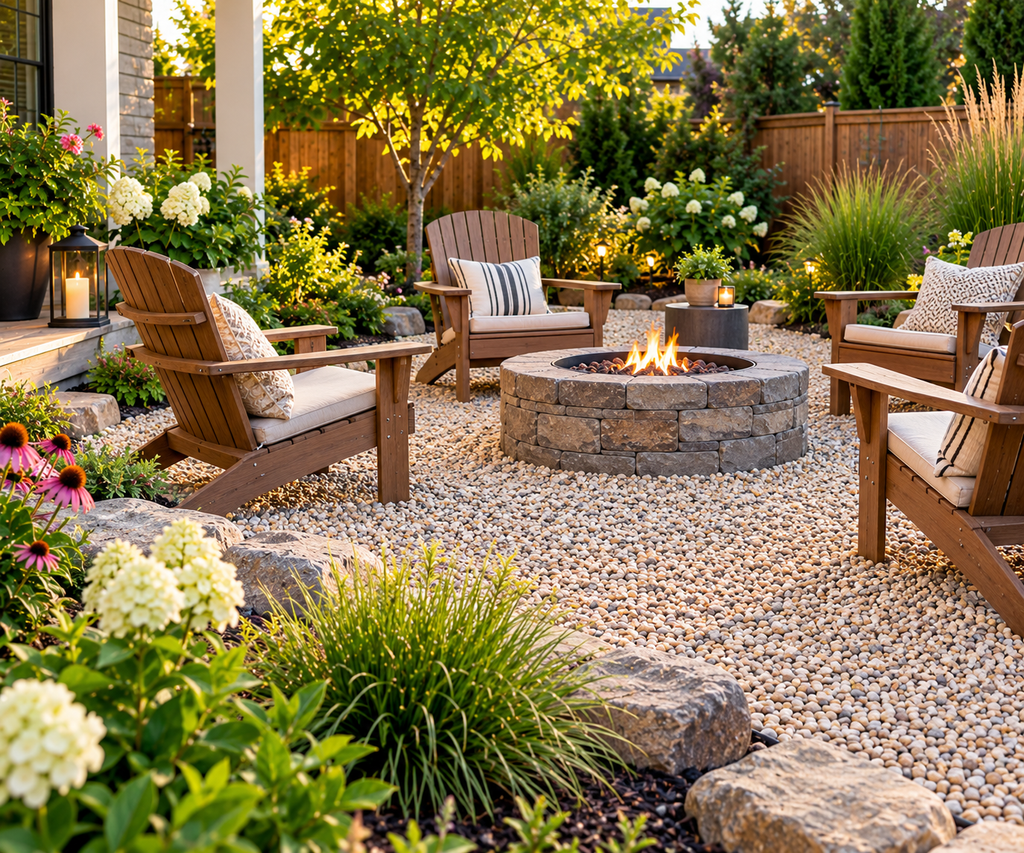
Pavers and poured concrete are the biggest expenses in most outdoor living plans. A gravel patio can cost much less and still look intentional, especially with a defined edge and some furniture.
The structure is the same as the path: excavation, fabric, compacted base, decorative top layer. Because a patio carries furniture and more foot traffic, make the compacted base thicker, about 4 inches, and compact it in layers with a hand tamper or a rented plate compactor. A solid base keeps chair legs from sinking.
There’s a trade-off. Gravel is rougher than paving for wheelchairs, wheeled carts and high heels, and tables on loose gravel can wobble. Some people lay a few large flat stones under the table and chairs to create a stable zone. Gravel also holds leaves and debris, so a leaf blower or a rake works better than a broom.
Surround the patio with plants in beds rather than leaving a bare rectangle. Lavender, rosemary, thyme and ornamental grasses all suit the style, though check hardiness for your region.
7. Line Garden Beds With Stone Instead of Plastic or Wood
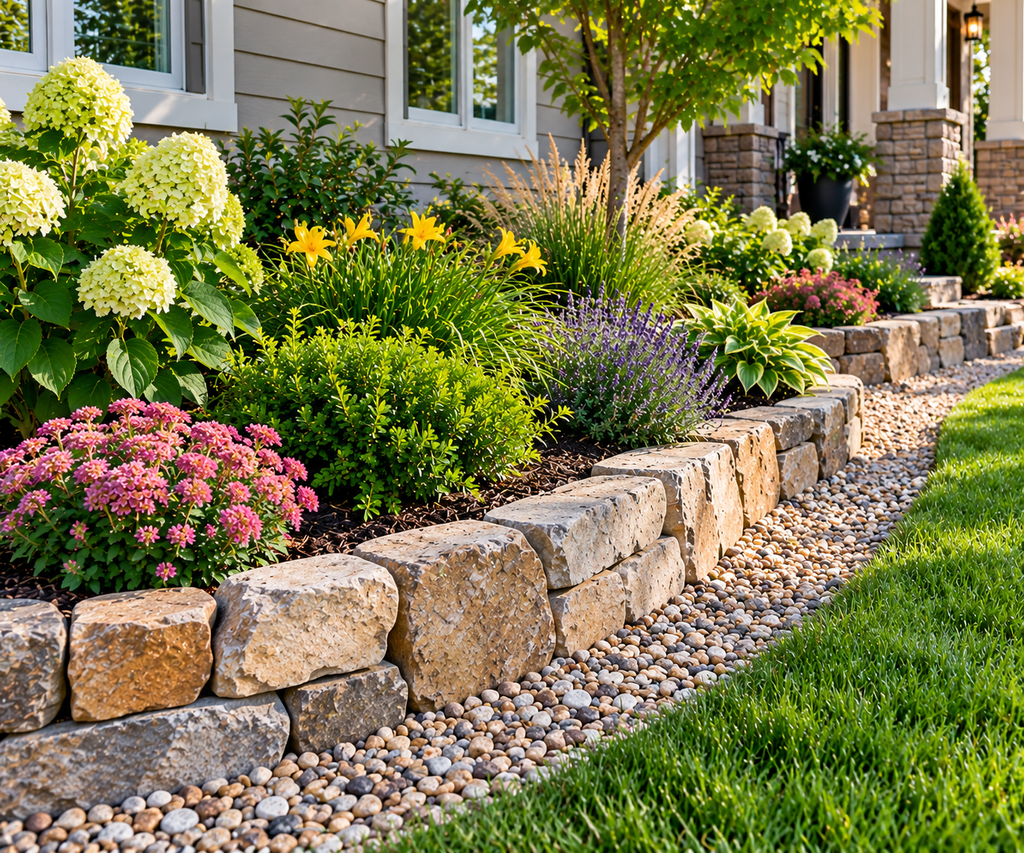
Bed edging that holds a clean line between lawn and garden is a small expense that changes how the whole yard looks. Plastic edging is cheap but tends to heave, crack and show above the soil. Treated lumber rots eventually. Stone edging lasts.
Options by budget: a simple trench edge (a V-shaped cut between lawn and bed) costs nothing but needs redoing each spring. A row of fist-sized to football-sized stones laid side by side costs a modest amount and works well on curved lines. Larger fieldstones or flat stones set on edge give a more formal result.
To keep stone edging from sinking or tilting, dig a shallow trench, set the stones partly below grade and pack soil or sand against them. If grass tends to creep across, a buried strip behind the stone, or a narrow gravel band between lawn and bed, makes mowing easier.
8. A Gravel Mulch Bed for Drought-Tolerant Plants
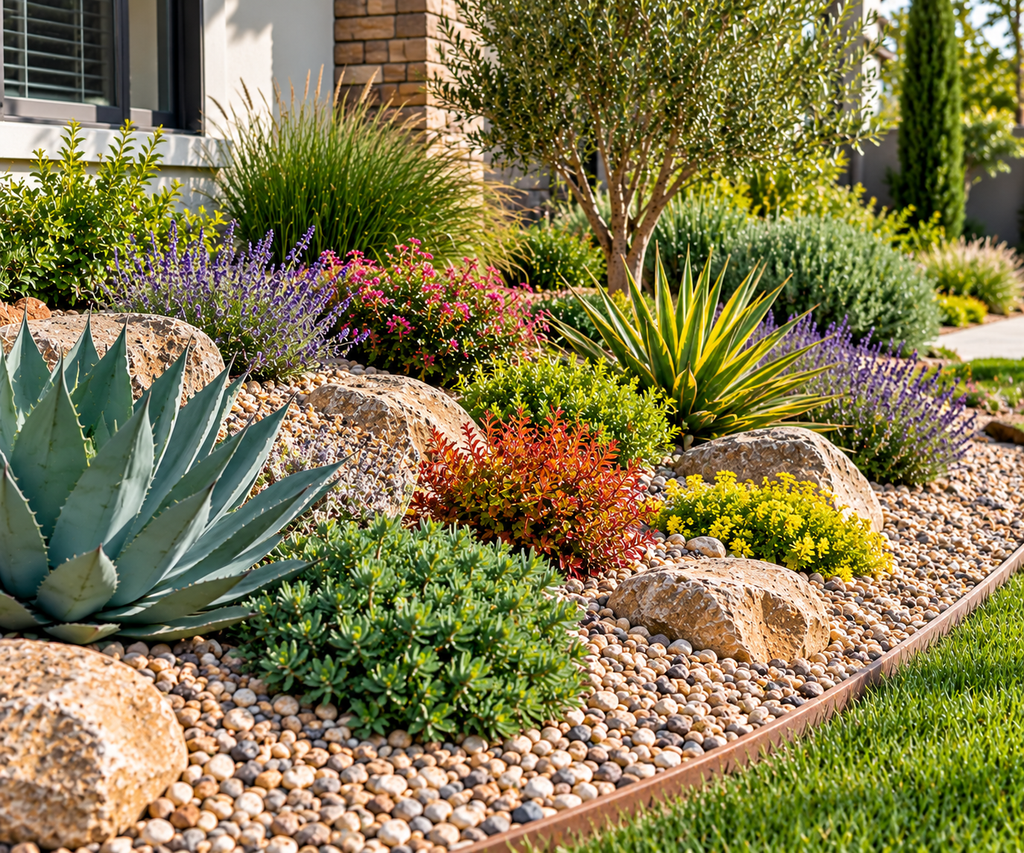
Gravel works as mulch for the right plants, and the wrong ones. Mediterranean-type plants such as lavender, sage, rosemary and many ornamental grasses prefer lean, dry soil and are happier with gravel around their crowns than with moist organic mulch, which can hold too much moisture against the stems. Gravel also doesn’t need replacing annually the way wood mulch does.
It’s the wrong choice around plants that like rich, moist soil, such as hostas, ferns and most vegetables. And stone absorbs heat, which can stress plants in a very hot, sunny, reflective site. In the hottest climates, keep stone away from the base of tender plants.
Keep the depth to about 2 inches. Over time, leaves and plant debris will break down on top of the gravel and create a thin layer of soil where weed seeds germinate. That is the main weakness of gravel beds, and a reason not to ignore them. A quick pass with a leaf blower in fall, and pulling weeds while they’re small, keeps maintenance manageable.
9. Fill Awkward Corners With Rock and Succulents
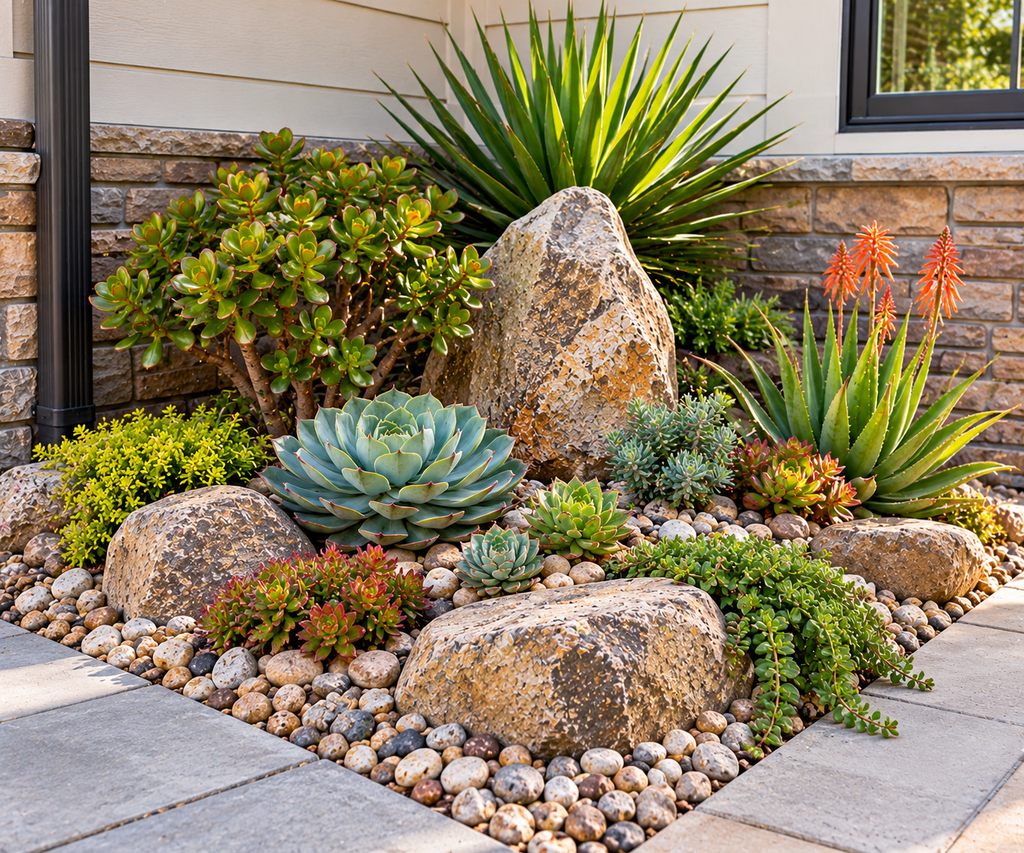
Hot, dry corners against south-facing walls, the strip between a driveway and a fence, or a narrow side yard often defeat conventional gardens. Succulents and stone can handle exactly these spots.
Hardy sedums and sempervivums survive cold winters in many regions, so you aren’t limited to tender succulents in warm climates. If you do live where winters freeze, check the plant’s hardiness rating rather than assuming. Tender types like echeveria and aloe are better as seasonal container plants in cold areas.
Succulents spread easily from cuttings and offsets, which is the cheapest way to fill a bed. A single hens-and-chicks plant produces offsets all summer that can be separated and replanted. If you have friends with established plants, ask for divisions.
Drainage is non-negotiable. Mound the planting area slightly or mix grit into the soil, and don’t overwater. Succulents die from too much water far more often than too little.
10. A Rain Garden Ringed With River Rock
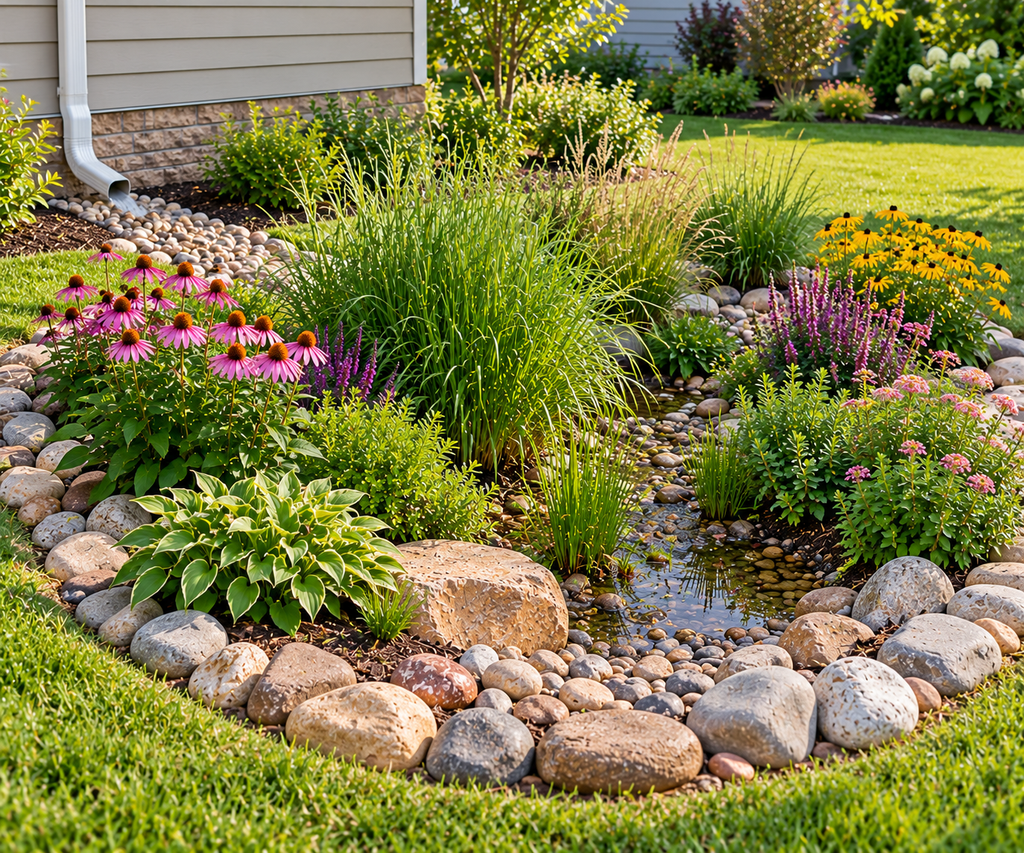
A rain garden is a shallow depression planted with water-tolerant native plants that collects roof or driveway runoff and lets it soak into the ground slowly. It reduces runoff and, once planted, needs little care. Rocks play a supporting role: river rock at the inflow slows the water and prevents erosion, and a ring of stone along the downhill edge defines the basin.
The site matters. A rain garden should be placed well away from the foundation, typically at least 10 feet, and not over a septic field. Soil that drains extremely slowly may not suit a rain garden without amendment. Local extension services and conservation districts often publish rain garden guides with sizing rules and recommended native plants, and some run cost-share programs or plant sales. This is worth checking before you buy.
Plant natives such as switchgrass, sedges, blue flag iris, or native asters, depending on your region. Native plants are usually inexpensive from local conservation district sales and suit local conditions.
11. Stepping Stones Through a Planted Border
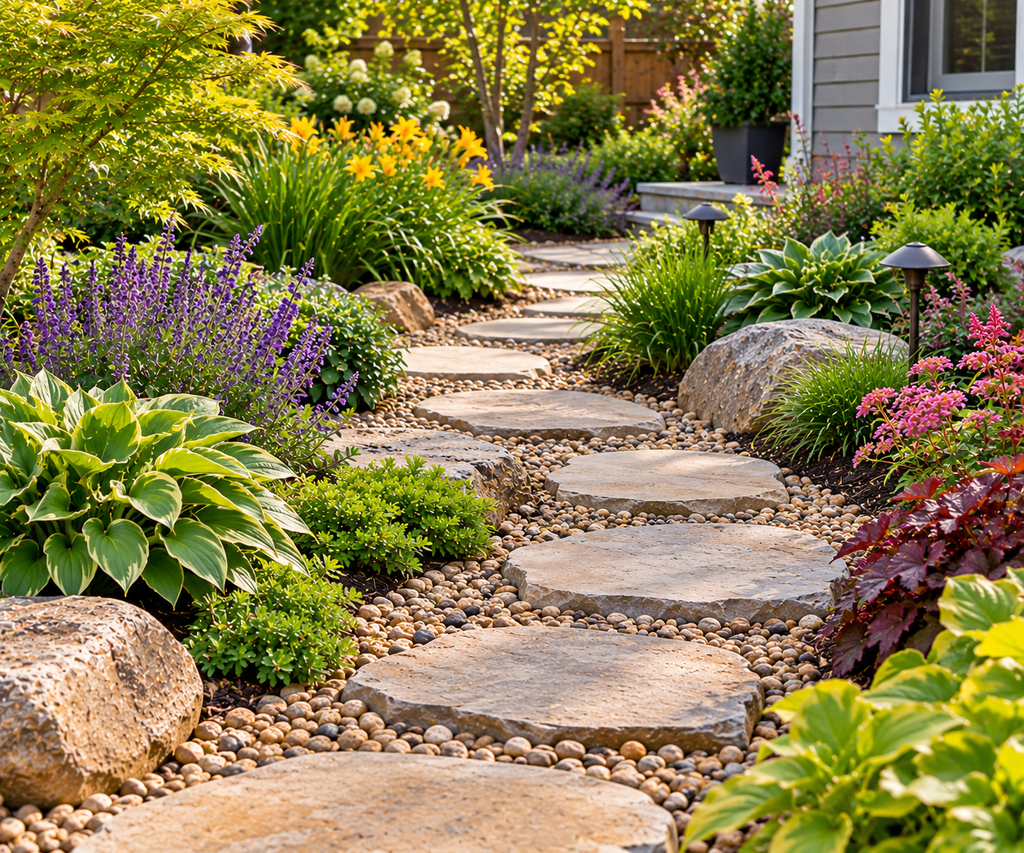
Stepping stones are the cheapest way to build a path through a garden bed, and they let the plants take center stage. Flat stones set into the soil, or into a groundcover like creeping thyme or Irish moss, add function without much visual weight.
Space stones for natural walking stride, about 24 inches center to center for most adults. Set each stone so the top sits flush with or slightly above the surrounding soil. Dig out the area, add an inch or two of sand or fine gravel, and test the stone with your weight; it should not rock.
Flagstone, slate and flat fieldstone all work. Irregular shapes cost less than cut or uniform pieces. Avoid very smooth stone in wet or shady spots, because it can turn slippery with algae or frost.
12. A Tiered Retaining Wall From Dry-Stacked Stone
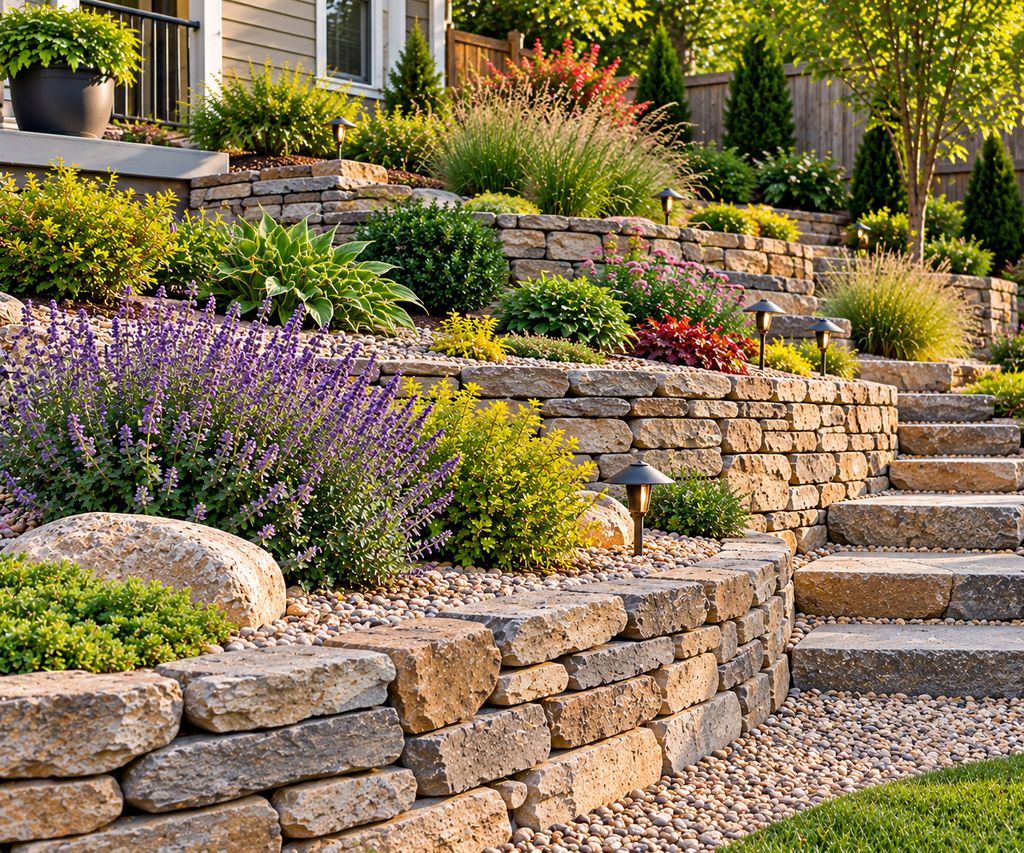
Low retaining walls tame a slope, create planting pockets and can double as seating. Dry-stacking, meaning no mortar, is the budget method, and it’s practical for walls under about 2 to 3 feet. Taller walls are different. Retaining walls over a certain height may require engineering and permits depending on your local code, and a failed wall is dangerous and costly. If your wall will hold back a significant slope, support a driveway or sit near a structure, consult a professional.
For a low wall, dig a trench and set the first course below grade on compacted gravel. Lean each course slightly back into the slope. Stagger the joints like brickwork, use your largest, flattest stones at the bottom, and backfill behind the wall with gravel for drainage. Plant trailing rock garden plants into the gaps and the top for a softer look.
Fieldstone is cheaper if it’s local. Manufactured retaining wall block is uniform and easier for beginners, and its cost is moderate, but it looks more formal.
13. Groundcover Plants Between Stones to Close the Weed Gaps
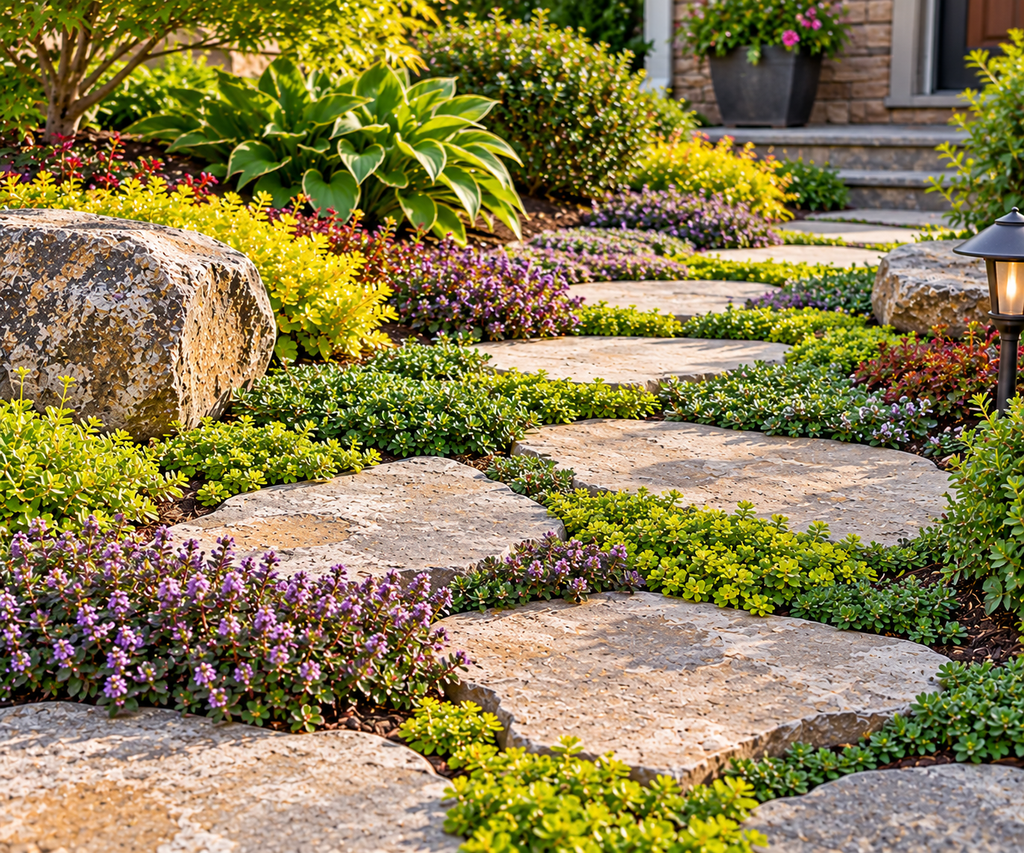
The weak point of nearly every stone feature is the space between the stones. Weeds find it. Planting low groundcovers in those spaces is cheaper than constantly pulling them out, and it makes the stone look established.
Creeping thyme, Irish moss, creeping Jenny, ajuga and sedum varieties tolerate light foot traffic and fill gaps. Match the plant to the light and moisture: thyme and sedum like sun and sharp drainage, while ajuga and creeping Jenny tolerate more shade and moisture. Check that the plant you choose is not invasive in your region. Some popular groundcovers spread aggressively into lawns and natural areas.
Plant small divisions or plugs and keep them watered for the first few weeks. Pull weeds by hand until the groundcover knits together.
Mistakes That Make Stone Landscaping Cost More Later
A few errors turn a cheap project into an expensive one:
- Skipping the base. Gravel without a compacted layer and edging sinks and scatters.
- Using fabric where plants will spread. Landscape fabric helps under gravel paths and patios, but it can interfere with self-seeding or spreading plants, and soil and debris will build up on top of it and grow weeds anyway.
- Choosing stone for looks only. Some stones, like limestone, can slightly raise soil pH over time, which matters near acid-loving plants. Dark stone holds more heat. Sharp stone can be hard on bare feet and pets’ paws.
- Piling stone against wood or siding. Keep gravel and mulch a few inches away from house siding and wood structures to avoid trapping moisture and giving pests a pathway.
- Planting too densely or too sparsely. Check each plant’s mature spread. Overplanting wastes money and causes crowding. Underplanting leaves gaps for weeds.
Safety and Practical Notes
Stone is heavy. Lift with your legs, wear gloves and sturdy boots, and use a wheelbarrow, hand truck or cart for anything more than a few pounds. Wear eye protection when breaking or chipping stone, and a dust mask when working with fine stone dust. Before digging, call 811 in the US to have underground utilities marked. It is free, and it prevents hitting gas, electric or water lines. Check local rules on drainage changes, retaining walls and fences, since some areas require permits.
Frequently Asked Questions
Does landscape fabric under gravel really stop weeds?
It slows them, but doesn’t stop them. Weeds eventually root in the debris that settles on top of the gravel. Fabric mainly prevents the gravel from mixing into the soil beneath, which is its more reliable benefit.
How deep should gravel be in a garden bed?
About 2 inches is typical for planted beds. Paths and patios need a compacted base beneath that surface layer.
Will gravel make my plants too hot?
It can in very hot, sunny, reflective sites, especially for plants that like cooler roots. Light-colored stone reflects more heat than it absorbs but also bounces light up at the foliage. Choose plants suited to your conditions and keep stone back from the base of tender plants.
Can I do this on a slope?
Yes, with care. Larger stones stay put better than small gravel, and terracing or a stone edge helps. Steep slopes may need a professional assessment.
Key Takeaways
The main savings in stone landscaping come from buying in bulk, doing the base work properly, and planting small, spreading plants instead of large nursery specimens. Start with one project, such as an edged path, a dry creek bed that fixes an existing drainage problem, or a rock garden on a difficult slope, and expand from there. Get a delivery quote from a local supplier first, since that single number usually decides which of these ideas is realistic for your yard.

About Syprose Kiche
Syprose Kiche is the creator and writer behind My Besuited Home, a practical home and garden website covering DIY projects, gardening, lawn care, landscaping, home improvement, and outdoor living. She focuses on turning everyday homeowner questions into clear, practical guides backed by careful research and useful real-world considerations.