
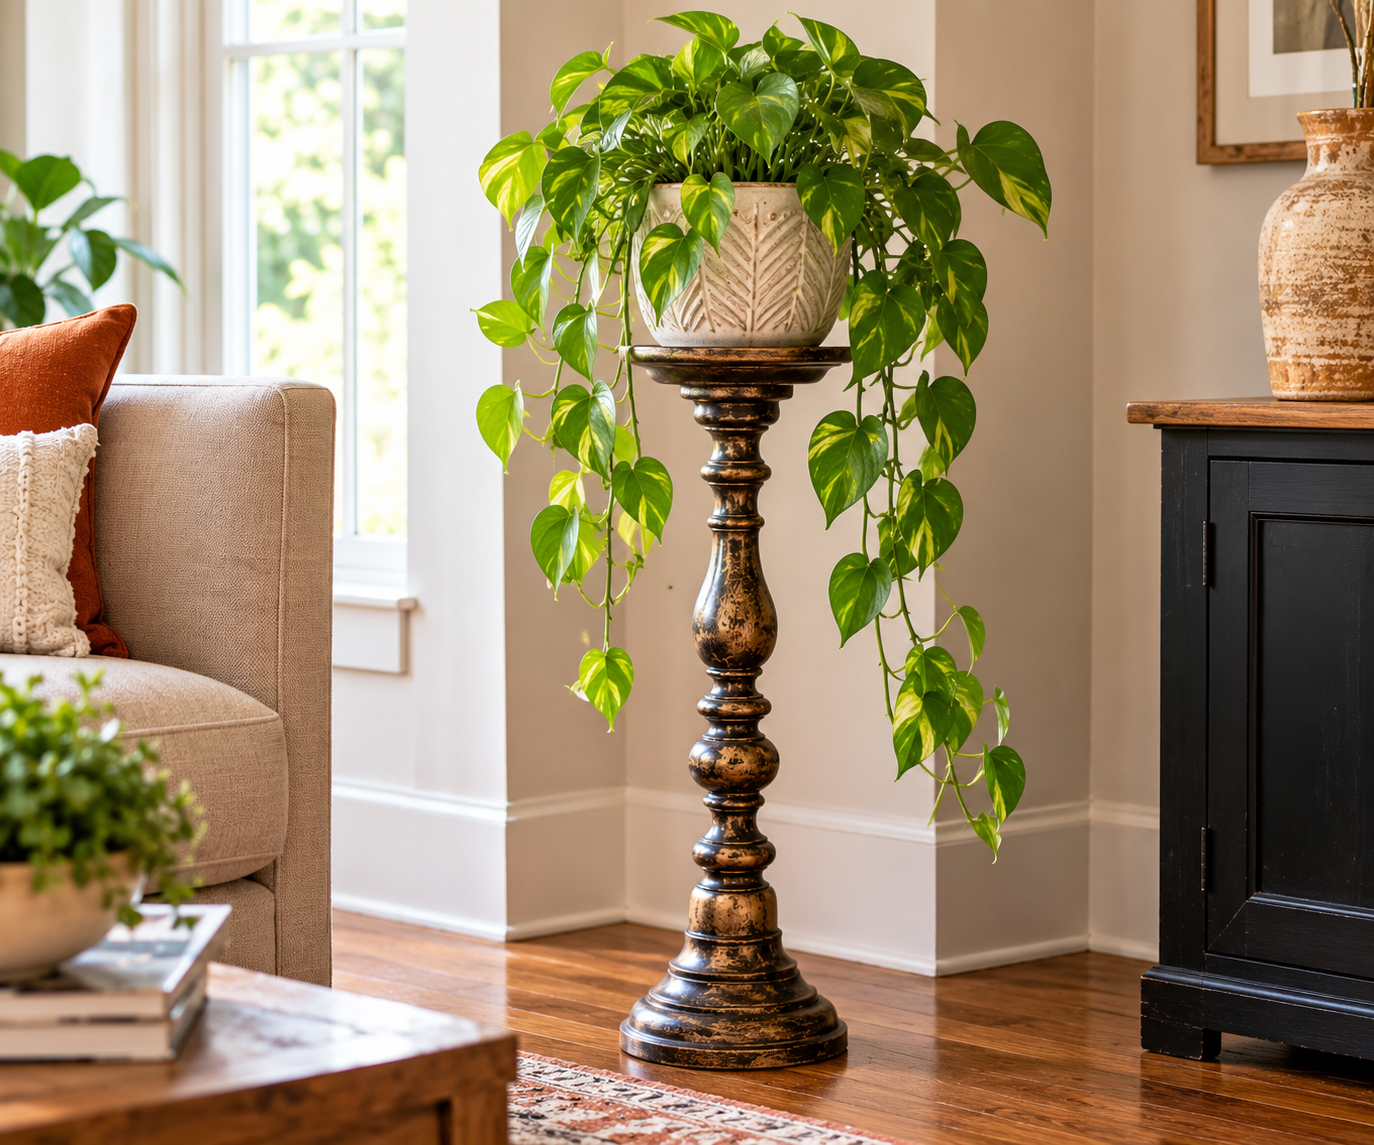
Most homemade plant stands fail in one of three ways. They wobble, they can’t carry the pot once it has been watered, or they trap moisture against the floor or deck underneath. A stand that looks right in a photo can still do all three. Height, weight, drainage, and material matter more than the style of the stand.
The 15 projects below are grouped by material: candlesticks and candle holders, wood, metal, and garden-style outdoor stands. Each one lists what it suits and what to watch for. A short planning section comes first, because the decisions there apply to every project.
Before You Build: Four Decisions That Shape Every Stand
Weigh the pot first
A watered pot is much heavier than most people expect. Water weighs about 8.3 pounds per gallon, and potting mix holds a lot of it. As a rough guide, a 12-inch pot with a mature plant can pass 20 pounds right after watering, and large outdoor planters can pass 50. These are estimates, so weigh your own pot on a bathroom scale after a thorough soaking. Build for that number, then leave a margin. A stand rated for exactly the weight of the pot has no room for the plant to grow.
Decide where the water goes
Indoors, every stand needs a saucer or tray, and the stand’s top surface should survive an occasional spill. Raw wood does not. Outdoors, water needs a way to drain freely through or around the stand. A solid top that lets water pool under the pot will rot a wooden stand and stain a concrete patio.
Match the material to the location
Untreated pine is fine in a dry hallway and will deteriorate quickly on a covered porch. Cedar and redwood resist decay better than most common lumber, and pressure-treated lumber is built for outdoor use. Bare steel rusts, which can be a feature in a garden and a problem on a light-colored deck. Terracotta absorbs water and can crack in freezing weather. Decide where the stand will live before choosing what to build it from.
Think about height and light
Raising a plant changes its light. A stand that lifts a fern toward a window helps. One that pushes a sun-sensitive plant into a bright south-facing glass pane may scorch it. Measure the spot, including the distance to the window or the shade line, before you cut anything.
Candle Holders as Plant Stands
Candlesticks are some of the cheapest sturdy bases you can find. Thrift stores, estate sales, and garage sales are full of them, and the shapes (a wide foot, a narrow stem, a flat top) are what a plant riser needs. Their limits are size and breakability.
1. The Single Candlestick Riser
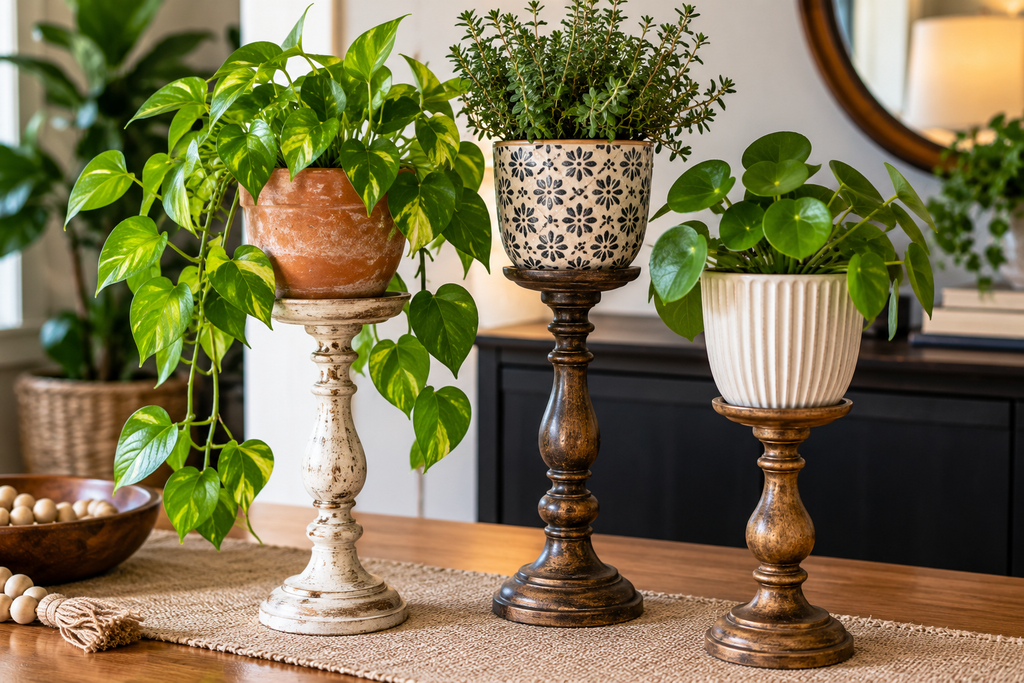
The idea is to set a small pot on a candlestick, usually one that has a flat or slightly cupped top, so the pot sits above a shelf or table.
What it suits: Small pots, roughly 3 to 5 inches wide, holding things like succulents, air plants in a saucer, or a small African violet. Heavier brass, iron, or ceramic holders carry more weight than thin glass or silver-plated ones.
How to make it: Choose a holder with a base at least as wide as the top. Check it for wobble on a flat surface. Set a saucer or a shallow dish on top of the cup or platform, then place the pot on the saucer. If the holder has a candle socket, you can wedge a cork disk in it or fill the socket with a small amount of florist putty to keep the saucer from sliding.
What to watch: Thin glass candlesticks can crack under uneven weight, so save them for very light plants. If a holder is vintage and has chipped painted decoration, treat it cautiously. Paint on items made before 1978 in the U.S. can contain lead, and it is better to skip a chipping piece than to sand or scrape it.
2. A Two- or Three-Tier Stand from Candlesticks and Plates
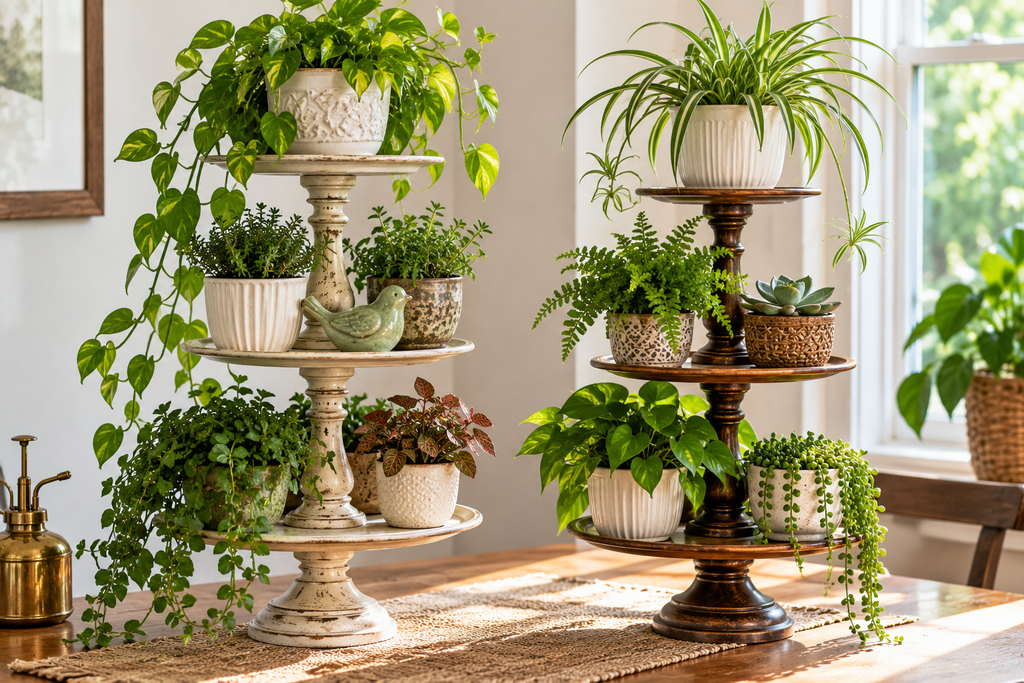
This is the same trick used for homemade cake stands. Two or three candlesticks of different heights hold plates or shallow dishes at staggered levels, each carrying a small pot.
What it suits: A cluster of small herbs, succulents, or starter pots on a kitchen counter, where you want height variation without a shelf.
How to make it: Pick plates with a flat center. Stack them with the candlestick between each pair, from largest plate at the bottom to smallest at the top. Bond each joint with a two-part epoxy or a strong adhesive labeled for glass and ceramic, and follow the label on cure time and ventilation. Let it cure fully before adding any soil.
What to watch: Adhesive joints take mostly downward load and handle sideways knocks poorly. Keep this stand somewhere it will not get bumped, and keep the heaviest pot on the bottom tier. The glued joints are permanent, so dry-fit every piece first.
3. A Tall Floor Candle Holder as a Pedestal
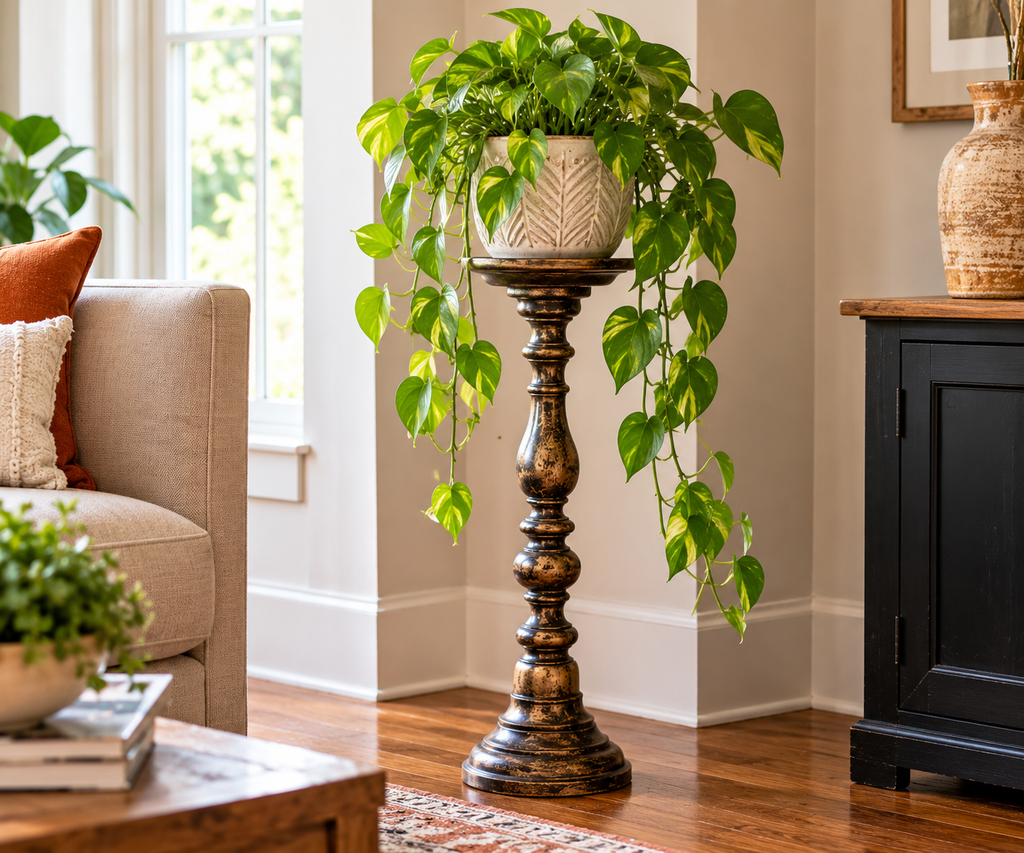
Tall wrought-iron or wooden floor candle holders, which usually stand 2 to 4 feet high and carry a single large candle, make good pedestal stands. They lift a trailing plant so its stems can hang down.
What it suits: Trailing plants such as pothos, string of hearts, or ivy in a medium pot, where the vines can spill over the sides.
How to make it: Many floor holders have a metal cup or a wide plate at the top. If the top is a spike, replace it by removing the spike (many unscrew) and fitting a round wooden or metal plate cut to the pot’s footprint. Test stability by pressing down on the top and nudging sideways before any plant goes on.
What to watch: Tall, narrow stands tip over more easily than short wide ones. The pot’s weight above a small base makes this worse. Keep it away from pet and child traffic, and put a felt or rubber pad under the base to protect floors.
Wooden Flower Pot Holders and Planter Stands
Wood is the easiest material to work with at home. A circular saw or handsaw, a drill, and a few screws will handle most of it. The main decision is whether the stand is for indoors or out.
4. Cut-to-Height Wood Block Risers
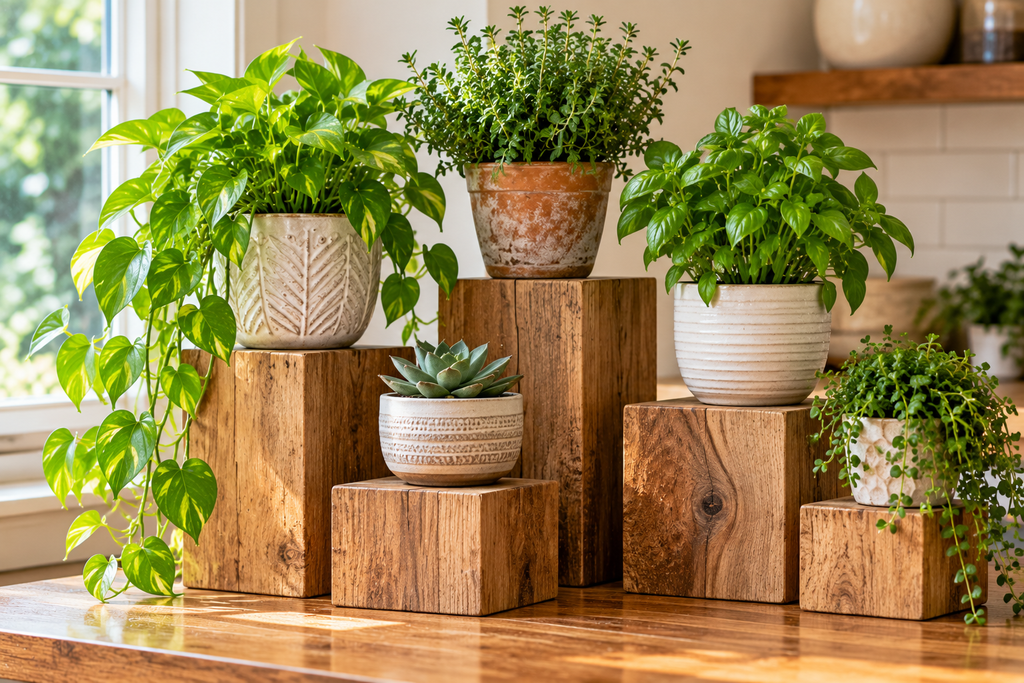
A set of three blocks of different heights, usually cut from a 4×4 post, lets you group pots at varied levels without building a full stand.
What it suits: Grouping several pots on a windowsill, a patio table, or a low shelf, so smaller plants are not hidden behind larger ones.
How to make it: A 4×4 is actually about 3.5 by 3.5 inches. Cut sections of, say, 4, 6, and 9 inches, sand the cut ends flat, and check they sit level. For wider pots, glue two or three blocks side by side or use a 6×6 post.
What to watch: Indoors, a block under a pot with a saucer is fine, but a block that sits in water will stain and rot. Seal all surfaces, including the cut ends, which absorb moisture the fastest. If the block lives outdoors, choose cedar or treated lumber and keep it off bare soil if you can.
5. A Four-Leg Wooden Planter Stand
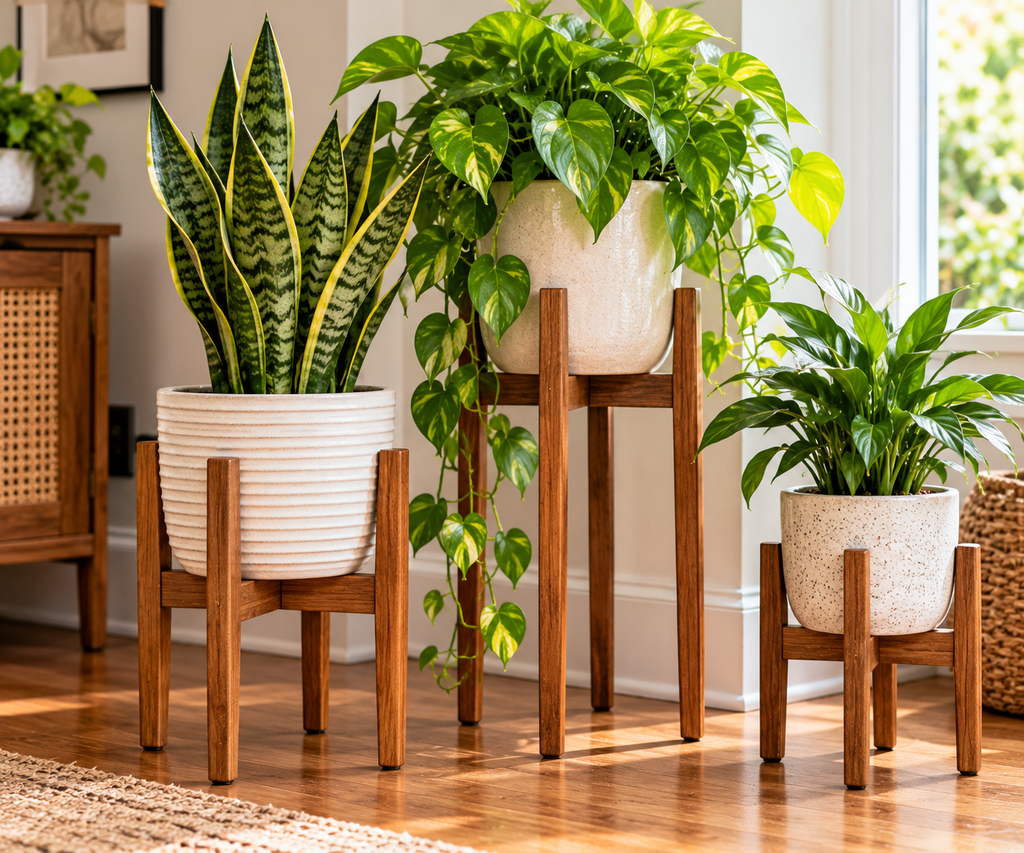
This is the classic stand: a square or rectangular top with four legs, built to lift a medium or large planter 12 to 20 inches off the ground.
What it suits: Medium pots on a porch or in a living room, or a window planter where height is needed.
How to make it: A common build uses 2×2 legs and a top frame of 1×4 boards, with slats across the top spaced a quarter to a half inch apart for airflow and drainage outdoors. Cut four legs to the same length. Join the top frame with exterior screws, attach legs inside the corners, and add a lower stretcher between the legs, which stops the legs from racking. Drill pilot holes, especially near board ends, to prevent splitting.
What to watch: Plan for the weight of the full pot. If it will carry a pot heavier than about 30 pounds, move up to 2×4 legs and add a second stretcher. Corrosion-resistant screws matter outdoors, because plain steel screws can stain cedar and weaken at the joint over time. Check the lumber tag if you use pressure-treated wood, and follow the manufacturer’s guidance on handling and on food gardens. Wear a dust mask when cutting or sanding it.
6. An Old Wooden Stepladder, Repurposed
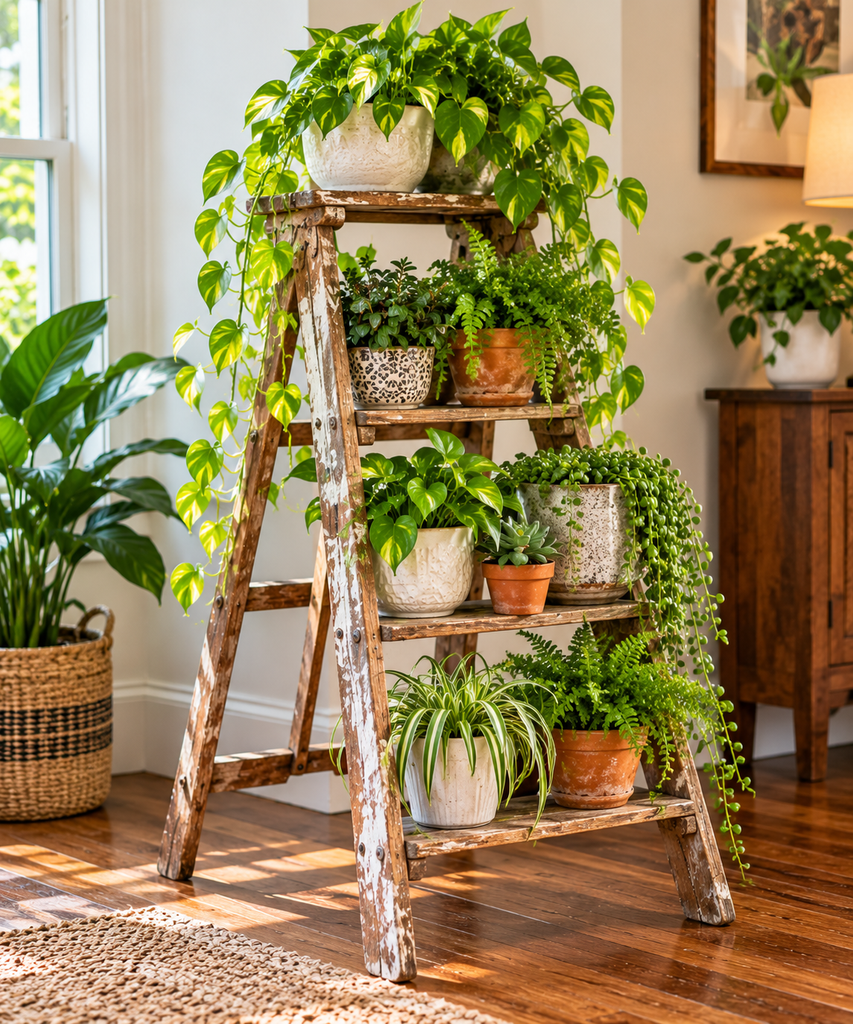
An old wooden stepladder already has stable legs and multiple levels, which makes it a ready-made tiered stand.
What it suits: A cluster of small and medium pots in a sunroom or on a covered porch.
How to make it: Check that the joints are tight and the legs are even. Lay boards across the steps to create wider shelves, or simply place pots on each step if they fit. Lock the spreader arms so the ladder cannot fold, and add felt pads to the feet.
What to watch: Old ladders are often painted, and paint on vintage pieces can contain lead. If the finish is flaking, either skip the ladder or have it tested before sanding, and seal the surface with a fresh coat. Do not lean a heavy load on one side. Keep heavier pots on the bottom steps, and never let it stand on a slope.
7. A Stacked Wooden Crate Stand
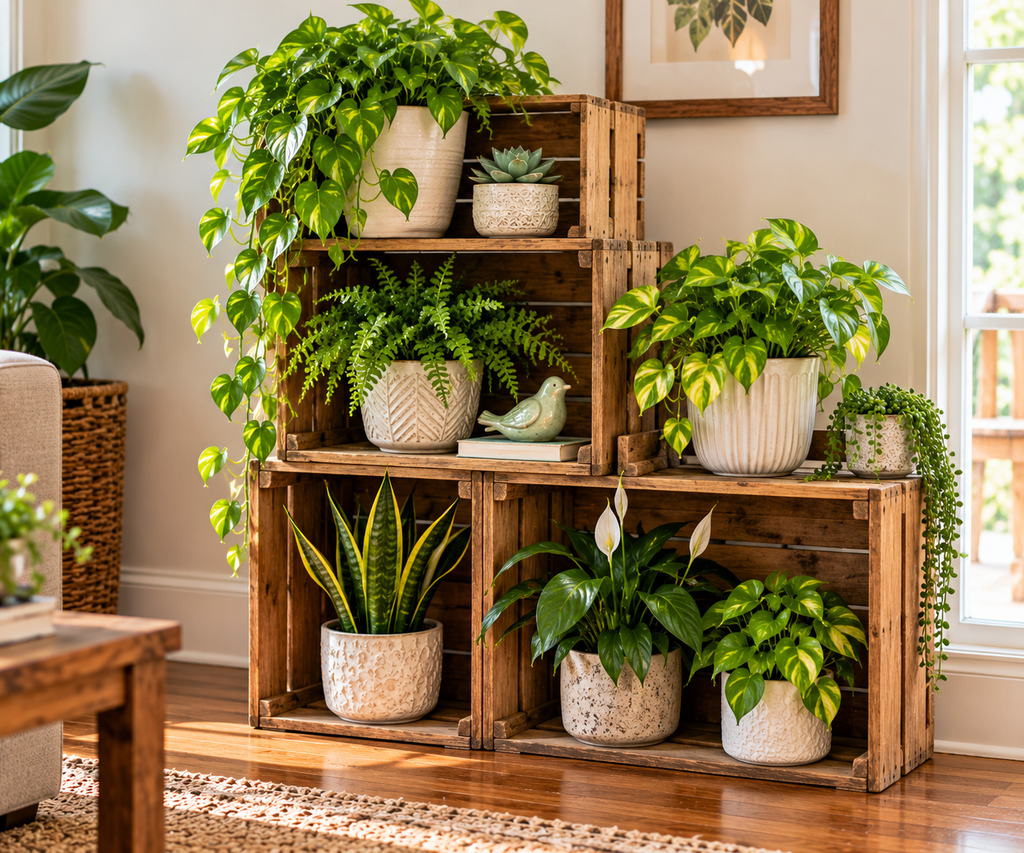
Wooden crates screwed together in staggered positions create a bookcase-like stand with open cubbies, and they are easy to adapt to the space you have.
What it suits: Mixed small pots and trailing plants on a patio or in a mudroom.
How to make it: Stack two to four crates and screw them together through the sides. Rotate some crates to open sideways for variety. If you use crates from a store, check that they never held chemicals. If you use pallet wood, look for the heat-treated “HT” stamp and avoid pieces marked “MB,” which indicates methyl bromide fumigation.
What to watch: Crates are lightweight, and tall stacks can lean. Anchor tall stacks to a wall indoors and keep outdoor stacks to two levels unless they are fastened to a fence or railing. Line each cubby floor with a plastic saucer.
8. Log Round Stands
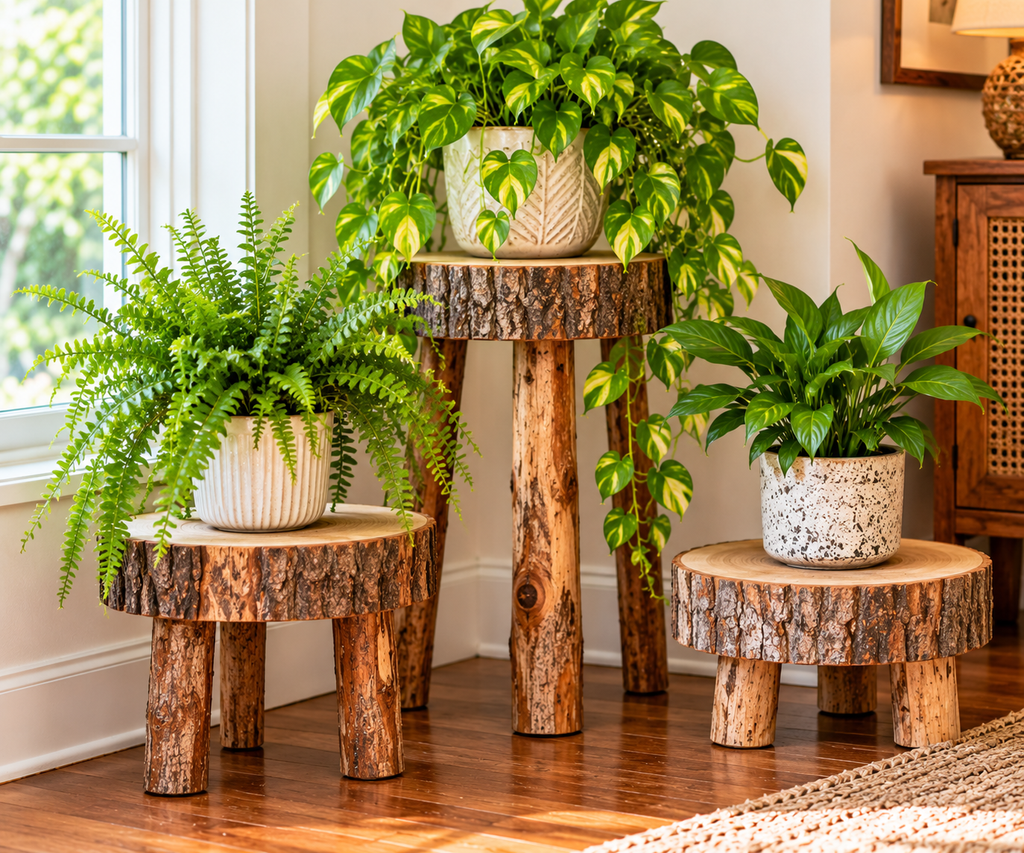
A slice cut across a log, about 3 to 5 inches thick, works as a rustic plant base in garden settings.
What it suits: A single pot on a patio or garden bed, where a natural look is wanted.
How to make it: Use seasoned (dried) hardwood. Green wood cracks as it dries and can split quickly. Remove loose bark, sand the top flat, and seal all surfaces with an exterior wood sealer.
What to watch: Logs on bare soil rot, and logs brought indoors can carry wood-boring insects. For indoor use, buy kiln-dried slices from a supplier rather than using wood cut from a tree outdoors.
Metal Pot Holders and Plant Stands
Metal is stronger for its size than wood and looks lighter. It also needs more care with sharp edges, coatings, and rust.
9. A Hairpin-Leg Stand with a Wooden Top
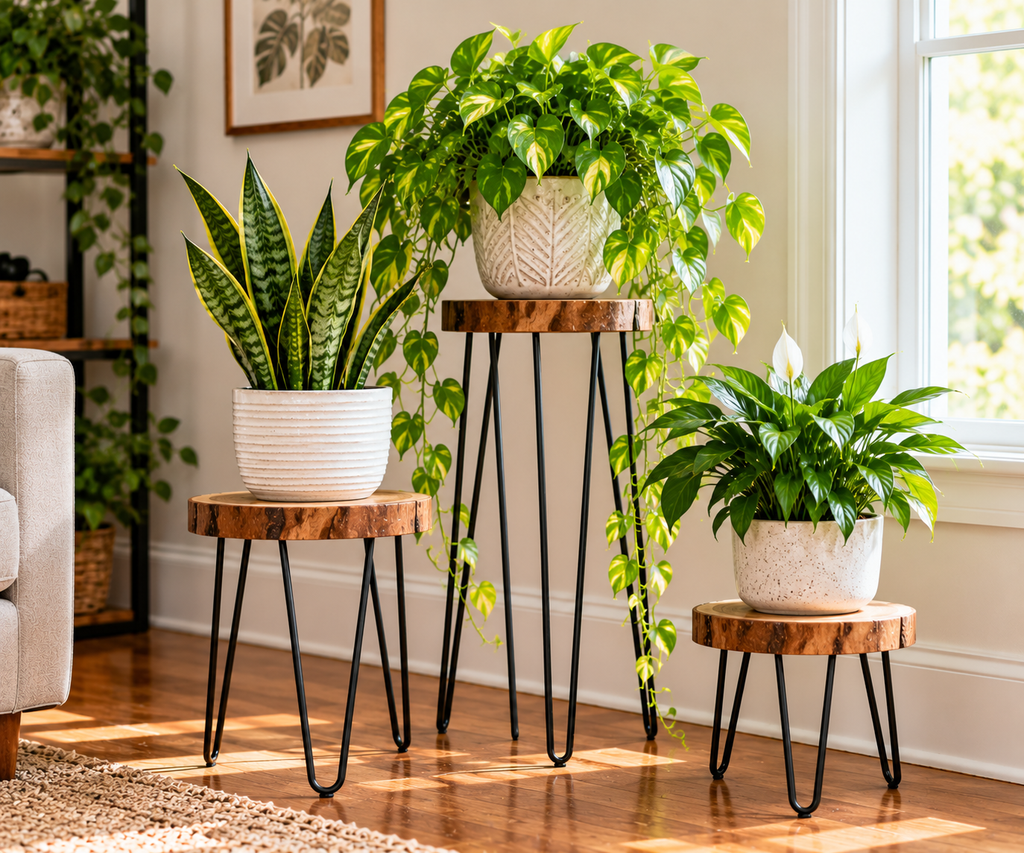
Hairpin legs are steel rods bent into a U shape that attach to the underside of a board. They are sold in sets and in heights from about 6 to 28 inches.
What it suits: Indoor stands of a mid-century look, lifting a medium plant near a window.
How to make it: Choose a board 3/4 to 1 inch thick, such as hardwood or good plywood, and cut it round or square to fit the pot with a bit of overhang. Position the leg plates near the corners, mark the screw holes, and drill pilot holes. Use screws shorter than the board’s thickness so they do not poke through.
What to watch: Hairpin legs flex slightly, and a wide stand with only four legs can rock under off-center weight. For a pot heavier than about 25 pounds, add a center support or choose heavier legs. Check each leg set’s weight rating, because they vary by manufacturer.
10. A Black Iron Pipe Stand
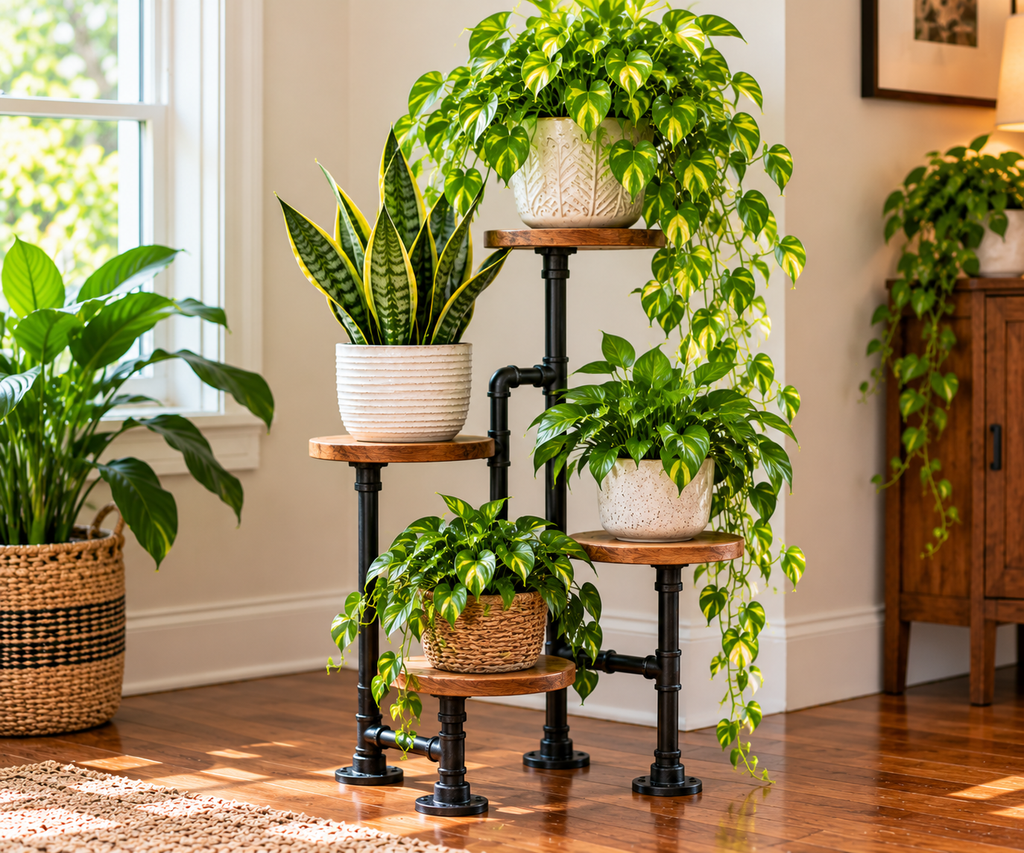
Black iron pipe, the kind used for gas lines, gets used in DIY furniture because it screws together without welding. A top board, four floor flanges, four pipe nipples, and four additional flanges or caps make a very stable stand.
What it suits: A heavy pot in a living room or on a covered porch, where a strong industrial style fits.
How to make it: Screw a floor flange to each corner of the underside of a wooden top. Thread a pipe nipple into each flange. Finish each leg with a flange or cap as a foot. A second flange at the bottom gives a wider footprint and can take a felt pad.
What to watch: New black pipe is usually coated with oil. Wipe it with mineral spirits or a degreaser, wearing gloves, before assembly, and let it dry. A coat of rust-inhibiting paint or clear sealer helps it last. Tighten the threads firmly, then check them again after a week, as joints can loosen slightly under load.
11. A Repurposed Metal Stool or Side Table
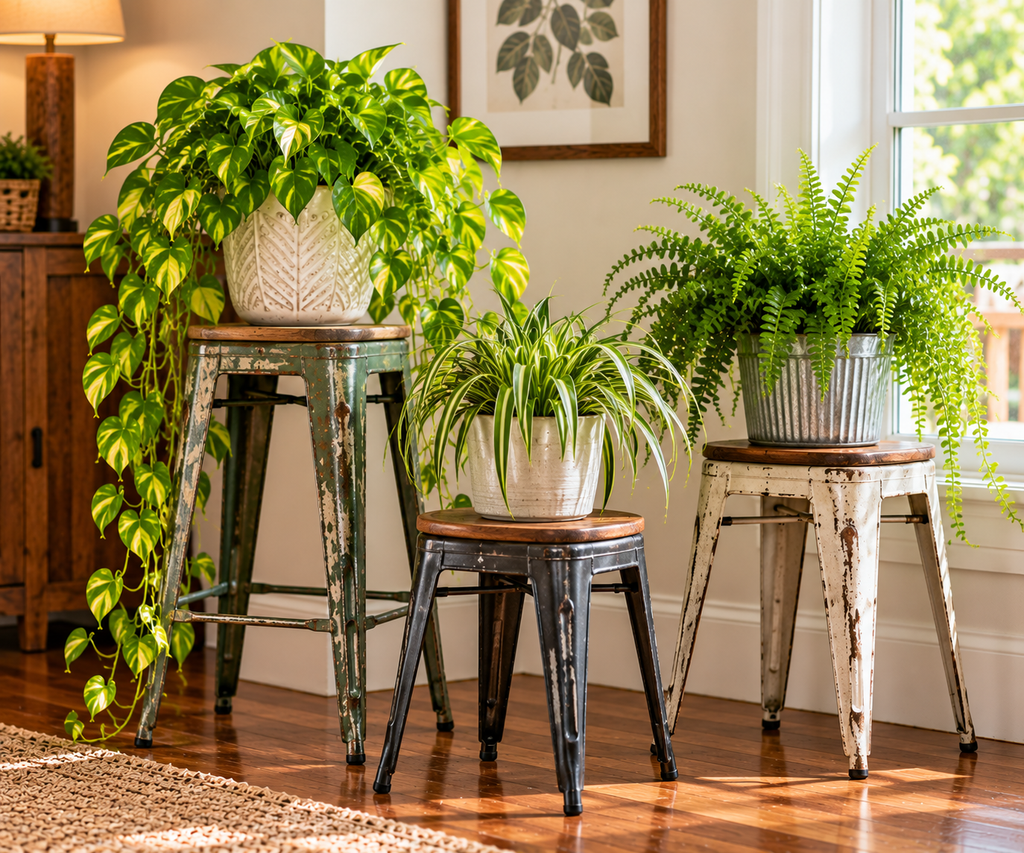
An old metal stool, a small bistro table, or a wrought-iron side table can already be the right height. They only need cleaning and perhaps a coat of paint.
What it suits: Porch and patio use, especially where one sturdy stand is wanted without any building.
How to make it: Wire-brush loose rust, wipe it down, and apply a rust-converting primer and a paint labeled for metal. Add rubber feet.
What to watch: Rust stains. Even painted metal can drip onto light concrete, wood decking, or stone, so place a tray under the pot, or put rubber pads under the legs. Check that the seat or top is not cracked, and test its strength with your hand before placing a full pot on it.
Garden Pot Stands and Plant Holders
These projects are built for outdoor use, and most of them are cheaper than anything above. They also tend to be heavier and more forgiving.
12. A Cinder Block and Board Tiered Stand
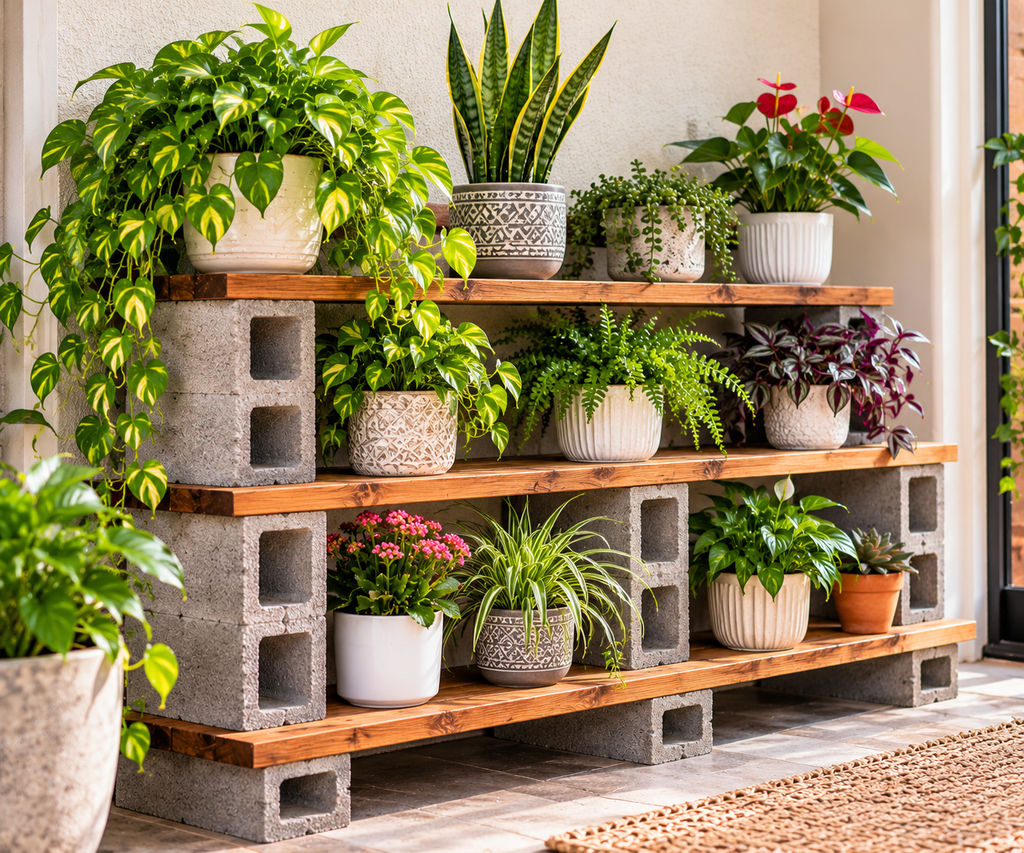
Concrete blocks and wooden boards make the quickest tiered stand to build. A standard 8x8x16 block (the real dimensions are closer to 7-5/8 by 7-5/8 by 15-5/8 inches) holds a board at one height, and a second row adds a second level.
What it suits: A row of pots on a patio, balcony, or garden edge, particularly heavy ones.
How to make it: Place two blocks on level ground, lay a 2×10 board across them, and repeat with shorter or taller stacks. Use construction adhesive between stacked blocks for stability. Cedar or treated boards last longer than untreated pine.
What to watch: A block often weighs 30 to 40 pounds, so handle it carefully. The hollow cores can collect standing water, so turn the openings sideways or fill them with sand. Keep the stack low, since a multi-level stand can topple on uneven ground. Shim the blocks level before the boards go on.
13. A Terracotta Pot Riser Tower
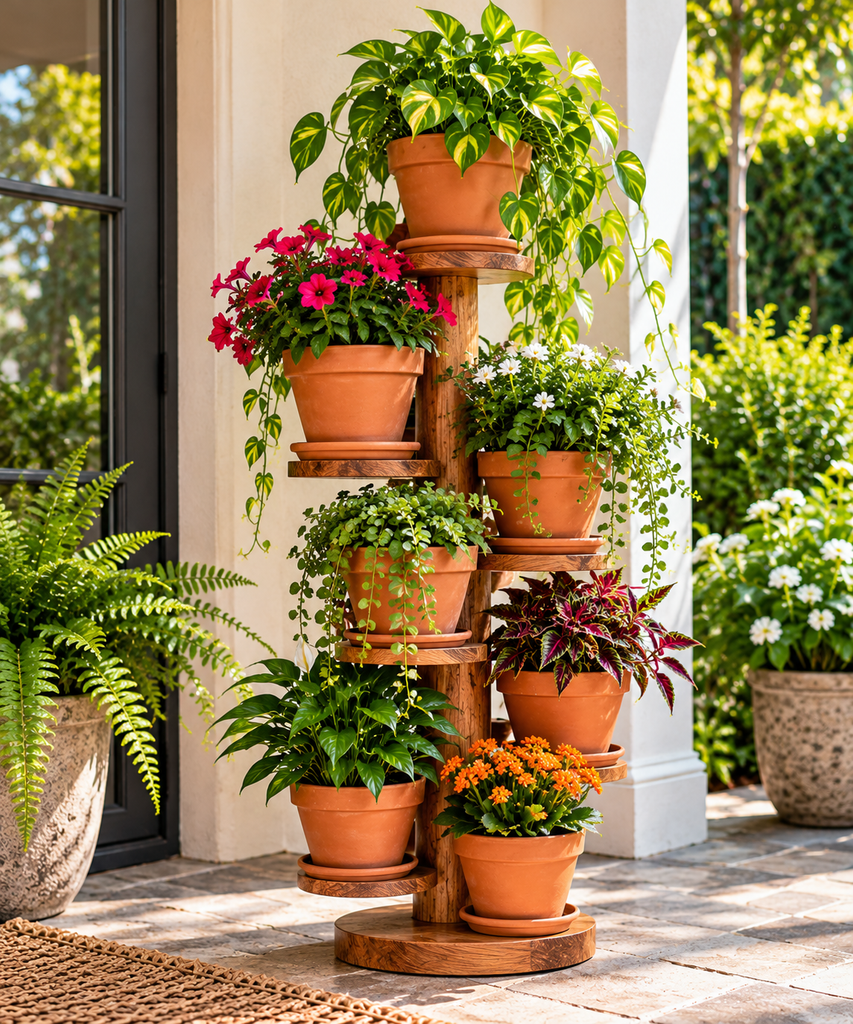
Terracotta pots turned upside down make sturdy risers. The flat base of an inverted pot supports another pot or a saucer.
What it suits: Short outdoor risers for small herb pots or succulents, particularly where the risers should match the pots.
How to make it: Turn an empty pot upside down and place a saucer on its base. Set the planted pot on the saucer. For a two-level tower, use a smaller inverted pot on a larger one, with a saucer between them.
What to watch: Terracotta absorbs water and can crack in freezing temperatures, so bring risers indoors or cover them in winter. Wind can tip a stack, so keep it short and use heavier pots at the base. Keep the inverted pot’s drainage hole free of debris, since water pooling inside breeds mosquitoes in some climates.
14. A Rolling Plant Caddy
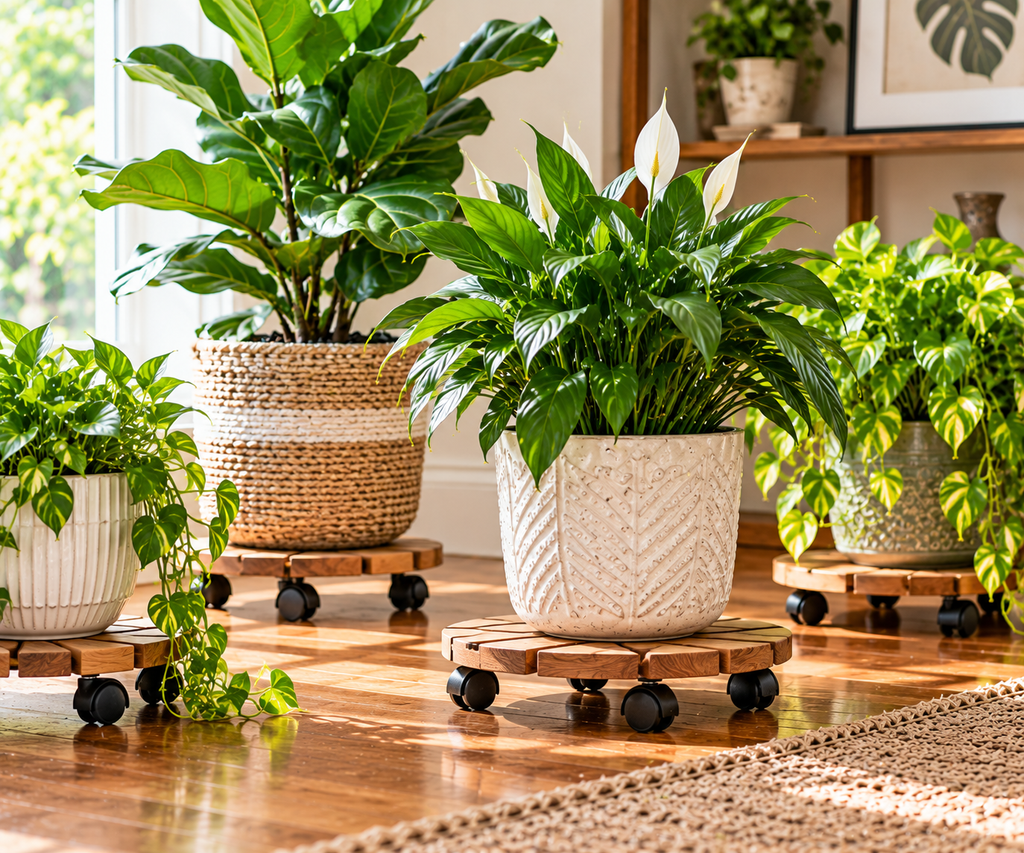
A caddy is a flat platform with casters, built so a heavy pot can be moved without lifting it.
What it suits: Large pots that need to move with the seasons, such as a tropical plant that spends summers outdoors and winters inside.
How to make it: Cut a piece of 3/4-inch plywood, preferably exterior grade, a couple of inches wider than the pot base on each side. Attach four locking swivel casters near the corners with screws or bolts sized for the plywood thickness. Add a plastic saucer on top, and seal the plywood’s edges.
What to watch: Casters carry a weight rating per wheel, so add up the capacity of all four with a margin. Locking casters are worth the extra cost, since a rolling pot on a slope is a hazard. Do not use a caddy on stairs, and think about the surface. Hard plastic wheels can scratch wood floors and are best on tile, concrete, or carpet.
15. A Macramé or Rope Hanging Holder
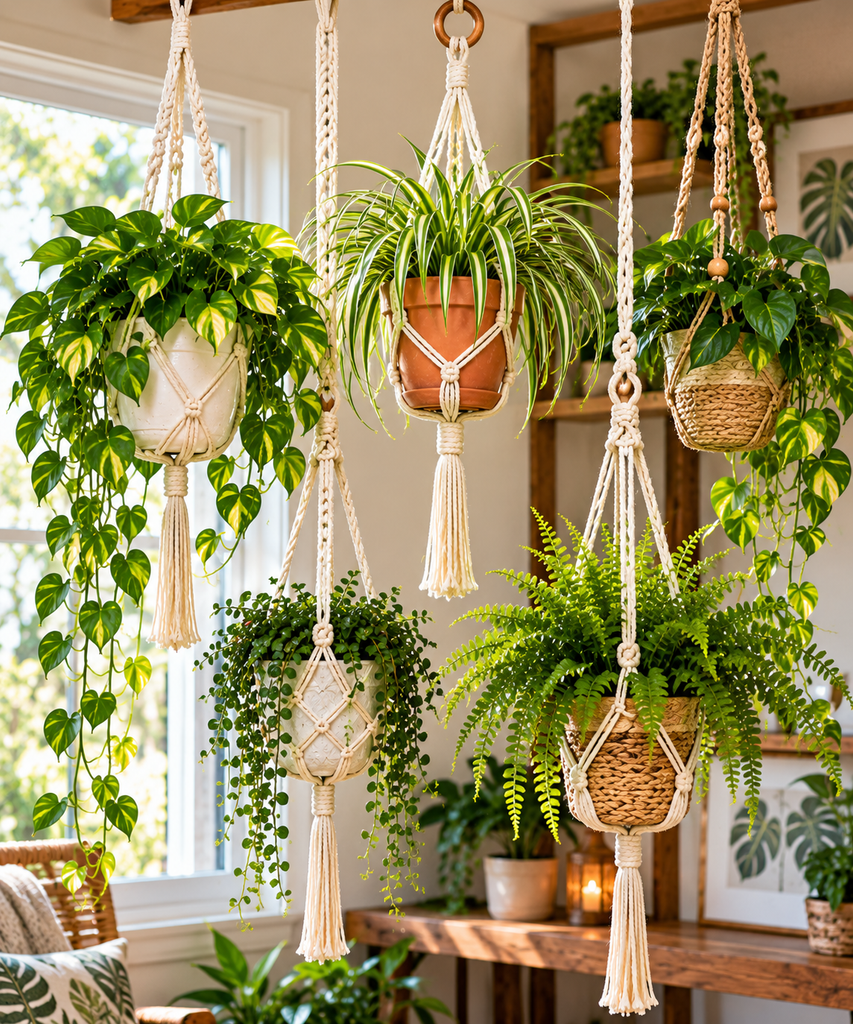
A hanging holder is technically a plant holder rather than a stand, but it solves the same problem: getting a plant up to a place where it can be seen and where light can reach it.
What it suits: Trailing and bushy plants in light-to-medium pots, hung from a hook near a window or on a covered porch.
How to make it: Cut four to eight cords of cotton rope, around 4 mm thick, to about 8 feet each. Fold them in half over a ring, tie them together with a wrapping knot just below it, then divide them into groups and tie spaced knots to form a net. Test the holder with the pot at its full wet weight before hanging it.
What to watch: The hook is more important than the knots. Adhesive hooks are not suitable for most pots. Screw a ceiling hook into a joist or use a heavy-duty anchor rated for far more than the pot’s weight. Jute and some cotton cords degrade outdoors in sun and rain, so check them each season and replace any frayed rope.
Finishing and Maintenance: What Keeps a Stand Working
A stand fails slowly at the finish. A few habits help.
Seal wood on all faces. Moisture creeps in at the bottom and the cut ends, not just the top. Exterior polyurethane, spar varnish, or an outdoor wood sealer all work. Follow the label on ventilation and dry time, and wear a respirator or mask when the label calls for it.
Add feet. Felt pads protect indoor floors. Rubber pads protect decks and keep rust or moisture from marking surfaces. Plastic feet keep wood off wet ground.
Check fasteners twice a year. Screws loosen with temperature swings and with repeated watering. A quick check each spring and fall prevents wobble.
Level the stand on its surface. A stand that rocks slightly puts uneven stress on its joints. Use shims or adjustable feet.
Anchor tall pieces. Anything taller than it is wide needs a wall anchor if kids, pets, or strong wind are part of the picture.
Questions Worth Asking Before You Start
Can I put a pot without a drainage hole on a stand?
Yes, but treat the outer pot as a decorative cover, called a cachepot, and keep the plant in a nursery pot with drainage inside it. Lift the inner pot out to water, let it drain, and put it back. Leaving water standing in a sealed container is one of the most common ways to rot roots.
Will plants on lower tiers still get enough light?
Often not. A tiered stand shades the plants beneath the upper levels. Put sun-loving plants on the top tier and shade-tolerant ones lower down, and rotate pots occasionally. Space tiers far enough apart that leaves do not touch the shelf above.
How do I keep a stand level on an uneven deck or patio?
Use adjustable leveling feet, or thin plastic or composite shims under the short legs. Wood shims soak up water and rot outdoors, so choose plastic. For a heavy stand on a slope, a flat paver set into the surface gives a stable pad.
Final Thoughts
Pick the stand by the pot’s weight and the stand’s location, then choose the style. Weigh a full pot first, decide whether the stand will sit indoors or outside, and choose a material that survives that location. For a first project, the cut-wood risers, a repurposed stool, or the cinder block tiers need almost no skill and carry real weight. The candlestick and hairpin designs reward careful matching of parts. Whichever you build, test it with a full, watered pot for a day before trusting it with a plant you care about.

About Syprose Kiche
Syprose Kiche is the creator and writer behind My Besuited Home, a practical home and garden website covering DIY projects, gardening, lawn care, landscaping, home improvement, and outdoor living. She focuses on turning everyday homeowner questions into clear, practical guides backed by careful research and useful real-world considerations.