
Basil hung in a steamy kitchen tends to blacken and go limp long before it turns crisp. That is the real problem with drying herbs in an apartment: there is often no attic, porch or spare room with dry, moving air, and the kitchen, where most people want to work, is the dampest room in the home. The stove, sink and dishwasher all add moisture to the air.
Drying only works when water leaves the leaves faster than mold can take hold, so each of the fifteen ideas below comes down to moving air, gentle heat, or a mix of the two. They are grouped by the kind of space they need, from hanging setups that cost almost nothing to the microwave. University extension services supply the temperatures and safety points here, and they do not agree on everything. Some rate the oven a poor choice for herbs while others give settings for it, so the differences are noted instead of smoothed over.
What Decides Whether Herbs Dry or Rot
Three things matter more than the method itself: how wet the herb is to begin with, how much air reaches it, and how humid the room is.
Sturdy, low-moisture herbs such as rosemary, thyme, sage, oregano, summer savory and parsley are forgiving and tolerate slow air drying. Tender-leaf herbs such as basil, tarragon, lemon balm and the mints hold far more water and will mold if they dry slowly. Extension guidance for those is consistent: dry them fast, in small amounts, with plenty of airflow, or use a heat-assisted method.
Timing the harvest helps. Most herbs are best cut just before the flower buds open, when the leaves are at their most flavorful. Rinse only if the stems are actually dirty, then shake off the water and dry the leaves thoroughly with a towel or salad spinner before they go anywhere near a rack. Surface water is what turns a bundle into a mold risk.
Apartment humidity deserves its own rule. The closer a drying spot is to the shower, stove, sink, dishwasher or laundry, the worse it is. Bright windows are not much better, because extension sources discourage sun drying: light strips color and flavor, and in humid regions the leaves simply do not dry fast enough.
The finish line is the same for every method. Leaves should be crisp and crumble easily between your fingers, and stems should snap rather than bend. Anything leathery is not done.
Which Method Fits Which Herb
| Herb type | Examples | Reliable options | Watch out for |
| Sturdy, woody | Rosemary, thyme, sage, oregano | Hanging bundles, flat screens, dehydrator | Needle and leaf drop; catch it with a bag or cloth |
| Tender, high moisture | Basil, mint, tarragon, lemon balm | Dehydrator, microwave, holey paper bag | Large bundles and humid rooms |
| Medium moisture | Parsley, chives, celery leaves | Microwave, dehydrator, hanging in a dry room | Over-drying in the microwave |
| Seed heads | Dill, fennel, coriander | Paper bag over the heads | Seeds scattering before you catch them |
Hanging Setups That Work Without an Attic
Hanging is the cheapest way to dry herbs, and it suits sturdy herbs best. The trick in a small home is choosing the spot, not the hardware.
1. Tie small bundles to cabinet hardware or a hook away from the stove
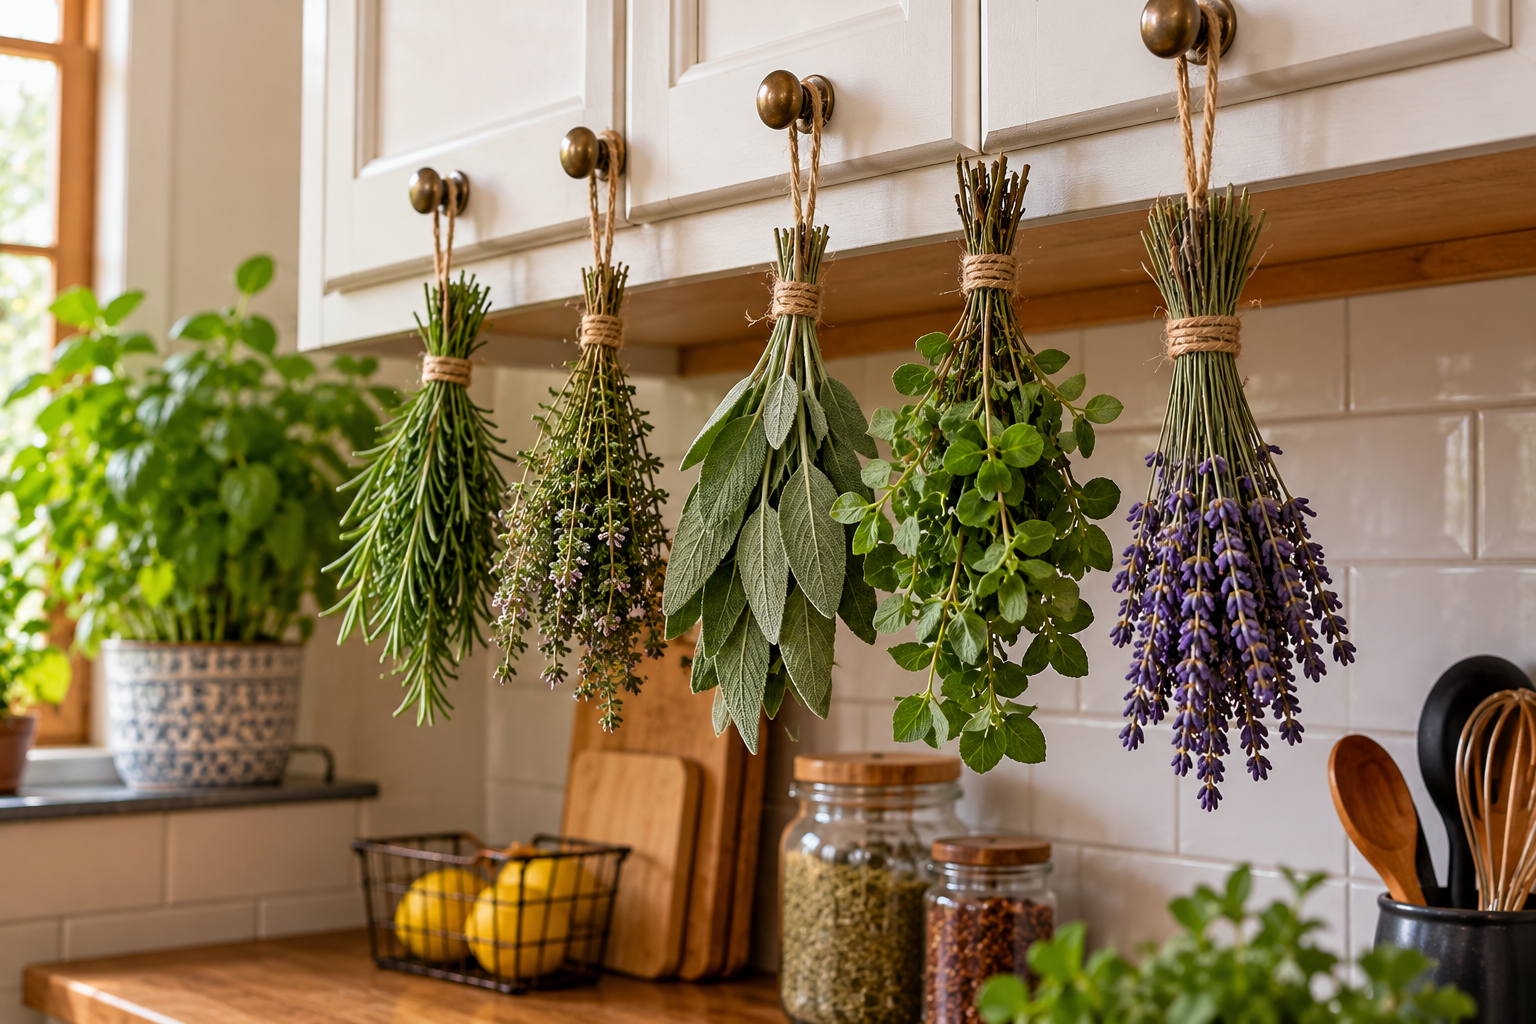
A few stems tied loosely do better than a fist-sized bunch. Extension sources specifically warn that large bundles mold, because the stems in the middle never get airflow. Strip the leaves from the bottom inch of the stems so the tie does not crush them, and use a rubber band rather than twine: stems shrink as they dry, and a rubber band tightens with them while string slackens and drops the bundle.
In a kitchen, the best spot is a cabinet knob or wall hook in the corner farthest from the stove and sink. Run the range hood while you cook, and skip any position directly above the dishwasher outlet or kettle. Depending on the herb and the humidity, expect roughly one to two weeks, though the crumble test is a better guide than the calendar.
2. Run a tension rod across a closet, pantry or dry alcove
A spring-loaded tension rod turns a closet or pantry doorway into a drying line without a single screw, which is useful in a rental. Hang bundles from the rod with rubber bands looped over it, or with clip hooks.
Dark storage spaces protect color, but they can also trap still air. Leave the door open during the day, and avoid any closet that shares a wall with a shower or sits next to a laundry machine. If the space smells even slightly damp, pick another spot.
3. Hang tender herbs inside a paper bag with holes
Clemson and University of Georgia extension guidance recommend this for tender-leaf and seedy herbs. Tear or punch holes in the sides of a paper bag, tie a small bunch by the stems, hang it upside down inside the bag and close the top with a rubber band. Air moves through the holes, dust stays out, and any leaves that fall land in the bottom of the bag instead of on the floor.
Use paper, never plastic, and do not cram the bag. One small bunch per bag is the guidance. Writing the herb name on the outside saves guessing later, since dried oregano and marjoram look almost identical.
4. Build a hanging rack from an embroidery hoop
A wooden embroidery hoop, roughly 10 to 12 inches across, makes a compact hanging rack that takes up ceiling space instead of counter space. Tie four equal lengths of twine to the hoop at even intervals, gather them above the center and knot them together, then hang the knot from a ceiling hook. Attach bundles around the ring with clothespins, or tie each one with a short loop of string.
The weight is small, but the hook still needs to be secure. Screw it into a joist or use a toggle anchor rated well above the weight of the hoop and herbs. In a rental, a plant hook already in the ceiling is often the easiest option. Hang it high enough that nobody walks into it and that pets cannot reach the bundles, since some common herbs and ornamental plants can upset cats and dogs.
5. Use clip hangers on a closet rod, curtain rod or coat rack
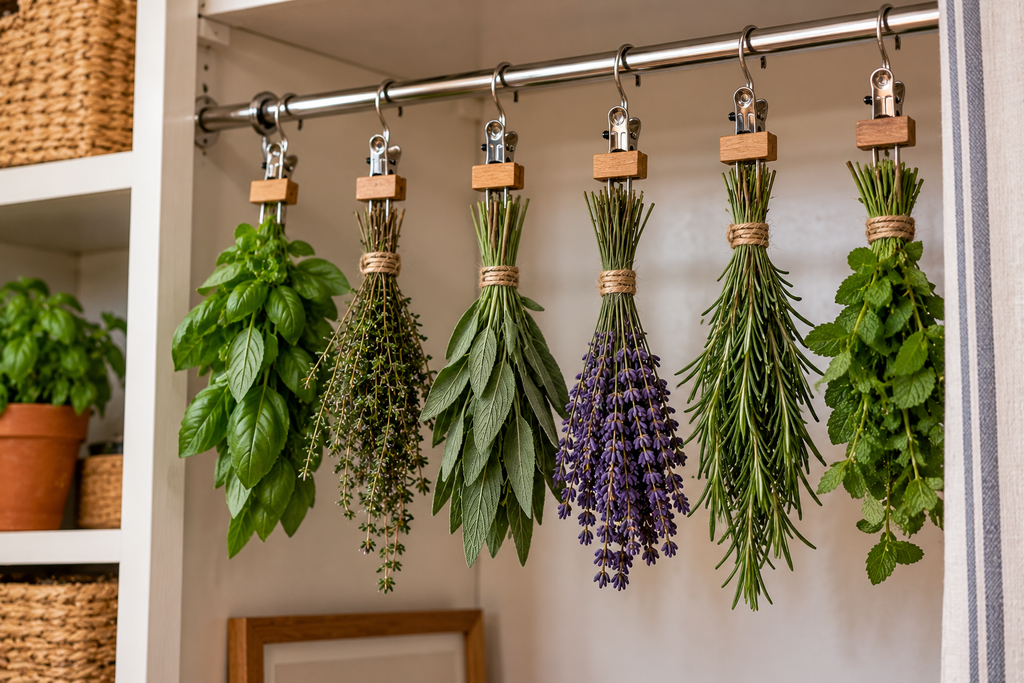
Pants and skirt hangers with spring clips are a ready-made herb rack. Each clip holds one small bundle, so airflow stays good even with six or seven bundles on a single hanger. Hang the hanger from a closet rod, a curtain rod in a dry room, or the top of a door frame.
This is the easiest option for renters, because nothing is attached to anything. It is also easy to move: if a humid day makes the bathroom-adjacent hallway feel clammy, carry the hanger to a drier room instead of watching a batch go bad.
6. Make a wall-mounted dowel rack
For a more permanent hanging rack that doubles as décor, mount a wooden dowel, around an inch in diameter, on two L-brackets or cup hooks screwed into wall studs or secured with proper anchors. Tie bundles to the dowel with slipknots so they can be removed in one tug.
Spacing matters more than the dowel itself. Leave a couple of inches between bundles, and mount the rack at least a foot away from the nearest wall surface that could trap humidity, such as a wall shared with a bathroom. Keep it out of direct sun, and well clear of the stove, where grease can settle on the leaves. Adhesive wall hooks can work for very light loads, but check their weight rating and the manufacturer’s instructions for the wall finish.
Flat Drying for Leafy and Small-Leaved Herbs
Some herbs are too short-stemmed or too leafy to bundle. Basil, mint and thyme sprigs fit here, and so does anything that has already been stripped from the stem.
7. Build a screen drying frame
Extension guidance suggests laying small-leaved herbs on a fine stainless steel or food-safe plastic screen. A simple frame can be built from an old picture frame or from 1-by-2 lumber, with the screen stapled across it. Ordinary hardware-store window screen may not be food-safe, so look for stainless steel or a product labeled for food use.
Raise the frame on four cans or wooden blocks so air reaches the underside. Spread leaves in a single layer without overlap. If you build two or three frames and stack them, leave a few inches between layers and run a small fan nearby, otherwise the lower frames dry far more slowly than the top one.
8. Layer leaves between paper towels in a box
This is the lowest-cost version of flat drying. Put a layer of paper towels in a cardboard box lid or on a baking sheet, lay out the leaves so none touch, cover with another towel, and repeat. Extension guidance allows up to five layers of herbs and paper towels, with the caveat that the towels absorb moisture and may need replacing partway through.
Slide the box onto a closet shelf or the top of a bookcase in a dry room. Check the bottom layers first, because they are the ones that stay damp longest. It is slow and low-tech, and it works best for sturdy herbs rather than basil.
9. Set a cooling rack on blocks and add a small fan
This one comes from practical reasoning rather than extension testing, but the logic is sound: a dehydrator works because it moves warm, dry air across the food, and a fan can supply the movement. Prop a wire cooling rack on four upturned cups or cans, cover the wires with a layer of clean, dry cheesecloth or a food-safe mesh liner, spread the herbs in a single layer and point a small fan on low across the rack, not directly into it.
Keep the fan away from the stove, secure the cord so nobody trips on it, and run it in a room that is not humid. It will not rescue a damp room, but it can cut drying time for tender herbs from days to hours and reduces the odds of mold.
Dehydrator Drying and Drying Herbs for Tea
10. Use a countertop dehydrator and set it lower than you would expect
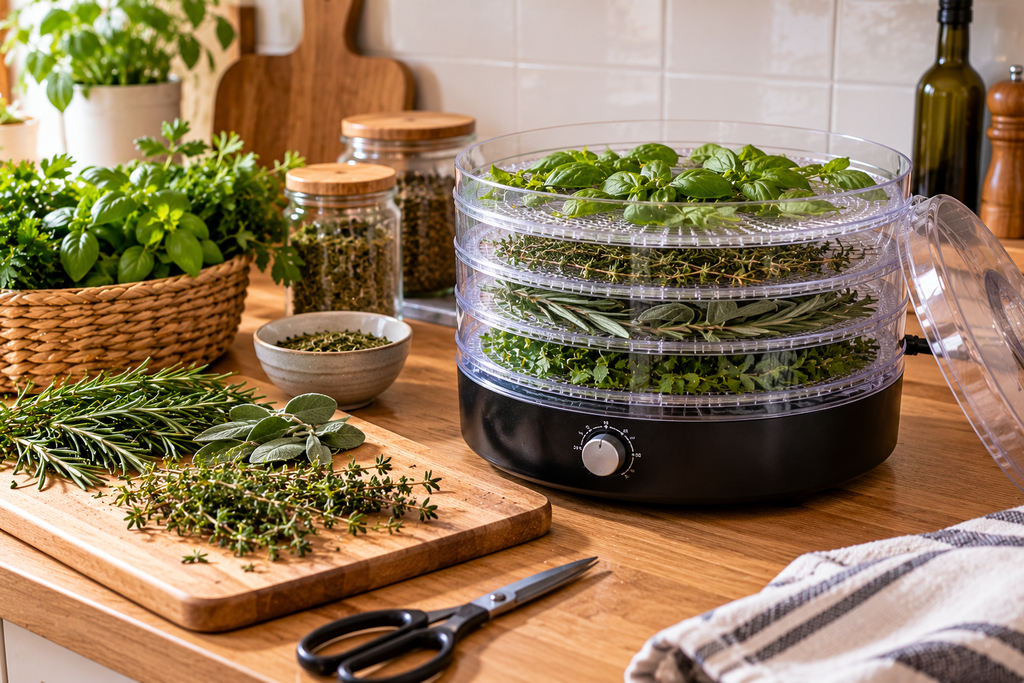
A dehydrator is the most reliable option for tender herbs, because temperature and airflow are both controlled. Extension recommendations cluster between 95°F and 115°F, with Michigan State noting that humid conditions may call for up to 125°F. Oregon State goes lower, advising that the temperature stay below 100°F because high heat causes flavor loss.
Lay herbs in a single layer with stems and leaves not touching. Do not run herbs on the same trays as fruits or vegetables: flavors mix and the moisture content is too different to dry at the same rate. Oregon State and Michigan State give drying times from one to four hours, and some machines or humid kitchens take considerably longer. Check after the first hour and then every thirty minutes, and judge by crispness. If the dehydrator uses open-grid trays, a fine mesh liner made for that machine stops small leaves from falling through.
A small stackable dehydrator can sit on a counter or live on a closet shelf, which makes it the most space-efficient piece of drying equipment for an apartment.
11. Dry tea herbs separately and blend afterward
Mint, lemon balm, chamomile flowers and lemon verbena are common choices for tea, and they can be dried by hanging, in the dehydrator, or on a screen. The practical point is to dry each herb on its own. Leaves and flowers dry at different speeds, and a mixed tray means some pieces are crisp while others are still damp, which is how a jar of tea ends up moldy. Blend once everything is fully dry.
Keep the leaves whole in the jar and crumble them at brewing time, which is commonly recommended to hold aroma, though extension sources simply say leaves may be stored whole or crushed.
A few safety points matter more for tea than for cooking herbs. Use only plants you can identify with certainty. Do not use plants sold purely as ornamentals or flowers from a florist, since they may have been treated with products not meant for food. Some herbal teas are not recommended during pregnancy, with certain medications, or for young children, so a pharmacist or doctor is the right person to ask. And since dried herbs are drunk steeped in hot water rather than cooked, make sure they are clean and fully dry before storage.
Oven Drying, With Honest Caveats
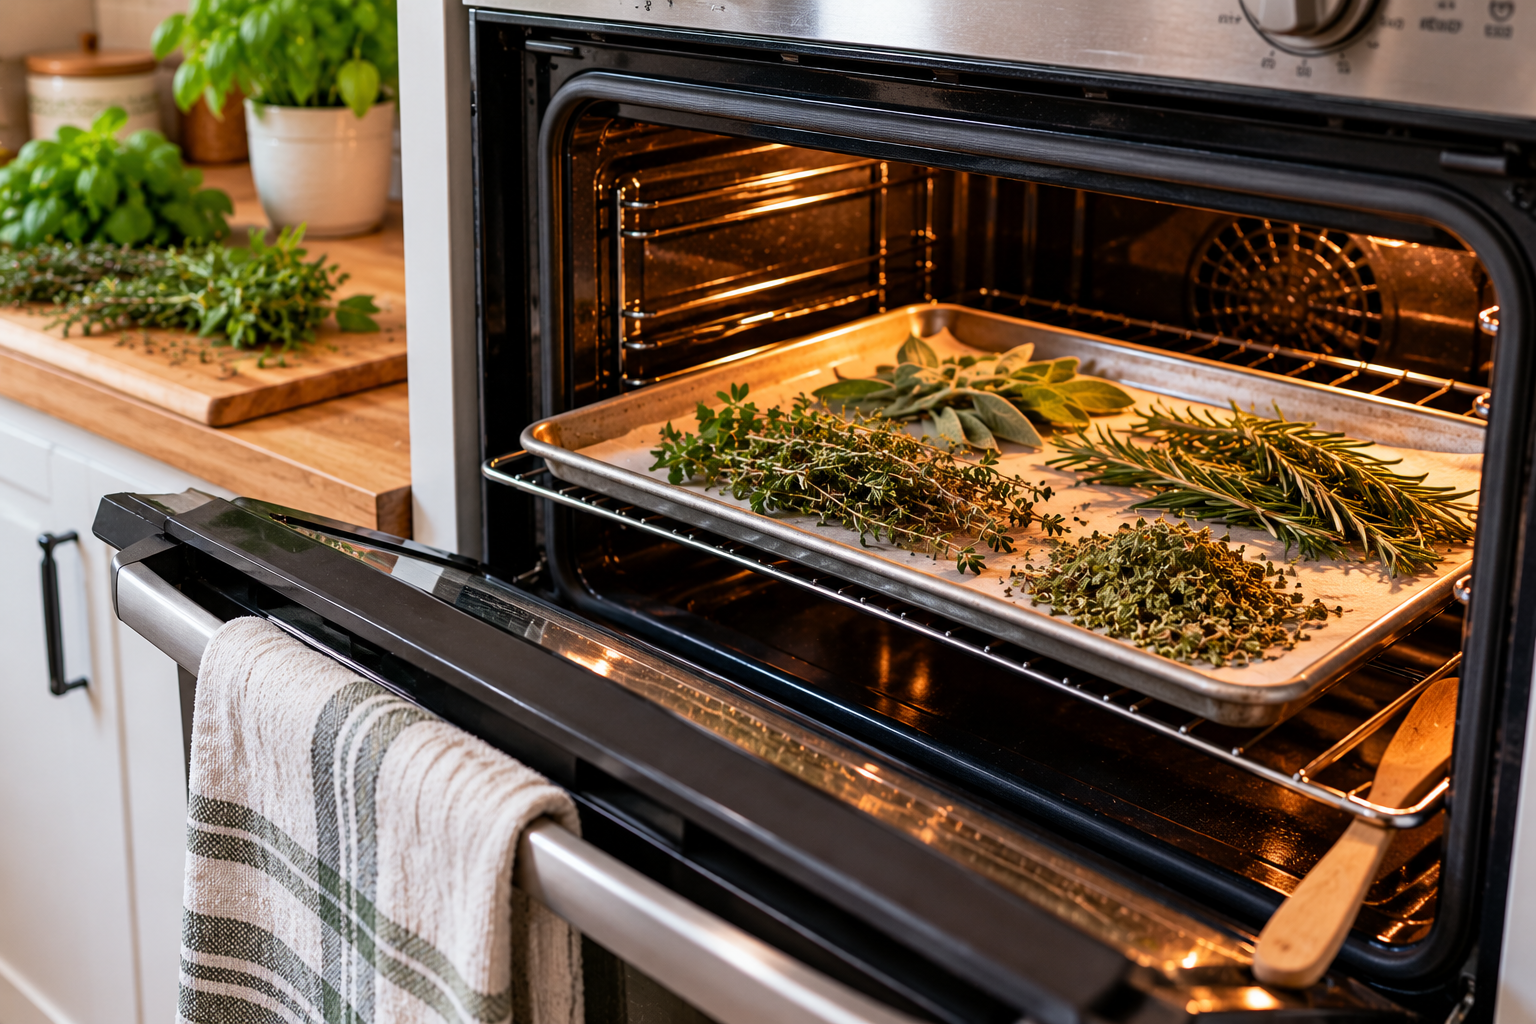
The oven is the method extension services disagree about most. Penn State Extension says oven drying is generally not recommended because even the lowest temperature destroys much of the flavor, oils and color, though it still gives a setting (no higher than 180°F, for three to four hours, with the door open). Michigan State sets the ceiling lower at 140°F, warning that anything hotter cooks the herbs, and suggests propping the door and blowing a fan across the opening. Illinois Extension calls 90 to 110°F ideal. The sensible reading is that the oven works as a backup, not a first choice.
12. Dry on a sheet pan at the oven’s lowest setting with the door cracked
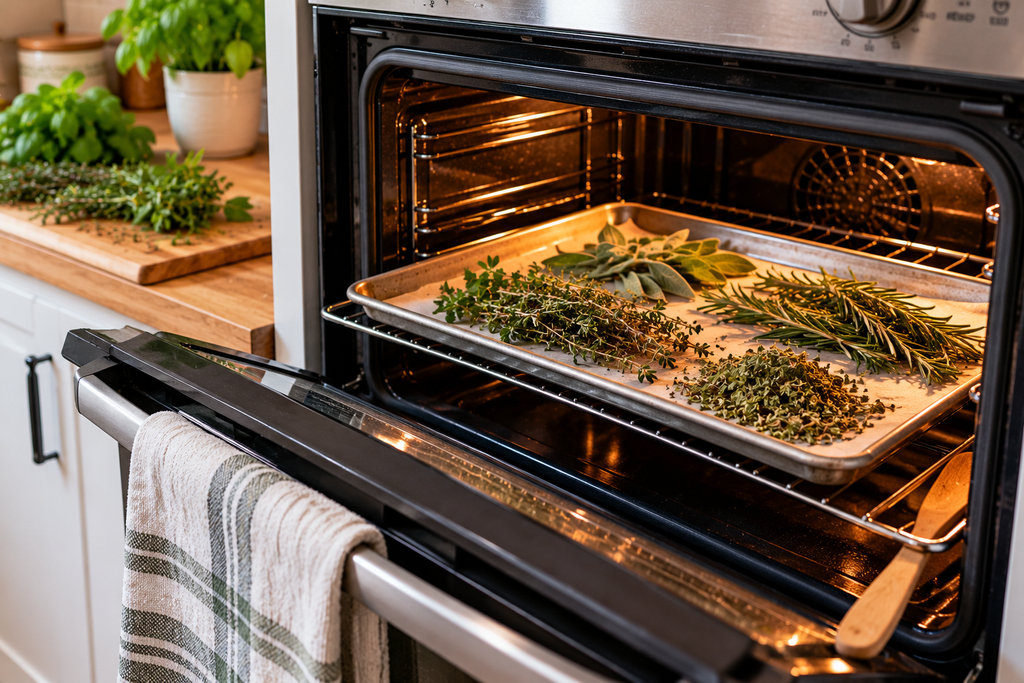
Many home ovens do not go below about 170°F, so an inexpensive oven thermometer is worth having. Check your own oven’s minimum before you start, and treat the numbers above as targets to get close to, not guarantees.
Spread washed, thoroughly dried herbs in a single layer on a baking sheet, set the oven to its lowest temperature, prop the door open slightly and check often, turning the herbs every half hour or so. Expect about three to four hours per Penn State, with delicate leaves like mint or sage finishing sooner. Pull them the moment they crumble. Scorched herbs smell burnt and taste bitter, and that cannot be fixed.
Never leave the oven unattended with the door open. Watch for hot surfaces around children and pets, and for gas ovens, check the manual before leaving the door ajar.
13. Use the oven light overnight, if your oven allows it
Several extension sources note that the oven light alone can provide enough gentle heat for overnight drying in some ovens, and Clemson adds that the pilot light of a gas range can do the same, leaving leaves flat and well colored. Many newer gas ranges use electronic ignition and have no pilot, and plenty of oven lights give off almost no heat, so this is a trial, not a promise.
Put a thermometer inside on the first night to see what temperature the light actually produces. Taping a note to the oven door saves a dried-out batch later: nobody should preheat the oven with herbs inside.
The Microwave
14. Microwave small batches between paper towels
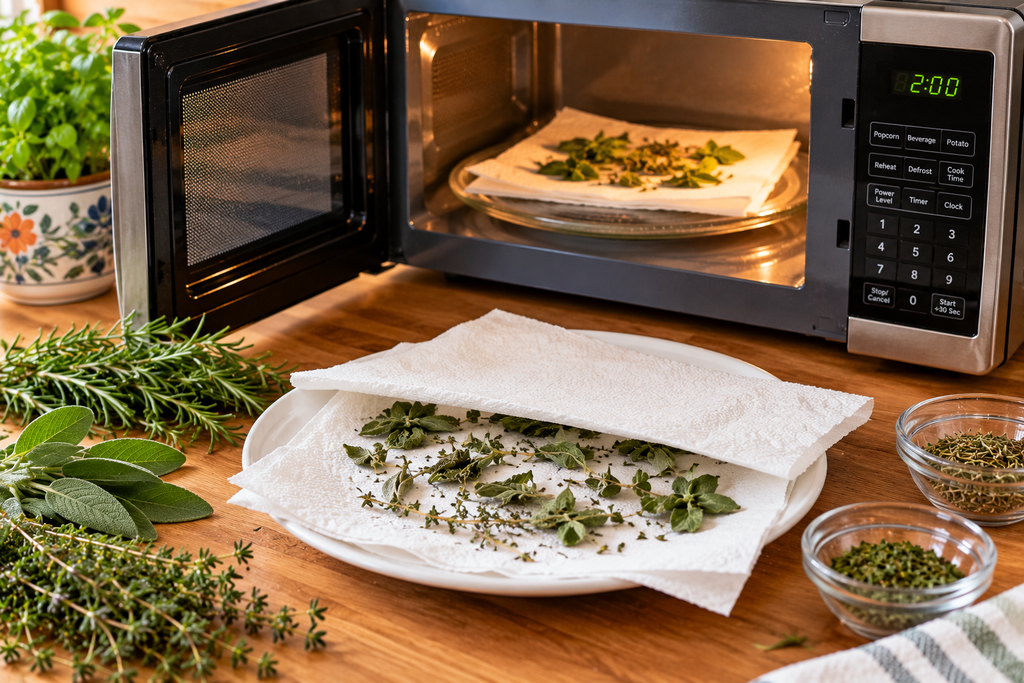
For a half-bunch of parsley or a handful of basil, the microwave is the fastest option in a small kitchen. Place a single layer of clean, completely dry leaves between plain microwave-safe paper towels, or on a paper plate. Penn State Extension’s method is to start with one minute on high, stir every thirty seconds, and keep checking until the leaves are almost dry, which generally takes two to three minutes per cup. Let them finish drying at room temperature for a few minutes, since residual heat and air do the rest.
Power matters. Extension guidance notes that parsley, basil and celery leaves dry well in microwaves under 1,000 watts, while higher-wattage models can overheat the leaves and dry them too fast. If your microwave is above that, lower the power level. Oregon State suggests no more than one to two cups at a time.
Purdue Extension includes a warning that deserves repeating: if there are too few herbs on the towels, the paper can catch fire. Stand at the microwave for the entire cycle and use short bursts. Thicker leaves, such as sage, may need to stand at room temperature a while to turn brittle.
Seeds and Seed Heads
15. Catch dill, fennel and coriander seeds in a paper bag
Herb seeds are a separate harvest. Extension guidance lists dill, caraway, mustard and fennel among the seeds that can be dried and collected, and coriander, the seed of cilantro, follows the same pattern. Cut the stems when the seed heads begin to turn brown, before they scatter on their own.
Gather a few stems, secure a paper bag over the seed heads, and hang the bundle upside down, or lay a clean cloth beneath it. As the seeds dry, they drop into the bag. Shake it after a week or two, then clear the chaff by rubbing the seed heads between your hands and blowing gently across them.
If you plan to plant the seeds next season, skip the heat treatment described below, since heat can harm viability.
After Drying: Cool, Condition and Store
Drying is only half the job. Herbs packed away while still warm sweat inside the jar, and that trapped moisture is enough for mold to grow. Let everything cool completely first.
Then condition the batch. Pack the herbs loosely into a clean glass jar, close the lid and look at it after several days and again at one week. Any condensation on the glass means the herbs are not dry enough, and they should go back to the rack, dehydrator or screen.
Air-dried herbs and seeds can carry insects or eggs. Penn State Extension recommends heating them at 160°F for 30 minutes or freezing them at 0°F or lower for at least 48 hours before storage. The heat method reduces flavor, and the freezer route is the gentler choice for herbs.
Store in airtight containers in a cool, dark cabinet, not on the windowsill or on a shelf above the stove, and label each jar with the herb and the date. Colorado State University guidance puts properly stored dried herbs at about six to twelve months, and says to discard anything with an off odor or mold. The refrigerator and freezer can extend freshness, but Purdue Extension cautions that taking a cold jar into a warm kitchen can cause condensation inside, which lets the herbs reabsorb moisture and spoil.
What Usually Goes Wrong
- Blackened basil: it dried too slowly or was bruised. Use a dehydrator, microwave or bag-and-fan setup for tender leaves.
- Mold on bundles: the bundle was too large, the room too humid, or the herbs were still wet when hung.
- Dull, flavorless leaves: too much heat or light, or the herbs were stored for more than a year.
- Chewy leaves in the jar: they were not fully dry. Return them to drying and check again.
- Dust on the leaves: cover bundles with a paper bag or cheesecloth, as Lee Valley and UC Master Gardener guidance suggest.
Common Questions
Can I dry store-bought fresh herbs? Yes, the methods are the same. Packaged herbs can arrive damp from storage, so dry them thoroughly with a towel before using any method. They are often fully ripe leaves with long stems, which makes them good candidates for hanging or the dehydrator.
How much dried herb replaces fresh in a recipe? A common guideline is one teaspoon of dried herb for one tablespoon of fresh. Dried herbs lose potency as they age, so older jars may need a little more, and it is easier to add than to remove.
Key Takeaways
Sturdy herbs like rosemary, thyme and sage can be hung in small bundles, away from the stove, sink and shower. Tender herbs like basil and mint need speed: use a dehydrator, a microwave in short bursts, or a holey paper bag with good airflow. Treat the oven as a backup.
Whatever the method, aim for crisp leaves, cool them fully, condition them in a jar for about a week, and throw out anything with an off smell or mold.

About Syprose Kiche
Syprose Kiche is the creator and writer behind My Besuited Home, a practical home and garden website covering DIY projects, gardening, lawn care, landscaping, home improvement, and outdoor living. She focuses on turning everyday homeowner questions into clear, practical guides backed by careful research and useful real-world considerations.