
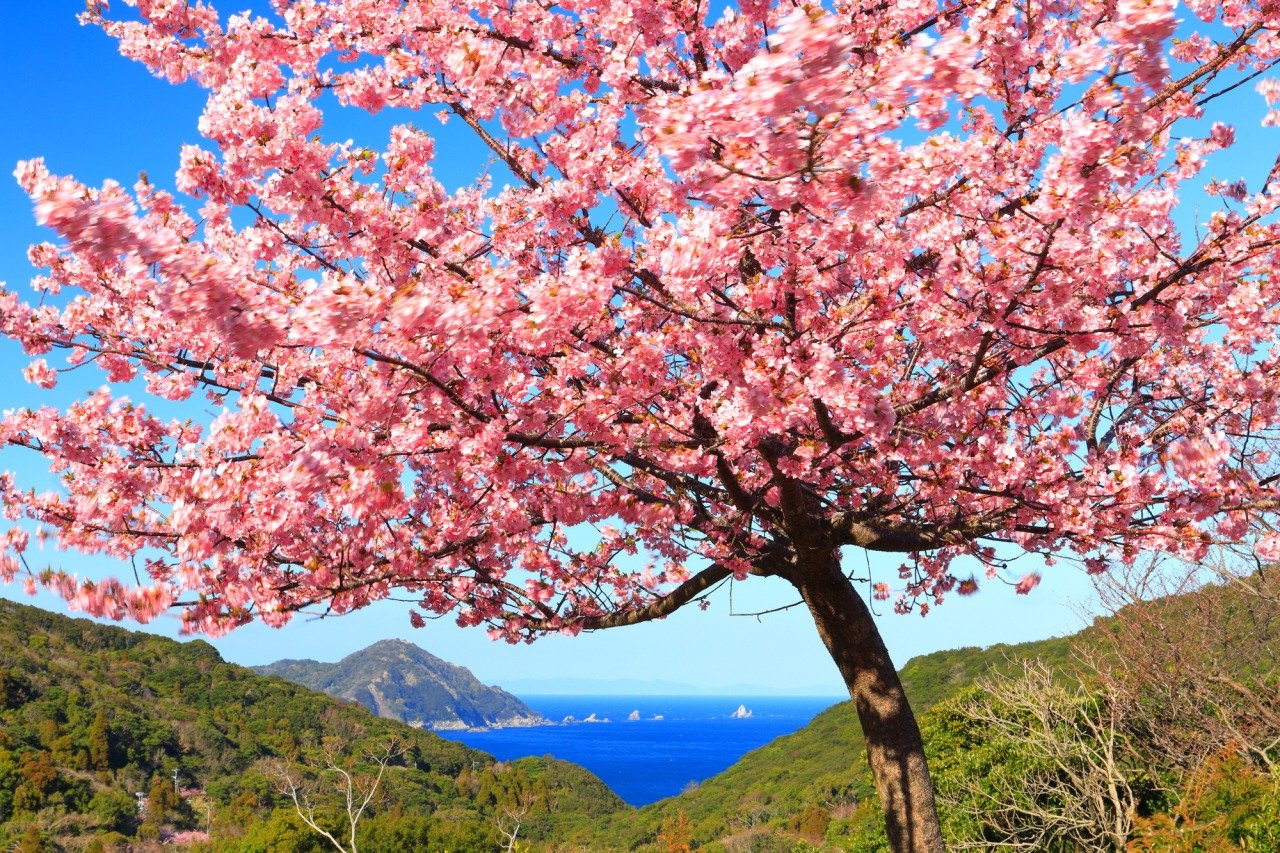
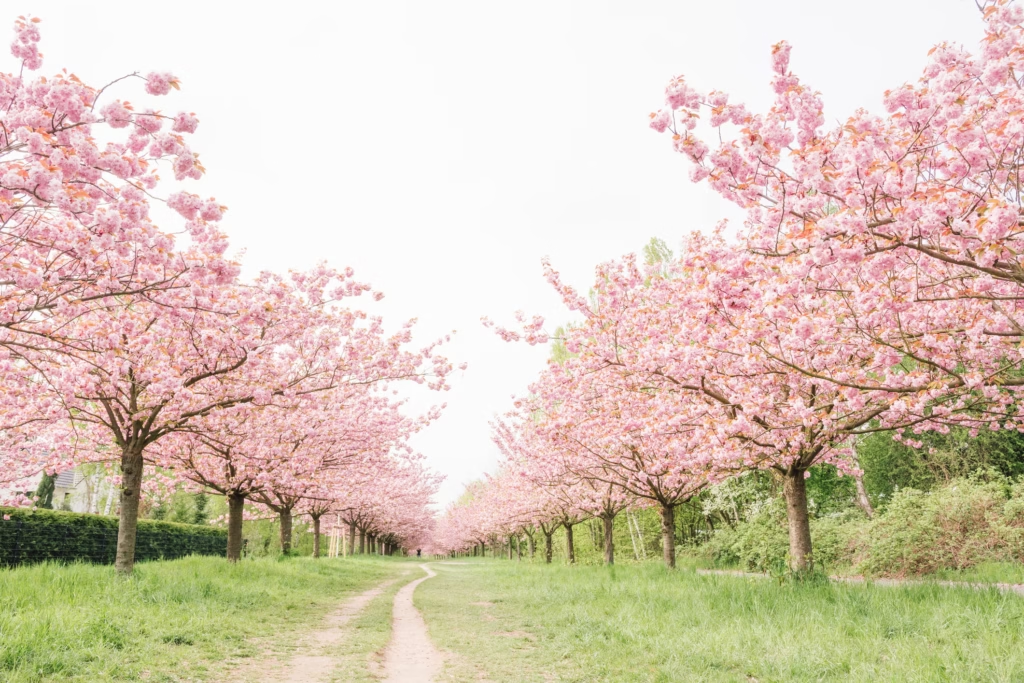
Every spring, my neighbor Denise walks past my yard, stops dead in her tracks, and asks the same question: “How do I get a tree like that?” She’s asking about my Kwanzan cherry, the one that turns into a pink cloud every April for about ten glorious days. And every year I give her the same warning: this tree is gorgeous, but it is not a “plant it and forget it” situation.
If you’ve searched for cherry blossom tree care because you bought one on impulse at a garden center, or you’re dreaming of your own mini hanami festival in the backyard, you’re in the right place. Cherry trees have a reputation for being finicky, and honestly? That reputation is half-earned. They’re not hard to grow. They’re just picky about a handful of specific things, and if you get those things wrong, you’ll spend three years wondering why your tree looks sad and spindly instead of like the ones on Instagram.
I’ve planted four ornamental cherry trees over the past decade. Two are thriving. One is mediocre. One straight-up died because I ignored my own advice about drainage. I’m going to walk you through exactly what worked, what didn’t, and how to avoid my one expensive mistake.
What Kind of Japanese Cherry Blossom Tree Should You Buy?
Before you even touch a shovel, you need to pick the right variety for your space. “Cherry blossom tree” isn’t one single plant. It’s a whole family, and they vary wildly in size, shape, and bloom color.
- Yoshino cherry (Prunus × yedoensis) is the classic. This is the variety lining the Tidal Basin in Washington, D.C., and it’s probably what pops into your head when you picture cherry blossoms. Pale pink to white flowers, a graceful rounded canopy, and it can get big — 40 to 50 feet tall and almost as wide. Don’t plant this one if you have a small suburban lot unless you want it hanging over your roofline in fifteen years.
- Kwanzan cherry (Prunus serrulata ‘Kwanzan’) is my personal favorite and the one in my front yard. Double pink blooms that look almost like little pom-poms, and it stays a bit more compact than Yoshino, usually topping out around 30 feet. It’s also more disease-resistant than some of the fussier varieties, which matters a lot if you’re not the type to spray fungicide on a schedule.
- Weeping cherry (Prunus subhirtella ‘Pendula’) is the one everyone wants for that dramatic, cascading look. It’s stunning, I won’t lie. But I’ve found that weeping cherries are a total waste of money if you’re not prepared to stake and prune them constantly for the first five years. The weeping habit means the branches need training, or you end up with a lopsided mess that drags on the ground on one side.
- Autumn flowering cherry (Prunus subhirtella ‘Autumnalis’) blooms twice — a light show in fall and another in spring. It’s a nice novelty if you want blossoms outside the typical April window, but the fall bloom is always sparser than spring, so don’t expect two full displays.
Quick side note: if you’re buying from a big box store instead of a specialty nursery, check the root flare before you buy. If the trunk goes straight into the soil with no visible flare or widening at the base, the tree was likely planted too deep in its pot, and that sets you up for problems later. Walk away from that one.
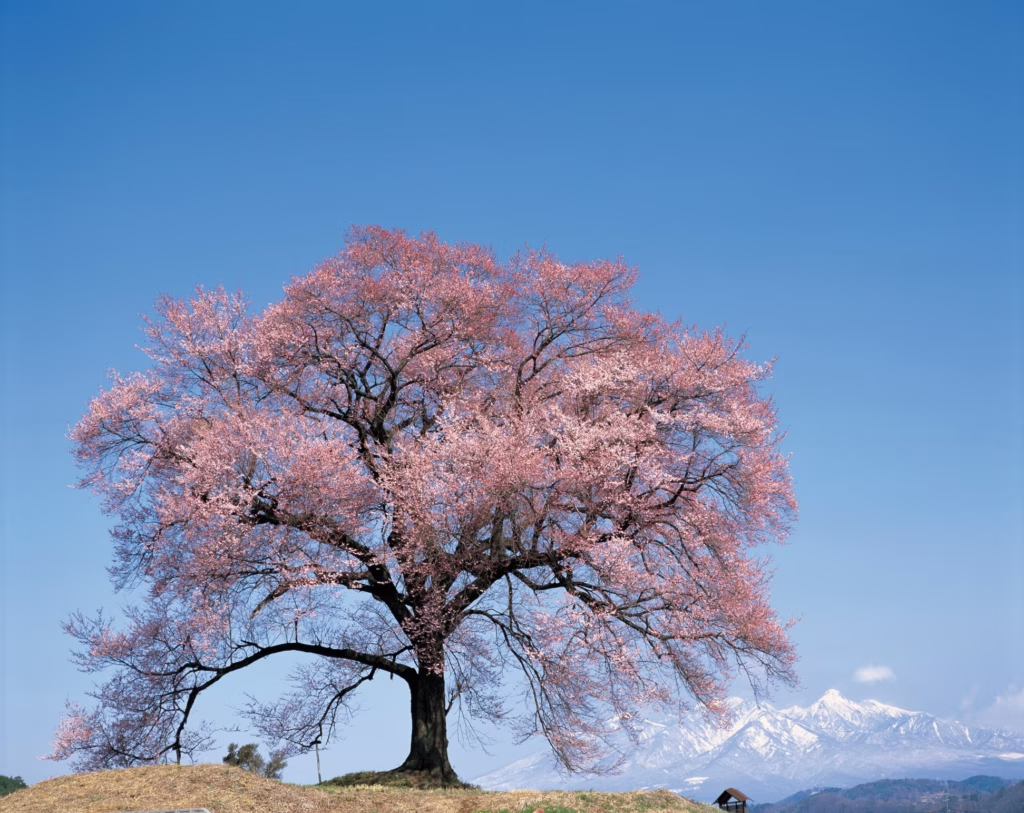
When and Where to Plant Your Cherry Blossom Tree
Timing and location make or break this tree. I cannot stress this enough — more cherry trees die from bad placement than from bad care.
- Best planting season: Fall is my top pick, specifically September through November in most temperate zones. The tree gets to settle its roots into the soil before winter dormancy and before the stress of summer heat. Early spring works too, right after the ground thaws and before buds break. Avoid planting in the heat of summer if you can help it — the tree has to fight root establishment and heat stress at the same time, and that’s a rough combo for a young tree.
- Sunlight requirements: Full sun, meaning six or more hours of direct sunlight a day. Cherry trees planted in partial shade will survive, but they bloom weaker and get leggier as they stretch toward the light. My first cherry tree went into a spot that got about four hours of sun, and the blooms were always thin and disappointing compared to the one I later planted in full sun.
- Soil drainage — this is the big one. Cherry trees hate wet feet. I mean they really hate it. This is the mistake that killed my fourth tree. I planted it in a low spot in my yard that looked fine in July but turned into a small pond every time we got heavy spring rain. The roots sat in soggy soil for two seasons and the tree slowly declined until it just didn’t leaf out one spring. Before you plant, dig a hole about a foot deep, fill it with water, and see how long it takes to drain. If water is still sitting there after an hour, pick a different spot or plan on building a raised mound for planting.
- Spacing: Give your tree room to reach its mature width. For a Yoshino, that means staying at least 20 feet from your house foundation, driveway, or fence line. For a more compact variety like Kwanzan, 15 feet of clearance is usually enough. People consistently underestimate how wide these trees get, and then they’re fighting with an arborist ten years later about a canopy that’s scraping the siding.
Step-by-Step: How to Actually Plant It
- Dig a hole twice as wide as the root ball, but no deeper. The hole should be wide and shallow, not a deep pit. Planting too deep is one of the most common reasons ornamental trees fail to thrive.
- Locate the root flare. That’s the point where the trunk widens out and the roots begin. This flare needs to sit at or even slightly above soil level once you’re done planting, not buried.
- Loosen the root ball before placing it in the hole. If the tree came in a container and the roots are circling around in a tight spiral, gently tease them apart with your fingers or a clean garden knife. Circling roots that don’t get loosened can eventually strangle the tree as it grows, a problem called girdling.
- Backfill with the native soil you dug out. Don’t dump in a bunch of fancy amended soil or compost into just the planting hole. It creates a weird boundary between the amended soil and your native soil, and roots can actually resist growing out into the harder native ground. Mix in maybe 10 to 20 percent compost at most, and call it good.
- Water deeply right after planting. You want the soil to settle around the roots and eliminate air pockets. A slow trickle from the hose for 20 to 30 minutes works better than a fast blast.
- Mulch, but keep it off the trunk. Spread two to three inches of mulch in a ring around the base, but leave a few inches of bare soil right against the trunk itself. Mulch piled against the bark traps moisture and invites rot and pests, something arborists call “volcano mulching” because of the shape it makes.
- Stake only if necessary. If your tree is small or in a windy spot, a single stake with a soft tie for the first year is fine. Remove it after year one so the trunk builds its own strength.
Watering Schedule for a Newly Planted Cherry Tree
New cherry trees need consistent moisture for the first two growing seasons while their root systems establish. Here’s roughly what that looks like:
- Weeks 1 to 4: Water two to three times a week, enough to keep the top six inches of soil moist but not soggy.
- Months 2 to 6: Cut back to once or twice a week, adjusting for rainfall.
- Year two: Once a week during dry spells is usually plenty.
- Established trees (year three and beyond): Cherry trees are fairly drought-tolerant once mature, and you’ll mostly only need to water during extended dry stretches.
I water my Kwanzan with a soaker hose set on a timer for the first two summers. It’s not glamorous, but it’s the single thing that made the biggest difference between my thriving trees and the one that struggled.
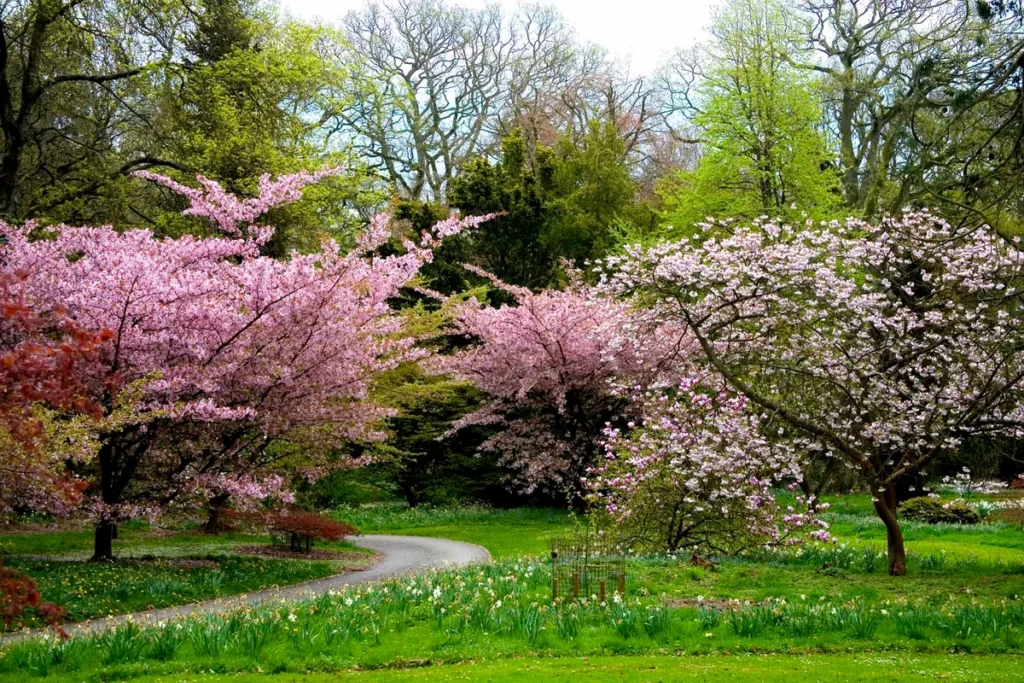
Feeding and Fertilizing Your Cherry Blossom Tree
You don’t need to fertilize a newly planted cherry tree in its first year. The tree is focused on root establishment, and heavy fertilizer can actually push too much leafy growth before the roots are ready to support it.
Starting year two, a balanced slow-release fertilizer in early spring, right as buds start to swell, gives the tree a boost heading into the growing season. I use a 10-10-10 formula, though anything labeled for flowering trees will work fine. Skip fertilizing in late summer or fall — it can push new growth right before dormancy, and that tender new growth is more vulnerable to winter damage.
If you want to get fancy, a soil test every few years tells you exactly what your dirt is missing instead of guessing. My local extension office runs these for under twenty bucks, and it’s worth doing at least once.
Pruning: When and How
Prune cherry trees in the weeks right after they finish blooming, not in fall or winter like a lot of other ornamentals. Pruning during dormancy or in fall makes cherries more susceptible to a fungal disease called silver leaf, which enters through fresh cuts during cool, damp weather.
Focus your pruning on:
- Dead, damaged, or crossing branches
- Any growth coming from below the graft union (you’ll see a slightly swollen knob near the base — anything sprouting below that is rootstock growth and needs to go)
- Water sprouts, those fast, vertical shoots that pop up straight from a branch and don’t add to the tree’s shape
Don’t get aggressive with pruning on a young tree. In the first three years, I do minimal shaping and mostly just remove anything dead or obviously wrong. Heavy pruning too early sets the tree back and delays a full canopy.
What Hardiness Zone Do You Need for a Cherry Blossom Tree?
This is a question I get constantly, usually from someone who fell in love with photos from D.C. or Japan and wants to know if the tree will even survive their winter.
Most ornamental cherry varieties do well in USDA hardiness zones 5 through 8. Yoshino and Kwanzan both handle that range comfortably, tolerating winter lows down to around minus 20 degrees Fahrenheit once established. If you’re in zone 4, you can still pull it off, but you’ll want to pick a more cold-hardy cultivar and give the tree some wind protection for the first couple winters — a spot near a fence or building that blocks the worst of the northern gusts makes a real difference.
On the flip side, if you’re in zone 9 or warmer, cherry trees can struggle because they need a certain number of “chill hours” — a stretch of cold temperatures during dormancy — to bloom properly the following spring. Skip enough chill hours and you get sparse, delayed, or uneven blooms. Southern gardeners sometimes have better luck with lower-chill cultivars bred specifically for warmer climates, so it’s worth asking your local nursery which varieties are actually suited to your area rather than trusting a generic online plant tag.
I’m in zone 6, which is about as close to ideal as it gets for cherry trees, so I’ll admit I’ve had it a little easier than gardeners pushing the edges of the hardiness range. If you’re right on the border, don’t be afraid to ask your extension office what other people in your specific county have had success with. Microclimates matter more than the zone map lets on.
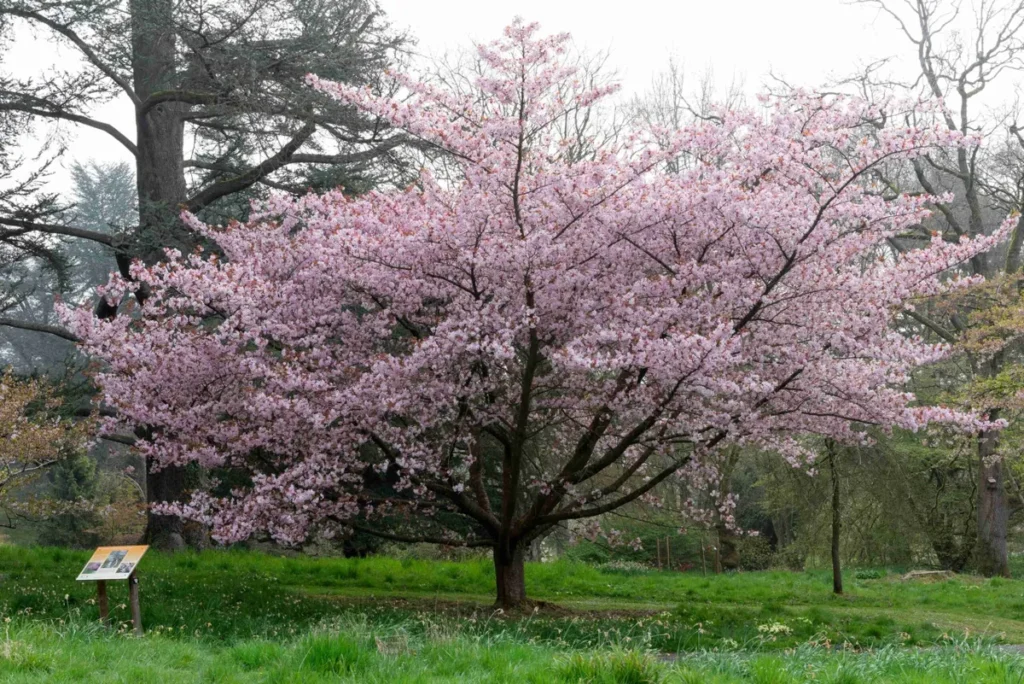
Companion Planting Around Your Cherry Tree
One thing nobody tells you when you buy a cherry tree: that bare mulch ring underneath it looks a little sad on its own, and a lot of people end up wanting to fill it with something.
I’d steer you away from planting anything with aggressive roots directly under the canopy, since you don’t want competition for water and nutrients in that critical root zone. Shallow-rooted, shade-tolerant groundcovers work best. I’ve had good luck with creeping thyme and hostas planted a couple feet out from the trunk, both of which stay low and don’t fight the tree for resources.
Bulbs are another solid option. Daffodils and crocuses planted around the drip line actually bloom right around the same time as the cherry blossoms, and there’s something genuinely magical about a carpet of yellow and purple under a canopy of pink. Just keep any digging shallow so you’re not disturbing the tree’s surface roots.
Bonus tip: avoid turf grass growing right up to the trunk if you can help it. Mowers and string trimmers are one of the sneakiest ways people damage young tree bark without realizing it, and that damage becomes an entry point for disease.
The Real Talk: What Can Go Wrong (and What’s Not Worth the Effort)
Here’s where I get honest with you, because every gardening blog loves to show you the finished pink cloud and skip the ugly parts.
- Cherry trees are magnets for pests and disease. Aphids, borers, tent caterpillars, and Japanese beetles all show up eventually. Black knot and brown rot are common fungal issues, especially in humid climates. This isn’t a reason to avoid planting one, but go in with realistic expectations that you’ll be dealing with something most seasons.
- The bloom window is brutally short. Ten days to two weeks, and that’s if the weather cooperates. A hard rain or a late frost can knock the blossoms off in a single afternoon. I’ve had years where a windstorm stripped the tree bare two days after peak bloom. If you’re planting this tree purely for the flower show, understand you’re signing up for a short, unpredictable performance every year.
- Staking longer than a year does more harm than good. I see people leave stakes on for three, four, five years “just to be safe.” That actually weakens the trunk because it never has to develop its own strength against wind. Get the stake off after twelve months.
- Fancy soil amendments in the planting hole aren’t worth it. I mentioned this above, but it bears repeating because garden centers love to sell you bagged “tree and shrub soil” for an inflated price. Your native soil plus a modest amount of compost does the job just as well, and your money is better spent on a soaker hose or a good pair of pruners.
- Weeping varieties need more commitment than people expect. I’ll say it again because it trips up so many first-time buyers: the weeping cherry looks effortless in photos, but it needs actual structural pruning and training to look that way. If you’re not up for that, a Kwanzan or Yoshino is a far more forgiving choice.
- Don’t plant it too close to hardscaping. Roots from a mature cherry can heave sidewalks and crack driveways over time. I know it’s tempting to plant near a patio for the aesthetic, but give it real distance.
Common Problems and Quick Fixes
- Yellowing leaves in summer: Usually overwatering or poor drainage. Check the soil moisture before assuming it’s a nutrient problem.
- No blooms at all after a few years: Could be too much shade, over-fertilizing with nitrogen (which favors leaves over flowers), or a late frost that killed the buds.
- Sticky sap oozing from the bark: This can signal borer damage. Check for small holes in the trunk and consider contacting an arborist if it’s widespread.
- Sparse, weak-looking canopy: Often a sign the tree was planted too deep, or the root flare is buried under mulch or soil.
Parting Wisdom
A Japanese cherry blossom tree isn’t a plant-and-walk-away kind of investment. It’s more like a relationship — a little needy in the beginning, but wildly rewarding once it settles in. Get the drainage right, get the planting depth right, and be patient for those first two or three years while the roots do their quiet work underground. The pink cloud comes eventually, and when it does, you’ll understand why people build entire festivals around ten days of flowers.
What variety are you thinking about planting, or what’s going wrong with the one you’ve already got? Drop your questions or your own cherry tree horror stories in the comments below — I read every one, and I’d love to help you troubleshoot.

About Syprose Kiche
Syprose Kiche is the creator and writer behind My Besuited Home, a practical home and garden website covering DIY projects, gardening, lawn care, landscaping, home improvement, and outdoor living. She focuses on turning everyday homeowner questions into clear, practical guides backed by careful research and useful real-world considerations.