
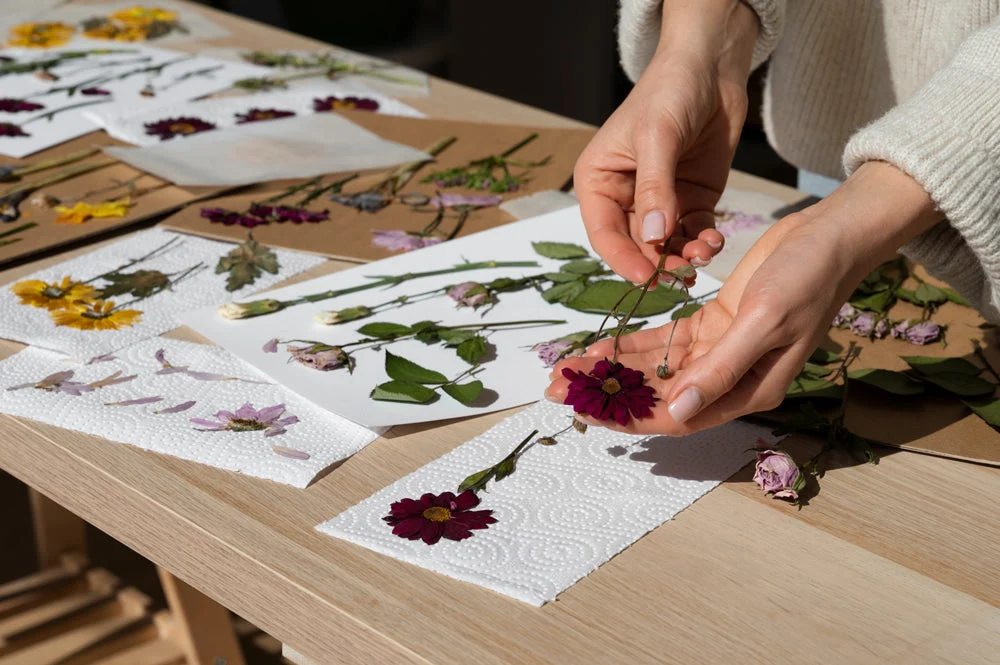
That bouquet from your daughter’s wedding is wilting on the counter, and you’re panicking a little, aren’t you? Or maybe it’s the first rose your partner ever gave you, and the petals are already starting to curl at the edges. I get it. Flowers are supposed to be fleeting, but some of them mean too much to just toss in the compost bin after a week.
Here’s the good news: preserving flowers naturally isn’t some fussy craft-store secret. I’ve been drying and pressing flowers from my own garden for over a decade, and most of what I know came from ruining a whole batch of peonies before I figured out what actually works. You don’t need special equipment, and you definitely don’t need to spend forty bucks on a flower press from a craft catalog when a stack of old books does the same job.
In this guide, I’m walking you through seven methods for preserving flowers at home, whether you want dried flowers for a vase arrangement or pressed flowers for framing, journaling, or resin crafts. Grab whatever’s blooming in your yard (or that bouquet that’s on its last legs) and let’s get started.
Why Preserve Flowers Naturally Instead of Buying Fake Ones
Silk flowers have their place, but they’ll never smell like anything, and they collect dust like nobody’s business. Naturally preserved flowers keep a piece of the real thing: the actual color variations, the papery texture, the specific curve of a specific petal from a specific day.
I preserve flowers for a few reasons. Sentimental ones, mostly. I’ve got a pressed hydrangea from my mother’s garden tucked into a photo album that’s older than my youngest kid. But there’s also a practical side: dried flowers make gorgeous, long-lasting home decor, pressed flowers turn into one-of-a-kind cards and art, and preserving your own cuttings costs next to nothing compared to buying dried arrangements at a boutique.
The trick is knowing which method works for which flower, and that’s exactly what we’re covering.
Step 1: Pick the Right Flowers at the Right Time
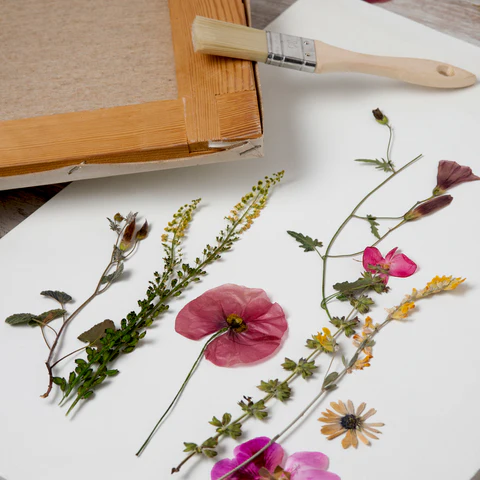
Not every flower preserves well, and timing matters more than people realize. I always cut flowers for preservation in the mid-morning, after the dew has dried off but before the afternoon heat stresses the plant. Cutting a flower that’s already stressed from heat means you’re starting the preservation process with a flower that’s halfway to wilted anyway.
Choose flowers that are just about to fully open, not flowers that are already past their peak. A rose that’s fully blown will keep losing petals no matter what you do to it. I’ve tried to preserve overripe blooms plenty of times, and it never ends well.
Some flowers are simply better candidates than others. Roses, lavender, strawflowers, statice, baby’s breath, hydrangea, and larkspur all dry beautifully and hold their shape. For pressing, thinner flowers like pansies, violas, ferns, cosmos, and daisies flatten evenly and keep their color. Thick, fleshy flowers like tulips or daffodils are a nightmare to press because they’ve got too much moisture packed into the petals, and they tend to turn brown and mushy no matter how careful you are.
Quick side note: if you’re working with a bouquet someone gave you rather than flowers from your own garden, don’t wait. Bouquet flowers have already been cut and are on the clock. Start the preservation process within a day or two for the best results.
It also helps to think about which part of the flower you actually want to preserve before you cut anything. Some blooms look gorgeous in full but lose most of their charm once flattened or dried, while others, like hydrangea heads, actually get more interesting once the color deepens and the texture turns papery. I’ve started keeping a little notebook of which flowers from my own beds preserved well and which ones weren’t worth the effort, and it’s saved me a lot of wasted attempts over the years.
Step 2: Air Drying — The Classic, No-Fuss Method
Air drying is the method I go back to more than any other, mainly because it requires almost zero effort once you set it up. Strip the leaves off the lower two-thirds of the stem (leaves hold moisture and slow down the drying process), then gather your stems into small bunches of five to seven flowers. Any more than that and the flowers in the middle won’t get enough air circulation and will mold instead of dry.
Secure the bunch with a rubber band, not string. This part actually matters. As the stems dry out, they shrink, and a rubber band contracts right along with them to keep the bunch tight. String just goes loose and your flowers end up in a heap on the floor of your drying spot.
Hang the bunches upside down in a dark, dry, well-ventilated space. I use a spare closet with the door cracked open. Darkness is key here because sunlight fades flower color fast, and you want your dried lavender to stay purple, not turn a sad shade of gray-brown. A garage, attic, or unused spare room works fine too, as long as it’s not humid.
Depending on the flower, air drying takes anywhere from one to three weeks. Roses and larger blooms take longer than delicate flowers like baby’s breath. You’ll know they’re done when the petals feel papery and stiff, almost like they’d crumble if you squeezed too hard. That summer my zucchini took over the entire ZIP code, I also had lavender bunches drying in every closet in the house because I’d gone a little overboard planting it. Lesson learned: a little lavender goes a long way, but it dries beautifully every single time.
Step 3: Pressing Flowers the Traditional Way (Books and Paper)
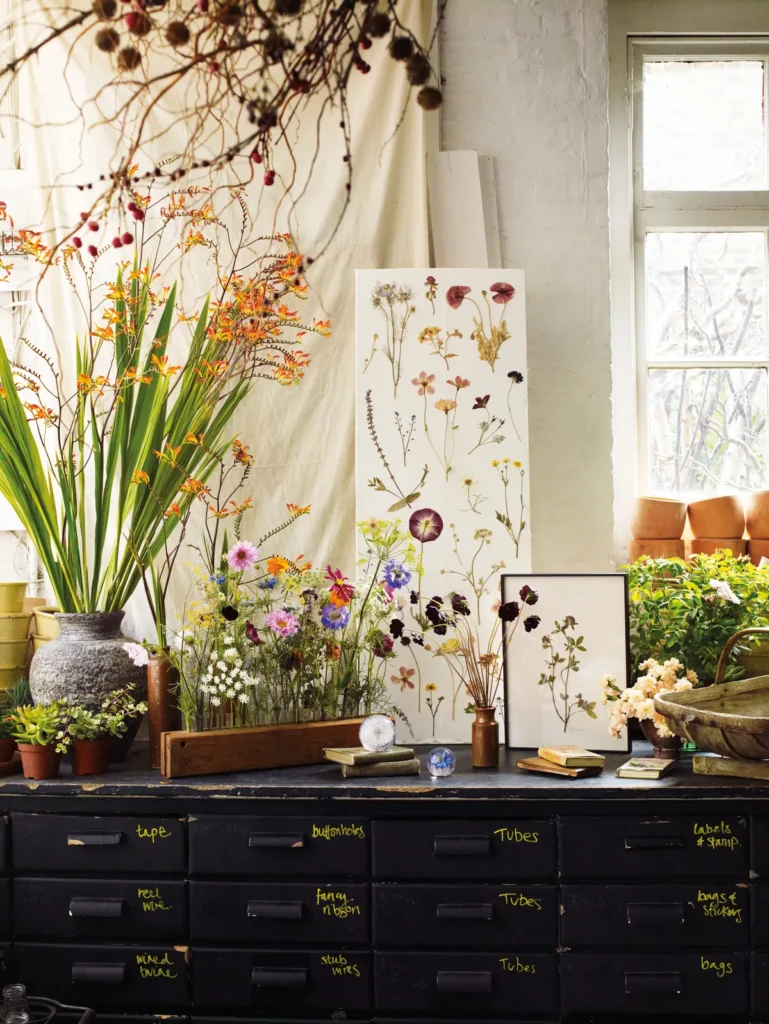
Pressing is my go-to when I want flat, flexible flowers for cards, bookmarks, or framed art. And you genuinely don’t need a fancy flower press for this. A heavy book works just as well, and I say that as someone who owns an actual wooden flower press that mostly sits in a drawer.
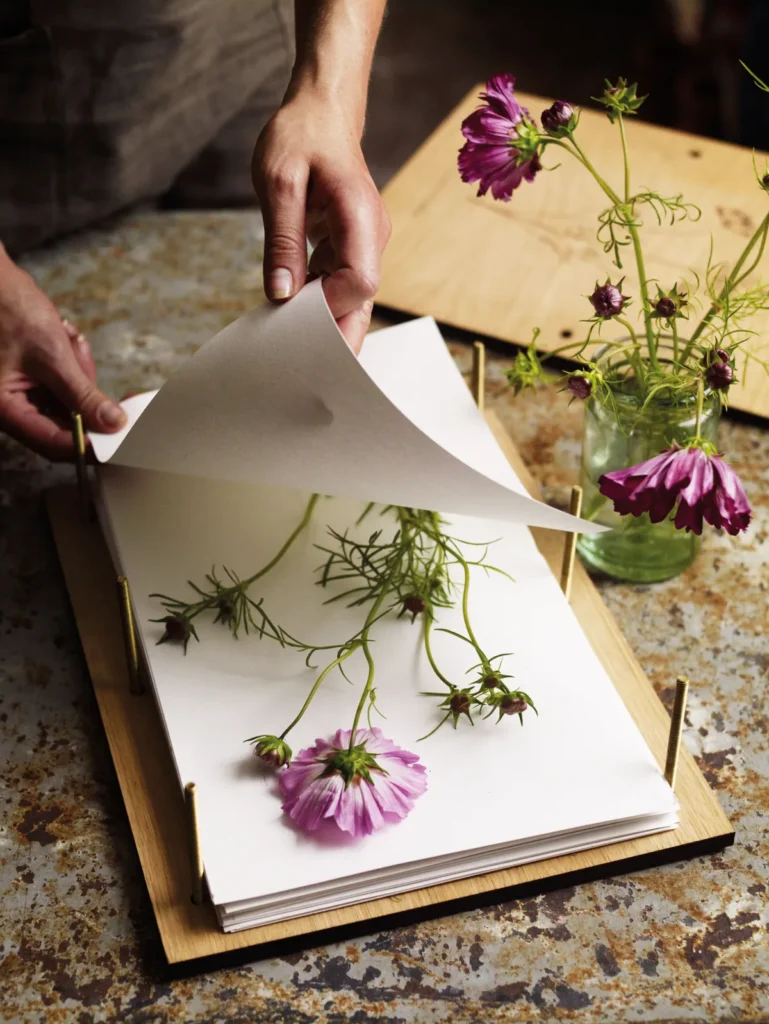
Here’s my process. Place your flower between two sheets of plain, unwaxed paper (parchment paper or plain printer paper both work fine). Slide that inside a heavy book, ideally an old one you don’t mind getting a little flower residue on. Stack more books on top for extra weight, or set something heavy like a stack of tiles on top of the whole pile.
Leave it alone for two to four weeks. I know that feels like forever, but resist the urge to peek every few days. Every time you open the book, you disturb the drying process and risk tearing a half-pressed petal. I check mine exactly once, around the two-week mark, just to see if thinner flowers like pansies are ready to come out early while thicker ones keep pressing.
Flat flowers with a single layer of petals, like pansies, violas, and daisies, press the most successfully. Flowers with a lot of depth, like roses, need to be taken apart petal by petal before pressing, or they’ll press unevenly and the center will still be damp when the edges are paper-thin.
One more tip: change the paper around the one-week mark if you’re pressing something moisture-heavy. Swapping in fresh, dry paper speeds up the process and helps prevent any mustiness or mold from creeping in.
Step 4: Microwave Pressing for Fast Results
If you don’t have three weeks to wait, the microwave method is a genuine game-changer, and I say that as someone who was skeptical the first time a fellow gardener told me about it. Place your flower between two sheets of paper towel, then sandwich that between two ceramic tiles or heavy microwave-safe plates.
Microwave in 30-second bursts, checking after each round. Most flowers need somewhere between 30 seconds and two minutes total, depending on thickness and your microwave’s wattage. This is not a “set it and walk away” method. Flowers can scorch fast if you leave them in too long, and I’ve absolutely ruined a few dahlias by getting distracted and letting them go a full minute longer than they needed.
The upside is speed: you get pressed flowers in minutes instead of weeks, and the color retention is honestly better than traditional pressing in a lot of cases, since the flower doesn’t sit around slowly losing pigment over three weeks. The downside is that it takes some trial and error to get your specific microwave’s timing dialed in, and it only works well for thinner flowers. Save your thick, juicy blooms for air drying instead.
Step 5: Silica Gel Drying for 3D Shape Retention
Air drying and pressing both flatten or shrink your flowers to some degree. If you want a dried flower that keeps its full, three-dimensional shape (think roses that still look like roses, not flattened rose-shaped paper), silica gel is the method you want.
Fill the bottom of an airtight container with about an inch of silica gel crystals. Set your flowers on top, face up, and then gently pour more silica gel around and between the petals until the flower is completely covered. Use a small paintbrush to nudge the crystals into tight spots between petals so nothing collapses under the weight.
Seal the container and leave it for two to seven days, depending on the flower’s size and density. Roses and other larger blooms take the longer end of that range. Check by very gently brushing away silica gel from one spot; if the petal feels dry and firm, it’s ready.
Silica gel isn’t cheap, and it’s the one method on this list that requires buying something specific rather than using stuff you already have lying around. That said, it’s reusable almost indefinitely if you dry it back out in the oven after each use, so it pays for itself over time if you preserve flowers regularly. I’ve found that silica gel is worth the investment if you’re preserving wedding bouquets or other flowers where shape matters, but it’s overkill for everyday garden cuttings.
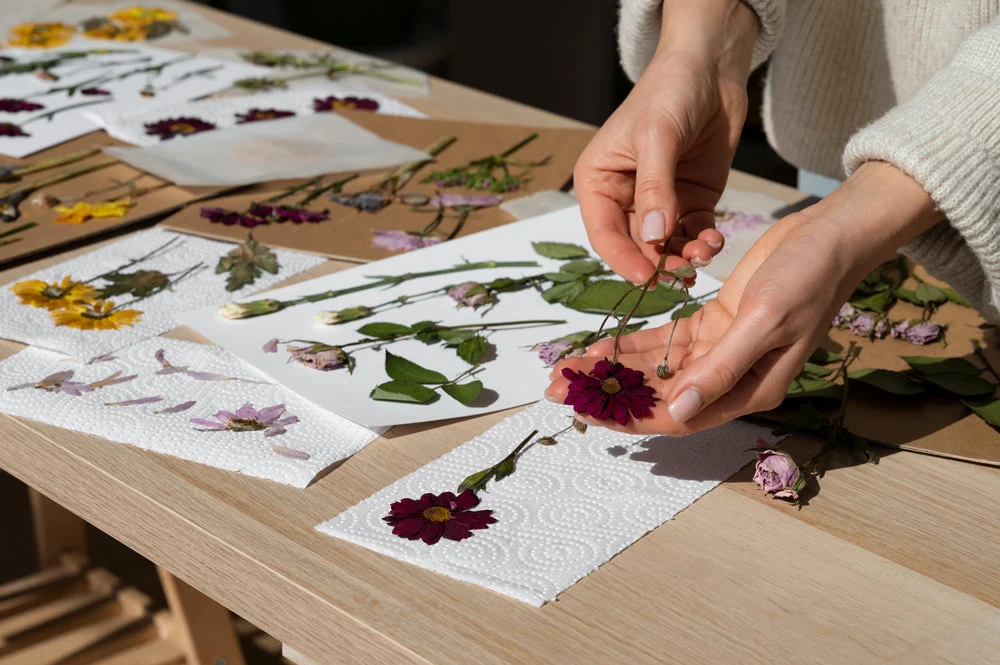
Step 6: Preserving with Glycerin for Flexible, Long-Lasting Foliage
Glycerin preservation is a little different from the other methods here because instead of drying the flower out, you’re replacing the water inside the plant’s cells with a glycerin solution. The result is foliage and flowers that stay soft, pliable, and less prone to crumbling, which makes this method fantastic for preserving leaves, ferns, and sturdy greenery alongside your flowers.
Mix one part glycerin to two parts hot water, then stir until fully combined. Cut your stems at an angle (this increases the surface area for absorption) and place them in the solution, submerged a few inches deep. Leave them for two to six weeks, checking periodically. You’ll know it’s working when the leaves take on a slightly darker, almost leathery look and feel.
This method works best on woody or sturdy plants like eucalyptus, magnolia leaves, and beech branches. It’s not the right call for delicate flower petals, which tend to just go limp and discolored in the solution instead of preserving nicely. I use glycerin almost exclusively for greenery I want to mix into dried arrangements, since it keeps the leaves from turning brittle and shattering the way air-dried foliage sometimes does.
Step 7: Sealing and Displaying Your Preserved Flowers
Preservation doesn’t end when the flower is dry. If you skip this last step, all that patience from steps one through six can go to waste in a matter of months. Pressed flowers especially need protection, since they’re thin enough to absorb humidity from the air and start curling or molding again if left exposed.
For pressed flowers headed into a frame, use UV-protective glass if you can swing it. Regular glass lets sunlight fade the colors within a year or two, and after all that pressing work, that’s a genuine bummer to watch happen. For flowers going onto cards, journals, or resin projects, a light coat of clear sealant spray (Mod Podge works fine too) locks in the color and adds a bit of durability against handling.
Dried, three-dimensional flowers should be kept out of direct sunlight and away from humid rooms like bathrooms. A light dusting with a soft, dry paintbrush every so often keeps them looking fresh without knocking petals loose. I keep my dried lavender and statice arrangements on a bookshelf across the room from any windows, and some of them have held their color for going on three years now.
Real Talk: What Actually Goes Wrong (and What’s Not Worth the Effort)
Let’s be honest about where this hobby gets frustrating, because plenty of tutorials skip this part entirely.
Mold is the number one problem people run into, and it almost always comes down to trapped moisture. If you rush the drying process, or bunch too many stems together for air drying, or don’t check your silica gel often enough, you’ll end up with fuzzy gray spots instead of a preserved keepsake. When in doubt, give it more time and more airflow, not less.
Color fading is the second big disappointment. Reds and pinks tend to hold up reasonably well, but purples, blues, and anything pastel fade fastest, especially with air drying in a space that isn’t as dark as you think it is. If color retention matters to you, silica gel and the microwave method both outperform traditional air drying and pressing.
I’ll also say it plainly: don’t bother trying to preserve tulips, daffodils, or other bulb flowers with high water content using pressing or air drying. I’ve wasted entire batches on tulips before giving up on them completely. They’re just built wrong for this. Their thick, watery petals brown and rot before they ever dry out properly. If you love tulips and want to preserve them, glycerin or silica gel are your only realistic shots, and even those come with mixed results.
And one honest opinion: those flower preservation kits sold online for wedding bouquets, the ones that run you $150 or more to mail in your flowers and get them back in a shadow box, are a total waste of money for anything you could reasonably do yourself with a book and some patience. Unless you genuinely have zero time or interest in doing it yourself, save your cash and press the bouquet at home instead.
One more thing worth mentioning: patience really is the whole game here. Almost every preservation failure I’ve had traces back to me rushing a step because I got impatient, whether that was checking the microwave too infrequently or pulling flowers out of silica gel a day early because I couldn’t wait to see them. If a method calls for two weeks, give it two weeks. Your future self, looking at a perfectly preserved keepsake instead of a moldy mess, will thank you for it.
Final Thoughts on Preserving Flowers Naturally
Preserving flowers isn’t about stopping time, not really. It’s about holding onto a version of something that mattered, even after the original has faded. Whether you’re pressing prom flowers into a scrapbook or air-drying an entire garden’s worth of statice for a fall arrangement, the method matters less than just starting before the flower is too far gone.
Pick one method from this list, grab whatever’s blooming near you right now, and give it a shot this week. What are you hoping to preserve, and which method sounds like the best fit for it? Drop your questions or your own tricks in the comments below. I read every one, and I might just steal your idea for my next batch.

About Syprose Kiche
Syprose Kiche is the creator and writer behind My Besuited Home, a practical home and garden website covering DIY projects, gardening, lawn care, landscaping, home improvement, and outdoor living. She focuses on turning everyday homeowner questions into clear, practical guides backed by careful research and useful real-world considerations.