
You bought three bags of potting soil, a handful of seed packets, and a stack of terracotta pots from the clearance rack. Now they’re sitting on your patio, and you have no idea where to start. Maybe you’ve already killed a basil plant or two. Maybe your last “garden” was a sad, leggy tomato that never turned red.
I get it. Container gardening looks simple on Instagram and feels like a minefield the second you actually try it. Wrong soil, wrong pot, wrong plant for your light — any one of those will sink you before you’ve even picked your first cherry tomato.
I’ve been growing food in pots, buckets, and everything in between for over a decade, on a cramped apartment balcony and later on a full-sun deck that baked like a pizza oven. I’ve drowned more seedlings than I can count and I once tried to grow corn in a 5-gallon bucket (don’t do that, by the way — more on that later).
Here are 11 container gardening ideas that are genuinely beginner-friendly, plus the honest truth about what’s worth your time and what isn’t.
1. Cherry Tomatoes in a 5-Gallon Bucket
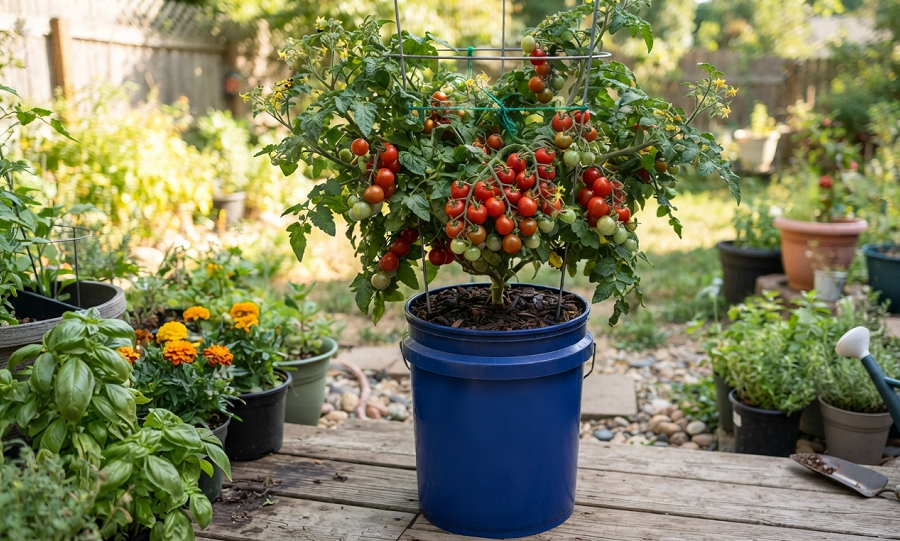
Cherry tomatoes are the gateway drug of container gardening. They’re forgiving, they produce like crazy, and they don’t demand a greenhouse’s worth of attention.
Grab a 5-gallon bucket, drill 6 to 8 drainage holes in the bottom, and fill it with a good potting mix blended with compost. Skip garden soil from your yard — it compacts in containers and suffocates roots. I learned that one the hard way with a batch of soil I dug straight from my backyard. It turned into a brick within two weeks.
Pick a compact variety like Tumbling Tom or Tiny Tim if you want something that won’t need staking. For taller varieties like Sweet 100s, sink a tomato cage in early so you’re not fighting root damage later. Water consistently; tomatoes in containers dry out fast, especially in summer heat.
Feed every two weeks once flowers appear, using a balanced liquid fertilizer or one formulated for tomatoes. Cherry tomatoes in containers can produce for months if you keep picking the ripe ones. I’ve had a single bucket plant keep my kitchen counter stocked with tomatoes clear through October.
2. Leaf Lettuce in a Shallow Window Box
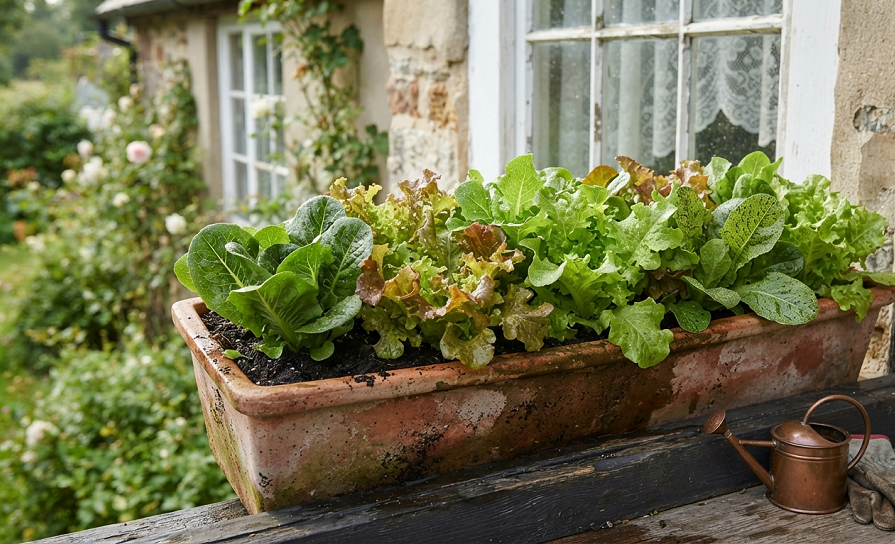
If you want fast results with almost zero risk of failure, leaf lettuce is your best friend. It doesn’t need deep soil, it tolerates partial shade, and you can harvest it within a month of planting.
Use a window box or any container that’s at least 6 inches deep. Lettuce roots are shallow, so you don’t need anything fancy. Fill with a light, well-draining potting mix and scatter seeds thinly across the surface, then cover with a light dusting of soil.
Keep the soil consistently moist while seeds germinate. Once seedlings are a couple inches tall, thin them out so each plant has breathing room — I know it feels wasteful to pull out perfectly good little seedlings, but crowded lettuce bolts and turns bitter fast.
Harvest using the “cut and come again” method: snip outer leaves and let the center keep growing. A single window box can give you salad greens for weeks. Rotate in a new batch every few weeks for a continuous harvest, especially in spring and fall when lettuce actually prefers the cooler temperatures.
3. Bush Beans in a Medium Pot
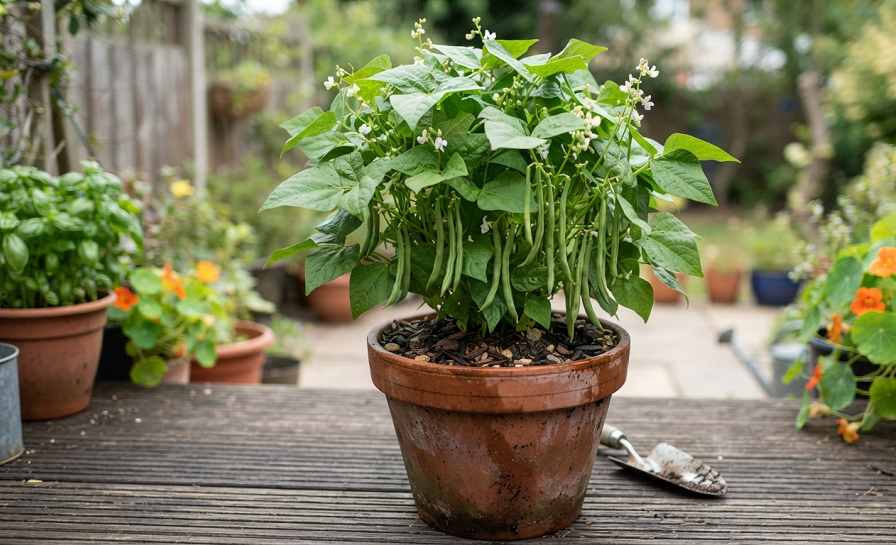
Bush beans are criminally underrated for container growing. Unlike pole beans, they don’t need a trellis, they mature fast, and they’re nearly impossible to mess up.
Choose a pot at least 12 inches deep and wide, since bean roots like a bit of room to spread. Fill with potting mix and plant seeds directly about an inch deep, spacing them 3 to 4 inches apart. Beans hate being transplanted, so skip starting them indoors — direct sow straight into the container.
Water regularly but don’t drown them. Beans are more forgiving of dry spells than soggy roots. Once they start flowering, you’ll see beans within a couple weeks. Harvest often; the more you pick, the more the plant keeps producing.
I’ve found bush beans are one of the few crops where I genuinely forget about them for a stretch and they still deliver. If you want a low-maintenance protein-ish crop for a container garden, this is it. Just don’t expect a massive haul from one pot — plant two or three containers if you actually want enough for regular meals.
4. Strawberries in a Hanging Basket
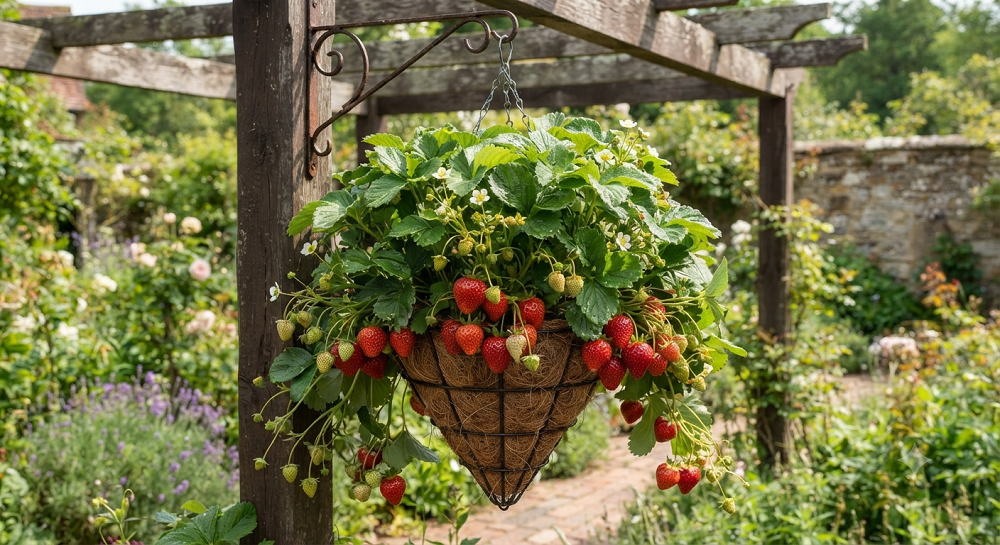
Strawberries in the ground are an open invitation for slugs, birds, and every critter in a five-mile radius. Growing them in a hanging basket solves most of that problem instantly, and it looks great on a porch.
Use a basket at least 12 inches across with good drainage, lined if needed to hold moisture. Everbearing varieties like Ozark Beauty or Quinault work well for containers since they produce fruit steadily through the season instead of one big flush.
Plant with the crown (the point where roots meet leaves) right at soil level — bury it too deep and it’ll rot, plant it too shallow and it’ll dry out and die. Strawberries need consistent moisture, so hanging baskets can dry out quicker than ground-level pots; check them daily in hot weather.
Feed with a balanced fertilizer at planting, then switch to a bloom-boosting formula once flowers show up. Runners will try to take over the basket — snip them off unless you want to root new plants, in which case let a few dangle down into small pots of their own soil.
5. Herbs in a Vertical Planter
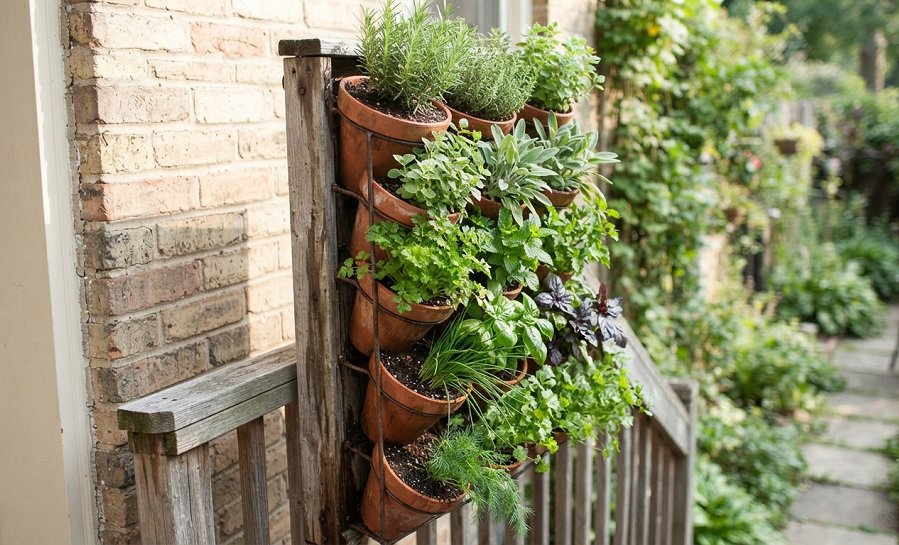
If you’re short on space, a vertical herb planter is one of the smartest moves you can make. You get basil, thyme, chives, oregano, and mint all in one footprint instead of six separate pots taking over your patio.
Pick a vertical planter with individual pockets or tiers, and use a well-draining potting mix in each section. Group herbs by watering needs — Mediterranean herbs like rosemary, thyme, and oregano want to dry out between waterings, while basil and mint want consistently moist soil. Mixing these in the same watering zone is a mistake I made early on, and half my rosemary rotted while the basil stayed thirsty.
Place the whole unit somewhere it gets at least 6 hours of sun daily. Herbs grown in low light get leggy and lose flavor intensity, so don’t tuck this into a shady corner and expect magic.
Harvest regularly by pinching stems just above a leaf node — this encourages bushier growth instead of one tall, floppy stalk. Mint deserves its own separate pot, always. I put it in with my other herbs exactly once, and within a season it had strangled everything else in the planter.
6. Peppers in a Large Terracotta Pot
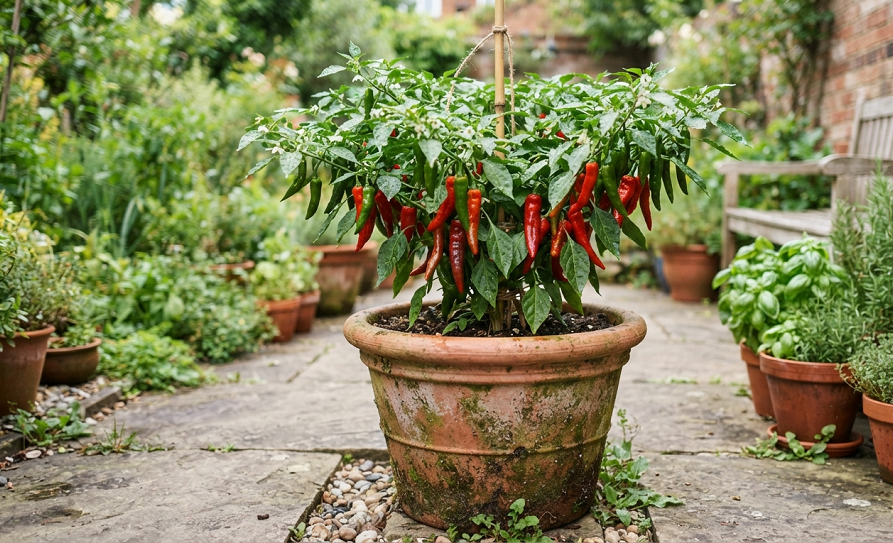
Peppers love heat, and terracotta pots absorb and hold warmth beautifully, which makes them a nearly perfect match. Bell peppers, jalapeños, and other varieties all do well in containers as long as the pot is big enough.
Go with at least a 5-gallon container, though bigger is better for larger pepper varieties. Fill with potting mix enriched with compost, and don’t rush planting — peppers are heat lovers and sulk in cool soil. Wait until nighttime temperatures are reliably above 60°F before moving seedlings outdoors.
Water deeply but let the top inch of soil dry between waterings. Peppers are more drought-tolerant than people assume, and overwatering is the more common killer. Fertilize with a phosphorus-rich formula once flowering starts to encourage fruit set rather than just leafy growth.
One thing nobody tells beginners: pepper plants often need a light stake or small cage once they start loading up with fruit, since the branches can snap under the weight. I lost half a harvest of jalapeños one year to a wind gust because I never bothered staking mine. Don’t make that mistake.
7. Radishes in a Shallow Trough
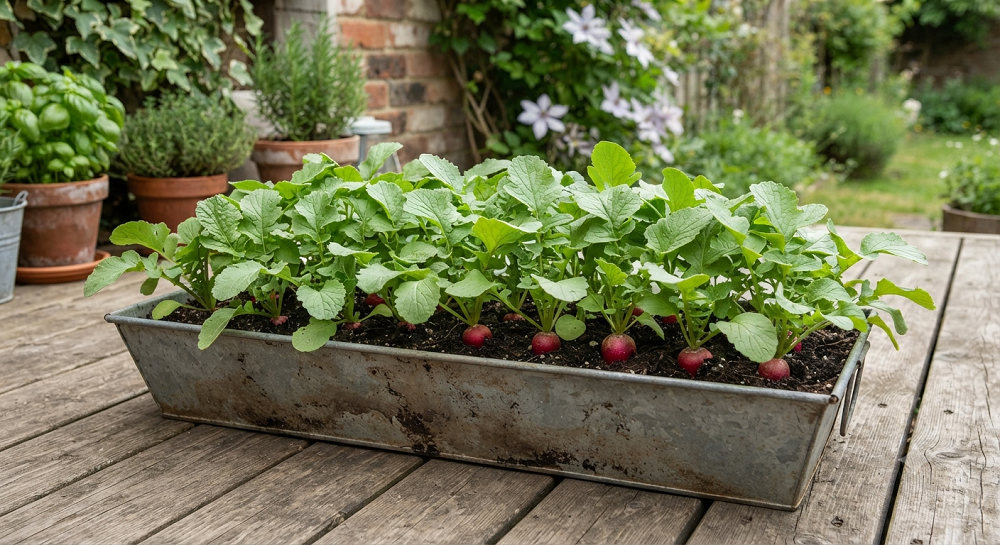
Radishes are the fastest-growing edible you can put in a container, period. Some varieties are ready to harvest in as little as three weeks, which makes them perfect for beginners who want quick proof that they haven’t killed everything.
Use a shallow trough or window box at least 6 inches deep. Sow seeds directly, about half an inch deep and an inch apart, in loose, well-draining soil. Radishes hate compacted soil — it causes them to grow stunted or oddly shaped roots instead of nice round bulbs.
Thin seedlings early if they come up crowded. This is non-negotiable; crowded radishes produce all leaf and no root. Keep soil consistently moist, since inconsistent watering causes radishes to turn woody and sharp-tasting instead of crisp.
Succession plant every couple weeks for a rolling harvest instead of one big batch all at once. Radishes are also a great “filler” crop between slower-growing plants in a bigger container, since they’re in and out of the ground before the other plant needs the space.
8. Cucumbers on a Trellis in a Deep Pot
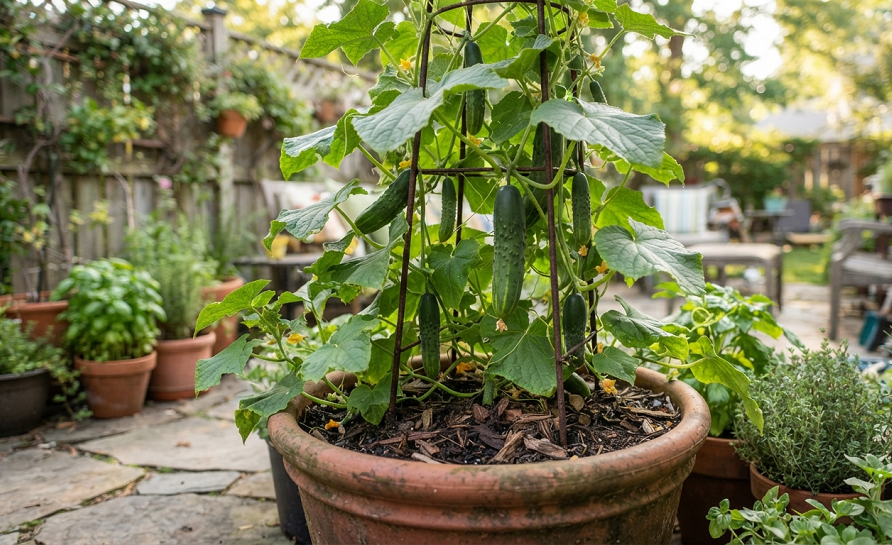
Cucumbers sprawl aggressively in the ground, but trained up a trellis in a deep container, they behave themselves and save a ton of space. This is one of my favorite tricks for small patios.
Use a container at least 5 gallons with good depth, since cucumber roots go deep. Set up a trellis or sturdy stake structure at planting time — trying to add one later after vines have sprawled everywhere is a headache you don’t want.
Choose a bush or compact vining variety bred for containers, like Bush Champion or Salad Bush. Water consistently; cucumbers are mostly water and they’ll turn bitter fast if they dry out between waterings.
Train the vine up the trellis as it grows by gently weaving it through the supports. Harvest cucumbers when they’re still slightly immature for the best flavor — oversized cucumbers get seedy and bland. I’ve found that checking daily once fruiting starts is worth it, because cucumbers seem to go from perfect to baseball-bat-sized overnight.
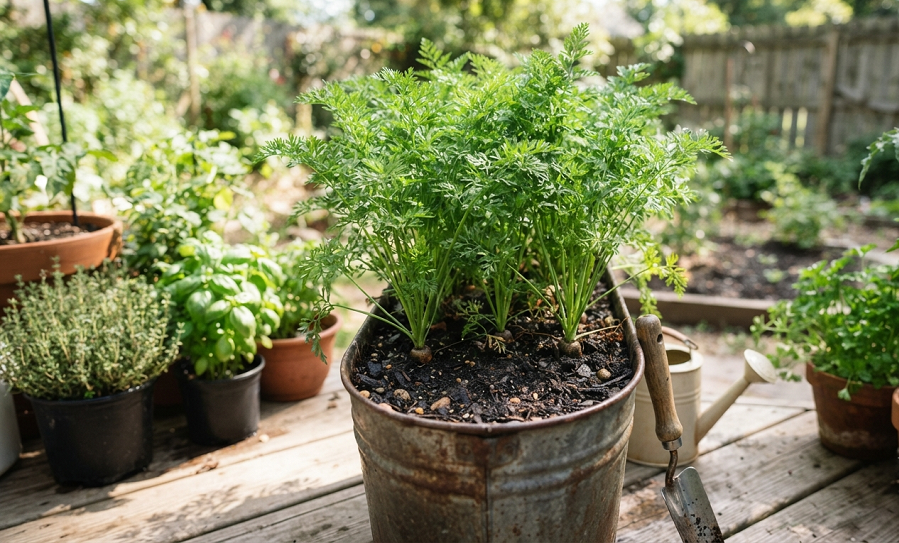
9. Carrots in a Deep, Narrow Container
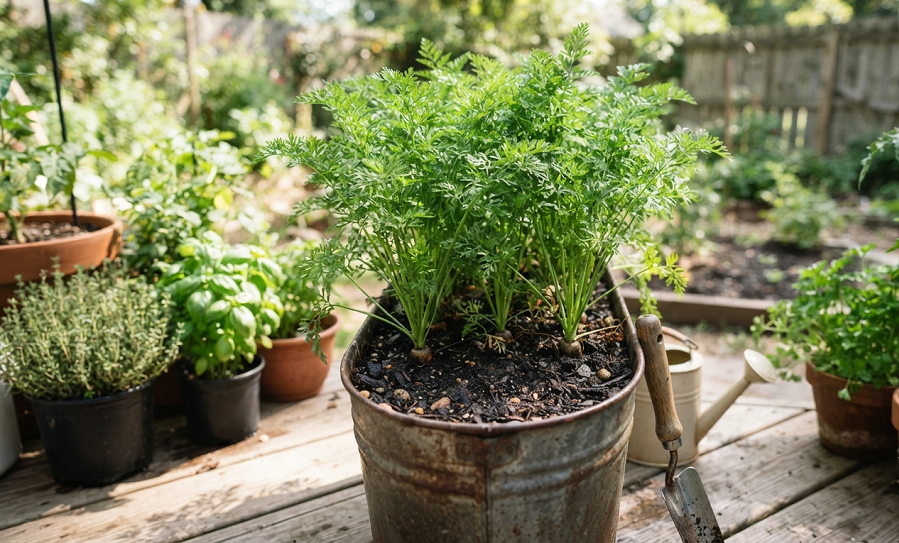
Carrots have a reputation for being tricky in containers, and honestly, that reputation is earned if you use the wrong pot. The fix is simple: go deep.
Choose a container at least 12 inches deep, since carrot roots need room to grow straight down. Shallow pots produce stubby, forked, or curled carrots — still edible, just ugly and hard to peel. Fill with loose, stone-free potting mix; compacted or rocky soil is the number one cause of deformed carrots.
Sow seeds thinly and directly into the container, since carrots don’t transplant well. Keep the soil surface moist until germination, which can take up to two weeks and tests your patience. Thin seedlings to about 2 inches apart once they’re a couple inches tall.
Choose shorter varieties like Danvers Half Long or Little Finger if your container isn’t especially deep. Full-size Imperator carrots need serious depth and will fight you the whole way in a shallow pot. Carrots are slow, but the payoff of pulling a perfectly straight, homegrown carrot out of a bucket never gets old.
10. Zucchini in an Extra-Large Container
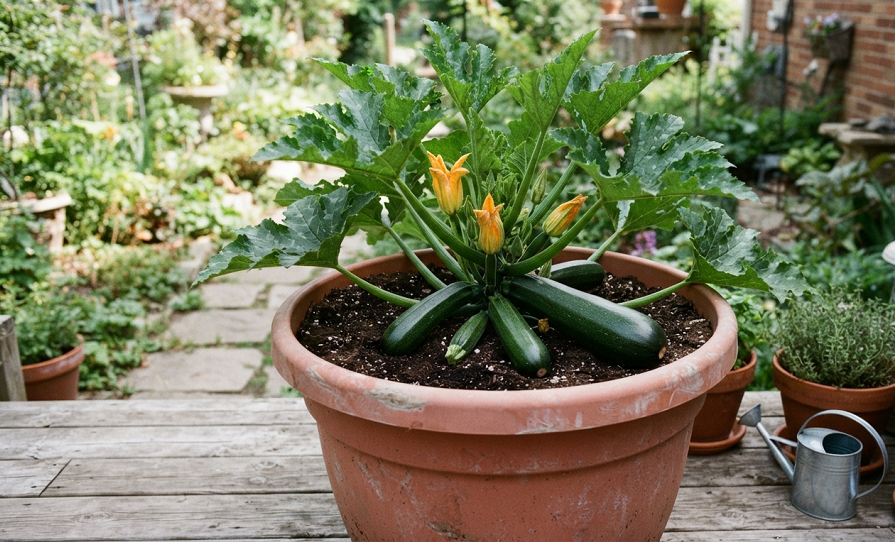
I have to be honest about zucchini: it’s not really a “small space” crop, and container growing is more about damage control than convenience. The summer my zucchini took over the entire deck, I understood why people give away paper bags of it on every neighbor’s doorstep.
Still, if you want to try it, use the biggest container you own — at least 15 to 20 gallons. Zucchini has an enormous root system and will punish you in a small pot with stunted, stressed plants. Fill with rich soil heavy on compost, since zucchini is a hungry feeder.
Water deeply and often; zucchini’s giant leaves lose moisture fast, especially in full sun. Fertilize every couple weeks once fruiting starts. Pollination can be an issue in containers on balconies with little bee traffic, so hand-pollinate with a small paintbrush if you notice flowers but no fruit forming.
One zucchini plant is genuinely plenty for most households. I don’t care what the seed packet suggests about planting two or three — one healthy plant in a big container will produce more zucchini than you know what to do with.
11. Bonus Idea: Microgreens in a Recycled Container
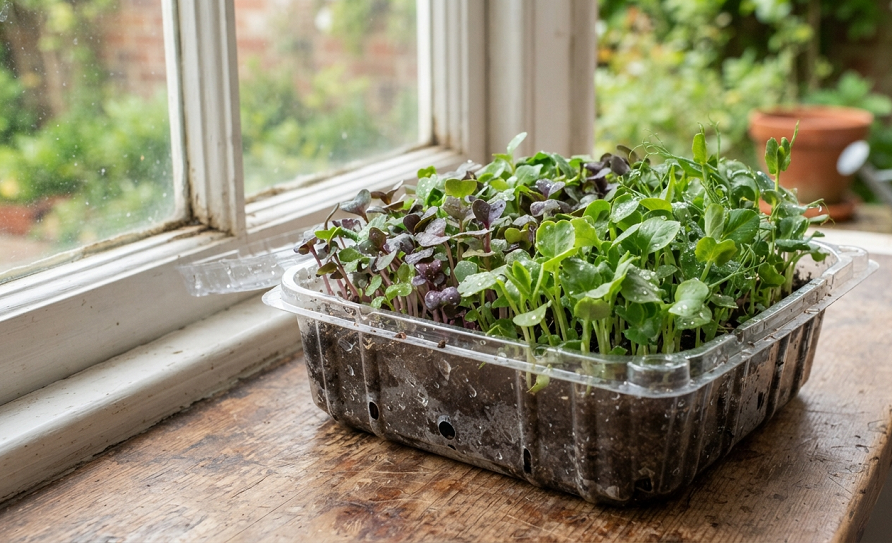
Quick side note here because this one barely counts as “gardening” but deserves a mention for absolute beginners with zero outdoor space. Microgreens grow indoors on a windowsill, no yard or balcony required.
Use any shallow container with drainage holes — a repurposed salad clamshell works great. Fill with an inch or two of potting mix, scatter seeds densely across the surface, and mist to keep the soil moist. Keep it near a bright window or under a simple grow light.
Harvest with scissors in as little as 7 to 14 days, snipping just above soil level. Microgreens pack serious flavor and nutrition into a tiny footprint, and they’re a great confidence-builder before you commit to bigger container projects.
Real Talk: What’s Not Worth the Effort (and What Goes Wrong)
Not every container gardening idea online is worth your time, and I’d rather tell you that upfront than let you waste a summer.
Corn in containers is a trap. I tried it in a 5-gallon bucket years ago thinking I was being clever, and it was a disaster. Corn needs to be planted in blocks for proper pollination, and one lonely stalk in a bucket just doesn’t cut it. Skip it unless you have serious space for multiple rows.
Root rot is the silent killer of most container gardens. If your pot doesn’t have drainage holes, drill them, no exceptions. I’ve found that fancy decorative pots without drainage are a total waste of money, even if they look pretty on Pinterest. Water pools at the bottom, roots suffocate, and the plant dies slowly while you wonder what went wrong.
Overcrowding is the second biggest mistake beginners make. It’s tempting to cram in extra seeds or seedlings because pots look empty at first. Thin your plants even when it feels wasteful. Crowded roots compete for water and nutrients, and you’ll end up with weak, stressed plants across the board instead of a few strong producers.
Inconsistent watering ruins more container crops than pests ever will. Containers dry out faster than garden beds, sometimes within a single hot afternoon. If you can’t commit to checking soil moisture daily during summer, consider self-watering containers or drip irrigation before you plant anything thirsty like tomatoes or cucumbers.
And finally, don’t chase every trendy plant you see online. Some vegetables, like full-size pumpkins or sweet corn, just aren’t built for pots no matter how creative your setup is. Match the plant to the container, not the other way around.
Parting Wisdom
Container gardening rewards patience and punishes shortcuts, but it’s genuinely one of the most satisfying hobbies you can pick up, even if you’ve killed every houseplant you’ve ever owned. Start small, start with something forgiving like lettuce or bush beans, and build confidence before you take on the fussier crops.
What’s the first thing you’re planning to grow this season? Drop your questions or your own container gardening disasters in the comments below — I’ve probably made the same mistake at some point, and I’d love to help you avoid it.

About Syprose Kiche
Syprose Kiche is the creator and writer behind My Besuited Home, a practical home and garden website covering DIY projects, gardening, lawn care, landscaping, home improvement, and outdoor living. She focuses on turning everyday homeowner questions into clear, practical guides backed by careful research and useful real-world considerations.