

When water drains slowly when poured gently, but stops completely when the drain pipe fills up—it’s the tell-tale sign of a partial clog combined with a ventilation issue (an air lock). The drain is functioning like a sealed straw: water can trickle down the sides, but once the pipe is full, the water cannot displace the air below it, and the flow stops dead.
Here is a step-by-step method, ordered from easiest to most invasive, to break up the clog and restore proper airflow and drainage.
1. Safety and Preparation
- Remove the Strainer: Take out the rubber or mesh sink strainer.
- Locate the Overflow (If applicable): If you have a double sink, seal the second drain tightly with a stopper or a wet rag. If you have a garbage disposal, block that side if the clog is on the other. For single sinks, there is usually no overflow, so proceed to the next step.
2. The Boiling Water Flush (For Grease)
Since kitchen clogs are often grease-based, a quick heat treatment can sometimes loosen the blockage instantly.
- Heat Water: Bring a large pot (or kettle) of water to a rolling boil.
- Pour Slowly: Turn the heat off and slowly pour the boiling water directly down the drain opening, taking care not to splash yourself.
- Wait: Wait 10-15 minutes and then test the drainage with hot tap water.
If this solves it, you’re done! If not, proceed to the mechanical methods.
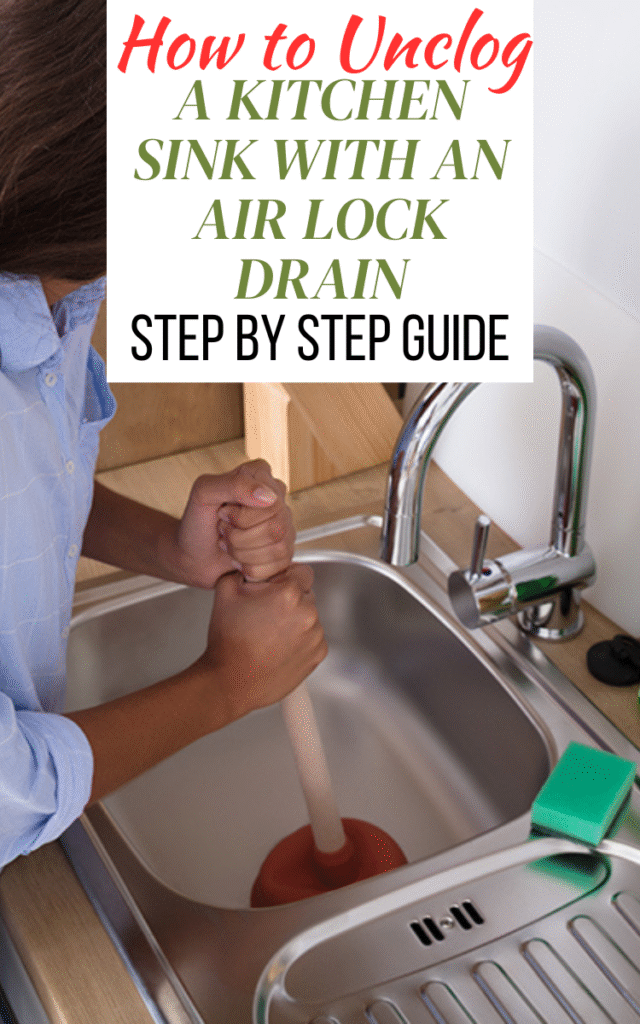
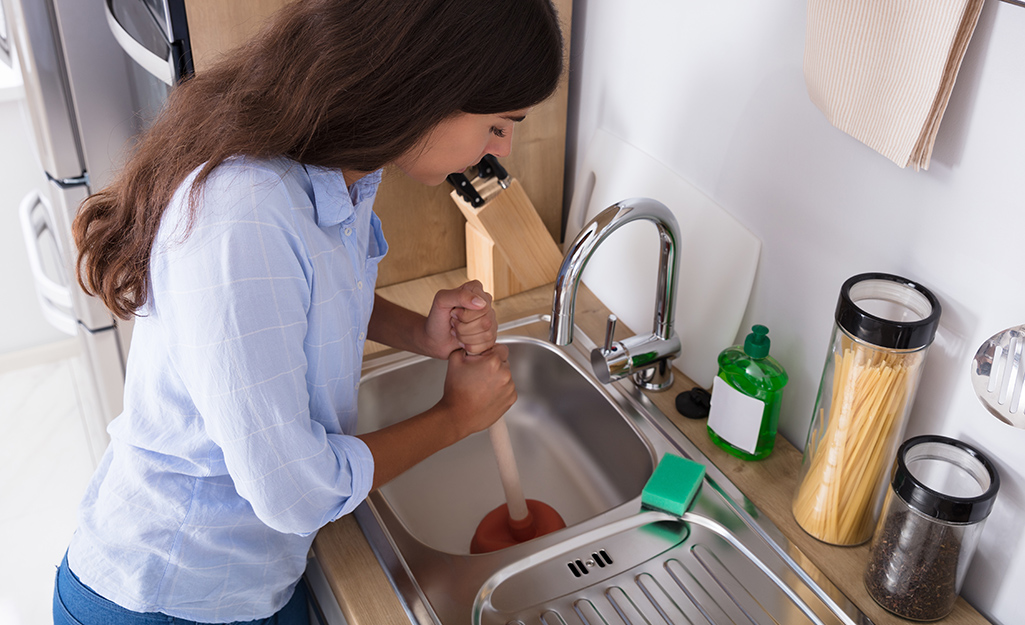
3. The Plunger Technique (Targeting the Air Lock)
A plunger is the best tool for an air lock because it applies pressure to force movement, breaking the seal.
- Fill the Sink: Fill the sink with 3-4 inches of hot water. This is crucial as the water volume helps create the necessary seal and force.
- Seal the Plunger: Place the plunger cup over the drain opening, ensuring a watertight seal around the edge.
- Plunge Vigorously: Push down and pull up forcefully. The goal is not just to push water down, but to use the suction on the pull-up stroke to dislodge the obstruction. Plunge for 30–60 seconds.
- Check Drainage: Remove the plunger and check if the water rushes out freely.
Repeat this process 2-3 times if necessary. If the water level still slows or stops, move on to the next step.
4. Baking Soda and Vinegar (Foaming Action)
While this is often seen as a gentle solution, the foaming action can help break down organic matter and create turbulence inside the P-trap, which is where most kitchen clogs sit.
- Dry the Drain: Scoop out any standing water.
- Apply Baking Soda: Pour half a cup of baking soda directly into the drain opening.
- Apply Vinegar: Pour one cup of white vinegar immediately after.
- Seal It: Quickly cover the drain with a stopper or a rag to trap the reaction (the fizzing and bubbling) inside the pipe, forcing the cleaning action onto the clog.
- Wait: Let the mixture sit for 30 minutes to an hour.
- Final Flush: Follow up with another pot of boiling hot water.
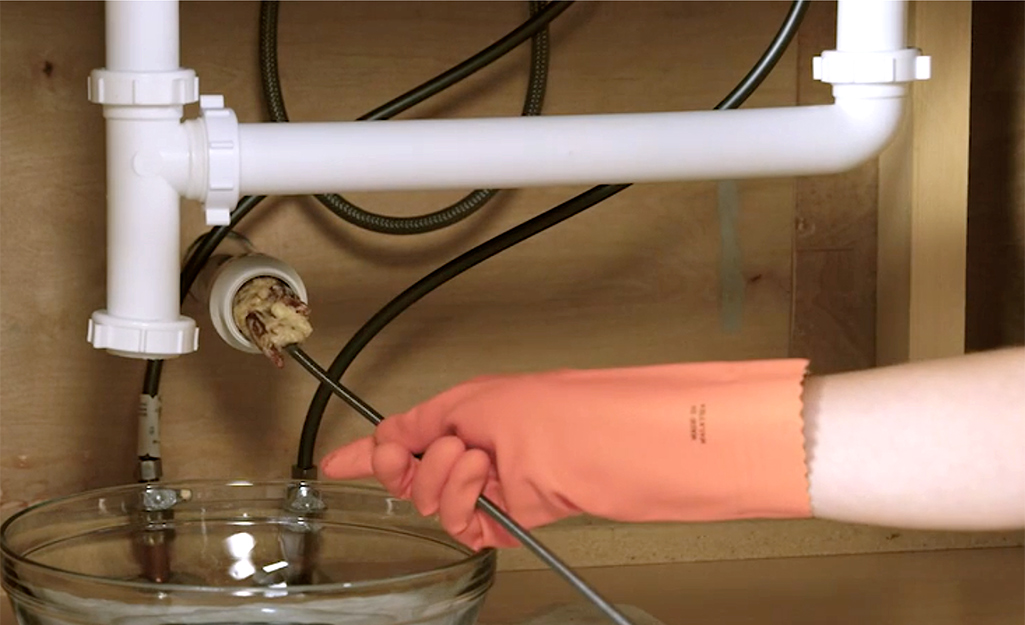
5. Cleaning the P-Trap (Manual Removal)
If none of the above worked, the blockage is likely solidified in the P-trap (the curved pipe under the sink). This requires manual removal.
- Prepare: Place a large bucket directly under the P-trap to catch water and debris.
- Loosen Nuts: Use a wrench or pliers to loosen the slip nuts on both sides of the curved section of pipe. (Note: Always loosen these by hand if possible to avoid damaging the plastic.)
- Remove P-Trap: Carefully slide the pipe section off and dump the contents into the bucket.
- Clear the Clog: Use a bottle brush or a wire coat hanger straightened out to physically clean out any built-up grease, hair, and debris from the P-trap pipe.
- Reassemble: Reattach the P-trap, ensuring the slip nuts are hand-tightened first, then given a quarter-turn with pliers to seal.
- Test: Run cold water for a few minutes to check for leaks and confirm fast drainage.
Wrapping Up
When you address the blockage with heat and pressure (the plunger), you should be able to restore the pipe’s interior diameter enough to allow both water and air to move freely, eliminating that frustrating air lock.