
Yard art can transform an ordinary outdoor space into a vibrant and personalized oasis. Adding a touch of creativity to your garden or yard not only enhances its aesthetic appeal but also gives it a unique character. Whether you’re looking to repurpose old items or craft something entirely new, DIY yard art projects are a fantastic way to inject personality and charm into your outdoor space. In this article, we’ll explore 15 unique and creative DIY yard art ideas that are perfect for sprucing up your garden or yard with a personal touch.
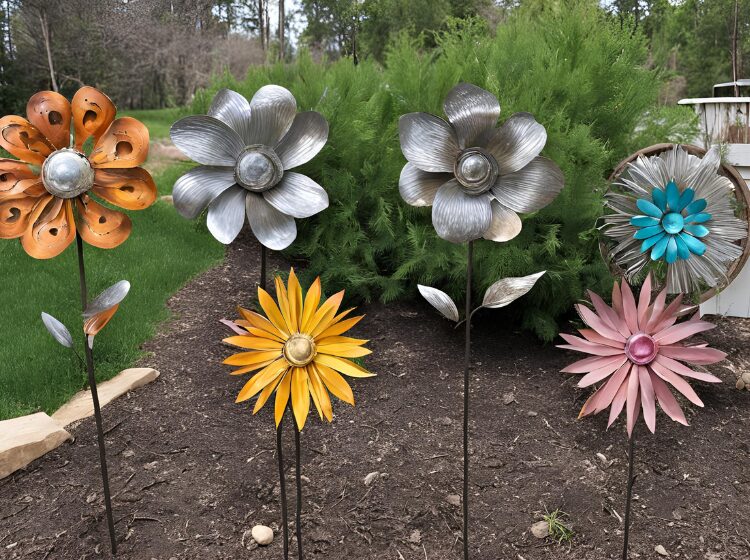
1. Upcycled Metal Flowers
Materials Needed:
- Old metal items (e.g., spoons, forks, washers)
- Paint (metallic or acrylic)
- Metal rod or stake
- Glue or metal fasteners
Instructions:
- Gather old metal items from around the house or thrift stores. Look for items with interesting shapes and sizes.
- Clean the metal pieces thoroughly and remove any rust if needed.
- Arrange the metal items into flower shapes. Use glue or metal fasteners to secure them together.
- Paint the flowers with metallic or acrylic paint to add a vibrant finish. Allow the paint to dry completely.
- Attach the finished flowers to a metal rod or stake and place them in your garden.
Tips:
- Experiment with different metal items to create various flower shapes and sizes.
- For a more intricate design, use a variety of colors and paint techniques.
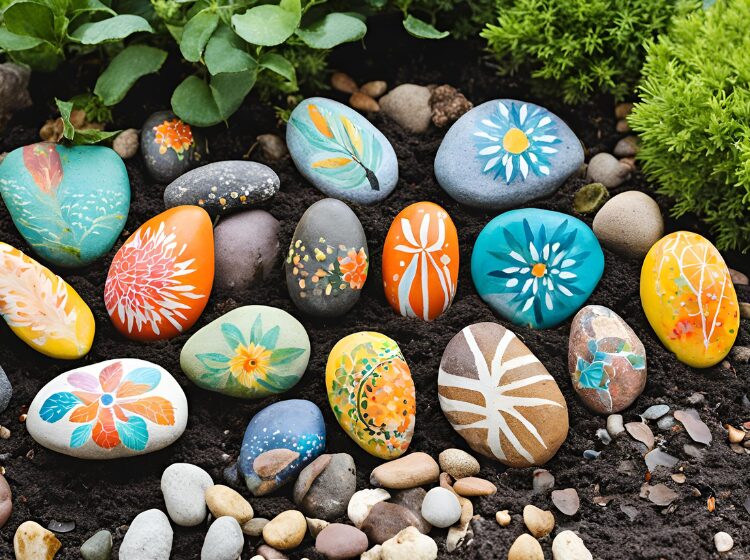
2. Painted Rock Garden Markers

Materials Needed:
- Smooth rocks
- Outdoor paint (acrylic or enamel)
- Brushes
- Sealant
Instructions:
- Collect smooth, flat rocks from your garden or purchase from a craft store.
- Clean the rocks and let them dry.
- Paint the rocks with your chosen designs, such as plant names, symbols, or decorative patterns.
- Once the paint is dry, apply a coat of sealant to protect the designs from the elements.
- Place the painted rocks in your garden to mark different plants or add decorative touches.
Tips:
- Choose vibrant colors and clear, easy-to-read lettering for plant markers.
- Use weather-resistant paints and sealants to ensure longevity.
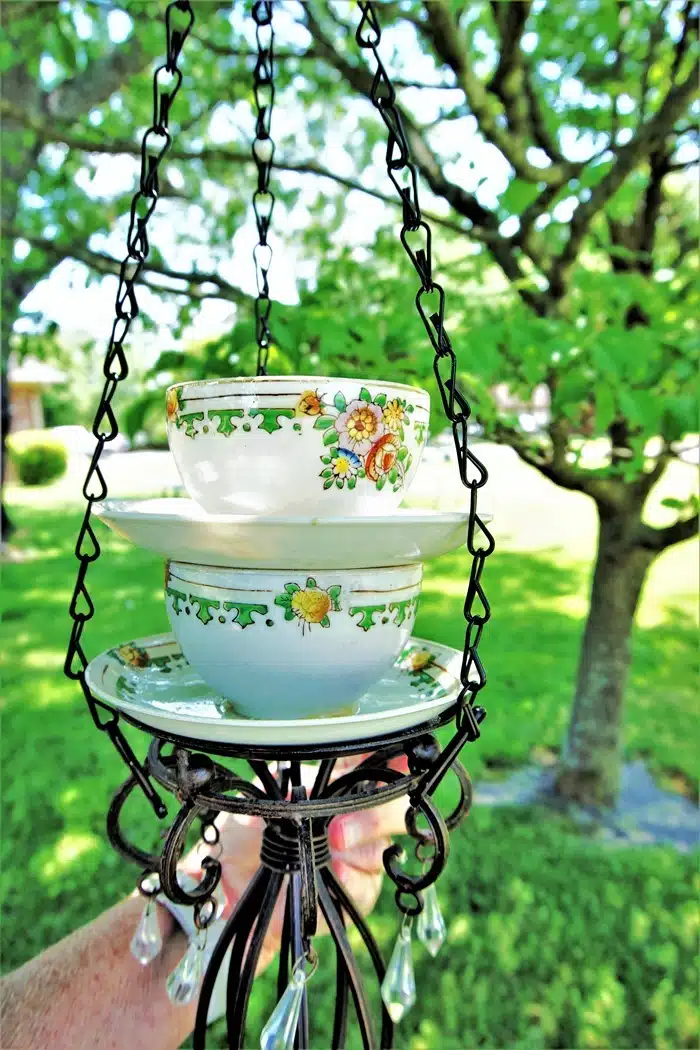
3. DIY Bird Feeders from Teacups
Materials Needed:
- Teacups and saucers
- Metal rod or chain
- Glue (waterproof)
- Birdseed
Instructions:
- Find mismatched teacups and saucers from thrift stores or your kitchen.
- Attach the saucer to the bottom of the teacup using waterproof glue.
- Once the glue is dry, attach a metal rod or chain to the handle of the teacup to create a hanging mechanism.
- Fill the teacup with birdseed.
- Hang the teacup bird feeders in your garden or yard where birds can easily access them.
Tips:
- Ensure the teacup is securely glued to the saucer to avoid spills.
- Place the feeders in a quiet spot to attract more birds.
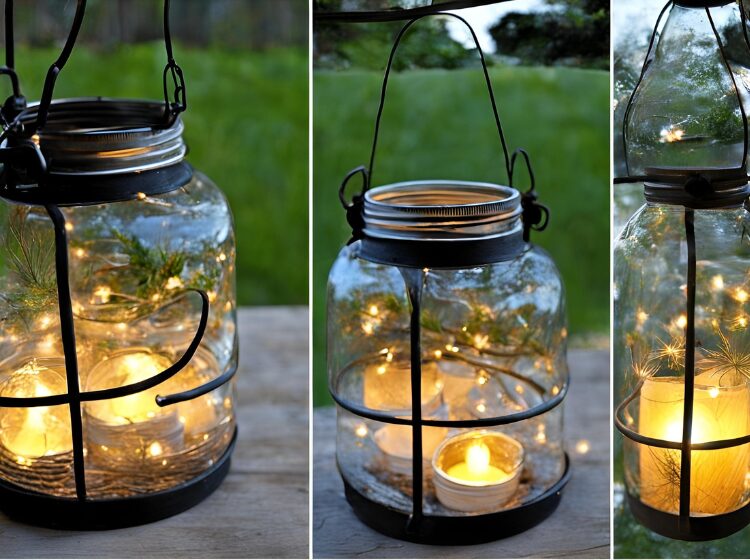
4. Mason Jar Lanterns
Materials Needed:
- Mason jars
- LED tea lights or candles
- Wire
- Paint or decorative items (e.g., beads, ribbons)
Instructions:
- Clean and remove labels from mason jars.
- Decorate the jars with paint or other decorative items. You can create patterns, scenes, or simply add color.
- Thread wire through the jar lid or around the jar neck to create a handle for hanging.
- Place an LED tea light or candle inside the jar.
- Hang the jars along a path, on tree branches, or on hooks in your garden.
Tips:
- Use LED lights for safety, especially if the lanterns will be left unattended.
- Experiment with different decorating techniques, such as etching or decoupage.
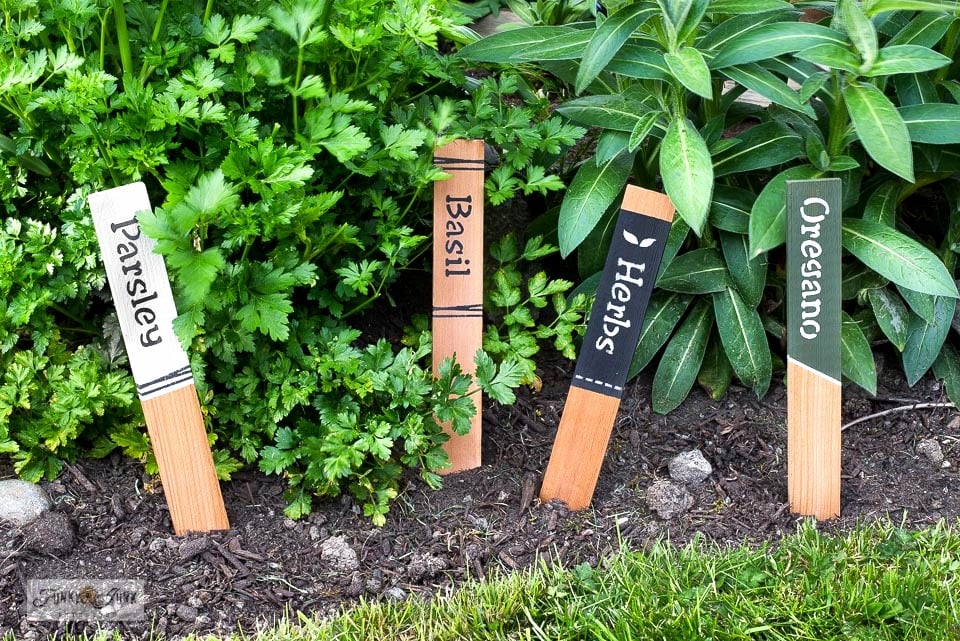
5. Wooden Garden Signs
Materials Needed:
- Wood planks
- Outdoor paint or stain
- Brushes
- Nails or screws
Instructions:
- Cut wood planks to your desired sign size.
- Sand the wood to create a smooth surface for painting.
- Paint the wood with your chosen designs or messages, such as “Welcome” or “Herb Garden.”
- Allow the paint to dry, then apply a clear outdoor sealant for protection.
- Attach the signs to stakes or posts and place them in your garden.
Tips:
- Use weather-resistant paint and sealant to ensure the longevity of your signs.
- Consider adding a decorative border or background to make the sign stand out.
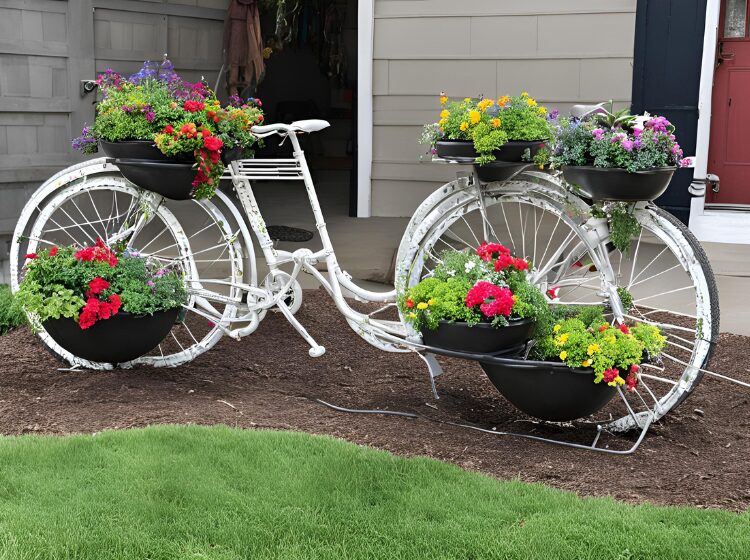
6. Repurposed Bicycle Planters
Materials Needed:
- Old bicycles
- Paint
- Soil
- Plants
Instructions:
- Find an old bicycle that you can repurpose. Clean it thoroughly.
- Paint the bicycle in a bright or matching color to fit your garden theme.
- Use the bicycle’s basket or frame to hold soil and plants. You may need to add some plastic or mesh to hold the soil in place.
- Plant your chosen flowers, herbs, or small shrubs in the bicycle’s basket or frame.
- Place the bicycle planter in a prominent spot in your garden.
Tips:
- Choose plants that thrive in the available sunlight and space of the bicycle planter.
- Secure the bicycle to prevent tipping, especially if it’s placed in a windy area.
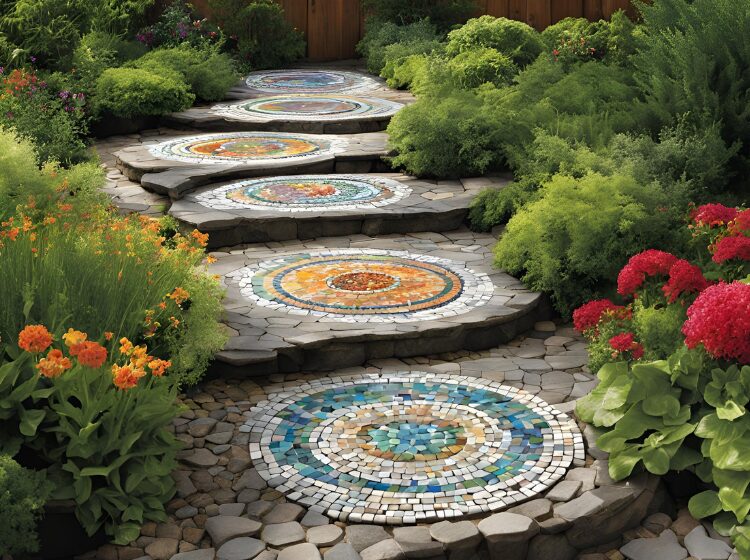
7. Mosaic Stepping Stones
Materials Needed:
- Stepping stone molds
- Concrete mix
- Mosaic tiles or broken ceramics
- Grout
Instructions:
- Prepare the concrete mix according to the package instructions.
- Pour the concrete into stepping stone molds and allow it to partially set.
- While the concrete is still wet, arrange mosaic tiles or broken ceramics on the surface in your desired pattern.
- Allow the concrete to fully set and cure.
- Once the stepping stones are dry, apply grout between the tiles and wipe off any excess.
Tips:
- Use colorful or patterned tiles for a vibrant stepping stone design.
- Seal the finished stones to protect them from moisture and wear.
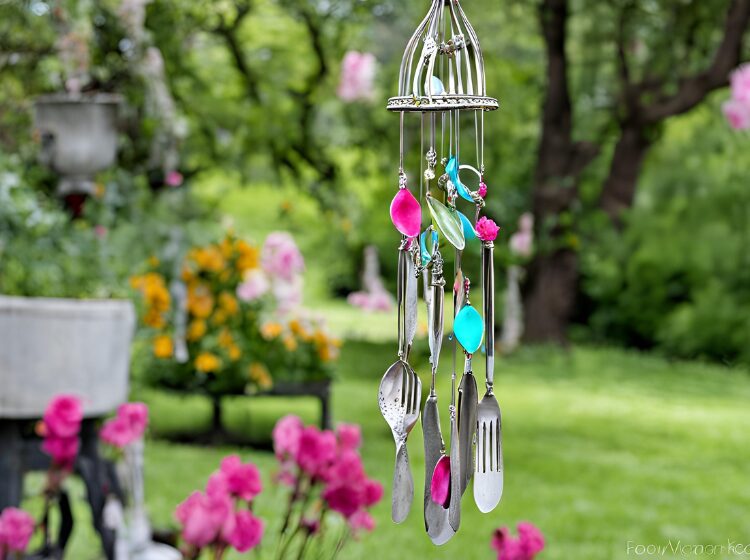
8. DIY Wind Chimes from Old Silverware
Materials Needed:
- Old silverware (spoons, forks, knives)
- Metal ring or frame
- Wire
- Beads or decorative elements
Instructions:
- Gather old silverware and clean it thoroughly.
- Bend or cut the silverware into various shapes (e.g., leaves, circles) using pliers or a metal cutter.
- Attach the silverware pieces to a metal ring or frame using wire.
- Add beads or other decorative elements between the silverware pieces for added visual interest.
- Hang the completed wind chime in a location where it can catch the wind.
Tips:
- Experiment with different arrangements and lengths of silverware for varied sounds.
- Ensure all edges are smooth to avoid injury.
9. Upcycled Window Frame Garden Art
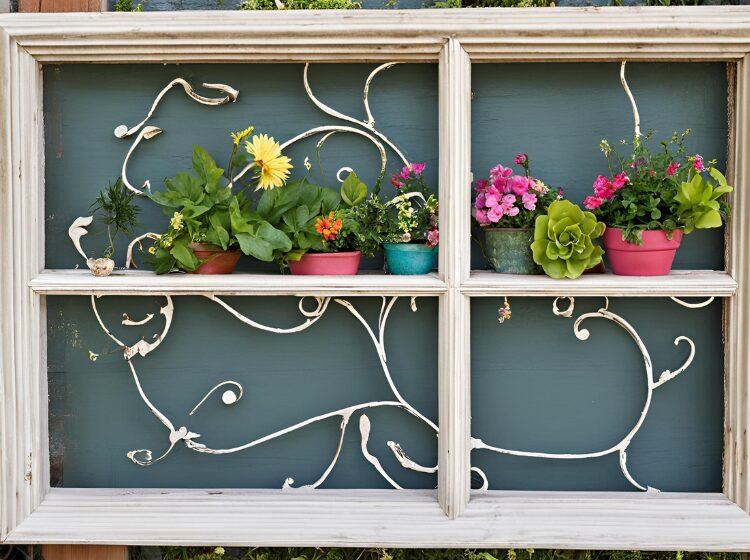
Materials Needed:
- Old window frames
- Paint
- Hooks or wire
Instructions:
- Find an old window frame with its glass removed.
- Clean the frame and paint it in your desired color or design.
- Attach hooks or wire to the top of the frame for hanging or mounting.
- Hang the frame on a wall or fence in your garden.
- Use the frame to display other garden art, such as hanging plants or decorative elements.
Tips:
- Consider adding shelves or small planters to the window frame for added functionality.
- Use outdoor paint to ensure the frame withstands the weather.
10. Concrete Leaf Castings
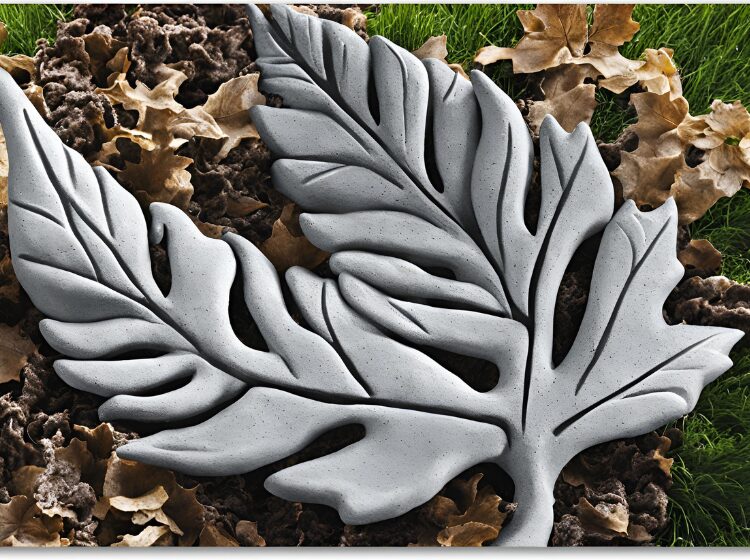
Materials Needed:
- Large leaves (e.g., hosta, rhubarb)
- Concrete mix
- Water
- Sealant
Instructions:
- Collect large, sturdy leaves and clean them.
- Prepare the concrete mix according to the package instructions.
- Lay the leaves on a flat surface and gently press them into the wet concrete.
- Allow the concrete to set and cure, then carefully remove the leaves.
- Seal the concrete castings to protect them from moisture and wear.
Tips:
- Choose leaves with interesting textures and shapes for unique castings.
- Consider using different sizes of leaves for varied designs.
11. DIY Garden Gnomes from Clay Pots
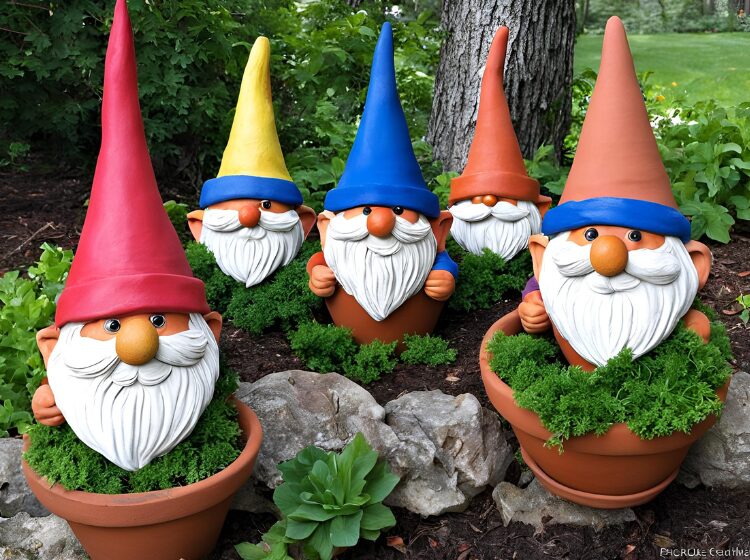
Materials Needed:
- Clay pots (various sizes)
- Paint
- Glue
- Craft items (e.g., fabric for hats, googly eyes)
Instructions:
- Stack and glue clay pots together to form the body, hat, and base of the gnome.
- Paint the pots in bright colors to create the gnome’s outfit and features.
- Add craft items such as fabric for the hat, googly eyes, and a painted face.
- Allow the paint and glue to dry completely.
- Place the finished gnomes in your garden or yard.
Tips:
- Use outdoor paint to ensure the gnomes withstand the weather.
- Experiment with different designs and accessories for a variety of gnome looks.
12. Hanging Bottle Planters
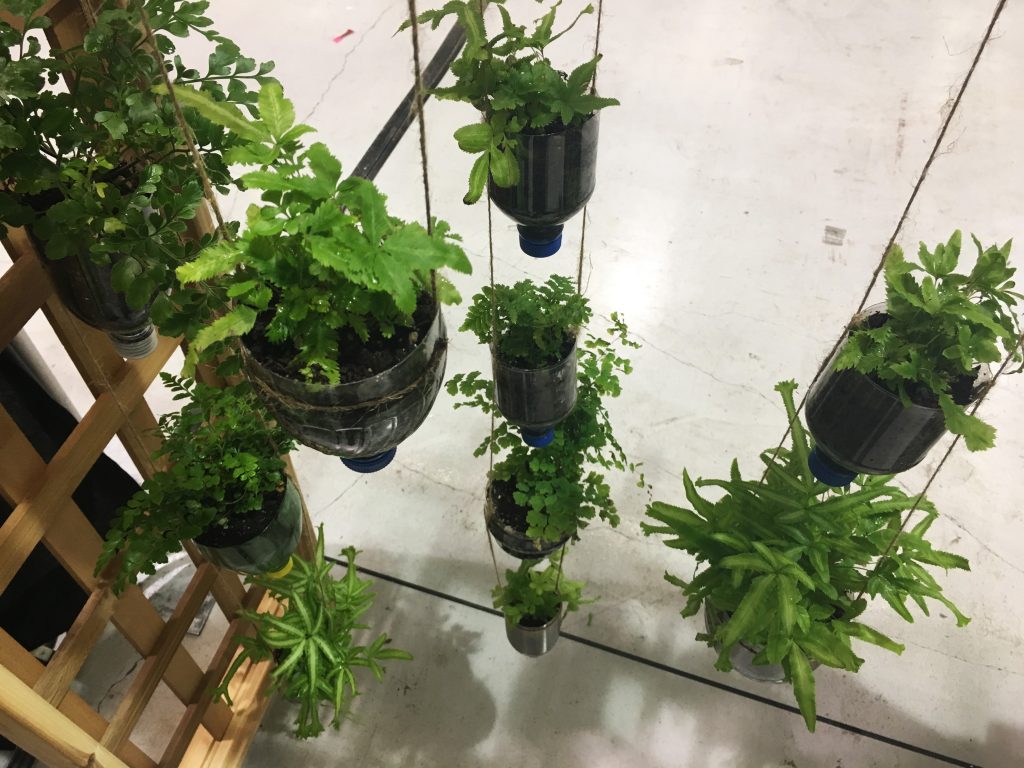
Materials Needed:
- Glass bottles (e.g., wine, soda)
- Rope or wire
- Plants
- Soil
Instructions:
- Clean and remove labels from glass bottles.
- Cut the bottle neck off if necessary (use a glass cutter or heat and cold water method).
- Thread rope or wire through the bottle neck or around the bottle to create a hanging mechanism.
- Fill the bottles with soil and plant your chosen plants.
- Hang the bottles in your garden or yard.
Tips:
- Use sturdy rope or wire to support the weight of the bottle and soil.
- Choose plants that do well in the amount of light the bottle planters receive.
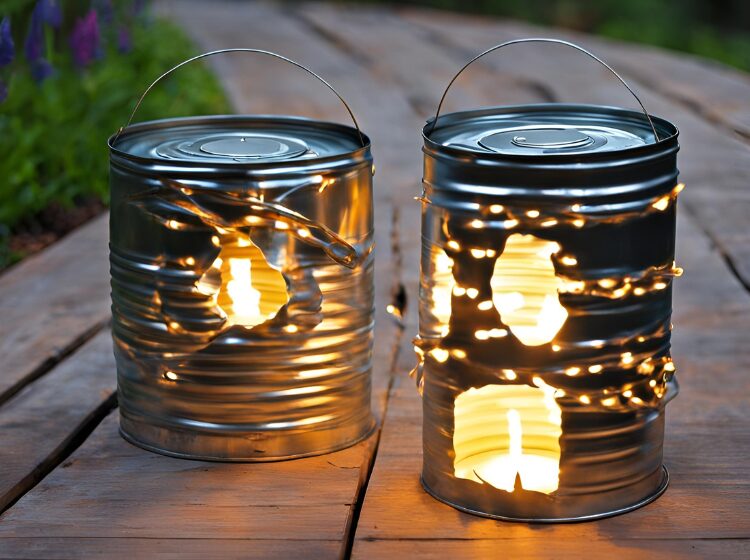
13. Tin Can Lanterns
Materials Needed:
- Empty tin cans
- Hammer and nail
- Paint
- Candles or LED lights
Instructions:
- Clean and remove labels from tin cans.
- Fill the cans with water and freeze to create ice molds.
- Once frozen, remove the ice and use a hammer and nail to punch holes in the can to create a design.
- Paint the cans in your desired colors or patterns.
- Place a candle or LED light inside the can and use it as a lantern.
Tips:
- Use LED lights for safety, especially if using candles.
- Experiment with different designs and sizes of cans for varied effects.
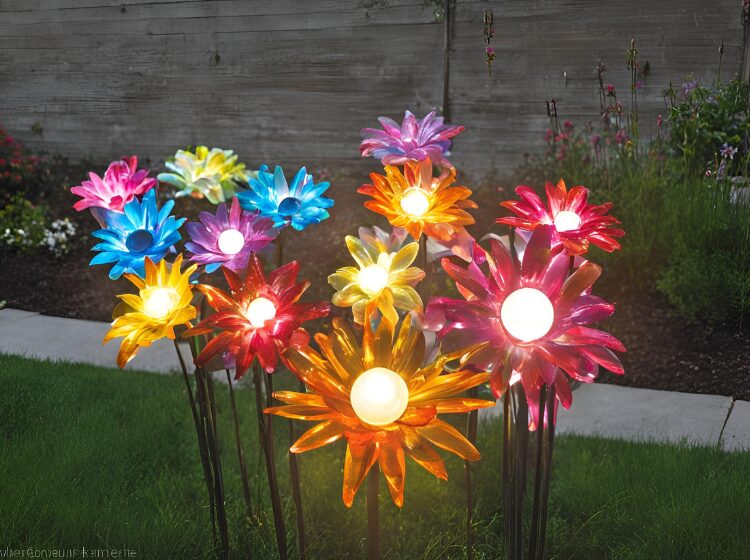
14. DIY Solar Light Flowers
Materials Needed:
- Solar garden lights
- Flower-shaped materials (e.g., plastic bottles, metal sheet)
- Paint
Instructions:
- Disassemble solar garden lights to separate the light component from the stake.
- Create flower shapes from plastic bottles or metal sheets.
- Paint and decorate the flower shapes.
- Attach the solar light component to the back of the flower shape.
- Reassemble and place the flower lights in your garden.
Tips:
- Ensure the solar light component is securely attached to the flower shape.
- Position the flower lights in sunny areas for optimal charging.
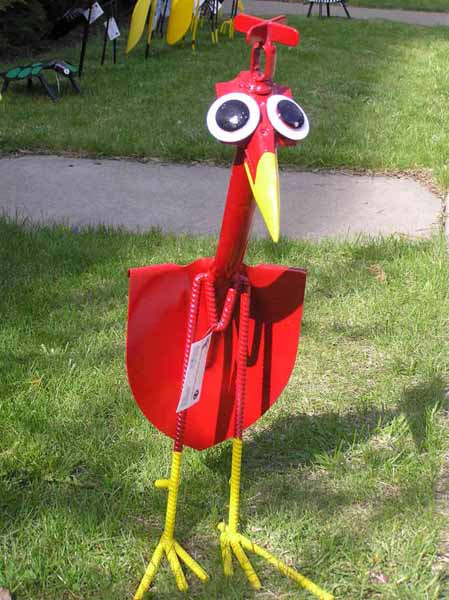
15. Garden Art from Old Tools
Materials Needed:
- Old garden tools (e.g., rakes, shovels, hoes)
- Paint
- Mounting hardware
Instructions:
- Collect old garden tools and clean them.
- Paint the tools in bright, vibrant colors or patterns.
- Arrange and mount the painted tools in a decorative pattern on a wall or fence.
- Secure the tools with mounting hardware and ensure they are safely attached.
Tips:
- Use tools with interesting shapes and sizes for visual impact.
- Consider creating a theme or pattern with the tools.
Wrap Up
Adding DIY yard art to your outdoor space not only enhances its beauty but also allows you to express your creativity and personality. From upcycled metal flowers to painted rock garden markers, each of these 15 unique DIY yard art ideas offers a fun and rewarding project that can transform your garden into a vibrant and inviting space. Don’t be afraid to experiment and personalize these ideas to suit your style and preferences. Share your DIY yard art projects and let your creativity shine in your outdoor oasis!