
Halloween is just around the corner, and it’s time to transform your home into a haunted haven. While store-bought decorations can be fun, nothing beats the creativity and cost-effectiveness of DIY projects. Whether you’re looking to scare your neighbors or just want to add a touch of spooky charm, these 15 DIY Halloween decoration ideas will have your home ready for the season in no time.
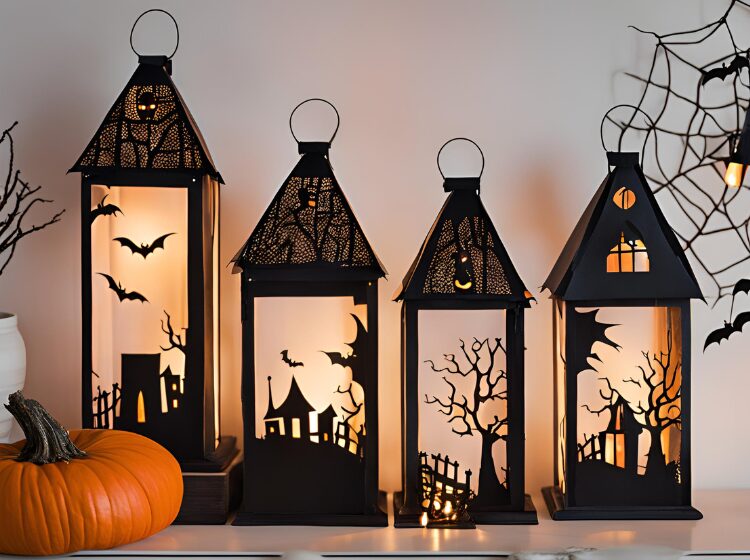
1. Haunted House Lanterns
Materials Needed:
- Mason jars
- Black paper
- LED candles
- Glue
- Scissors
- Paint (optional)
Instructions:
- Prepare the Jars: Clean your mason jars and dry them thoroughly. You can also paint them with frosted glass spray paint for a more eerie glow if you like.
- Create Silhouettes: Cut haunted house shapes from black paper. You can include details like windows, doors, and ghostly figures peeking out.
- Assemble: Glue the silhouettes onto the inside of the jars. Place an LED candle inside each jar to illuminate the haunted house.
- Display: Arrange these lanterns along your walkway, on your porch, or even indoors for a spooky ambiance.
Tips:
For extra creativity, try different jar sizes and shapes. Adding glow-in-the-dark paint can also create an otherworldly effect when the lights go out.
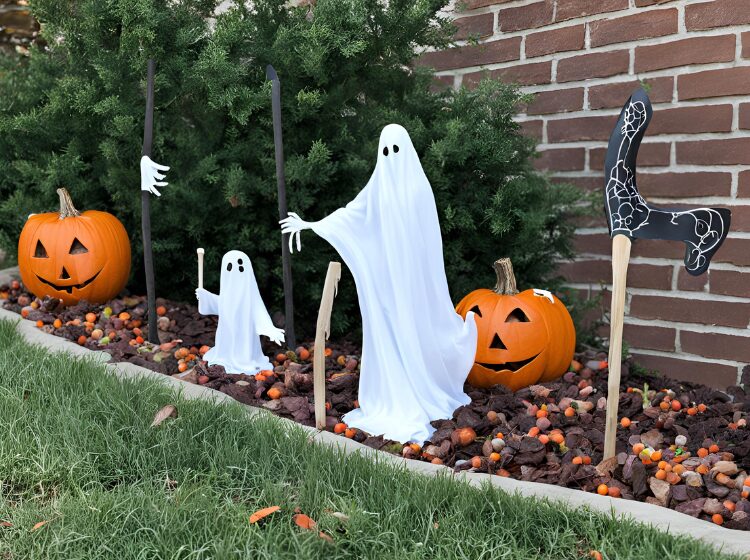
2. Ghostly Garden Stakes
Materials Needed:
- White fabric (such as old sheets or cheesecloth)
- Wire
- Wooden stakes
- Black paint or markers
- Hot glue gun
Instructions:
- Prepare the Stakes: Insert the wooden stakes into the ground where you want your ghosts to “float.”
- Shape the Ghosts: Drape white fabric over each stake, creating a ghostly figure. Secure the fabric with wire to give it a billowing effect.
- Add Faces: Use black paint or markers to create spooky faces on the fabric.
- Secure: Hot glue any loose edges to ensure your ghosts withstand wind and weather.
Tips:
Experiment with different ghost shapes and facial expressions. You can also add LED lights under the fabric for an eerie glow at night.
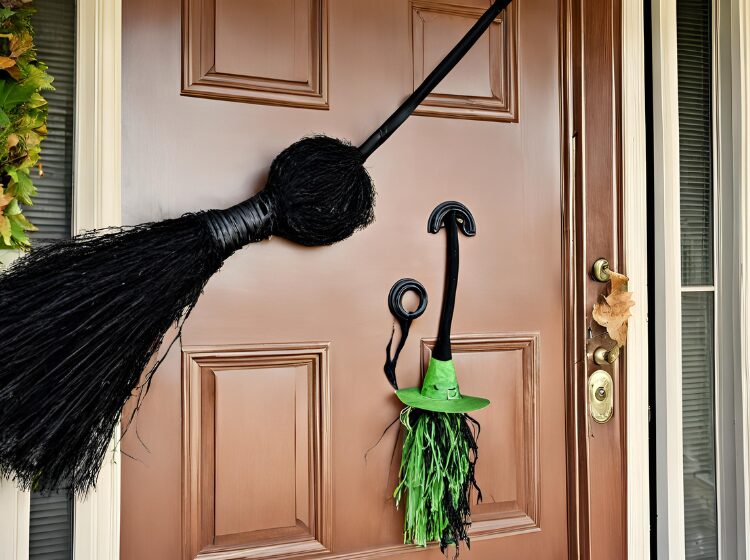
3. Wicked Witch’s Broom Door Hanger
Materials Needed:
- Straw broom
- Black ribbon
- Mini pumpkins or ornaments
- Witch hat
- Hot glue gun
Instructions:
- Decorate the Broom: Wrap the broom handle with black ribbon, securing it with hot glue.
- Add Ornaments: Attach mini pumpkins, spiders, or other Halloween-themed ornaments to the broom bristles using hot glue.
- Top It Off: Place a small witch hat on top of the broom for that perfect finishing touch.
- Hang: Attach a loop of ribbon to the top of the broom handle and hang it on your door.
Tips:
Personalize the hanger with a name tag or add extra spooky charms like fake eyeballs or skeleton hands for an extra creepy effect.
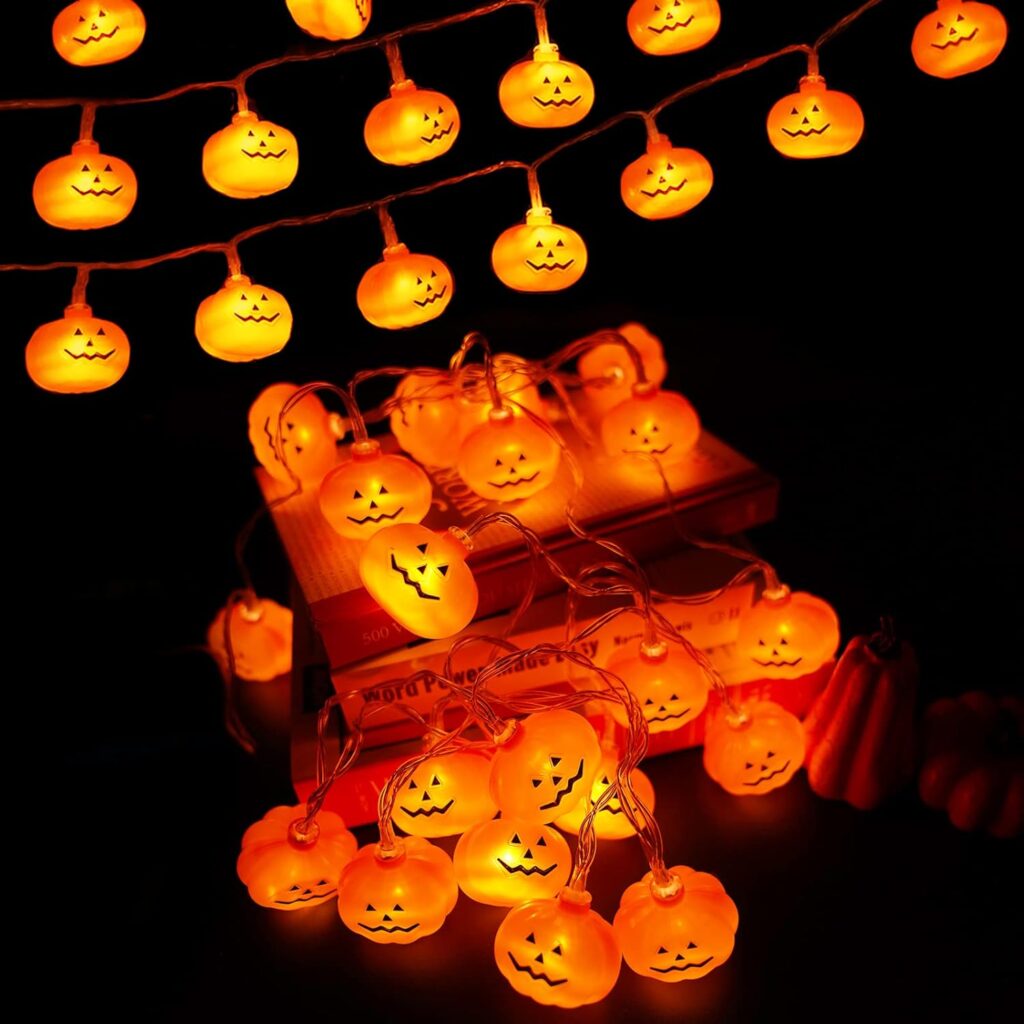
4. Pumpkin String Lights
Materials Needed:
- String lights
- Mini plastic pumpkins
- Paint
- Drill
- Hot glue gun
Instructions:
- Prepare the Pumpkins: Drill small holes in the bottom of each mini pumpkin to fit the string lights through.
- Paint: Customize the pumpkins with spooky faces or designs using paint.
- Assemble: Insert the string lights into each pumpkin and secure them with hot glue.
- Display: Hang these festive lights around your porch, windows, or even inside your home.
Tips:
Use different colored pumpkins to add a more playful and vibrant look to your Halloween decor.
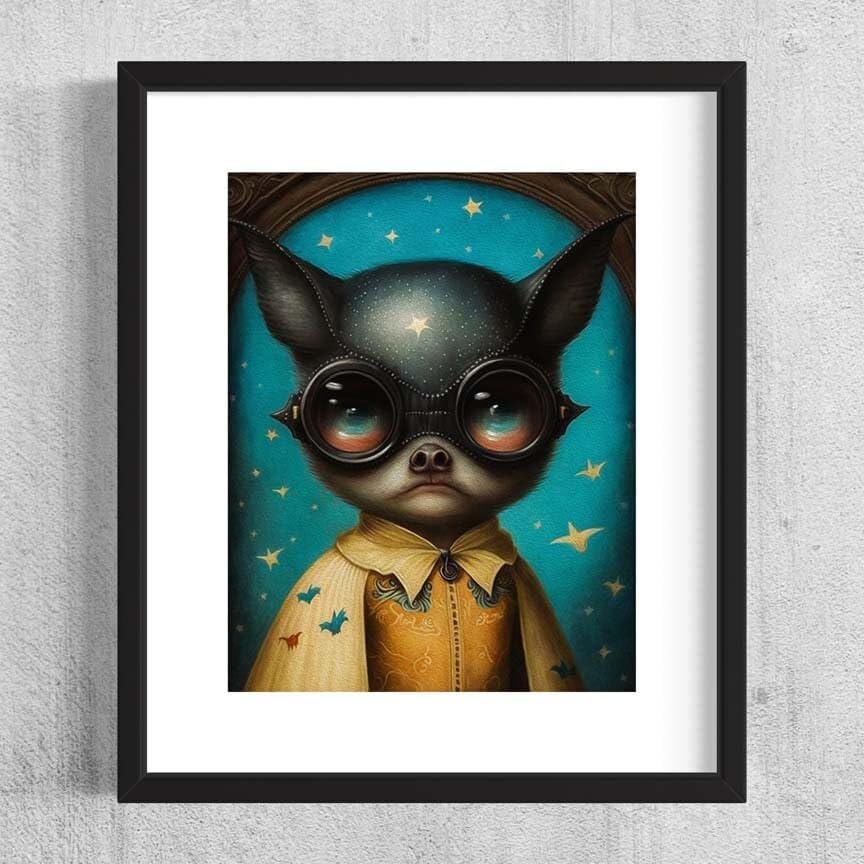
5. Batty Wall Art
Materials Needed:
- Black paper or cardstock
- Scissors
- Double-sided tape
Instructions:
- Create Bat Templates: Draw or print bat shapes in various sizes on black paper.
- Cut Out Bats: Carefully cut out each bat shape.
- Arrange and Attach: Use double-sided tape to attach the bats to your walls. Create a “flying” effect by arranging the bats in a swirling or diagonal pattern.
Tips:
Try experimenting with different bat sizes and positioning to create a dynamic and eye-catching display. You can also use glow-in-the-dark paint for an added surprise in low light.
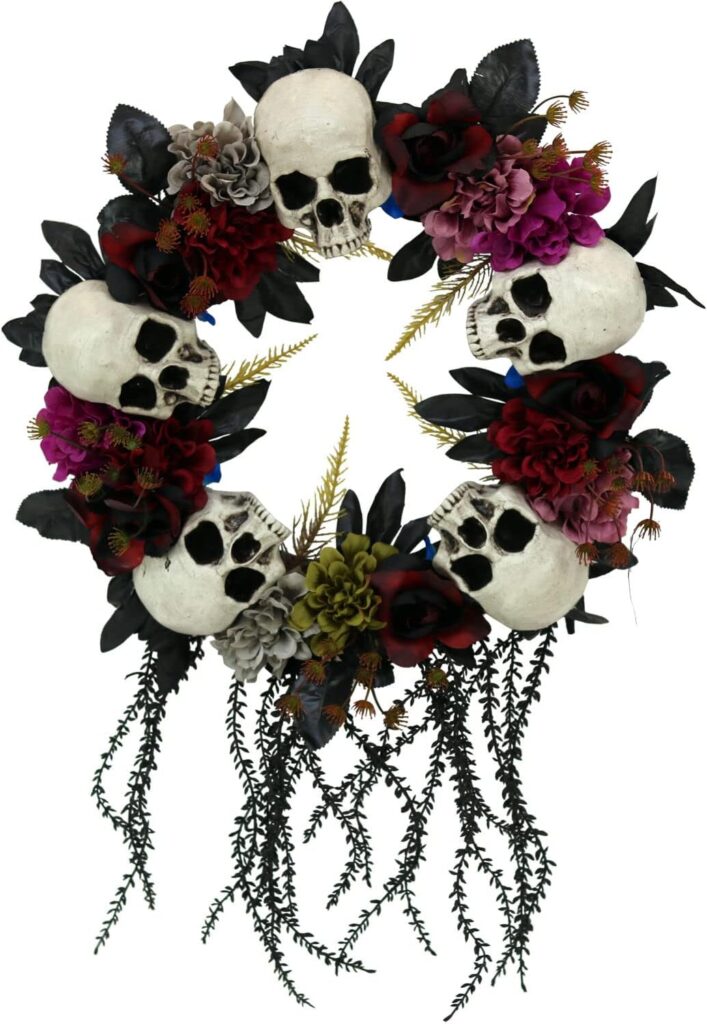
6. Creepy Crawly Wreath
Materials Needed:
- Foam wreath base
- Plastic spiders and insects
- Black spray paint
- Hot glue gun
Instructions:
- Prepare the Base: Spray paint the foam wreath base black and let it dry.
- Attach the Spiders: Hot glue the plastic spiders and other creepy crawlies onto the wreath, covering the entire surface.
- Add Details: For a more realistic effect, add some faux spider webs or moss between the insects.
- Hang: Attach a ribbon or hook and hang the wreath on your front door.
Tips:
For an extra creepy effect, add LED lights or glowing eyes to some of the spiders to make them come alive at night.
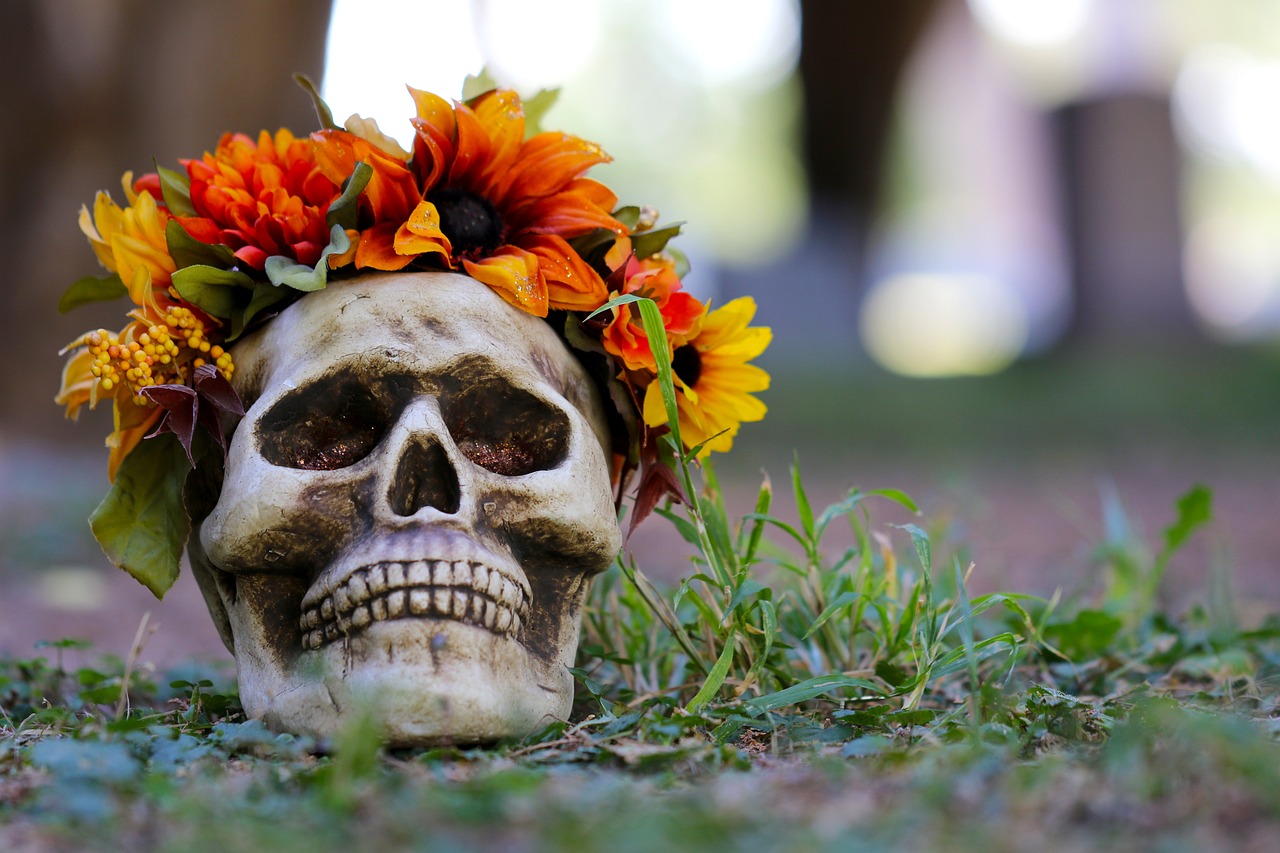
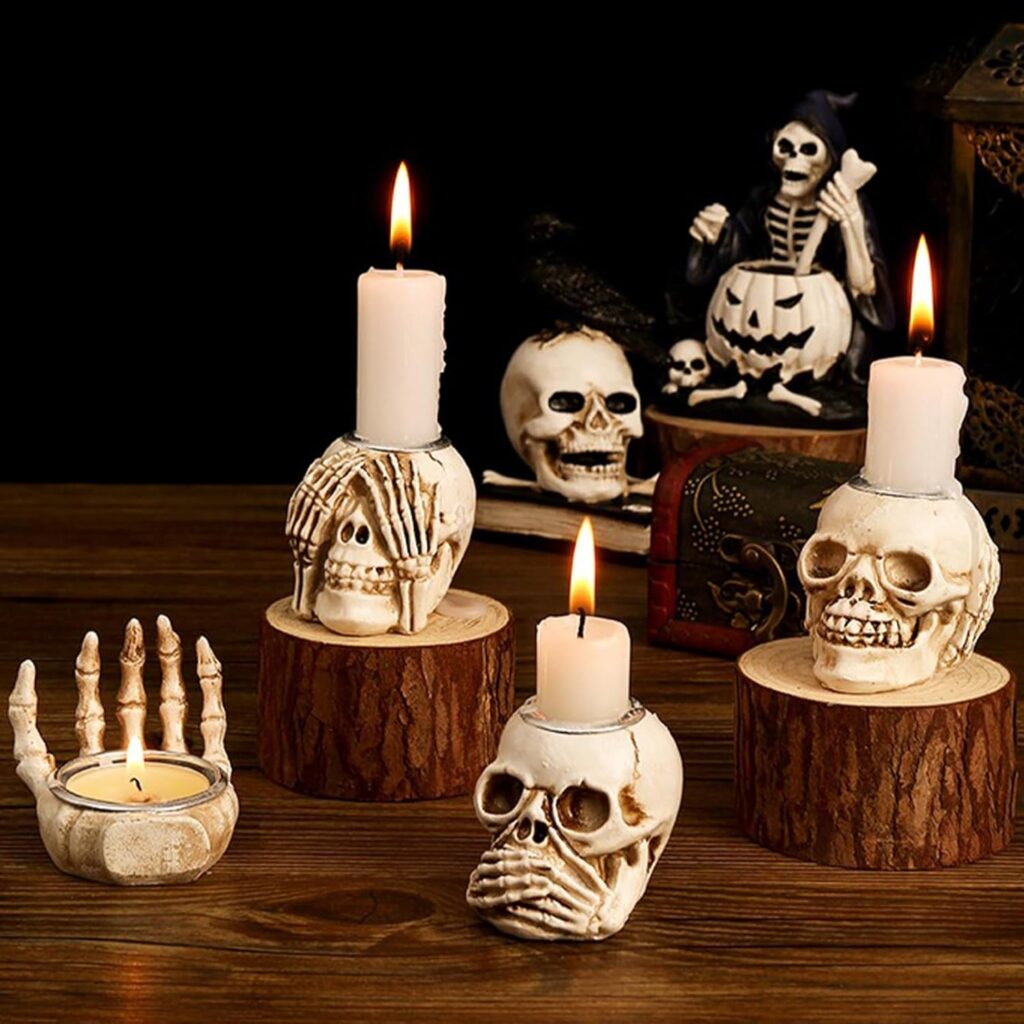
7. Skull Candle Holders
Materials Needed:
- Plastic skulls
- Spray paint (black, white, or metallic)
- Candles
- Hot glue gun
Instructions:
- Prepare the Skulls: Spray paint the plastic skulls in your chosen color and let them dry.
- Create Candle Holders: Use a hot glue gun to attach candles to the tops of the skulls. Make sure they are secure and stable.
- Display: Place the skull candle holders on your dining table, mantle, or outdoor space.
Tips:
For a more dramatic effect, let the candle wax drip over the skulls to create a macabre look. You can also add red wax for a “bloody” effect.
8. Floating Witch Hats
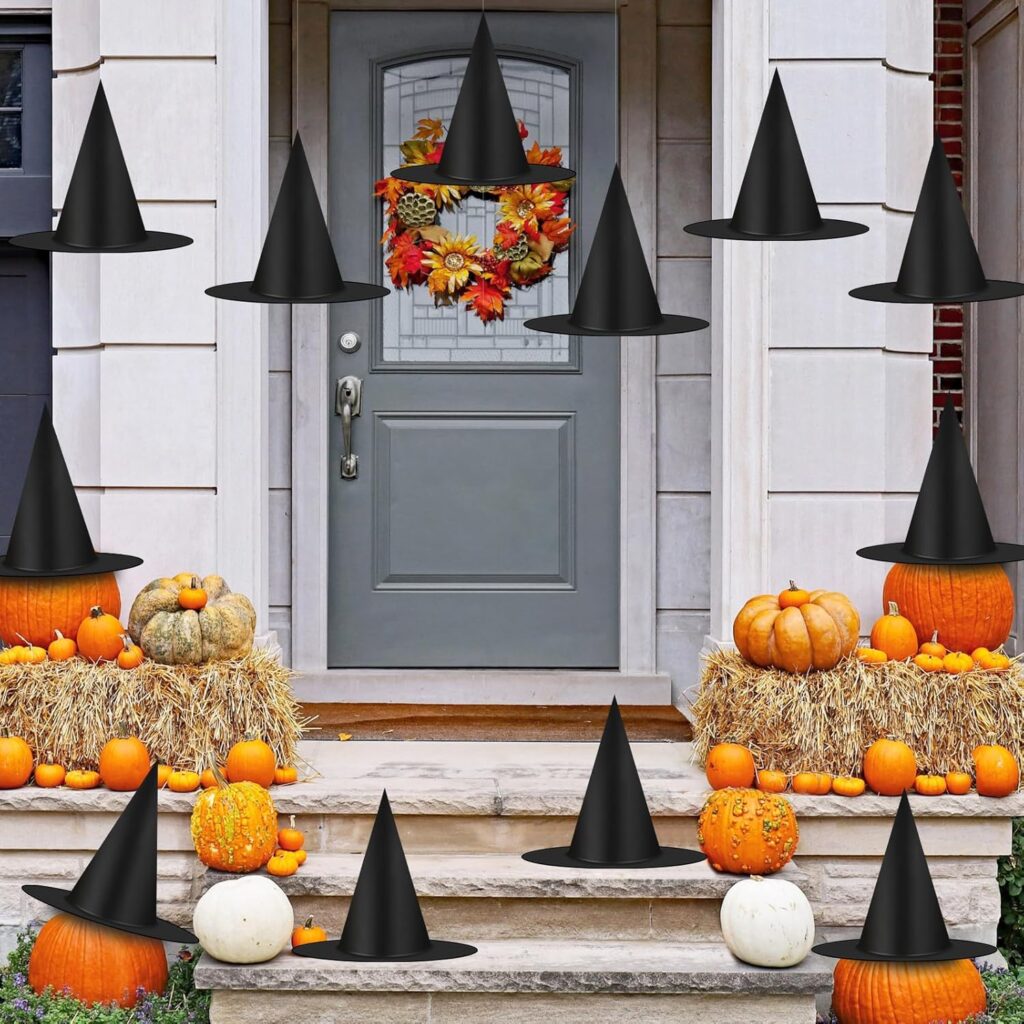
Materials Needed:
- Witch hats
- Fishing line
- Thumbtacks or ceiling hooks
Instructions:
- Prepare the Hats: Attach fishing line to the tops of the witch hats.
- Hang: Secure the other end of the fishing line to the ceiling using thumbtacks or hooks, making the hats appear as if they are floating in mid-air.
- Display: Arrange the hats at different heights for a more dynamic and eerie effect.
Tips:
Place the floating hats over doorways or in hallways for a spooky surprise as guests walk through.
9. Spooky Spell Books
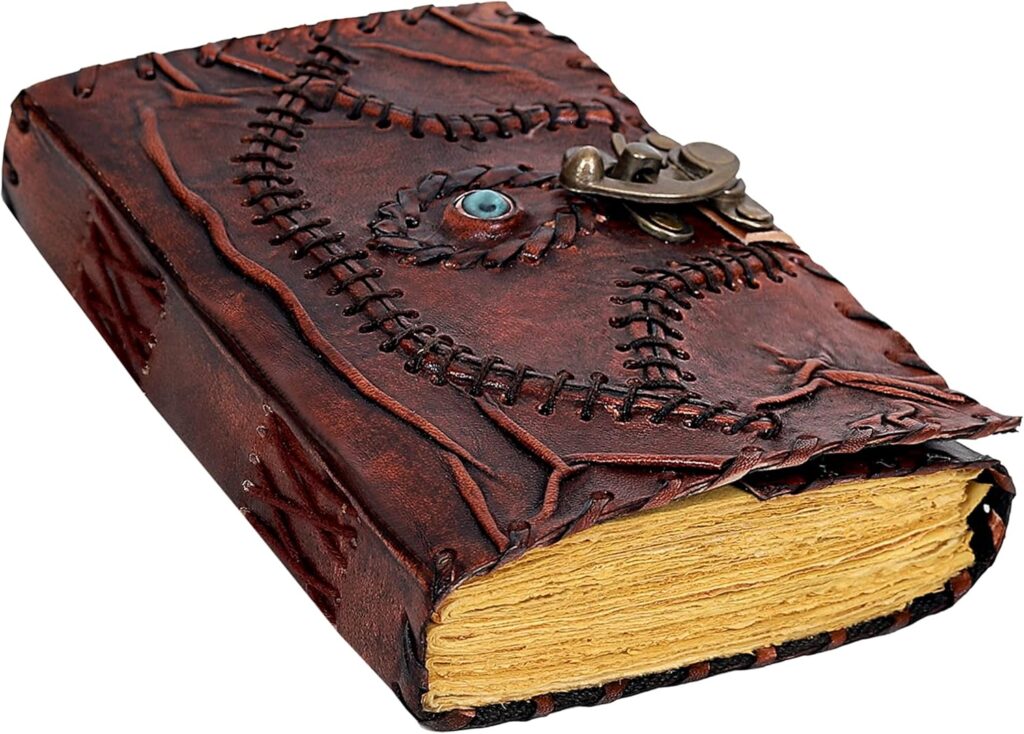
Materials Needed:
- Old books
- Black paint
- Mod Podge or glue
- Stencils
- Paintbrushes
Instructions:
- Paint the Books: Cover the old books with black paint and let them dry completely.
- Create Titles: Use stencils to paint spooky titles on the book covers, such as “Book of Spells” or “Potions and Brews.”
- Add Details: Use Mod Podge to add faux aged paper or parchment to the inside pages for an authentic look.
- Display: Stack the books on your mantle or coffee table for a haunted library effect.
Tips:
For an extra touch, add small decorations like plastic spiders, dried flowers, or wax seals to your spell books.
10. Glowing Eyeballs
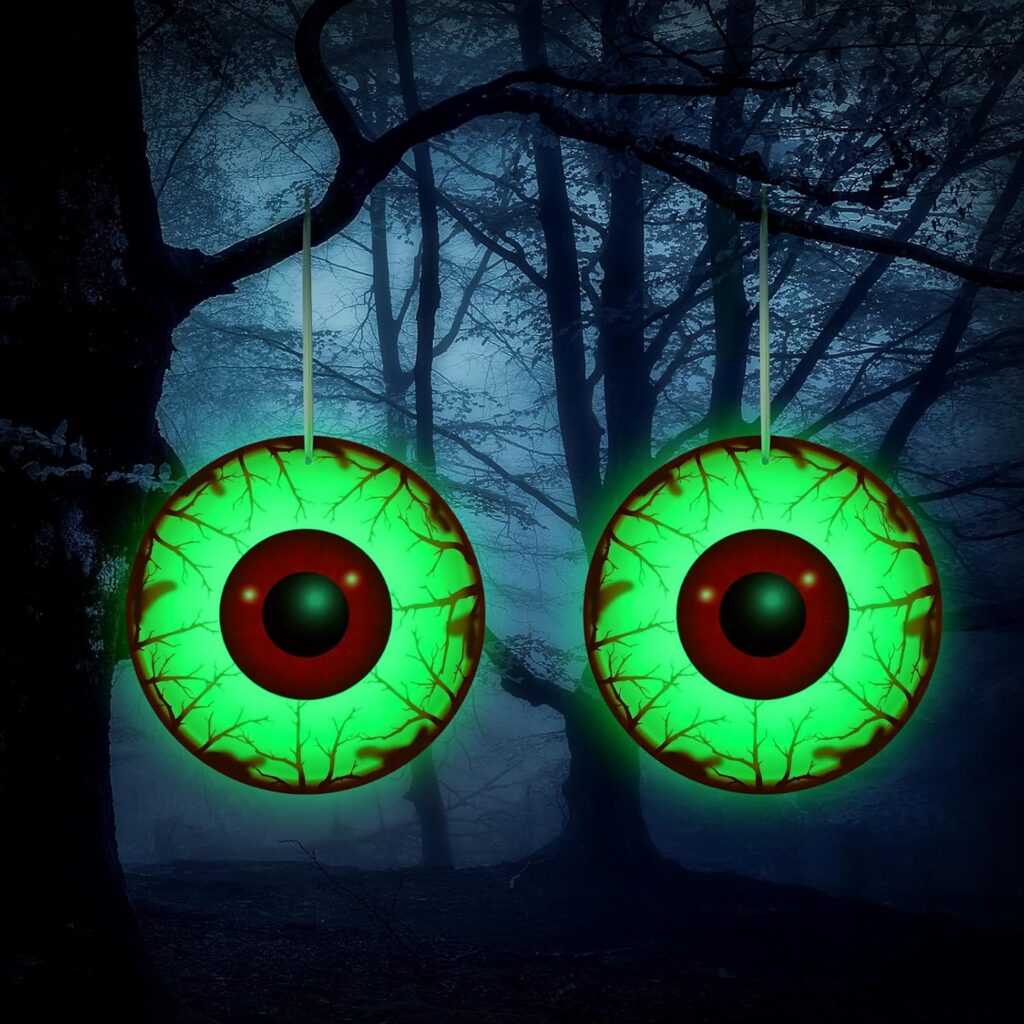
Materials Needed:
- Ping pong balls
- Glow sticks or LED lights
- Markers or paint
- Tape
Instructions:
- Prepare the Eyeballs: Draw or paint creepy eyes onto the ping pong balls, adding details like veins and pupils.
- Insert Lights: Insert glow sticks or small LED lights into the ping pong balls to make them glow.
- Display: Scatter the glowing eyeballs in your garden, bushes, or around your home for an unsettling effect.
Tips:
For added spookiness, hide the glowing eyeballs in unexpected places, such as flower pots or inside cupboards.
11. DIY Tombstones
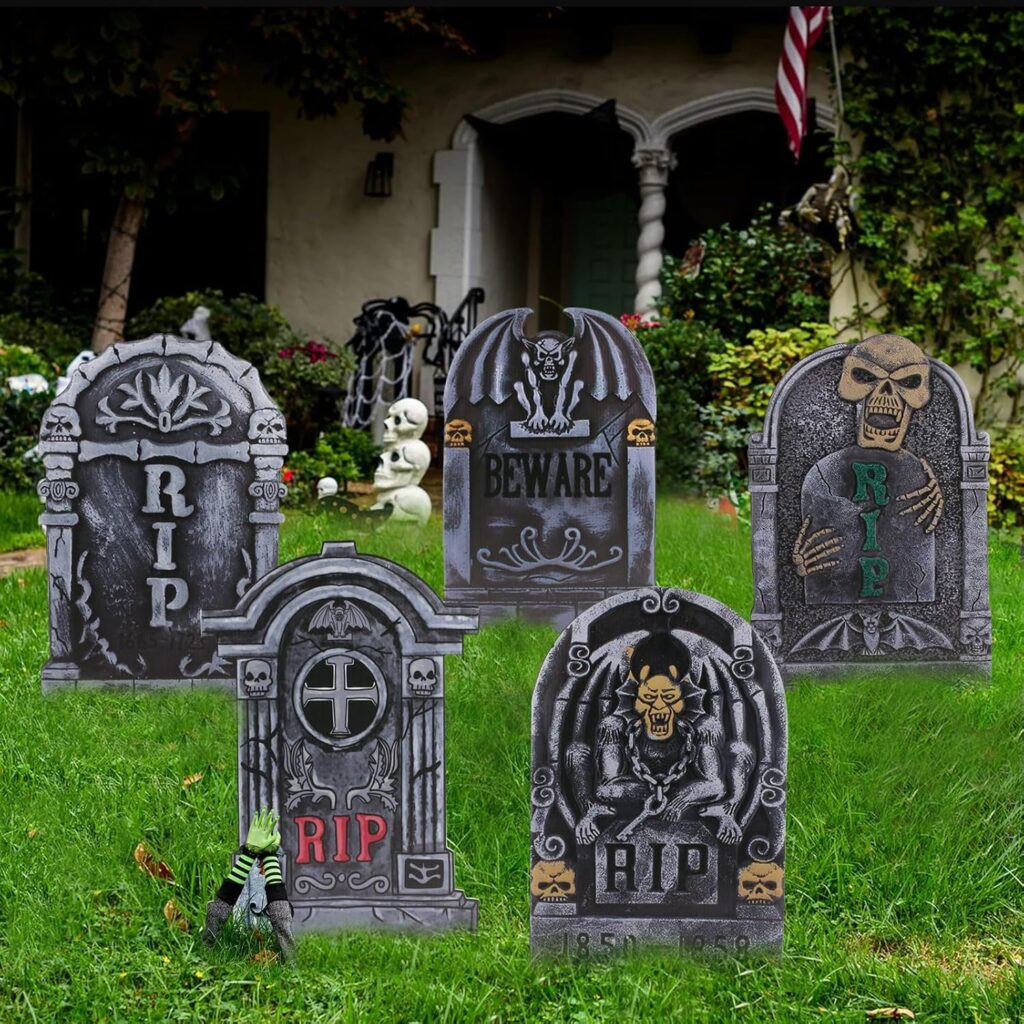
Materials Needed:
- Foam boards
- Gray paint
- Stencils
- Hot glue gun
- Moss or grass clippings
Instructions:
- Cut the Foam: Cut the foam boards into tombstone shapes. You can create different sizes and designs for variety.
- Paint: Paint the foam tombstones with gray paint and add aging effects using darker shades.
- Add Details: Use stencils to add names, dates, and epitaphs. You can also glue moss or grass clippings to the tombstones for a more authentic look.
- Display: Place the tombstones in your yard to create a spooky cemetery scene.
Tips:
Get creative with the epitaphs! You can make them humorous, eerie, or even reference classic Halloween characters.
12. Spider Web Table Runner
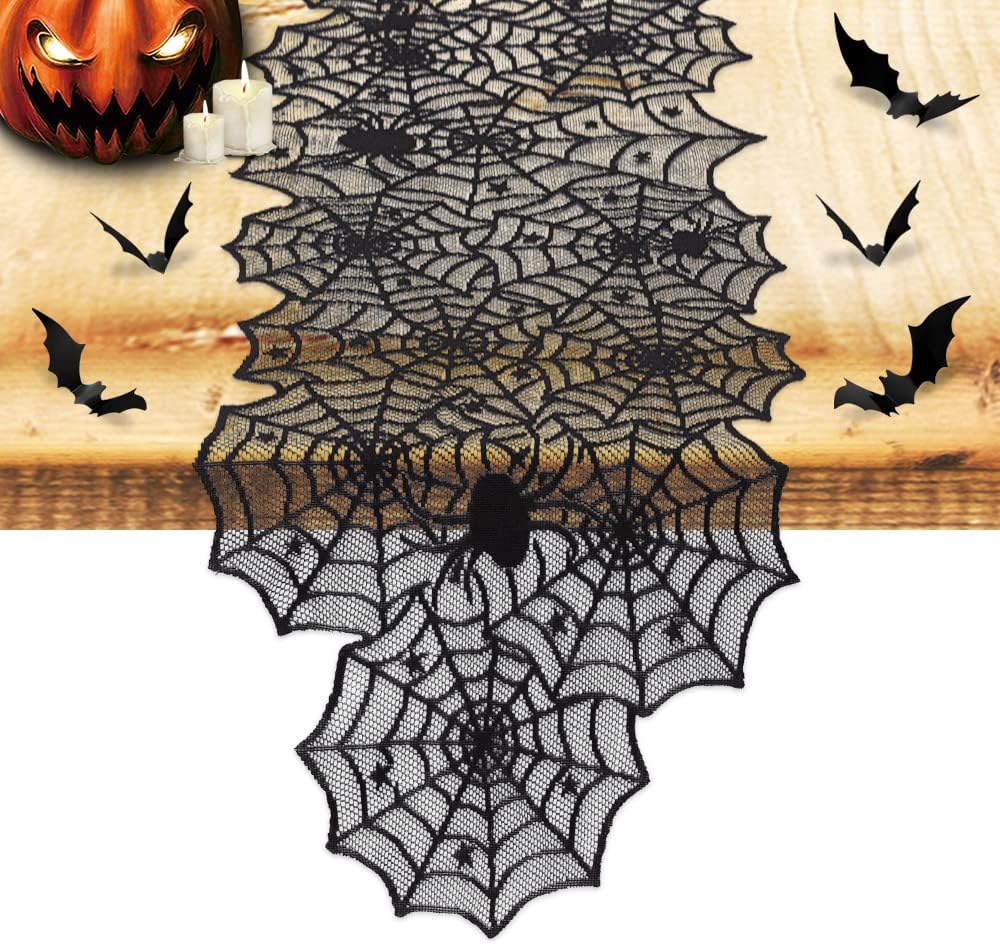
Materials Needed:
- Black yarn or thread
- Scissors
- Fabric glue or tape
Instructions:
- Weave the Web: Using black yarn, weave a spider web pattern. Start by creating a large X shape, then connect the lines with curved strands.
- Secure: Use fabric glue or tape to secure the ends of the web to your table or runner base.
- Add Spiders: Attach small plastic spiders to the web for a realistic look.
- Display: Place the web on your dining or coffee table for a spooky centerpiece.
Tips:
Experiment with different web shapes and sizes. You can also create smaller webs to place on side tables or shelves.
13. Mummy Mason Jars
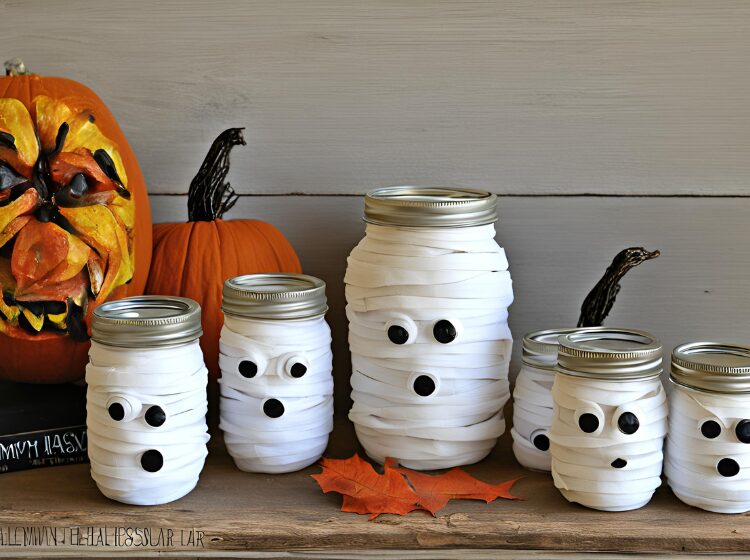
Materials Needed:
- Mason jars
- Gauze or white fabric
- Googly eyes
- Hot glue gun
- LED candles
Instructions:
- Wrap the Jars: Wrap gauze or white fabric around the mason jars, leaving small gaps to give a mummy-like appearance.
- Add Eyes: Glue googly eyes onto the jars, peeking out from between the fabric layers.
- Insert Lights: Place LED candles inside the jars to make them glow.
- Display: Arrange the mummy jars on your porch, steps, or indoor spaces for a spooky effect.
Tips:
You can create mummies of different sizes and shapes by using different jars and wrapping techniques.
14. Witch’s Cauldron Centerpiece
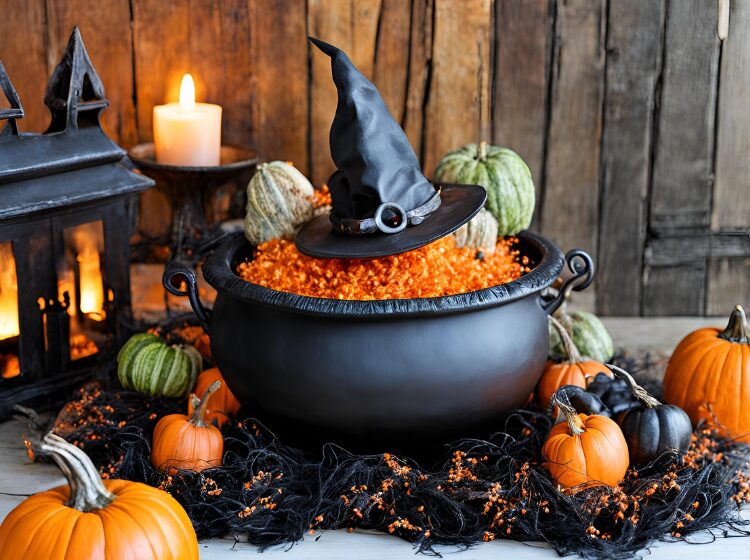
Materials Needed:
- Large cauldron or black pot
- Dry ice or LED mist maker
- Plastic bones or creepy hands
- Green or purple lights
Instructions:
- Prepare the Cauldron: Place dry ice or an LED mist maker inside the cauldron to create a bubbling effect.
- Add Decorations: Add plastic bones, creepy hands, or other spooky items to the cauldron.
- Illuminate: Use green or purple lights to enhance the eerie glow of the cauldron.
- Display: Place the cauldron on your porch, dining table, or any prominent area for a captivating centerpiece.
Tips:
For safety, ensure that dry ice is handled carefully and kept out of reach of children and pets. The mist maker is a great alternative for a similar effect without the hazards.
15. Jack-O’-Lantern Pathway Lights
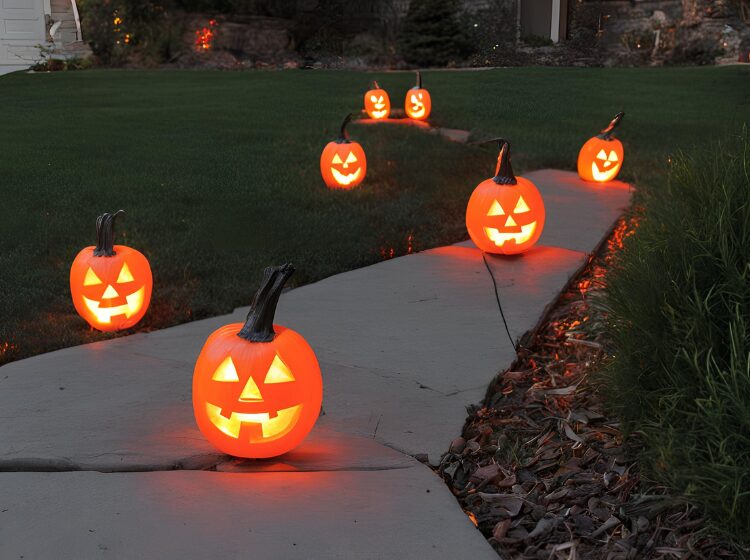
Materials Needed:
- Carved pumpkins or plastic jack-o’-lanterns
- LED candles
- String lights (optional)
Instructions:
- Carve or Decorate: Carve spooky faces into real pumpkins or use plastic jack-o’-lanterns if you prefer a reusable option.
- Light Up: Insert LED candles or string lights inside the pumpkins to illuminate them.
- Place Along Pathway: Arrange the pumpkins along your garden path, driveway, or porch steps to guide trick-or-treaters.
- Display: Turn on the lights at night to create a welcoming yet eerie glow.
Tips:
For a unique twist, paint the pumpkins in non-traditional colors like black, white, or metallic to add a modern edge to your Halloween décor.
Wrapping Up
With a little creativity and effort, you can transform your home into a spooky Halloween haven without breaking the bank. These 15 DIY Halloween decorations are not only budget-friendly but also allow you to personalize your spooky setup. From glowing eyeballs to ghostly garden stakes, these ideas are sure to make your home the talk of the neighborhood. So gather your supplies, put on some eerie music, and let your Halloween crafting begin!
Happy haunting!