
Thanksgiving falls on November 26 this year, which leaves about a week to solve a familiar set of problems. Kids are restless, the dinner table needs something besides a bare tablecloth, and the craft drawer holds mostly dried-out glue sticks and one lonely pack of googly eyes. The projects that actually get finished this time of year tend to share a few traits: they use paper, paint, and things from the yard, they take 20 to 40 minutes, and they end with something that can sit on the table or go on a wall.
The 20 ideas below are sorted by age and by purpose, so you can go straight to the group that matches your kids. Each one lists what you need, how it goes together, and where it tends to go wrong. A few are better suited to adults working alongside kids, and a short section on free printables and one on safety follow the projects.
How to Match a Craft to a Kid’s Age
Age labels on craft ideas are usually rough guesses. What matters more is which motor skills the project demands. A quick way to sort:
- Ages 2 to 3: Pressing, dabbing, tearing, and sticking. No scissors, no small parts, and plenty of patience for drying time. Handprints and sticker work are the sweet spot.
- Ages 4 to 5: Glue sticks, safety scissors for straight cuts, and simple folding. They can follow two or three steps in order, but they will want to decorate freely rather than copy a model.
- Ages 6 to 8: Cutting curves, weaving paper strips, writing short phrases, and following a written list of steps.
- Ages 9 to 11: Multi-step projects, measuring, and anything with a design decision, such as planning a disguise for a paper turkey or building a centerpiece.
The other thing worth deciding before you buy anything is where the finished piece is going. Anything meant for the dinner table needs to be sturdy enough to survive elbows and gravy boats. Anything meant for the refrigerator can be as floppy as it likes.
Preschool and Toddler Crafts (Ages 2 to 5)
Young kids care about the doing far more than the result. Pick projects where the process is fun by itself and where a messy result still looks charming.
1. Handprint Turkey
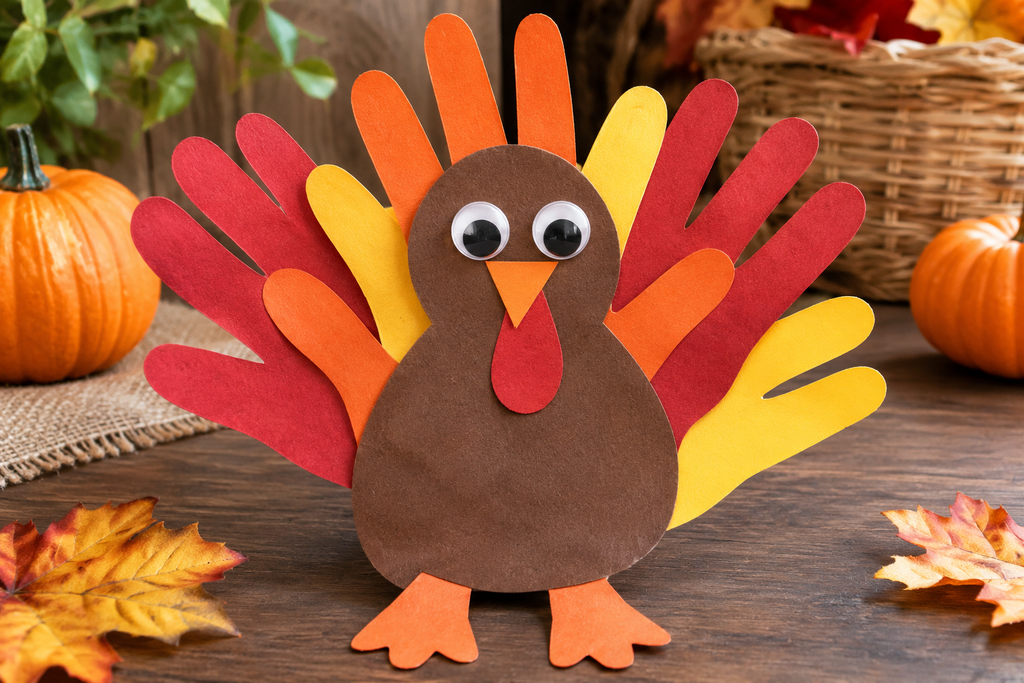
The classic, and it stays popular because it works. Brush washable brown paint on your child’s palm and thumb area, press it onto white or kraft paper with the fingers spread, then add the finishing details once it dries.
You need: washable non-toxic paint, a flat brush or sponge, paper, markers or small pieces of colored paper.
How it goes: Paint the palm brown and the fingers in separate colors if you want a feathered look, or leave the fingers brown and add feathers later. Press firmly, then lift straight up so the print doesn’t smear. Once dry, draw a beak, wattle, and eye on the thumb, which becomes the turkey’s head.
Watch for: Wet handprints smear when kids grab the paper to look at it. Have a wet washcloth and a towel ready before you start, and keep the paint layer thin so it dries in about 15 minutes rather than an hour.
2. Paper Plate Turkey With Torn-Paper Feathers
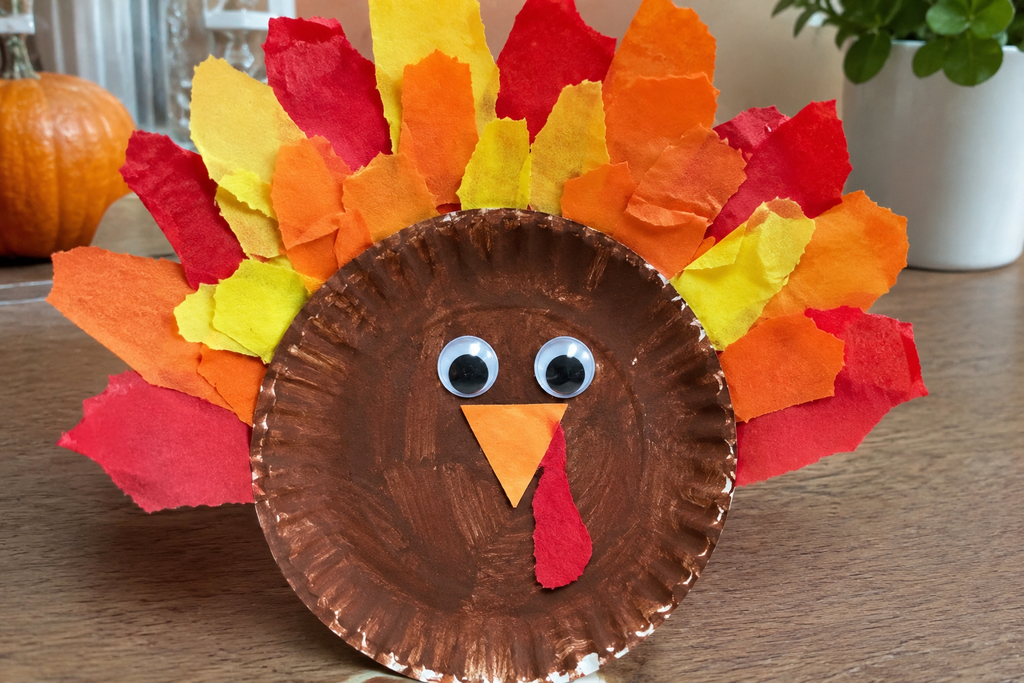
Tearing paper is one of the best fine-motor exercises for a three-year-old, and it requires no scissors. Cut a paper plate in half or leave it whole as the turkey’s body, then let your child tear orange, red, yellow, and brown paper into strips and scraps.
You need: a paper plate, construction paper, a glue stick, markers, and optionally a few large googly eyes (adult-supervised for any child who still mouths objects).
How it goes: Paint or color the plate brown. Glue the torn paper around the back edge so it fans out as feathers. Draw the face directly on the plate, or cut a simple head shape from a scrap of paper ahead of time.
Watch for: Liquid glue soaks into thin paper and makes it buckle. A glue stick, or a thin layer of school glue applied with a brush, gives a flatter result.
3. Coffee Filter Autumn Leaves
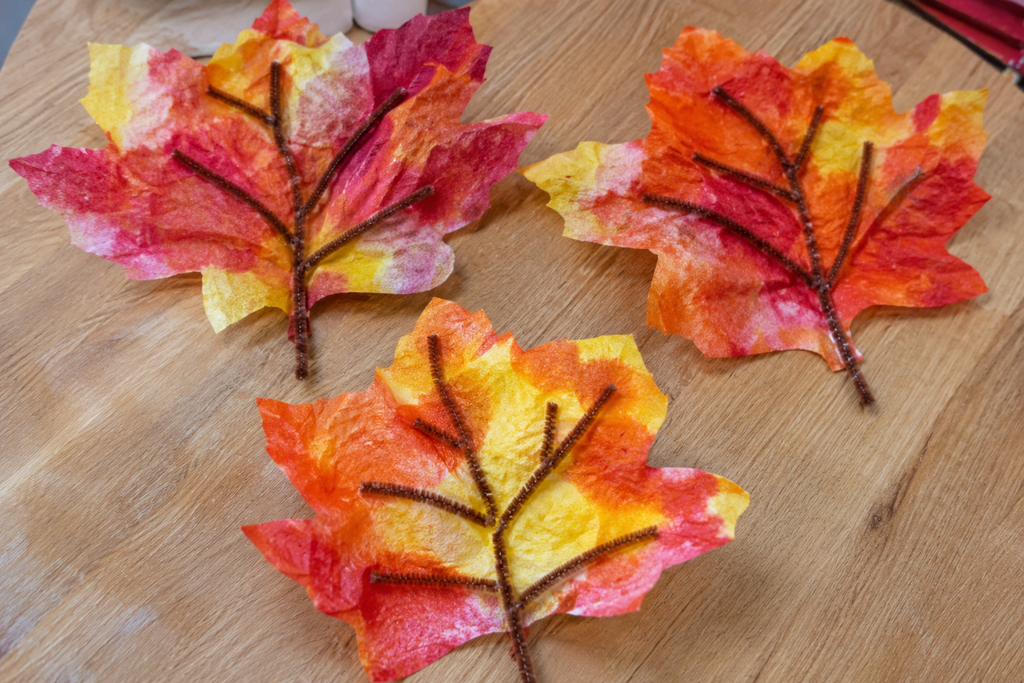
This one is closer to a science demonstration than a craft, which is why kids tend to stay with it. Washable markers contain water-soluble ink, and when water touches it on a coffee filter, the colors spread and blend.
You need: white basket-style coffee filters, washable markers, a spray bottle or dropper, paper towels, and pipe cleaners or green paper for stems.
How it goes: Flatten a filter on a protected surface. Color it with reds, oranges, and yellows, leaving some white gaps. Spritz lightly with water, so the colors bleed into one another. Let it dry for an hour or so, then pinch the center and twist a pipe cleaner around it to make a leaf or a small flower.
Watch for: Too much water turns everything muddy brown. Two or three spritzes are plenty. Permanent markers won’t bleed, so check the label.
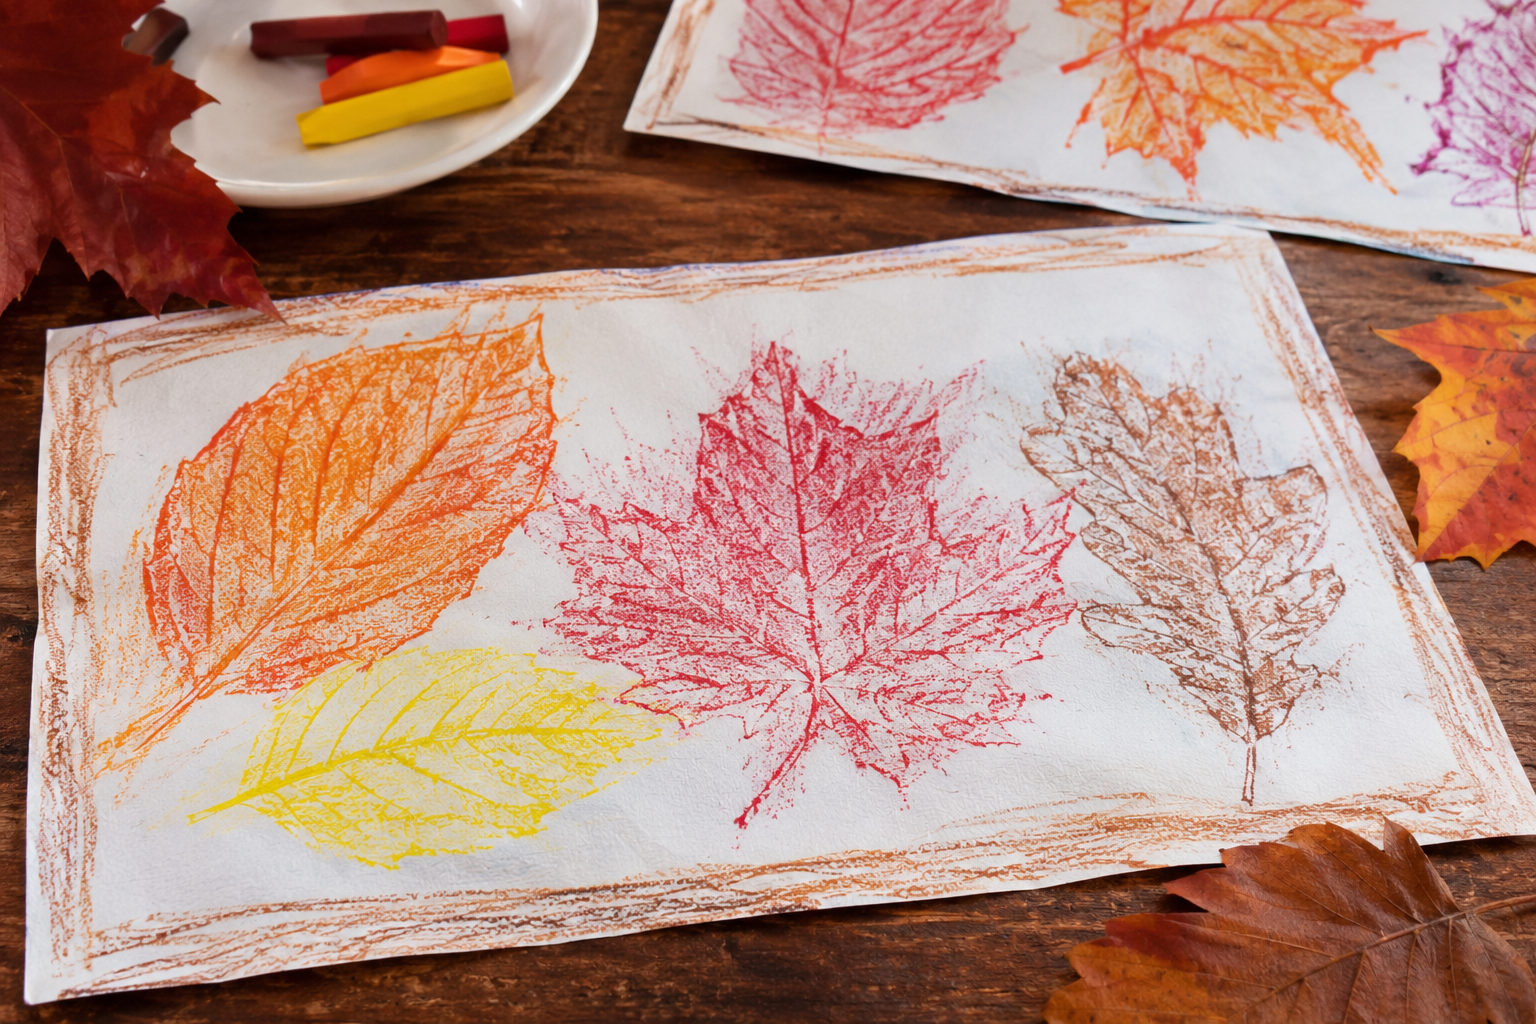
4. Leaf Rubbing Placemats
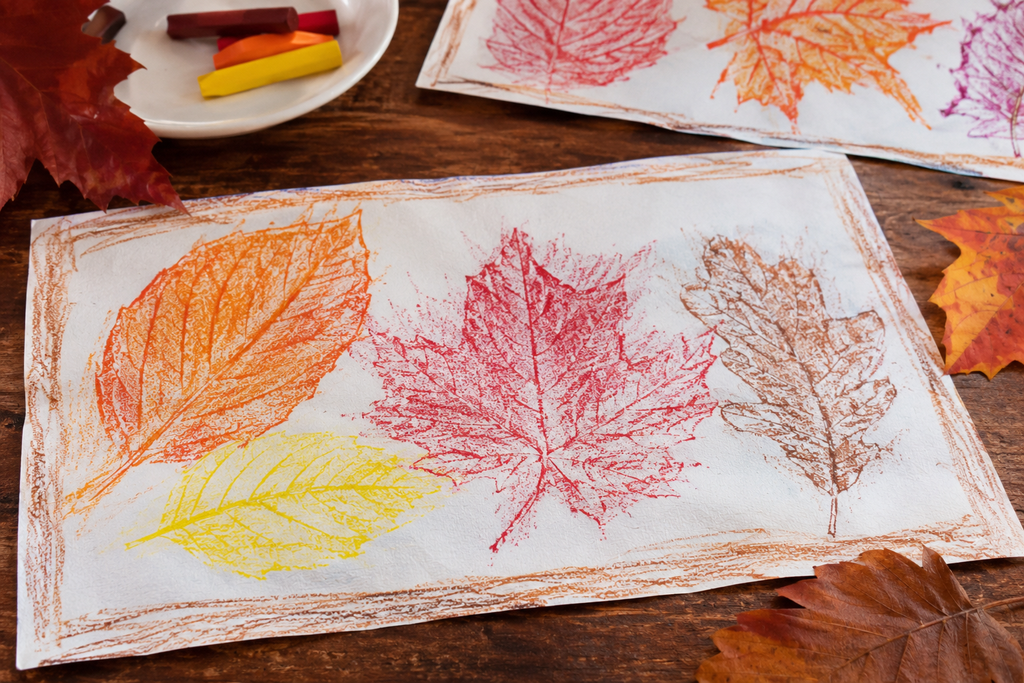
No scissors, no glue, and the supplies are mostly free. Collect leaves with prominent veins, such as maple, oak, and sweet gum, and place them vein-side up under a sheet of paper.
You need: fresh or recently fallen leaves, copy paper or white cardstock, and peeled crayons (the paper wrappers removed, so the crayon can lie flat on its side).
How it goes: Tape the leaf down under the paper so it doesn’t slide. Rub the side of the crayon back and forth. The veins appear as if by magic, and kids over four will want to overlap several leaves in different colors. To make a placemat, laminate the page or cover both sides with clear contact paper.
Watch for: Dry, crumbly leaves tear under pressure. Leaves collected the same day work best. Also check that nobody is gathering poison ivy, which can turn red in fall and still cause a rash. It has leaves in groups of three, so keep any three-leaflet leaves out of the collection basket.
5. Cotton Swab Indian Corn
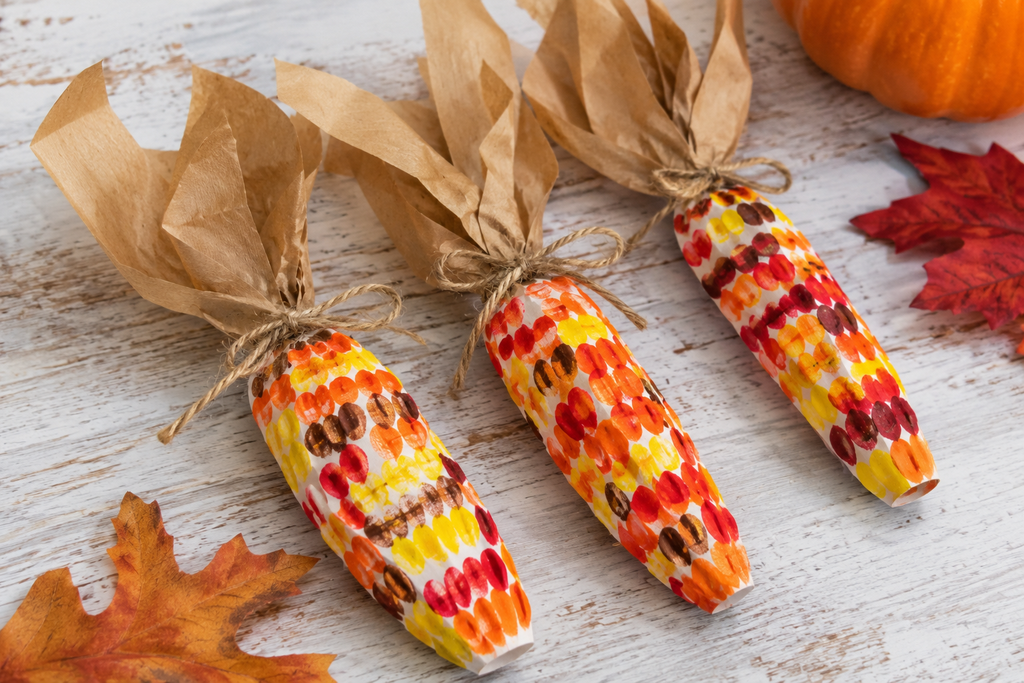
This is a gentle paint project that builds the pincer grip, and it makes a good gift for grandparents. Draw or print a simple corn cob outline, then fill it in with dots.
You need: cotton swabs, washable paint in red, orange, yellow, brown, and purple, a paper plate as a palette, and a corn-cob outline drawn on cardstock.
How it goes: Dip a swab, dab it onto the outline, and repeat, switching swabs for each color. The dots can be neat rows or random clusters. Cut green paper into husk shapes for the sides.
Watch for: Swabs fall apart if soaked. A thin layer of paint on the plate works better than a puddle.
6. Pinecone Turkey
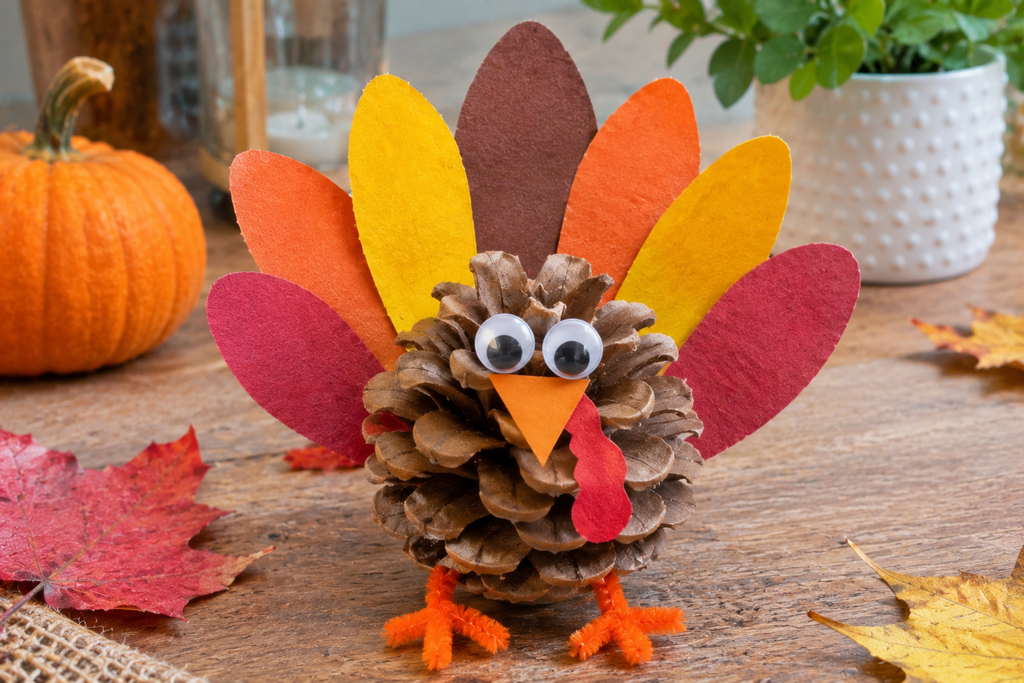
A pinecone makes a convincing turkey body, and the scales hold feathers without any glue. Set the cone on its flat base, then slip colored craft feathers or paper cutouts between the scales.
You need: a pinecone, craft feathers or paper feathers, a small piece of brown or orange felt for the head, and a dab of tacky glue.
How it goes: Glue a felt head and a tiny orange beak onto the narrow end of the cone. Push feathers into the scales at the back. If the cone wobbles, glue a small circle of cardboard under it as a base.
Watch for: Cones from outdoors can carry sap and insects. Many crafters bake them on a foil-lined pan at a low temperature, around 200°F for 30 to 60 minutes, which melts sap and drives out hitchhikers. Adults should handle the oven, and it’s worth checking a reliable source on the temperature before you try it, since cone size and moisture vary. Let them cool completely before kids touch them.
7. Thankful Handprint Tree
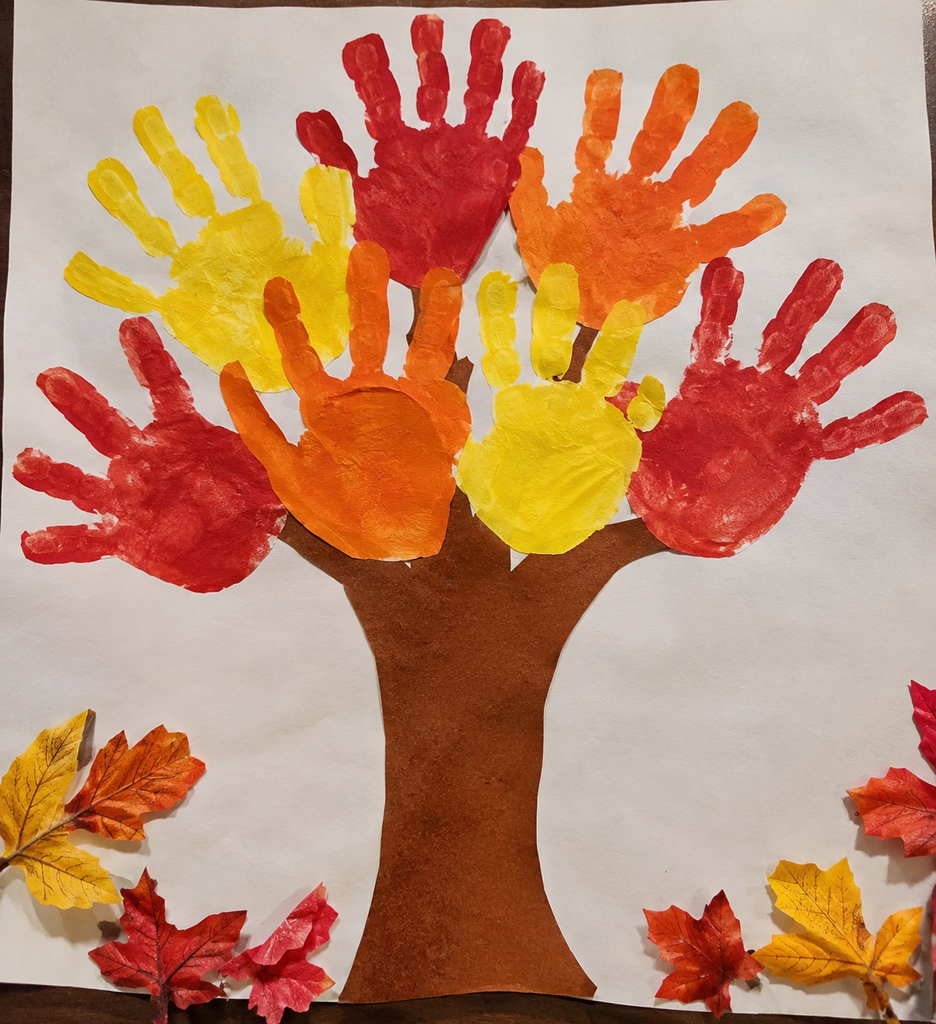
Trace each family member’s hand on colored paper, cut the shapes out, and write one thing each person is thankful for on every hand. Then arrange them as the leaves of a tree drawn on a large sheet of paper or butcher paper.
You need: poster board or butcher paper, construction paper in fall colors, scissors, markers, glue, and a brown marker or strips of brown paper for the trunk and branches.
How it goes: Draw or glue a trunk with a few branches. Let kids glue hands onto the branches, overlapping them like leaves. Younger children can dictate their thanks to an adult, who writes it down for them.
Watch for: A tree this size needs a flat spot to dry. Tape it to a wall once the glue sets, rather than leaning it against a surface where it may curl.
Elementary School Crafts (Ages 6 to 11)
Older kids want to make something that looks good enough to be proud of, and they can handle steps and scissors. These projects have more structure and more decisions built in.
8. Paper Bag Turkey Puppet
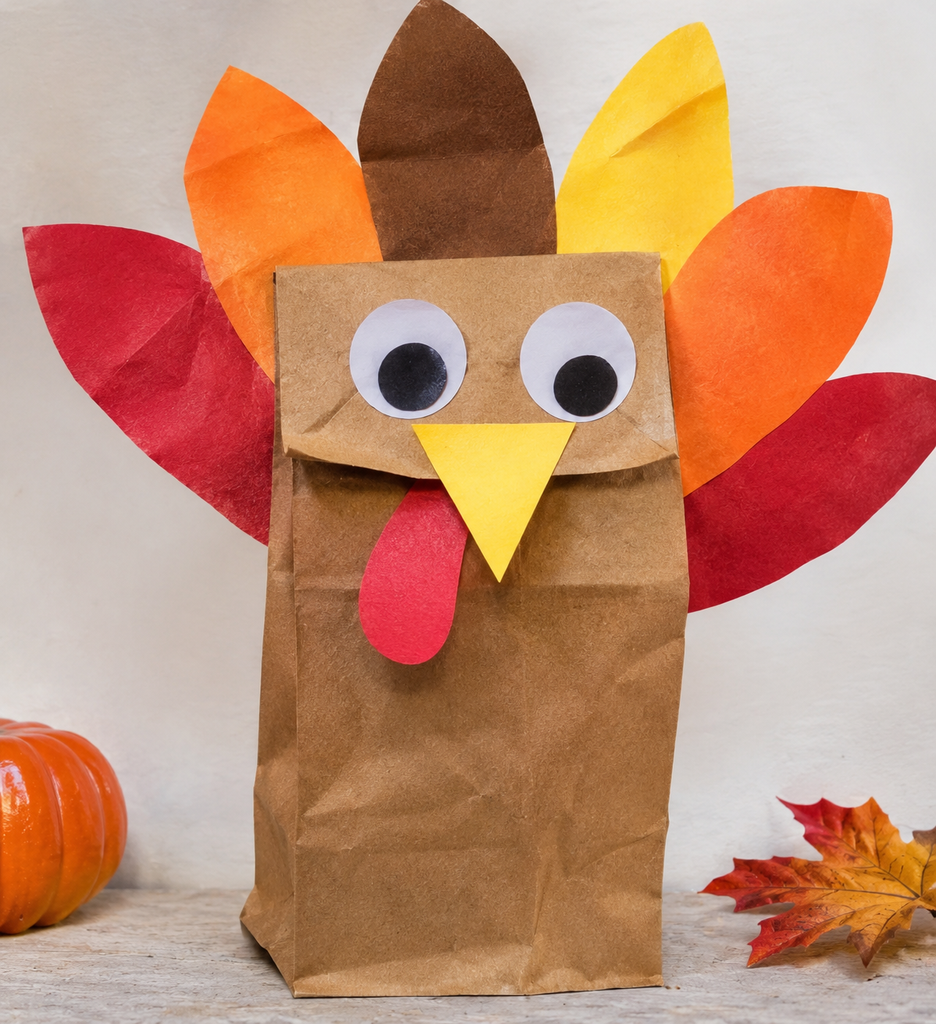
A lunch-size paper bag stands in for the turkey’s body and head, and the flap at the bottom becomes the puppet’s moving beak.
You need: a brown paper lunch bag, construction paper, scissors, glue, markers, and a red or orange scrap for the wattle.
How it goes: With the bag’s flap facing you, glue a paper beak and wattle onto the flap and draw eyes just above it. Cut feather shapes in several colors, then glue them to the back so they fan out above the bag’s opening. Slip a hand inside to make the turkey talk.
Watch for: Feathers glued only at one tip droop. Fold a half-inch tab at the base of each feather and glue the tab, so the feathers stand up.
9. Disguise-a-Turkey Project
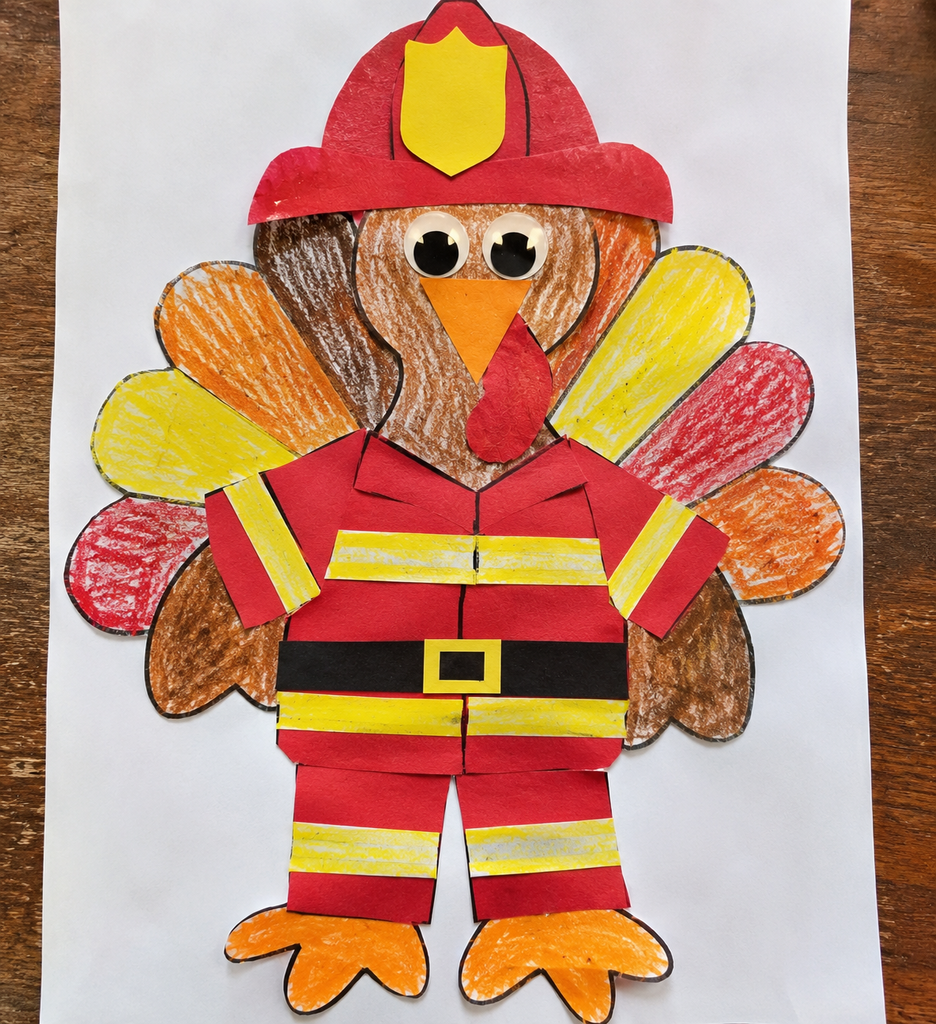
Many elementary classrooms assign this one at home, and it works well as a family craft too. The idea is to give a plain paper turkey a costume so he can avoid becoming dinner. Kids pick a character or profession, such as a pumpkin, a pizza, a firefighter, or a robot, and decorate the turkey accordingly.
You need: a printed or hand-drawn turkey outline on cardstock, markers, paper, fabric scraps, stickers, glue, and scissors.
How it goes: Have your child decide on the disguise first and sketch a plan. Cut out clothing pieces from paper or fabric. The beak and feet can stay visible, which makes the disguise more fun, or they can be hidden entirely.
Watch for: The planning step is the whole point. Kids who skip it usually end up covering the turkey in random stickers. A two-minute sketch changes the result.
10. Thankful Paper Chain
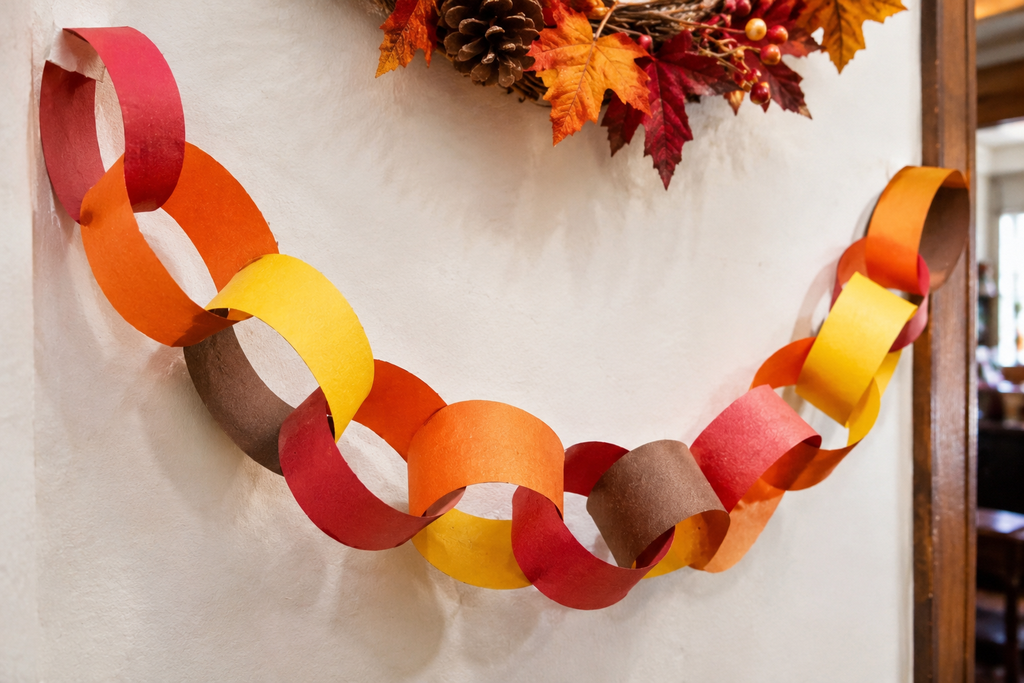
Paper chains take a thankful message and turn it into a visual countdown. Cut strips of colored paper roughly 1 inch by 8 inches. Each family member writes one thing they’re grateful for on each strip.
You need: construction paper, markers, a stapler or tape, and a ruler.
How it goes: Loop the first strip and staple or tape it closed. Thread the next strip through before closing it, and keep going. Hang the chain across a mantel, doorway, or window.
Watch for: Stapled links are stronger than glued ones if kids will be tugging on the chain, but cover the staples with tape so no sharp edges are exposed.
11. Woven Paper Placemat
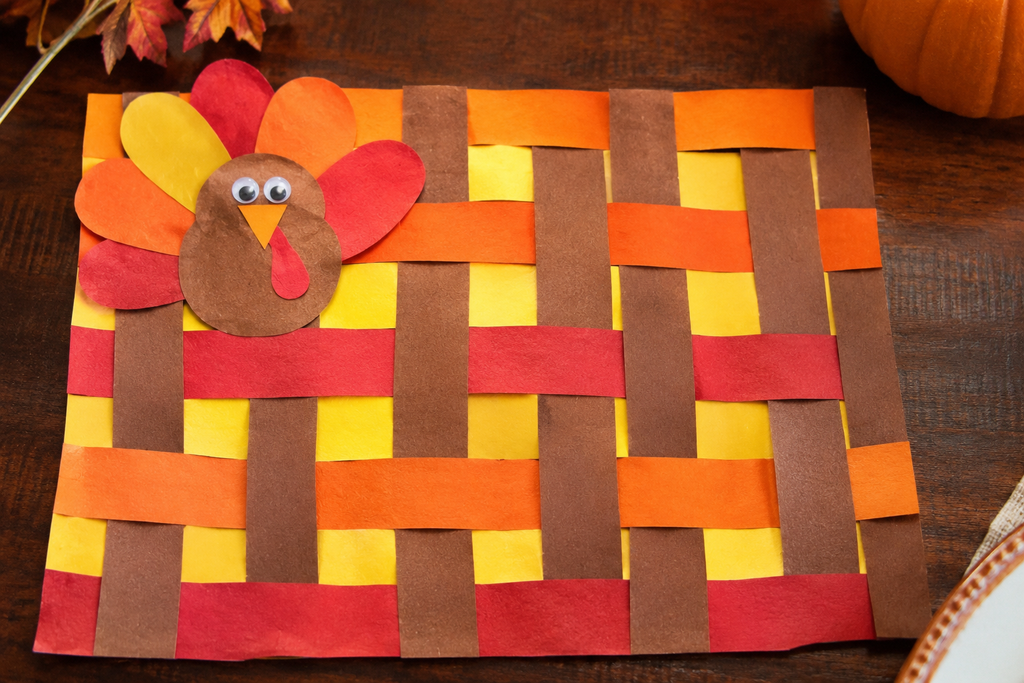
Weaving builds pattern recognition and patience. Fold a sheet of construction paper in half and cut slits from the fold toward the open edge, stopping about an inch short. Then weave strips of contrasting paper over and under.
You need: two or three colors of construction paper, scissors, a ruler, tape, and optionally clear contact paper for durability.
How it goes: Cut the slits about an inch apart. Weave the first strip over, under, over, under. Weave the second strip the opposite way, so the pattern alternates. Push each strip snug against the last. Tape the ends down at the back.
Watch for: If the weave looks sloppy, the strips probably are not alternating. Checking the first two rows against each other usually shows the problem right away.
12. Leaf Suncatchers
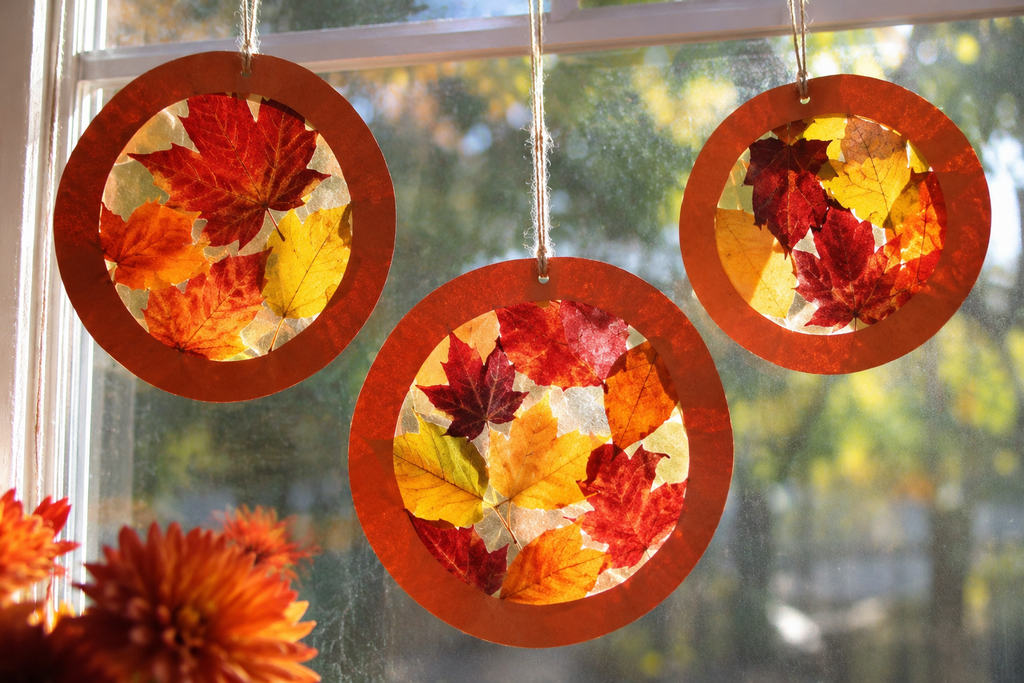
Sunlight shows off the veining in real leaves in a way paper can’t. The no-heat version uses clear contact paper, which is safer for kids than the ironing method.
You need: clear self-adhesive contact paper, leaves in assorted colors, scissors, and string or ribbon.
How it goes: Peel the backing from a sheet of contact paper and lay it sticky side up. Arrange leaves on it, add a few small paper punches or tissue scraps if you like, then press a second sheet of contact paper over the top. Trim around the arrangement and hang it in a sunny window with a ribbon.
Watch for: Thick leaves hold moisture and may eventually turn brown and curl inside the seal. Thinner leaves, flat-pressed in a heavy book for a day or two before using, keep their color longer. An adult can also use the wax paper and iron method, using low heat and a thin towel between the iron and the paper, but kids shouldn’t handle the iron.
13. Salt Dough Leaf Dishes
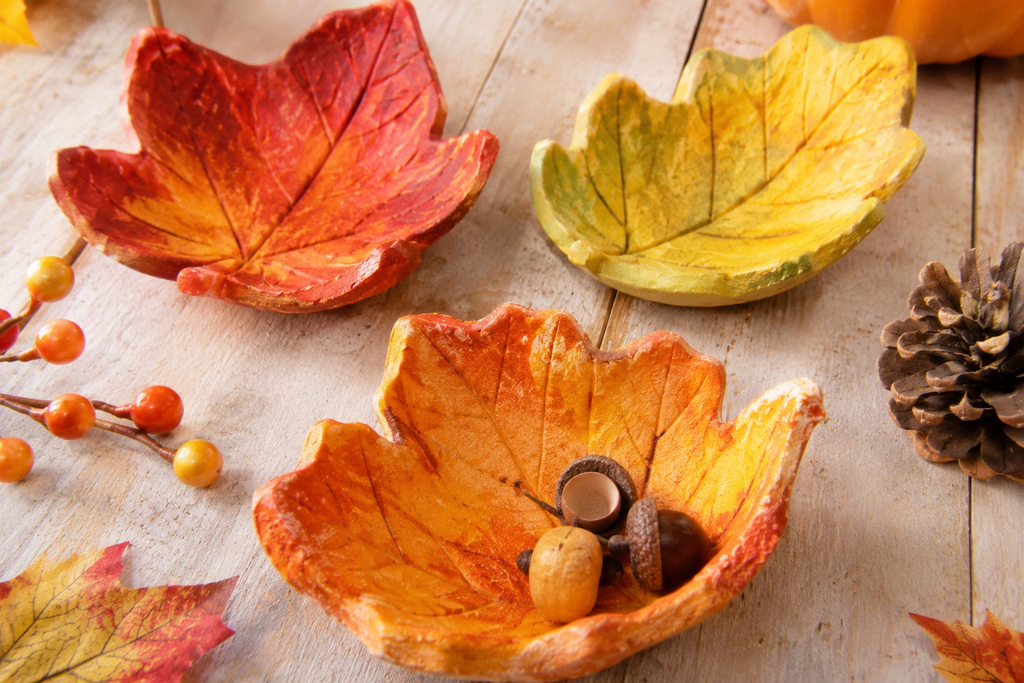
Press a real leaf into rolled dough, and you get a detailed impression of the veins. Once baked and painted, the piece works as a small ring dish or a keepsake.
You need: 1 cup salt, 2 cups flour, and 1 cup water (a commonly used ratio, mixed until smooth), a rolling pin, leaves, a butter knife, a baking sheet, and acrylic paint.
How it goes: Roll the dough about a quarter inch thick. Press a leaf firmly into it, vein-side down, and roll over once to set the impression. Peel the leaf off, trim around the shape with a knife, and curve the edges upward over a small bowl if you want a dish. Bake at a low temperature (about 200°F to 250°F) until fully hard, which can take two to three hours depending on thickness. Paint after cooling.
Watch for: The dough is not food. It’s very salty, and it can be harmful to pets if they eat it. Keep finished pieces and unbaked dough out of reach of dogs. Underbaked dough softens again in humid weather, so test that the center is completely hard before painting.
14. Thankful Jar
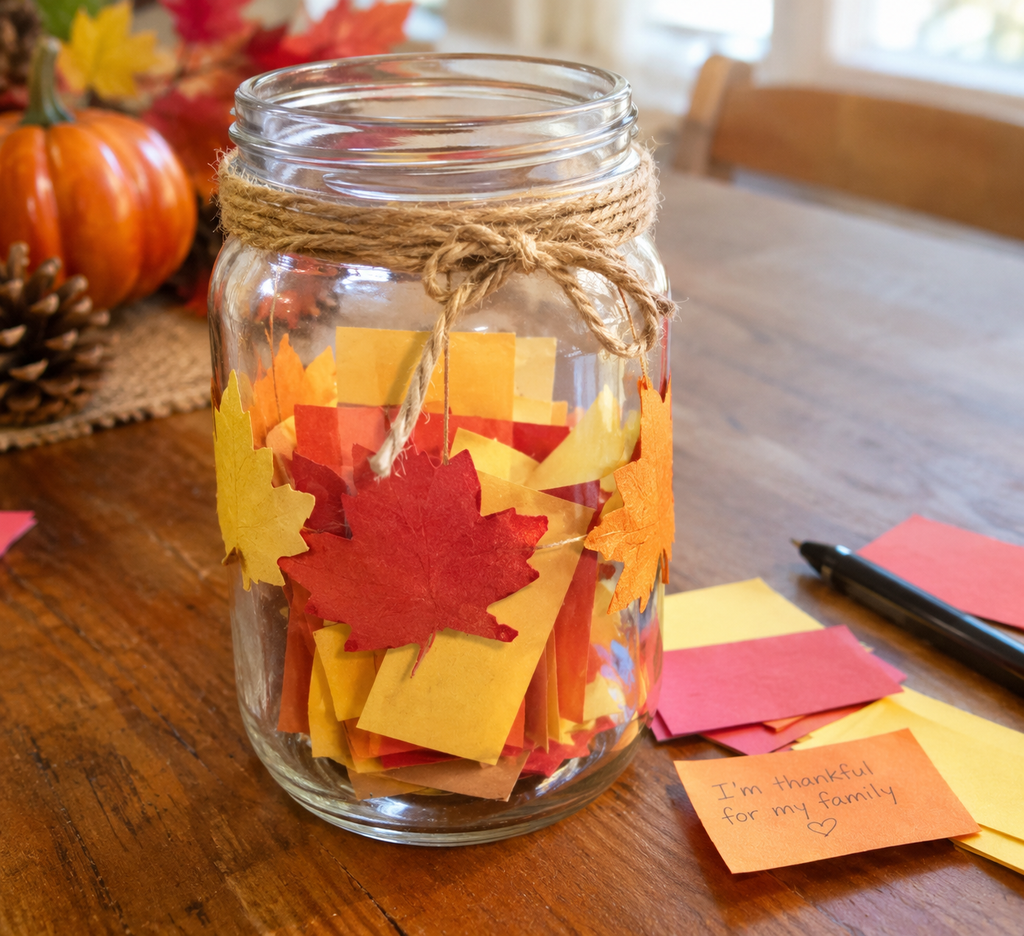
A glass jar, a stack of paper slips, and a pen turn into a table tradition. Over several days leading up to Thanksgiving, everyone writes things they’re thankful for and drops them in. At dinner, someone reads them aloud.
You need: a mason jar or similar, paint pens or ribbon for decoration, paper cut into small slips, and a pencil or pen.
How it goes: Decorate the jar with a paint pen, a strip of fabric tied around the neck, or a label. Cut slips ahead of time and keep a pen next to the jar so nobody has to hunt for one.
Watch for: Slips left blank for too long never get written. Put the jar somewhere people pass daily, such as the kitchen counter, not on a shelf.
Crafts for the Table and Classroom
These are the practical pieces: things that help set a table, mark who sits where, and keep a group of kids busy at the same time.
15. Cardboard Tube Napkin Rings
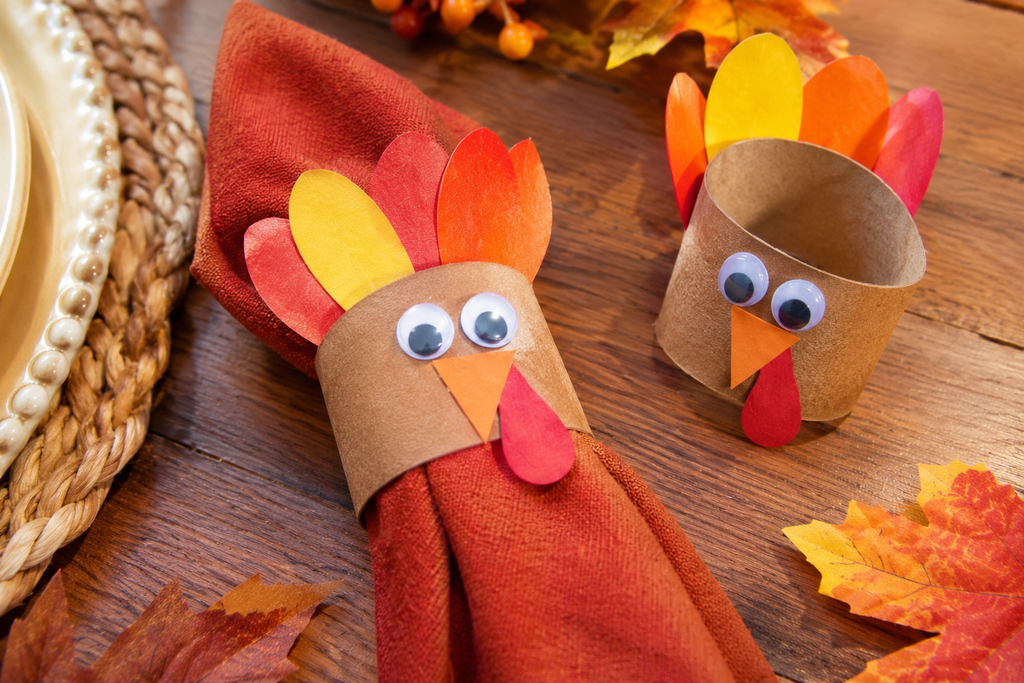
A toilet paper tube cut into 1.5-inch rings becomes a napkin ring in about ten minutes. It’s a good use for tubes that would otherwise go in the recycling bin.
You need: cardboard tubes, a craft knife or sturdy scissors (adult-cut), paint or paper, glue, and decorative bits such as felt leaves or twine.
How it goes: An adult cuts the tubes. Kids cover each ring with kraft paper or paint, then glue on a small leaf shape or a strip of twine. Let the glue dry before rolling a napkin through.
Watch for: Paint can warp cardboard. Cover the rings with paper instead of paint if you want a crisp finish.
16. Folded-Card Place Cards
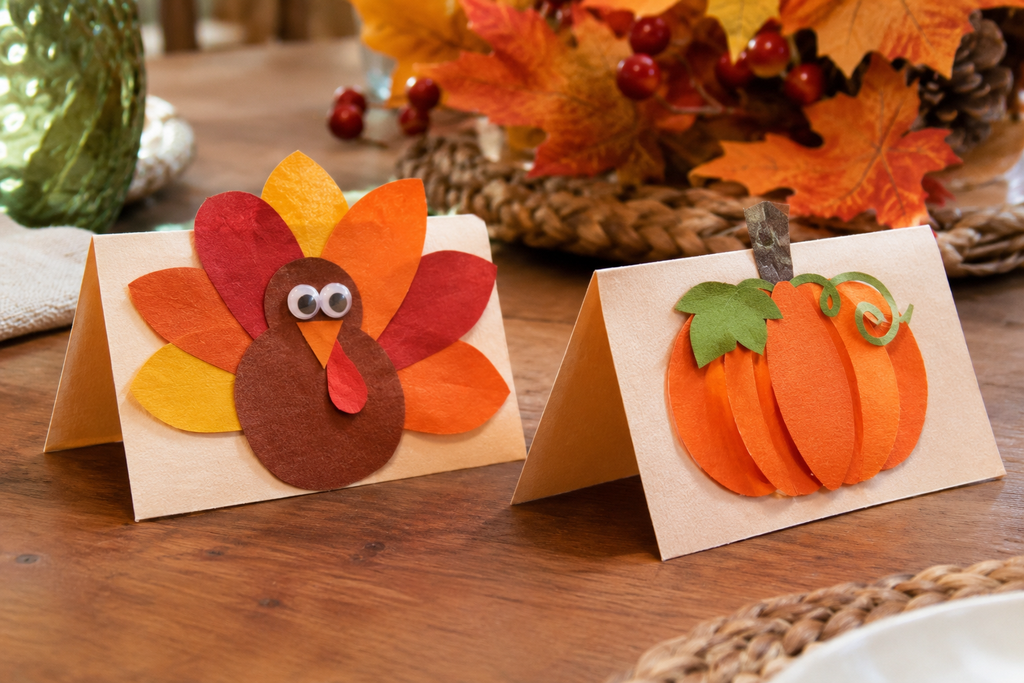
A folded index card turns into a tent that stands on its own. Kids can draw a turkey, a leaf, or a pumpkin on the front and write the name of the guest in the center.
You need: index cards or cardstock cut to about 3 by 5 inches, markers, stickers, and a pencil for lightly sketching letters.
How it goes: Fold each card in half the short way. Have your child sketch the name lightly in pencil first, then trace with a marker. Decorate the front panel.
Watch for: Plan the seating before making cards. Kids love to re-seat guests mid-project, which ends in a pile of crossed-out names.
17. Kids’ Table Paper Tablecloth
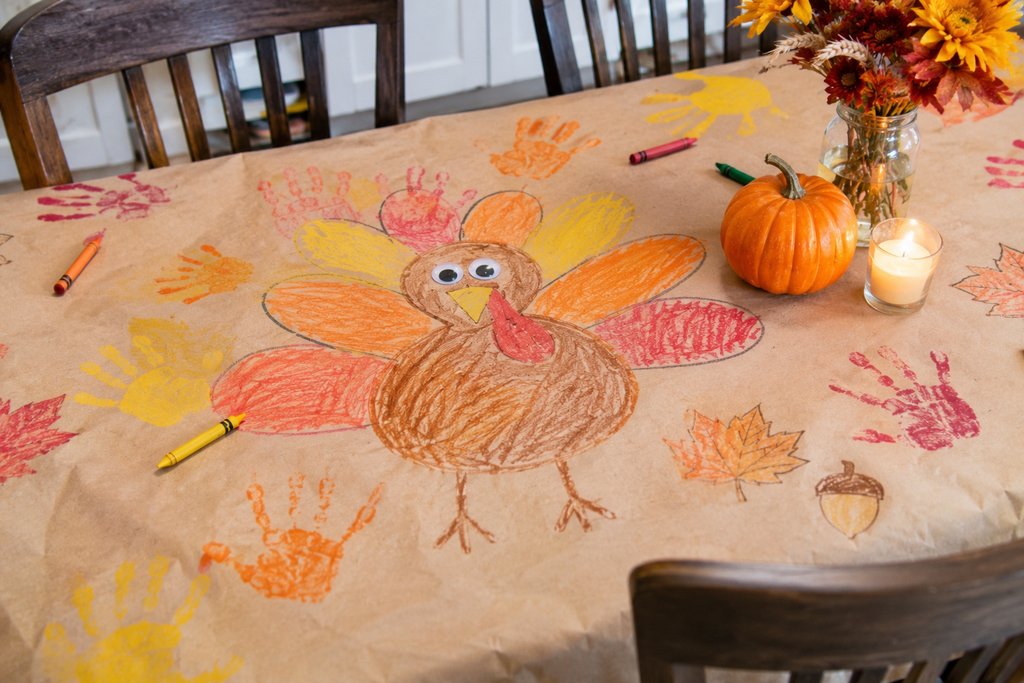
Roll out butcher paper or kraft paper along the kids’ table and let everyone draw directly on it. Put out crayons, markers, and a few prompts such as “Draw something you’re thankful for” or “Design a pie nobody has ever tried.”
You need: a roll of kraft or butcher paper, tape, and a cup of markers or crayons for each seat.
How it goes: Tape the paper down on all sides so it doesn’t shift. Write a few prompts in marker around the edges before anyone sits down. Leave plenty of space for free drawing.
Watch for: Markers bleed through paper onto wood tables. A layer of newspaper under the paper, or a vinyl tablecloth beneath it, protects the surface.
Crafts Adults Can Make Alongside Kids
Searches for Thanksgiving crafts for adults often turn up projects that are really decorations with a more polished look. These three suit that taste while still leaving room for kids to help with the simple steps.
18. Thankful Branch Centerpiece
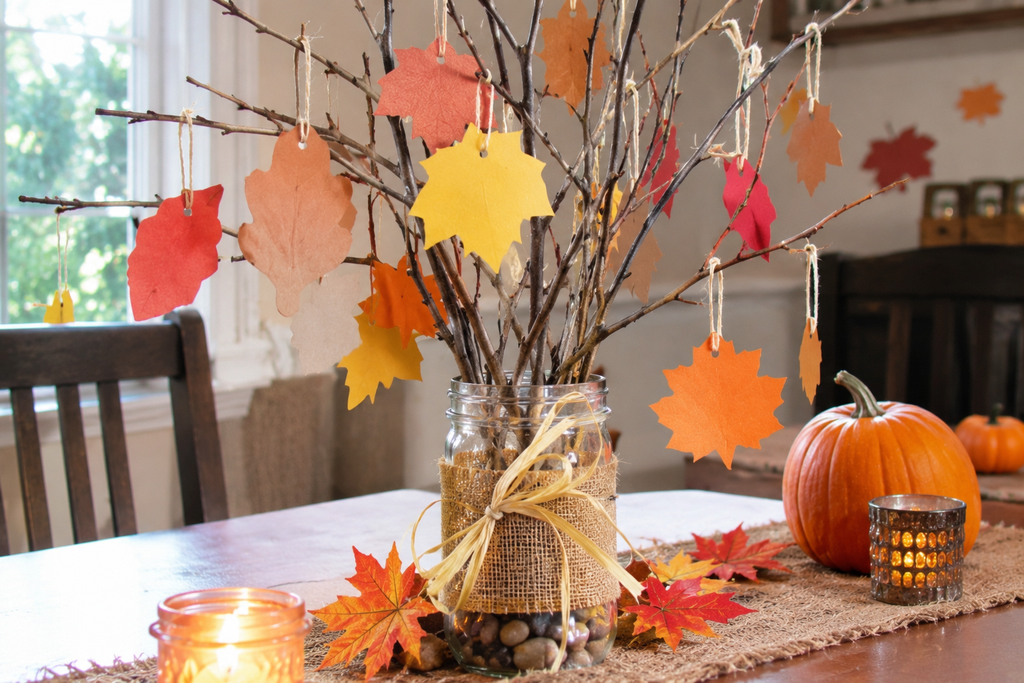
Fill a tall vase or a pitcher with bare branches. Cut small tags from kraft paper or cardstock, punch a hole in each, and tie them to the branches with twine. Guests write something they’re thankful for on a tag during the meal.
You need: bare branches, a heavy vase, kraft paper tags, a hole punch, twine, and pens.
How it goes: Fix the branches in place with a few stones or marbles in the bottom of the vase so it doesn’t tip. Hang a few blank tags to start, and keep the rest in a bowl beside the vase.
Watch for: Branches collected from outdoors can carry spiders and tiny insects, so let them sit in a garage for a day or shake them out outside first.
19. Metallic Leaf Garland
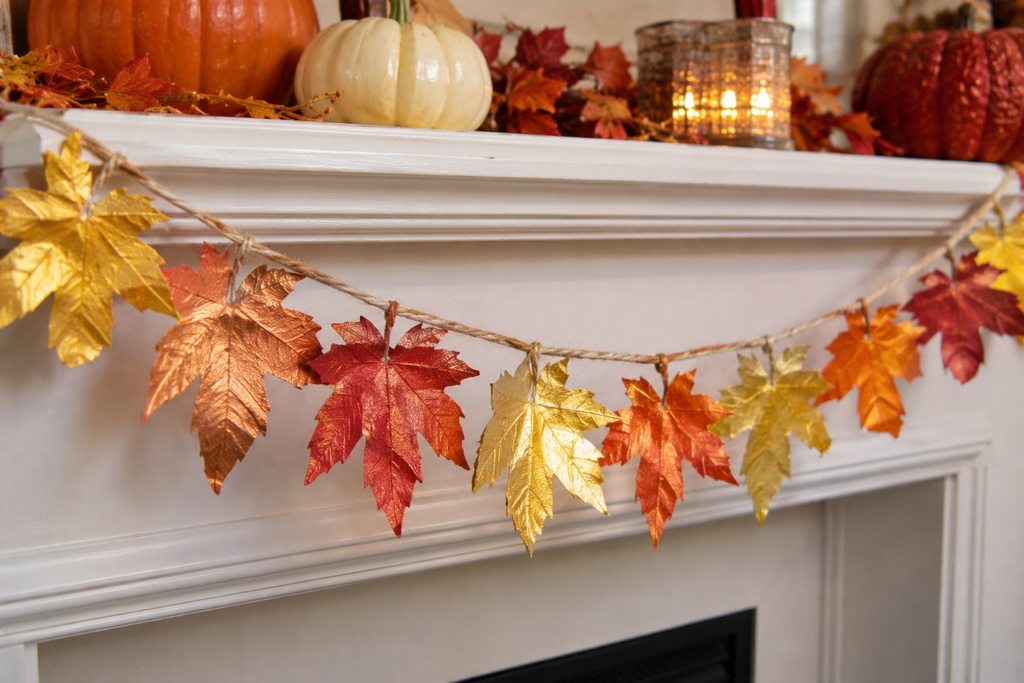
Paint real or paper leaves with gold, copper, or bronze paint pens, then string them on twine or jute to drape across a mantel or windowsill.
You need: leaves (real ones pressed flat, or paper cutouts), metallic paint pens, twine, small clothespins or a needle and thread.
How it goes: Press fresh leaves in a book for a few days. Paint the front, edging the veins in a darker shade for contrast. Let dry. Clip the leaves to twine with mini clothespins, or pierce a small hole and thread them.
Watch for: Paint pens contain solvents in some brands, so work in a ventilated area and check the label for age ratings. Kids can help with the pressing and the clip-on part.
20. Painted Mini Pumpkins
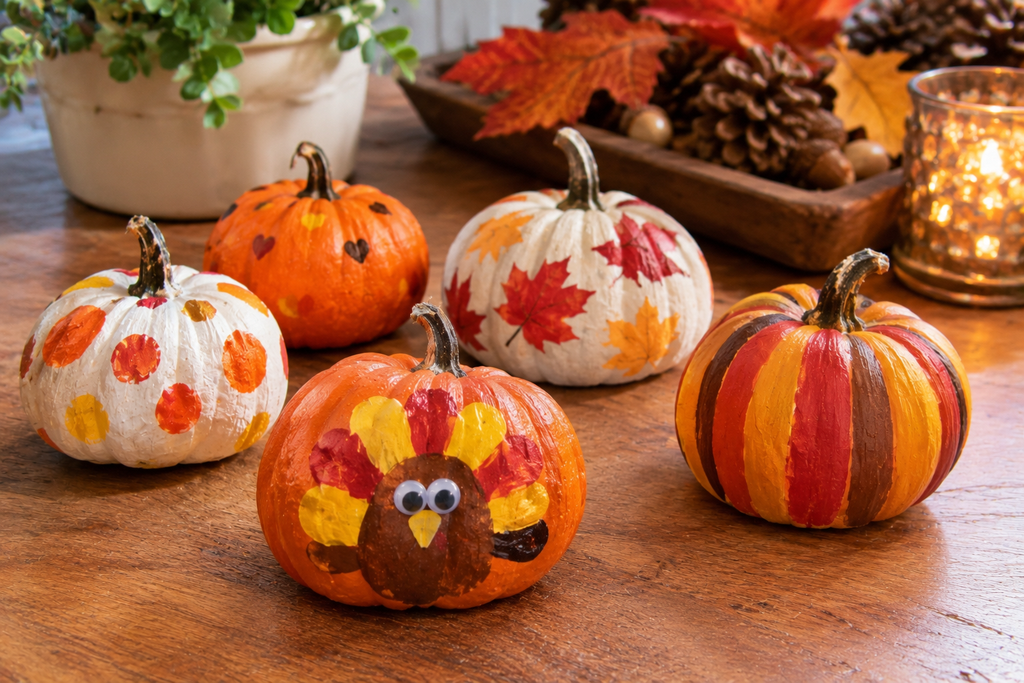
Small real or craft pumpkins are easy for both adults and kids to decorate. Adults can do metallic and pattern work. Kids can add dots, stripes, or faces.
You need: mini pumpkins, acrylic paint, brushes, painter’s tape, a sealing spray (adult-applied, outdoors), and a protected surface.
How it goes: Wipe each pumpkin clean and dry. Use tape to mask stripes or geometric shapes, paint, and peel the tape once the paint is dry to the touch. Seal with a clear spray if you want them to last.
Watch for: Real pumpkins will eventually soften and rot, so display them for a few weeks, not months. Craft pumpkins last longer and are lighter for small hands.
Free Thanksgiving Printables: What’s Worth Printing
Free printables can save time, but they vary widely in quality. A few categories are more useful than others.
- Turkey and leaf templates. These save cutting time for the paper plate, bag puppet, and disguise projects. Print them on cardstock or glue them onto a cereal box panel for a sturdier pattern.
- Coloring pages. These are good for waiting-at-the-table moments. Choose designs with large, simple spaces for preschoolers and finer details for older kids.
- “I am thankful for” worksheets. Fill-in pages work well as classroom handouts or as a starting point for a thankful jar.
- Games. Bingo cards, word searches, and mazes keep kids busy while the meal gets finished. Check that the answer key is included if you’re handing out puzzles.
- Table cards and banners. Printable place cards and banner letters give younger kids something to color and an adult a finished look.
A few practical notes. Printing in grayscale or draft mode saves a surprising amount of ink. Many sites that offer free printables limit them to personal or classroom use, so check the terms before using one in anything you plan to sell or distribute widely. And it’s worth printing a test page before running off ten copies, since layouts sometimes cut off at the margins.
Safety and Mess Control
Craft projects with kids go smoothly when the risks are handled before anyone picks up a brush.
Small parts. Googly eyes, buttons, beads, and tiny pom-poms are choking hazards for children under three, and many parents extend that caution to any child who still mouths objects. Use drawn eyes or large pieces for toddlers.
Hot glue. Even low-temperature glue guns can cause burns. Adults should handle the gun, and kids can position the pieces. Tacky glue, glue sticks, and double-sided tape handle most of the projects above.
Foraged materials. Leaves, pinecones, acorns, and branches can carry insects, mold, and, in the case of poison ivy, an irritant. Gather in dry weather, inspect each piece, and wash hands afterward. Acorns with tiny holes usually have had a larva inside, so skip those. Bake or freeze natural materials before using them indoors, and check a trusted source such as a university extension service for current guidance on temperatures and times.
Allergies. Real nuts, flour-based doughs, and food items used in crafts can be a problem for kids with allergies. If a child in your group has a nut allergy, avoid crafts that include nuts or nut-based products, and check labels on paints and clays.
Paint and markers. Look for products labeled non-toxic and washable. Wear old clothes, and cover surfaces with newspaper, a plastic tablecloth, or a flattened cardboard box.
Heat and sharp tools. Irons, ovens, and craft knives stay with adults. If a project calls for one, treat that step as the adult’s job and give kids something else to do during it.
Frequently Asked Questions
How long do these crafts take? Most take 20 to 40 minutes of active work. Projects with drying or baking steps, such as salt dough dishes, painted pumpkins, and suncatchers, are best started a day ahead.
Which crafts work best for a mixed-age group? The thankful handprint tree and the kids’ table paper tablecloth both work well, because each child can contribute at their own level. Older kids can write the messages, and toddlers can add handprints or scribbles.
Can I use real leaves, or do they need to be preserved? Real leaves work for rubbings, suncatchers, and salt dough impressions as long as they are fresh or only recently fallen. For anything you want to keep past Thanksgiving weekend, press the leaves in a heavy book for several days first or choose paper leaves.
What if I don’t have a lot of supplies? Paper, a glue stick, and markers cover most of the projects. Leaf rubbings, thankful chains, and the paper tablecloth need little more than that.
Final Thoughts
Pick two or three projects rather than trying to fit in twenty. One preschool craft and one elementary project, plus something for the table such as napkin rings or a thankful jar, gives a mixed group enough to do without turning the week into a production. Start anything that needs drying or baking early, gather your leaves and pinecones on a dry day, and leave the hot glue and the oven to the adults.

About Syprose Kiche
Syprose Kiche is the creator and writer behind My Besuited Home, a practical home and garden website covering DIY projects, gardening, lawn care, landscaping, home improvement, and outdoor living. She focuses on turning everyday homeowner questions into clear, practical guides backed by careful research and useful real-world considerations.