

Have you ever looked at your lawn, poured on the best fertilizers money can buy, and still seen a pale, struggling patch of turf? I know the frustration well. It’s easy to blame the seed, the heat, or the fertilizer itself, but the real culprit is often invisible: the soil’s pH balance. If the ground is too acidic, it’s like trying to pour water through a clogged pipe—your grass simply can’t absorb the vital nutrients you give it.
This process of fixing overly acidic soil is called liming, which involves adding calcium carbonate or magnesium carbonate to raise the soil’s pH level. In this guide, we’ll cut through the guesswork and show you precisely how to diagnose your lawn’s need for lime, and crucially, when to apply it for maximum effectiveness.
The “Why”: Understanding Soil Acidity and Its Impact
Before you spread a single pellet, we need to understand the science. Most lawn varieties, from Kentucky Bluegrass to Fescue, thrive in a neutral pH range, ideally between 6.0 and 7.0. When the pH drops below 6.0, the soil becomes too acidic, and trouble starts.
The Problem: Acidic Soil (Low pH)
Soil naturally becomes acidic over time. This happens due to several factors:
- Rainfall: Water filters basic minerals out of the soil profile.
- Decomposition: Organic matter breaks down, releasing acids.
- Fertilizer Use: Continuous application of nitrogen fertilizers, especially those containing ammonium sulfate, speeds up the acidification process.
The pH scale is logarithmic, meaning a pH of 5.0 is ten times more acidic than a pH of 6.0. Even small drops can have a huge impact.
Effects on Turfgrass Health
When the soil is too acidic, it affects the lawn in three devastating ways:
- Nutrient Lockout: This is the most common issue. In highly acidic conditions, essential micronutrients become chemically bound in the soil. Even if you apply a premium fertilizer, your grass roots physically cannot access the necessary Nitrogen, Phosphorus, and Potassium (N-P-K). It’s like having a fridge full of food but no way to open the door.
- Moss and Weeds Flourish: Acidic conditions are a perfect environment for certain unwelcome guests. Moss, clover, and acid-loving weeds like sorrel and plantain thrive where turfgrass struggles. When your grass is weak, these tough competitors take over.
- Poor Root Development: Low pH stresses the grass plants themselves, causing reduced vigor and shallow, weak root systems. This makes the entire lawn highly vulnerable to drought, heat stress, and fungal diseases.

The “How to Know”: Diagnosing the Need for Lime
You cannot rely on guesswork. While you might see a pale, mossy lawn, that could also be caused by poor drainage or lack of sunlight. We need definitive proof.
The Definitive Method: Soil Testing (MANDATORY)
If you’re serious about lawn health, this is the single most important step.
- The Best Time to Test: The ideal time to take your soil sample is in the late summer or early fall. This gives you ample time to receive the results and plan your liming application during the optimal window.
- How to Test: The most reliable method is sending a sample to a local university extension office or a reputable private lab. They provide detailed instructions on collecting the soil properly (usually taking several plugs from different areas of the lawn).
- Key Results to Look For: The test will provide your current soil pH and, most importantly, a precise recommendation telling you the specific amount of lime (in pounds per 1,000 square feet) needed to reach your target pH. Never apply lime without this number.
Visual Warning Signs (Indicators, Not Proof)
While not a substitute for testing, these signs suggest you might have an acidity issue:
- Persistent growth of moss or acid-loving weeds.
- The lawn remains thin, yellowing, or sickly despite consistent watering and fertilization.
- You apply fertilizer, but you just don’t see the results you expect after a few weeks.
The “When”: Timing the Lime Application (The Core Answer)
Once your soil test confirms the need for lime, timing the application correctly is the secret to success. Lime doesn’t work instantly; it’s a slow-release soil amendment that requires moisture and time to integrate.
The Absolute Best Time: Fall
Without question, fall is the superior time for liming your lawn.
- Reasoning: When you apply granular or pelletized lime in the fall (late August through October), the winter does the hard work for you. The combination of rainfall, thawing, and freezing cycles slowly breaks down the lime material and pulls it deep into the soil profile where the grass roots need it most. By the time spring arrives, the soil pH has begun to adjust, and the grass is ready to efficiently absorb the spring fertilizer.
- Specific Window: Late August through October is ideal. If you plan on aeration, apply the lime immediately after aeration to help the product drop into the created holes.
The Secondary Best Time: Early Spring
If you missed the fall window or just received your soil test results, you can still apply lime in the early spring.
- Reasoning: This is a good way to get a jump start on correcting the pH.
- Crucial Caveat: You must apply lime several weeks before you apply your first round of fertilizer or any weed control products. Give the lime 2-3 weeks to settle and begin reacting with the soil before adding other chemicals.

When to Avoid Applying Lime (Critical Advice)
I’ve learned the hard way that applying lime at the wrong time can cause more harm than good. Avoid these scenarios:
- Immediately After Fertilizing: Never apply lime on the same day as fertilizer, especially nitrogen-based synthetic products. Wait at least 2-3 weeks between applications.
- During Drought or Heat Stress: Applying any substance to a dormant, severely stressed, or yellowing lawn during a heatwave can burn the grass. Wait until temperatures moderate and your lawn has recovered.
- When Heavy Rain is Forecast: A light drizzle is fine, but downpours will wash away granular lime before it has a chance to settle, wasting your time and money.
Application Frequency
Liming is not an annual maintenance task. Once you reach the target pH, it takes years for the soil to acidify again. You should only apply lime as indicated by a soil test, typically every 3 to 5 years.
The “What & How”: Choosing and Applying the Lime
You have a few choices when it comes to the product you use.
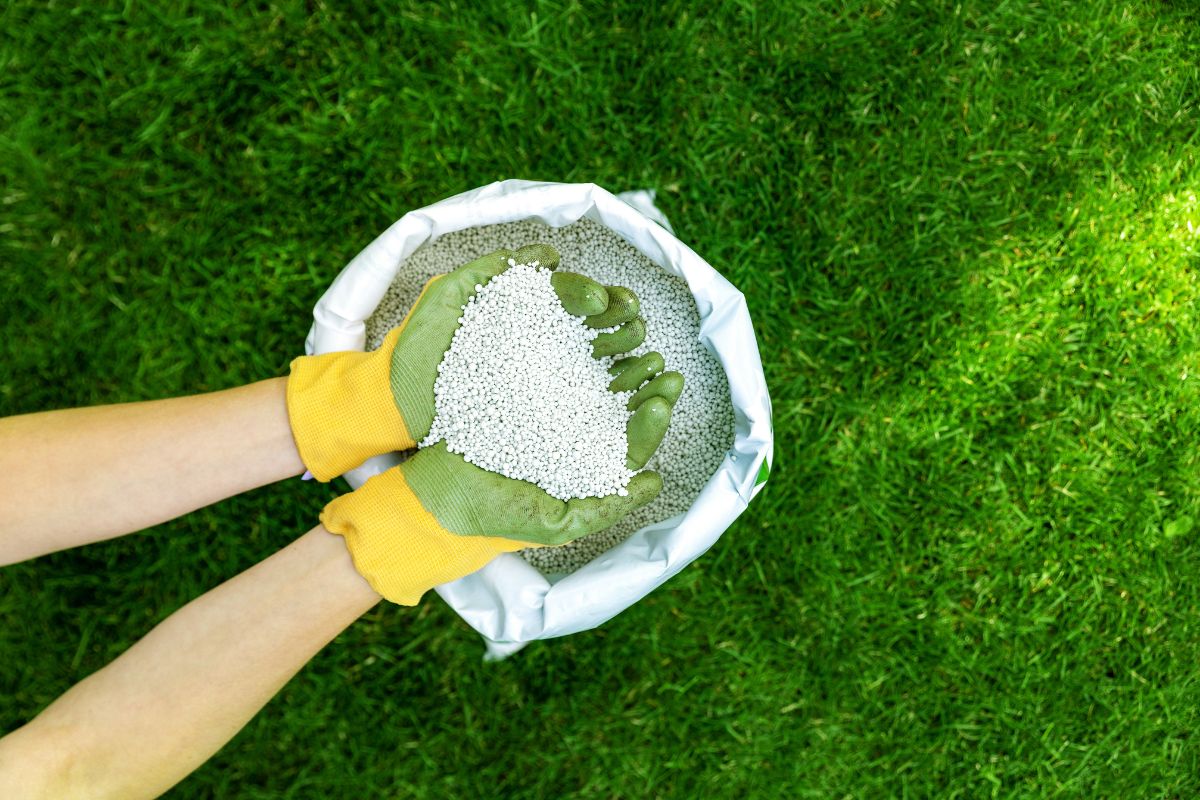
Types of Lime
| Lime Type | Pros | Cons |
| Pulverized/Ground Lime | Works fastest; often cheapest. | Extremely dusty, hard to spread evenly with a home spreader, and can create a huge mess. |
| Granular/Pelletized Lime (Recommended) | Easy to spread with a standard rotary spreader; less dust. | Works slightly slower than powder; usually costs a bit more. |
| Liquid Lime | Provides an instant, temporary boost. | Does not provide the deep, long-term soil correction that most lawns require. |
You also need to choose between two chemical compositions: Calcitic (calcium carbonate) and Dolomitic (calcium and magnesium carbonate). Your soil test will tell you which one is necessary. If your soil is deficient in magnesium, choose dolomitic; otherwise, calcitic is fine.

Step-by-Step Application Guide
Once you have your soil test results and your pelletized lime, follow these steps:
- Mow Short: Mow your lawn to a slightly shorter height than normal to ensure the lime can easily reach the soil surface.
- Check the Weather: Choose a calm, windless day to ensure even spread.
- Calibrate Spreader: Use the bag instructions and your soil test recommendation to set the correct opening on your rotary or drop spreader.
- Apply in a Cross-Hatch Pattern: To ensure perfect coverage, apply half of the required amount of lime walking in rows lengthwise across the lawn. Then, apply the second half by walking crosswise (perpendicular to the first pass).
- Water In (Crucial Step): Immediately after spreading, run your irrigation system or sprinkler for about 15–20 minutes. This dissolves the pelletized coating and moves the fine lime particles down into the soil where they can begin the vital work of balancing the pH.
Conclusion & Next Steps
Getting your lawn’s soil right is not a sprint; it’s a marathon. Adding lime is perhaps the most fundamental, long-term repair you can make for your turf. We’ve established that the fall is the absolute best window for application because it gives the slow-acting material months to integrate. But remember the core takeaway: never guess.
Your commitment to your lawn should always begin with a simple soil test. That test provides the blueprint, and the timing—optimally between late August and October—provides the foundation.
Expect the benefits to be slow and cumulative, often taking 6 to 12 months to see the full results in healthier, greener grass that finally responds to your fertilizer. Mark your calendar to re-test the soil 12–18 months after your application to ensure the pH has landed squarely in the target range. Get the timing right this fall, and next spring, you’ll finally have the healthy lawn you’ve been working for!