

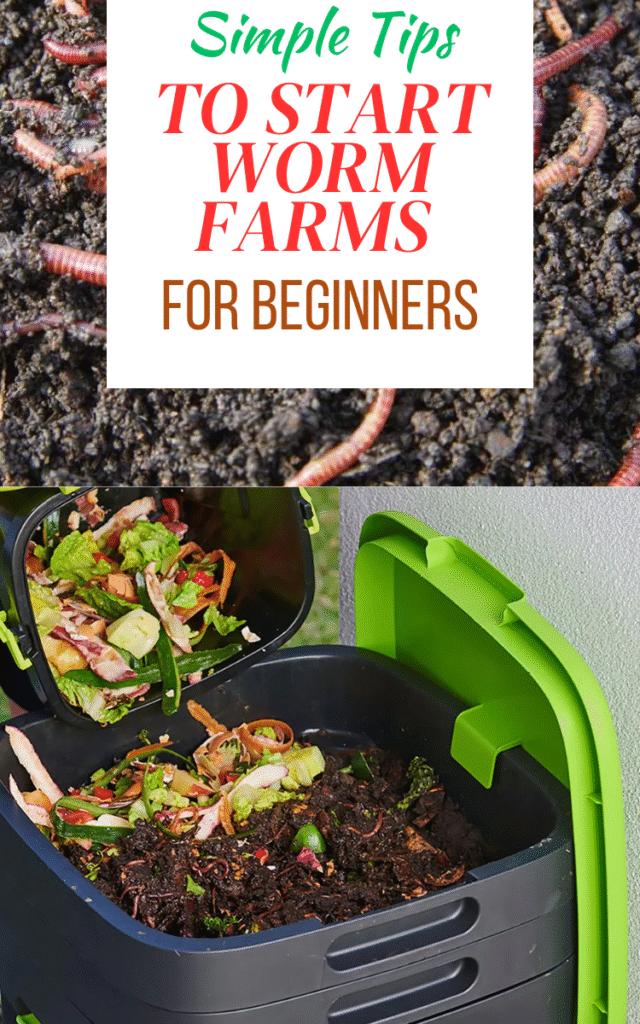
A few years ago, I used to toss all my kitchen scraps into the trash, never really thinking about where they went. It wasn’t until I started gardening that I realized how much valuable material I was throwing away. That’s when I discovered worm farming, or vermicomposting—a simple, natural process that turns everyday food waste into one of the richest fertilizers you can find.
The beauty of worm farming is that it doesn’t require a big backyard or fancy equipment. It’s one of those rare projects that’s cheap to set up, easy to manage, and surprisingly fun once you get started. Even a small plastic tub in the corner of a balcony can house hundreds of tiny workers quietly turning scraps into “black gold” for your plants.
If you’ve been curious about composting but don’t know where to start, a worm farm is the perfect entry point. Let me walk you through everything you need to know, from setting up your first bin to harvesting your own nutrient-rich castings.
1. What is a Worm Farm?
At its simplest, a worm farm is a container where worms eat your organic scraps and turn them into compost. The worms consume kitchen waste and bedding, digest it, and produce worm castings—a dark, crumbly material that smells like healthy soil and works wonders for plant growth.
Another bonus is the liquid that drains from the bin, often called “worm tea.” This nutrient-packed liquid can be diluted with water and used as a liquid fertilizer for your garden or houseplants. Together, the castings and the tea form a natural, chemical-free way to enrich your soil.
Unlike a traditional compost pile that needs turning and heat to break down material, worm farming is cold composting. It’s a low-effort system that fits perfectly in small spaces like balconies, garages, or even under a kitchen sink.
2. Why Start a Worm Farm?
Starting a worm farm has more benefits than you might think. On a practical level, it drastically reduces the amount of food waste heading to landfills. Instead of rotting in trash bags, those scraps are recycled into a useful resource right at home.
For gardeners, worm castings are like gold. They improve soil structure, boost plant health, and add beneficial microbes. Many people notice that plants grown with worm compost are greener, stronger, and more resistant to disease.
And on a personal note, worm farming has made me more mindful of what I eat and waste. It’s satisfying to know that a banana peel or coffee filter doesn’t just vanish into a landfill—it becomes food for worms and eventually nourishment for my garden.
3. Choosing the Right Worms for Your Farm
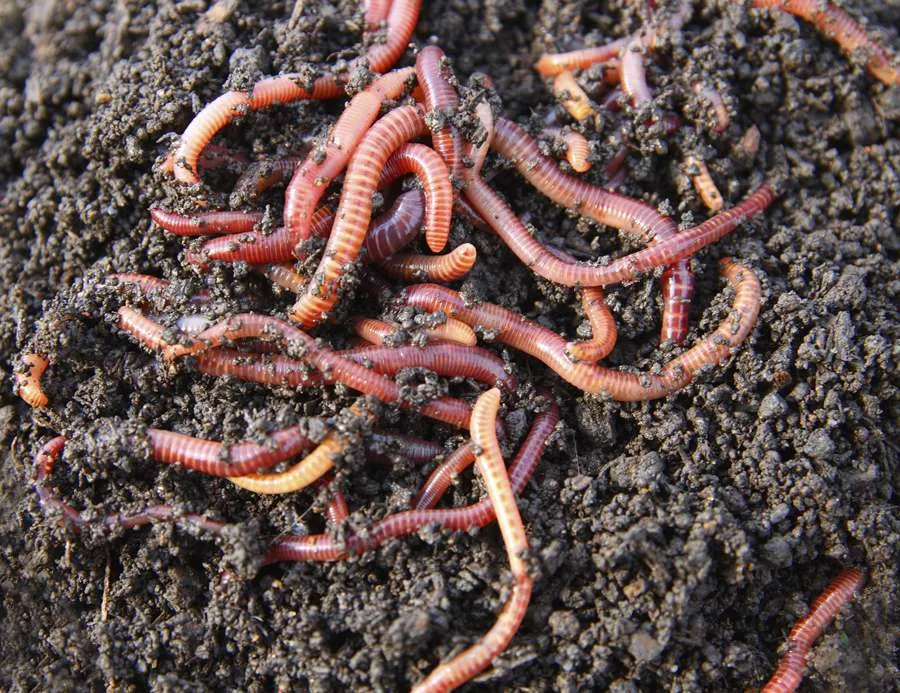
Here’s a fun fact: not all worms are good for composting. The earthworms you see after rain aren’t suited for worm farms. What you need are composting worms, which thrive in the rich, surface-level organic matter inside a bin.
The most popular choice is the Red Wiggler (Eisenia fetida). They’re hardy, reproduce quickly, and are voracious eaters. European Nightcrawlers are another good option, especially if you want worms that can also help aerate your garden soil.
You can usually find these worms at local garden centers, from worm breeders, or online. A small starter colony—about 500 worms—is enough to get your bin going. They multiply quickly, so you won’t need to buy more once your farm is established.
4. Picking or Building a Worm Farm Bin
Your worm farm needs a home, and you can either buy a ready-made worm farm kit or build one yourself. Store-bought bins often come with stackable trays and drainage built in, which is handy, but a DIY bin works just as well if you’re on a budget.
A simple plastic storage container with a lid can become a worm farm with just a few modifications. Drill small holes in the sides and lid for airflow, and add a few drainage holes in the bottom to prevent waterlogging. Place a tray underneath to catch the liquid.
When choosing the size, consider how much food waste you produce. For a single person or small family, a medium bin is usually enough. You can always expand later with more bins if needed.
5. Setting Up Bedding for Worms
Before you add your worms, you’ll need to create bedding. Bedding gives worms a comfortable environment that mimics soil while also acting as part of their food source.
Good bedding materials include shredded newspaper, cardboard, coconut coir, or dried leaves. Avoid glossy or colored paper. Dampen the bedding until it feels like a wrung-out sponge—not dripping wet, but moist enough for worms to breathe and move comfortably.
Fill your bin about one-third to halfway with bedding, then gently introduce your worms. They’ll burrow down into the bedding to escape light, settling in quickly.
6. Feeding Your Worms Properly
Worms are great eaters, but they can’t handle everything. The best foods include fruit and vegetable scraps, coffee grounds, tea bags, and crushed eggshells. Chop scraps into smaller pieces so the worms can process them faster.
Avoid feeding them meat, dairy, oily foods, or too much citrus. These can create odors, attract pests, or harm the worms. A good rule of thumb is: if it came from plants, it’s probably safe for your worms.
Start small, giving them a handful of scraps at a time. Over time, you’ll get a feel for how much your worm colony can handle. It’s better to underfeed than overfeed, especially in the beginning.
7. Caring for Your Worm Farm
Your worm farm doesn’t require much maintenance, but a little care goes a long way. Worms thrive in moderate temperatures, ideally between 55–77°F (13–25°C). Keep the bin out of direct sunlight or freezing conditions.
Moisture is another key factor. The bedding should stay damp but not soggy. If it dries out, mist it with water; if it gets too wet, add more shredded paper or cardboard.
Check the bin once or twice a week to make sure things are balanced. If it smells bad, that’s a sign of overfeeding or poor airflow. With a little adjustment, your worm farm should smell earthy, not unpleasant.
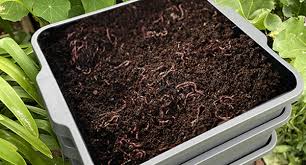
8. Harvesting Worm Castings & Worm Tea
After about three to six months, you’ll notice a good amount of dark, crumbly material building up in the bin. That’s worm castings, and it’s time to harvest.
There are a few methods to separate worms from castings. You can move food scraps to one side of the bin, wait a few days, and the worms will migrate toward the food, leaving the castings behind. Or, you can dump everything out on a tarp and gently scrape away the castings while the worms burrow away from light.
The liquid that collects at the bottom of the bin is worm tea. Dilute it with water (about 1:10 ratio) before using it on your plants. Both the castings and the tea are powerful natural fertilizers that your garden will love.
9. Common Beginner Mistakes (and How to Avoid Them)
One of the biggest beginner mistakes is overfeeding. Too much food creates odors and attracts fruit flies. Always feed in moderation, especially when starting out.
Another mistake is poor moisture control. Too wet, and the worms may drown or the bin may smell. Too dry, and the worms can’t breathe properly. Remember the “damp sponge” rule and adjust as needed.
Finally, avoid using the wrong type of worms. Earthworms from your yard won’t thrive in a bin. Stick to composting worms like Red Wigglers, and you’ll set yourself up for success.
10. Expanding or Troubleshooting Your Worm Farm
As your worms multiply, you may want to expand your setup. Adding a second bin or upgrading to a tiered system can give you more room for waste and easier harvesting.
If your worms try to escape, that’s a sign something’s wrong—usually too much food, poor ventilation, or unsuitable temperature. Adjust conditions, and they’ll settle back in.
For those in apartments, worm farms can be compact and odor-free when managed properly. Tuck one under the sink, on a balcony, or in a closet, and you’ll still enjoy all the benefits.
Wrapping Up
Worm farming may sound a little unusual at first, but once you try it, you realize how brilliantly simple it is. You’re taking what would otherwise be waste and turning it into one of the most valuable resources for your garden. It’s a quiet, ongoing cycle of renewal happening right in a small bin.
Start with one container, a small batch of worms, and your everyday kitchen scraps. Within a few months, you’ll be harvesting rich compost and liquid fertilizer while cutting down on your household waste.
It’s a small act with a big impact—on your garden, your wallet, and the planet. And the best part? Your team of worms will do most of the work for you.