

Have you ever dreamt of stepping into your own backyard paradise overflowing with vibrant blooms? A flower garden isn’t just a splash of color; it’s a haven for pollinators, a source of fresh-cut beauty for your home, and a space to connect with nature. But where do you even begin? This comprehensive guide will walk you through every step of creating a flower garden you’ll love for years to come.
Step 1: Planning Your Dream Garden
A. Choosing the Perfect Spot:
The location of your flower garden is crucial for its success. Here are key factors to consider:
- Sun Exposure: Different flowers have varying sunlight needs. Full sun means at least 6 hours of direct sunlight daily, while partial sun receives 3-6 hours. Shade areas get less than 3 hours. Observe your chosen spot throughout the day to determine its sun exposure.
- Size and Layout: Measure the available space and consider the overall design. Sketch a layout on paper. Think about creating pathways for easy access and dividing larger gardens into sections with different flower types. Remember, a well-designed garden doesn’t have to be massive; even a small balcony can transform into a charming floral haven.
- Accessibility: Consider how you’ll interact with your garden. Leave enough space for comfortable movement around the flowerbeds for weeding, watering, and enjoying your creation.
B. Know Your USDA Growing Zone:
The United States Department of Agriculture (USDA) Plant Hardiness Zone Map divides the country into zones based on average annual minimum temperatures. This information is vital for choosing plants that will survive your particular climate. Knowing your growing zone allows you to avoid planting flowers that wouldn’t tolerate your winter temperatures. You can easily find your zone by entering your zip code on the USDA website https://planthardiness.ars.usda.gov/.
C. Understand Your Soil:
Happy plants start with healthy soil. Good soil provides essential nutrients, drainage, and support for your flowers. Here’s a simple way to get a basic understanding of your soil:
- Grab a handful of moist soil from your chosen garden spot.
- Squeeze it in your hand. Sandy soil will feel gritty and crumble easily. Clay soil will feel sticky and compact. Ideal soil should hold its shape slightly when pressed but crumble readily with gentle pressure.
Step 2: Selecting the Stars of Your Show – The Flowers!

A. Consider Your Preferences:
Now comes the fun part – choosing the flowers! Here are some factors to consider:
- Color: Imagine the color palette you desire. Do you envision a vibrant explosion of contrasting hues, or a soothing symphony of soft pastels?
- Height: Flowers come in various heights, allowing you to create layers of visual interest. Taller flowers like hollyhocks can stand at the back, while lower-growing blooms like pansies can fill in the foreground.
- Bloom Time: Extend your garden’s colorful display by choosing flowers with staggered bloom times. Early bloomers like tulips can give way to summer favorites like coneflowers, followed by late-blooming beauties like chrysanthemums. This ensures your garden offers something to admire throughout the season.
- Fragrance: Indulge your senses with fragrant flowers like lavender, roses, or sweet peas.
B. Choose Plants Based on Your Conditions:
Not all flowers are created equal. Here’s how to match your plant selections to your specific garden environment:
- Sun Exposure: Refer back to your chosen location’s sun exposure. Sun-loving flowers like sunflowers and marigolds won’t thrive in a shady spot, while impatiens and fuchsias prefer dappled shade.
- Soil Type and Drainage: Sandy soil drains quickly, while clay soil retains moisture. Choose plants that suit your soil type. For example, cacti and succulents thrive in well-drained, sandy soil, while lilies prefer moist clay soil. Amending your soil (covered in Step 3) can help bridge the gap between your soil type and some plant preferences.
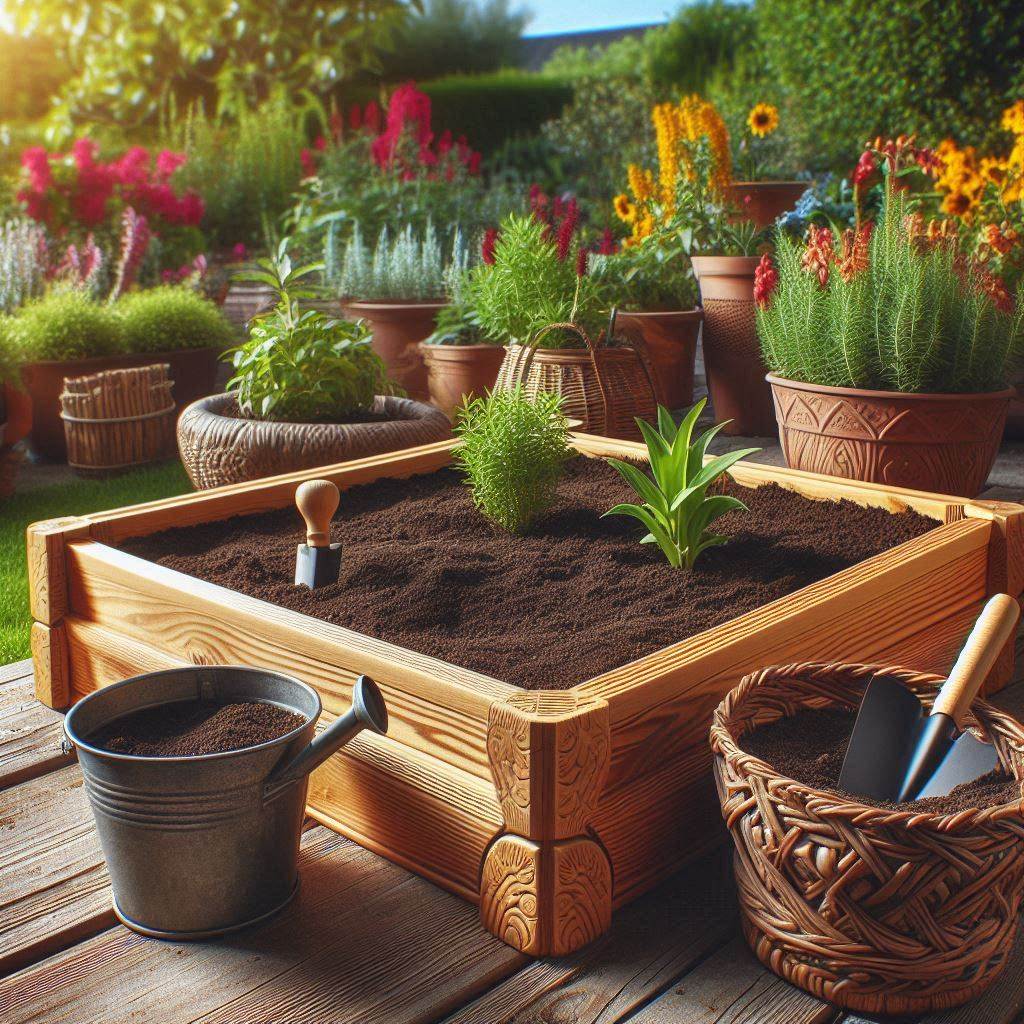
Step 3: Preparing Your Garden Bed
A. Clear the Canvas:
Before planting, prepare the bed for your floral masterpieces. This involves removing any existing vegetation, debris, and rocks.
- Clear Weeds: Existing weeds will compete with your flowers for water and nutrients. Pull them out by hand, ensuring you remove the entire root system to prevent regrowth.
- Remove Debris: Clear away any sticks, stones, or trash that might hinder planting or detract from the aesthetics of your garden.
B. Amend Your Soil:
Even the most beautiful flowers need a healthy foundation to thrive. Amending your soil improves drainage, fertility, and overall structure. Here’s how:
- Test Your Soil (Optional): For a more precise understanding of your soil’s needs, consider a soil test. Many local garden centers or extension offices offer testing services. A soil test will reveal your soil’s pH level (acidity or alkalinity) and nutrient content, allowing you to amend accordingly.
- Adding Organic Matter: Compost or aged manure are excellent amendments for most gardens. These organic materials improve drainage in clay soil and help retain moisture in sandy soil. They also add essential nutrients for your plants. Generally, a 2-3 inch layer of compost or manure tilled into the top 8-12 inches of soil is sufficient.
- Adjusting pH: If your soil test reveals a pH imbalance, you can adjust it using amendments like lime (raises pH) or sulfur (lowers pH). Always follow the specific instructions and recommended quantities for any amendments you use.
Step 4: Planting Your Flowers
A. Seeds or Seedlings?
There are two main ways to get your flowers growing: planting seeds directly in the garden bed or using seedlings.
- Seeds: Seeds are generally less expensive than seedlings and offer a wider variety of options. However, they require more patience and care as they take time to germinate and establish.
- Seedlings: Seedlings are young plants that have already been started indoors or in a greenhouse. They offer a quicker path to blooms and are a good option for impatient gardeners or those starting flowers with shorter growing seasons.
B. Planting Techniques:
Planting techniques will vary slightly depending on whether you’re using seeds or seedlings. Here’s a general guide:
- Planting Seeds:
- Carefully read the seed packet for specific planting depth and spacing requirements. Different flowers have different needs.
- Make shallow furrows in the prepared soil according to the packet instructions.
- Sow seeds thinly and cover them lightly with soil.
- Water gently with a fine spray to avoid disturbing the seeds.
- Planting Seedlings:
- Dig holes in the prepared soil slightly larger than the root ball of your seedlings.
- Gently remove the seedling from its container, taking care not to damage the roots.
- Place the seedling in the hole and fill the gap with soil, ensuring the base of the plant sits level with the surrounding soil.
- Water the seedlings thoroughly.
Step 5: Nurturing Your Blooms
Once your flowers are planted, the real joy of watching them flourish begins! Here’s how to care for your blossoming haven:
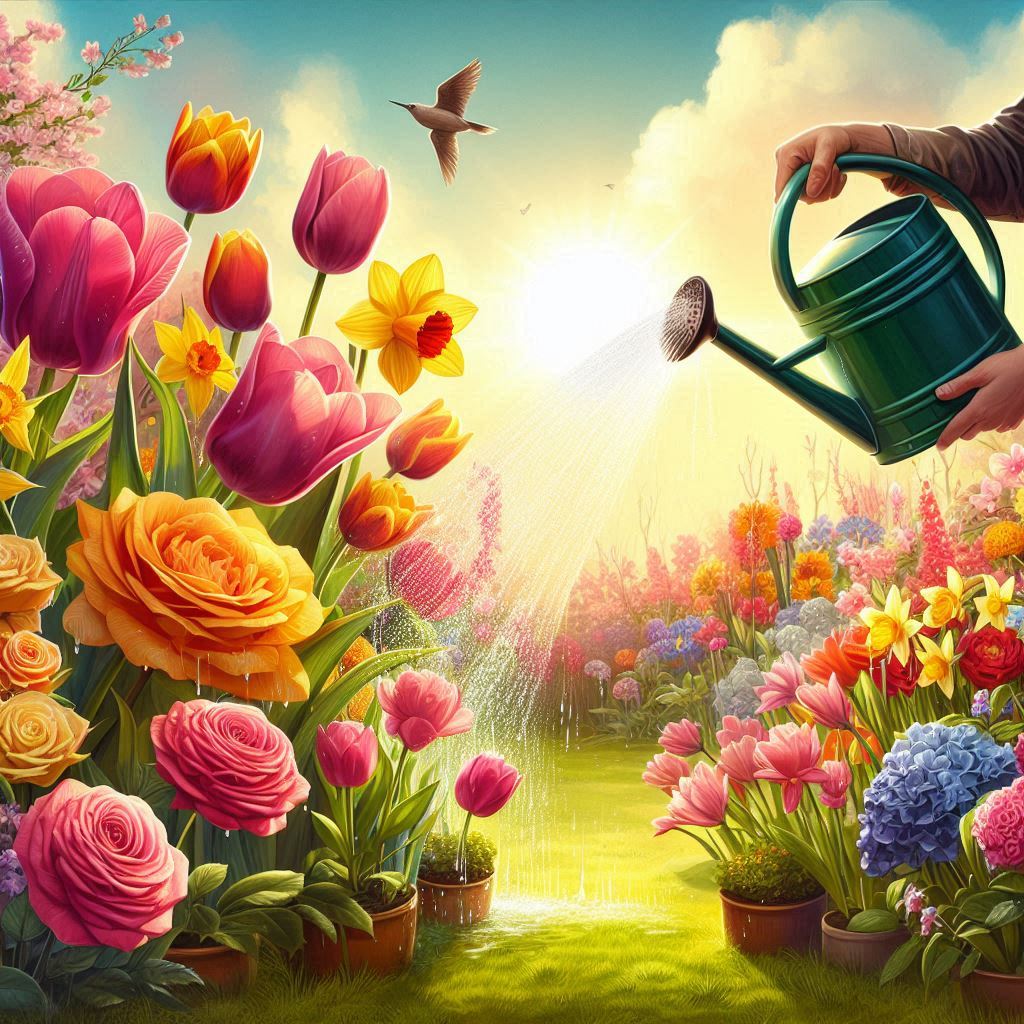
A. Watering:
- Watering needs vary depending on the plant variety, weather conditions, and soil type. As a general rule, water deeply and infrequently, allowing the soil to dry slightly between waterings.
- Avoid overwatering, which can lead to root rot.
- When watering, aim for the base of the plant rather than the foliage.
- Consider using a watering can with a rose attachment for gentle watering, especially for seedlings.
B. Weeding:
Weeds are persistent unwanted guests in any garden. Regular weeding is crucial to ensure your flowers receive the sunlight, water, and nutrients they need to thrive.
- Pull weeds by hand whenever you see them.
- The best time to weed is after a light rain or watering when the soil is soft, making it easier to remove the entire root system.
- Regularly weeding helps prevent weeds from establishing and spreading seeds.
- C. Additional Care:
Some flower varieties benefit from additional care throughout the growing season:
- Deadheading: This involves removing spent blooms from flowering plants. Deadheading encourages further flowering in many varieties. Simply pinch or snip off the wilted flower head just below the base of the bloom.
- Staking: Tall plants with large blooms may require staking for support, especially in windy locations. Use stakes and plant ties to gently secure the stems.
- Fertilizing: While high-quality compost or manure amendments often provide sufficient nutrients, some flowering plants may benefit from occasional fertilization during the growing season. Opt for a fertilizer specifically formulated for flowering plants and follow the application instructions carefully.
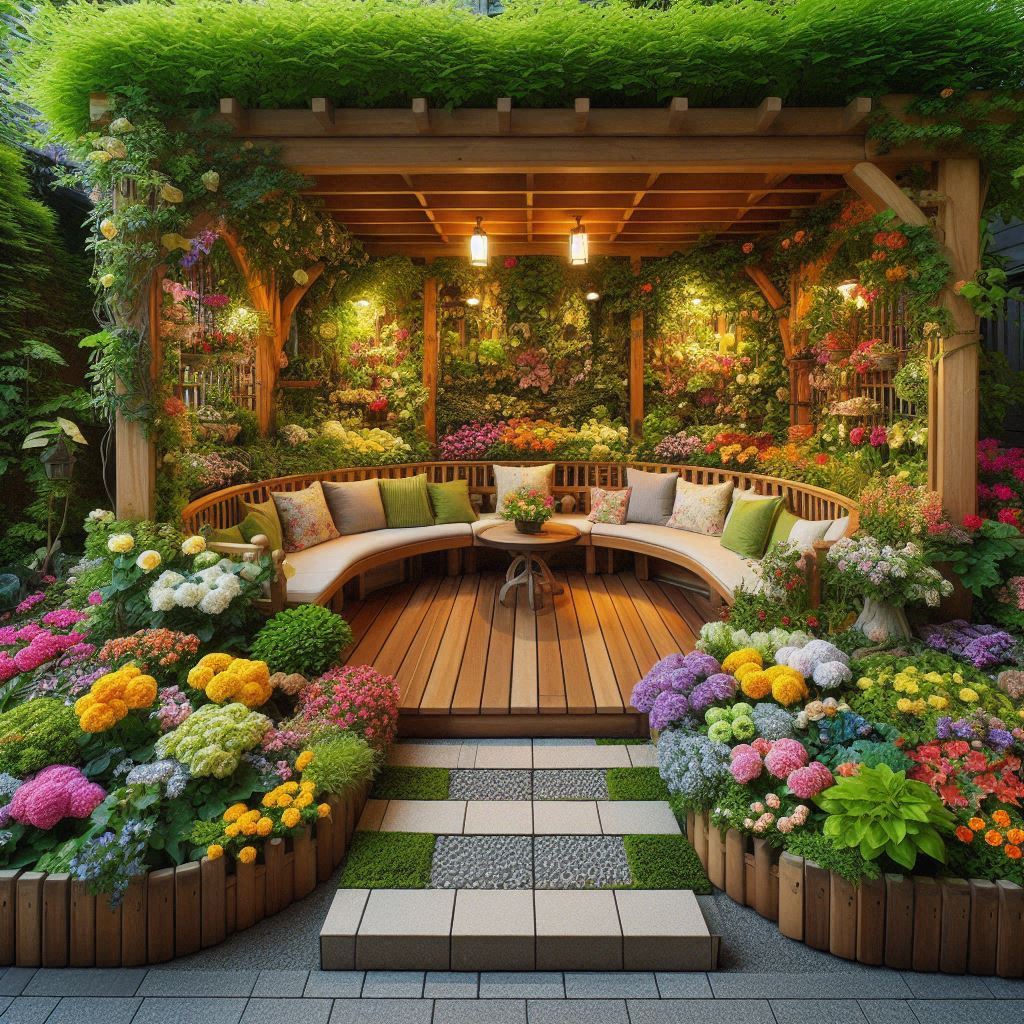
Step 6: Sit Back, Relax, and Enjoy!

The most rewarding part of creating a flower garden is witnessing your hard work come to life. Take time to relax and enjoy the beauty and serenity your floral haven offers.
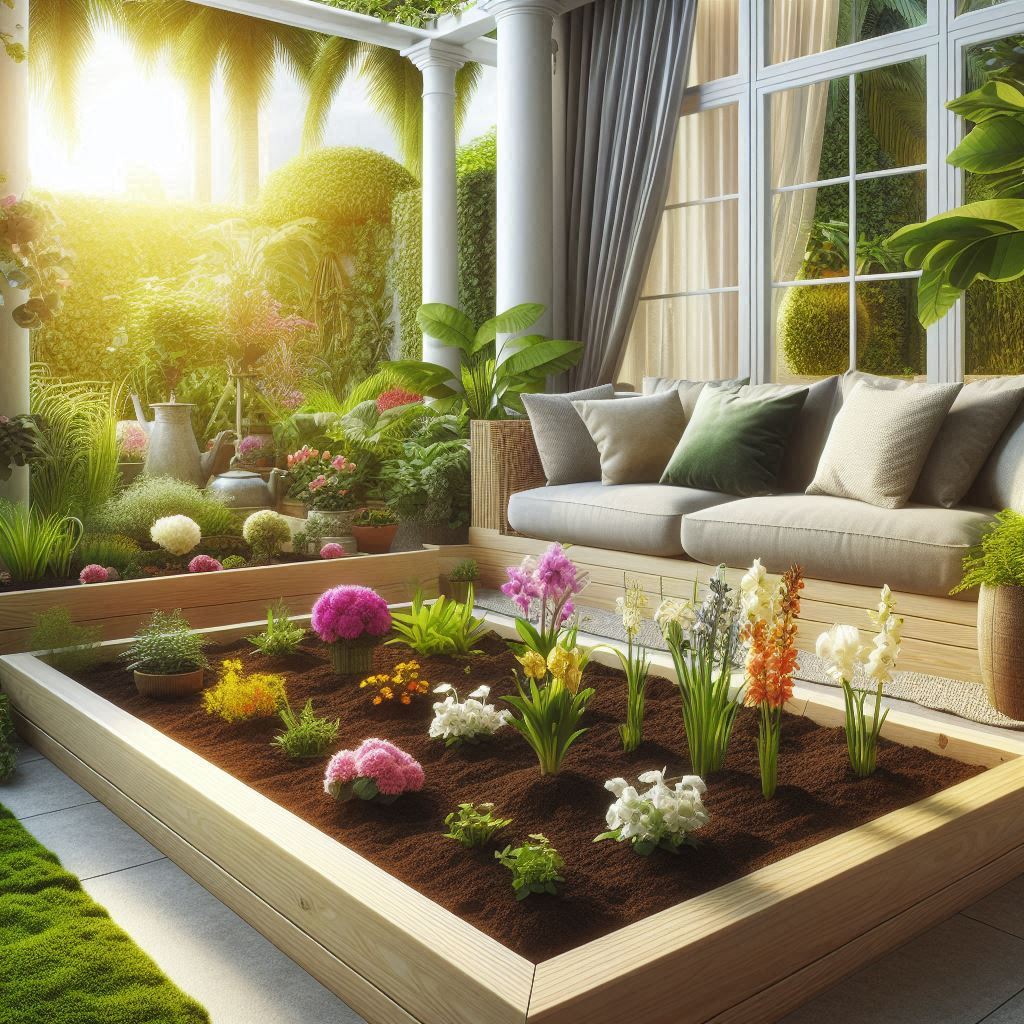
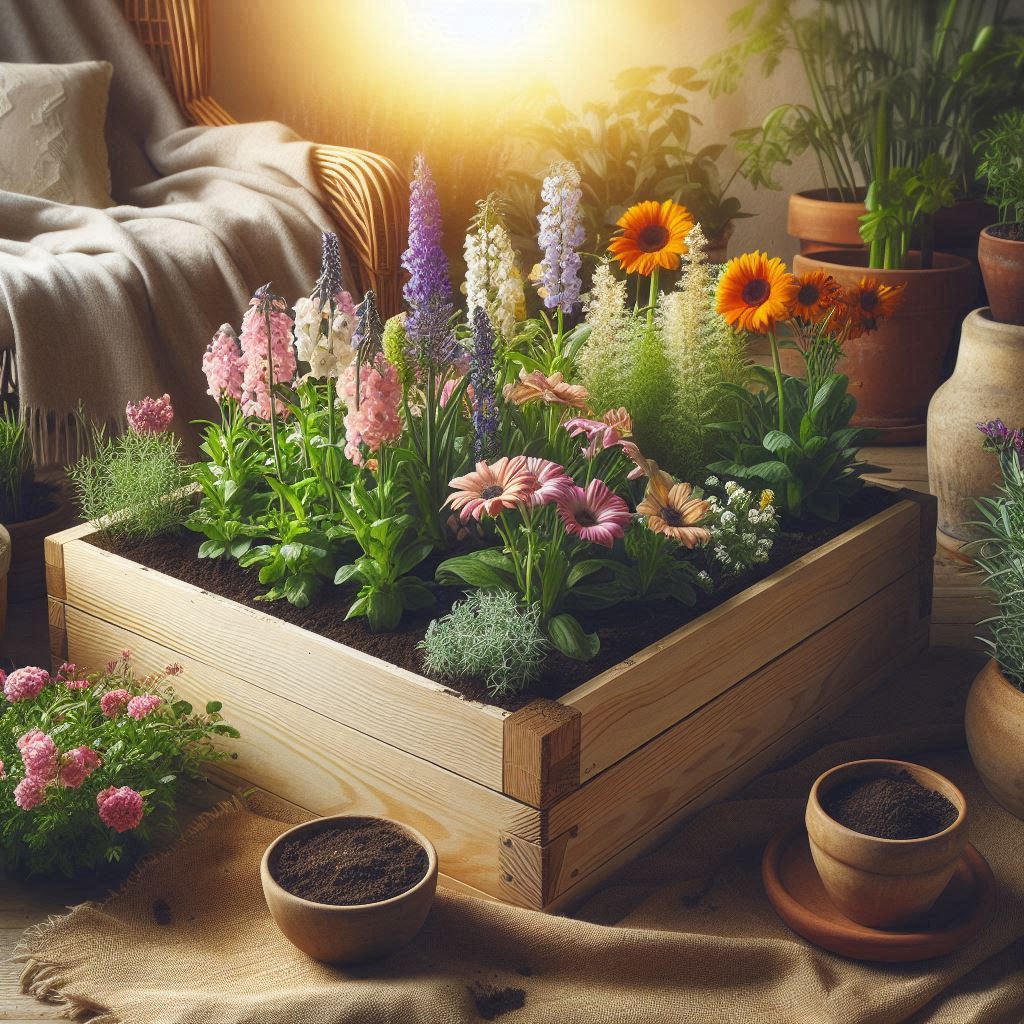
- Add Seating: Place a comfortable bench or chair in your garden to create a designated spot to unwind and admire your blooms. Surround yourself with the sweet fragrance and vibrant colors of your floral masterpiece.
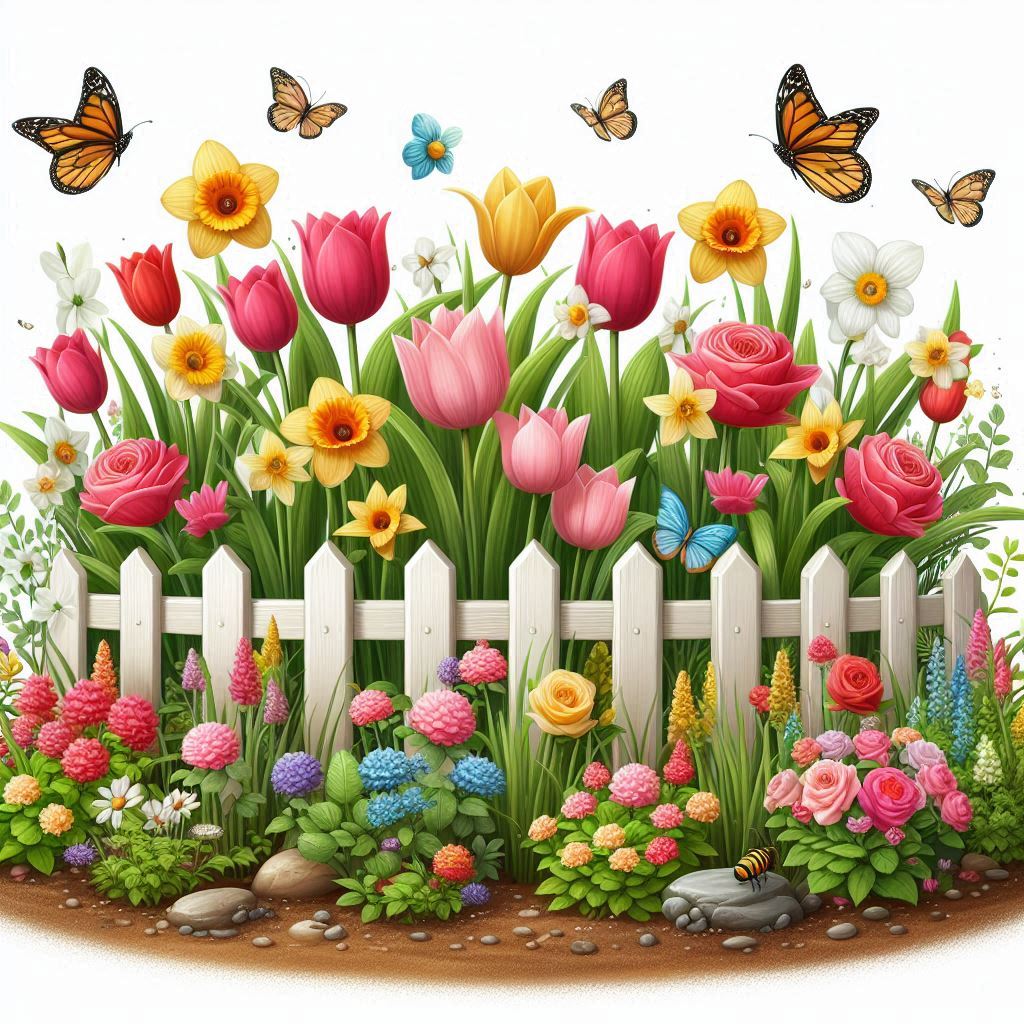
- Attract Pollinators: Consider planting flowers that attract butterflies, bees, and hummingbirds. These pollinators not only add beauty to your garden but also play a vital role in plant reproduction. Include flowers rich in nectar and pollen, such as lavender, sunflowers, and coneflowers.
- Embrace the Unexpected: Gardening is a journey of discovery. Even with careful planning, some plants may thrive beyond expectations, while others might surprise you. Embrace the unexpected and enjoy the unique personality your garden develops over time.
Step 7: Maintaining Your Garden Paradise
As the seasons change, so will the needs of your flower garden. Here are some tips for keeping your floral haven flourishing throughout the year:
- Fall Cleanup: Once the growing season winds down, remove dead plant material from your flower beds. This helps prevent the spread of diseases and allows air circulation around remaining plants. You can also add a fresh layer of compost or mulch around the base of plants for winter protection.
- Winter Protection: In colder climates, some tender flower varieties may need winter protection. Cover these plants with burlap, straw, or commercially available frost blankets to shield them from harsh winter elements.
- Spring Planning: As spring approaches, it’s time to start planning for the next season. Consider adding new flowers to your existing design or creating a separate cutting garden to enjoy fresh blooms indoors.
Step 8: Going Beyond the Basics
Now that you’ve mastered the fundamentals of creating a flower garden, here are some ideas to elevate your floral haven:
- Create a Container Garden: Limited space shouldn’t prevent you from enjoying the beauty of flowers. Plant vibrant blooms in containers like pots, window boxes, or hanging baskets to add a touch of color to patios, balconies, or decks.
- Embrace Vertical Gardening: Vertical gardening is a space-saving technique that utilizes walls, fences, or trellises. Climbing vines like clematis or morning glories can add a vertical dimension to your garden. Hanging baskets overflowing with cascading blooms are another way to maximize space.
- Incorporate Fragrance: Indulge your senses by planting fragrant flowers throughout your garden. Lavender, roses, lilies, and hyacinths not only add visual beauty but also fill the air with delightful aromas.
- Attract Beneficial Insects: While some insects can be garden pests, others are beneficial predators that help control harmful insects. Encourage these beneficial insects by planting flowers with small blooms rich in pollen, such as dill, fennel, and yarrow.
Conclusion
Creating a flower garden is a rewarding and enriching experience. Simply follow these steps and nurture your plants with care to cultivate a vibrant and flourishing haven that will bring you joy for years to come. Remember, gardening is a journey, not a destination. Embrace the learning process, enjoy the beauty of your blooms, and let your flower garden become a source of personal satisfaction and a testament to your connection with nature.