

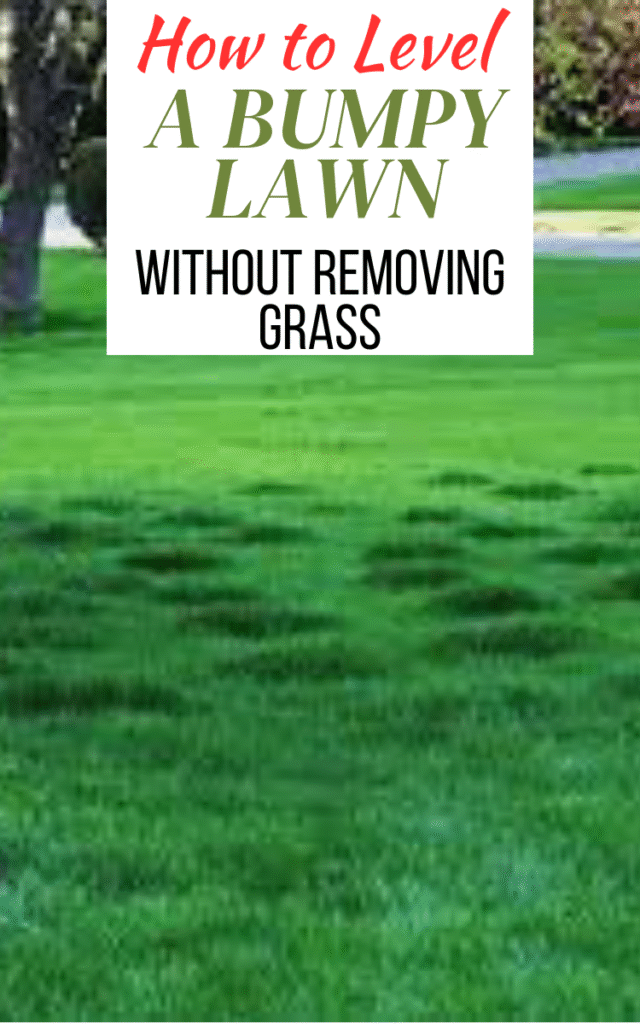
If you’ve ever tried pushing a mower across a lawn that feels more like a mini rollercoaster than a patch of green, you know how frustrating a bumpy yard can be. Uneven ground makes mowing a chore, trips and stumbles more likely, and watering less effective. I’ve dealt with this in my own yard, and while the idea of ripping everything up and starting over sounded exhausting (and expensive), I learned that you can smooth things out without removing the grass. It takes a bit of patience, the right mix of soil, and some simple steps, but the payoff is a lush, even lawn that looks and feels so much better.
Why Leveling a Lawn Matters
A level lawn isn’t just about looks—it’s about function. When the ground is smooth, mowing becomes easier and safer. Your mower won’t scalp the grass on high spots or miss patches in the dips. Walking barefoot feels more comfortable, and kids can play without stumbling over hidden lumps.
Grass health improves, too. On a flat lawn, water spreads evenly instead of pooling in low spots or running off the humps. That means fewer muddy patches and fewer dry, stressed areas. Over time, leveling can even save money since you won’t need to constantly repair thin patches of turf.
For me, the biggest benefit was peace of mind. Once I smoothed out the worst bumps, I didn’t dread mowing anymore, and my lawn looked more like a well-kept outdoor room than an afterthought.
Common Causes of a Bumpy Lawn
Before fixing a problem, it helps to know why it’s happening. Soil naturally shifts over time. Rain can wash it away, and in colder climates, freeze-thaw cycles cause the ground to heave and settle unevenly.
Animals are another culprit. Moles, voles, and even grubs tunneling below the surface disturb the soil, leaving behind soft, uneven areas. In my yard, grubs once thinned the grass so badly that raccoons started digging for a midnight snack, which only made things worse.
Sometimes the problem starts at the very beginning. If a yard wasn’t graded well when the sod was installed, bumps are almost inevitable. Add in heavy foot traffic, wheelbarrows, or garden equipment, and those little dips and ridges just keep multiplying.
Tools and Materials You’ll Need
Luckily, you don’t need fancy landscaping equipment to fix a bumpy lawn. A few basic tools will do the trick: a sturdy rake, a shovel, and a wheelbarrow. If you want to make things easier, a lawn leveling rake or a lightweight roller can help smooth things out.
The most important part is the material you’ll use to fill the dips. A topdressing mix works best: a combination of sand, topsoil, and compost. Sand keeps drainage healthy, soil provides stability, and compost feeds the grass.
I also like to keep a bit of seed and fertilizer handy. If you disturb the grass while leveling, overseeding and feeding can speed recovery and prevent bare patches from forming. Don’t forget gloves and sturdy shoes—you’ll be moving dirt, after all.
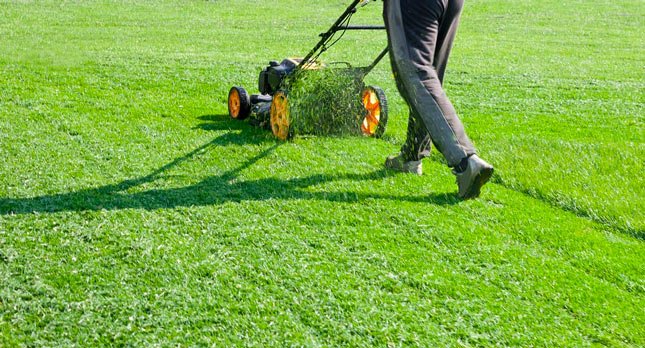
Step 1 – Mow and Dethatch the Lawn
Start by mowing your grass short, about two-thirds of its normal height. This makes it easier to see and work with the uneven areas. Don’t scalp it down to the soil, but do cut enough that the grass won’t get buried by new soil.
Next, dethatch if needed. Thatch is the layer of dead grass and roots that can build up just above the soil. Too much of it creates a barrier that stops new soil and nutrients from reaching the roots. A dethatching rake or machine will do the job.
If your lawn feels hard underfoot, consider aerating at this stage. Aeration pokes small holes into the ground, relieving compaction and making it easier for your topdressing mix to blend into the soil.
Step 2 – Identify and Mark Low & High Spots
Once the grass is short and clear, walk slowly across the yard and feel for bumps under your feet. A long straight board or a lawn rake can also help reveal where dips and humps are hiding.
Mark the spots as you go. I use small garden stakes or even upside-down spray paint to highlight problem areas. It might feel a little silly marking your lawn like a construction site, but it really helps keep track of where you need to add or remove soil.
Taking the time to identify both low and high spots is important. Low areas need filling, but high areas need a different approach—you’ll actually have to remove some soil rather than just covering it up.
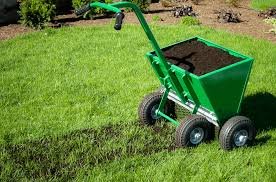
Step 3 – Prepare a Topdressing Mix
The mix you use is what makes leveling possible without killing the grass. I recommend blending two parts sand, two parts topsoil, and one part compost. This combination is light, drains well, and provides nutrients to keep the grass healthy while it grows through the new layer.
Avoid the temptation to use just sand or just soil. Sand alone can compact into a hard surface, while pure soil may create drainage issues. Compost adds a natural boost that helps your grass recover quickly.
You can mix it in a wheelbarrow with a shovel or use a tarp to fold the ingredients together until the blend is uniform. It’s a little work upfront, but it pays off when the grass thrives instead of struggling.
Step 4 – Apply Topdressing to Low Spots
Shovel small amounts of the mix into the dips you marked earlier. Spread it evenly using the back of a rake, making sure the soil doesn’t clump over the grass. Aim to cover no more than half an inch at a time—any deeper and the grass might suffocate.
After spreading, use the rake to work the soil into the grass, brushing it back and forth so the blades poke through the mix. This helps the grass stay alive while the soil fills the gap beneath.
Water lightly to help the soil settle in. You may notice that the dip isn’t completely filled after watering—that’s normal. You can repeat this process over several weeks until the lawn gradually evens out.
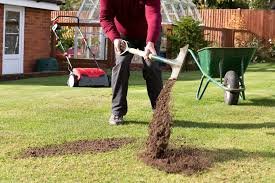
Step 5 – Correct High Spots
Not all bumps can be fixed with extra soil. If you’ve got raised humps, the best approach is to peel back the grass. Use a shovel to cut into the sod around the high spot, then gently lift and roll it back like a carpet.
Remove some of the excess soil underneath, spread it evenly, and then replace the grass. Press it down firmly with your foot or a roller so it reconnects with the soil below.
This method preserves the grass and avoids creating bare patches. With proper watering, the lifted turf will knit itself back into place within a couple of weeks.
Step 6 – Water and Monitor Growth
Once the leveling is done, give the lawn a good watering. The goal is to keep the soil moist so the grass roots can grow through the topdressing and reestablish themselves.
Check the lawn every few days. Some areas may settle more than others, especially if the soil was soft underneath. If you notice dips returning, simply repeat the topdressing process with a light layer.
A light application of fertilizer or overseeding can also help speed recovery. Within a few weeks, you’ll notice the lawn looking more even and much healthier overall.
Preventing Future Bumps
Leveling once is good, but preventing bumps from returning is even better. Regular aeration keeps the soil loose and prevents compaction. Adding organic matter during the year helps with drainage and soil structure.
Be mindful of foot traffic, especially when the ground is wet. Heavy loads like wheelbarrows or riding mowers can leave ruts that turn into bumps later on. If pests are a problem in your area, keep an eye out for grubs and deal with them before they attract digging animals.
Seasonal topdressing is a great habit, too. A thin layer of compost or soil once a year maintains a smooth surface and feeds your grass at the same time.
Final Thoughts
Leveling a bumpy lawn without removing grass isn’t a quick one-day fix, but it’s far from impossible. With a little patience, a good topdressing mix, and some consistent care, you can smooth out those annoying dips and humps while keeping your grass intact.
I’ve done this in my own yard, and while the first round of leveling didn’t make it perfect, each pass brought me closer to a smooth, healthy lawn. Over time, the difference was dramatic—not just in how it looked, but in how it felt underfoot. If your lawn has been testing your patience, grab a rake and a wheelbarrow. A level, beautiful yard is well within reach.