

Have you ever wished you could enjoy the taste and health benefits of fresh greens year-round, regardless of the season or weather conditions? Look no further than microgreens! These tiny nutritional powerhouses, harvested just after germination, are taking the culinary world by storm. Not only do they add a burst of flavor and vibrant color to your meals, but they’re also packed with concentrated vitamins, minerals, and antioxidants.
But what exactly are microgreens, and how can you cultivate them in the comfort of your own home? This comprehensive guide will walk you through everything you need to know about growing microgreens, from understanding their unique qualities to harvesting your first flavorful crop.
Why You Should Grow Microgreens: A Tiny Seed Packed with Potential
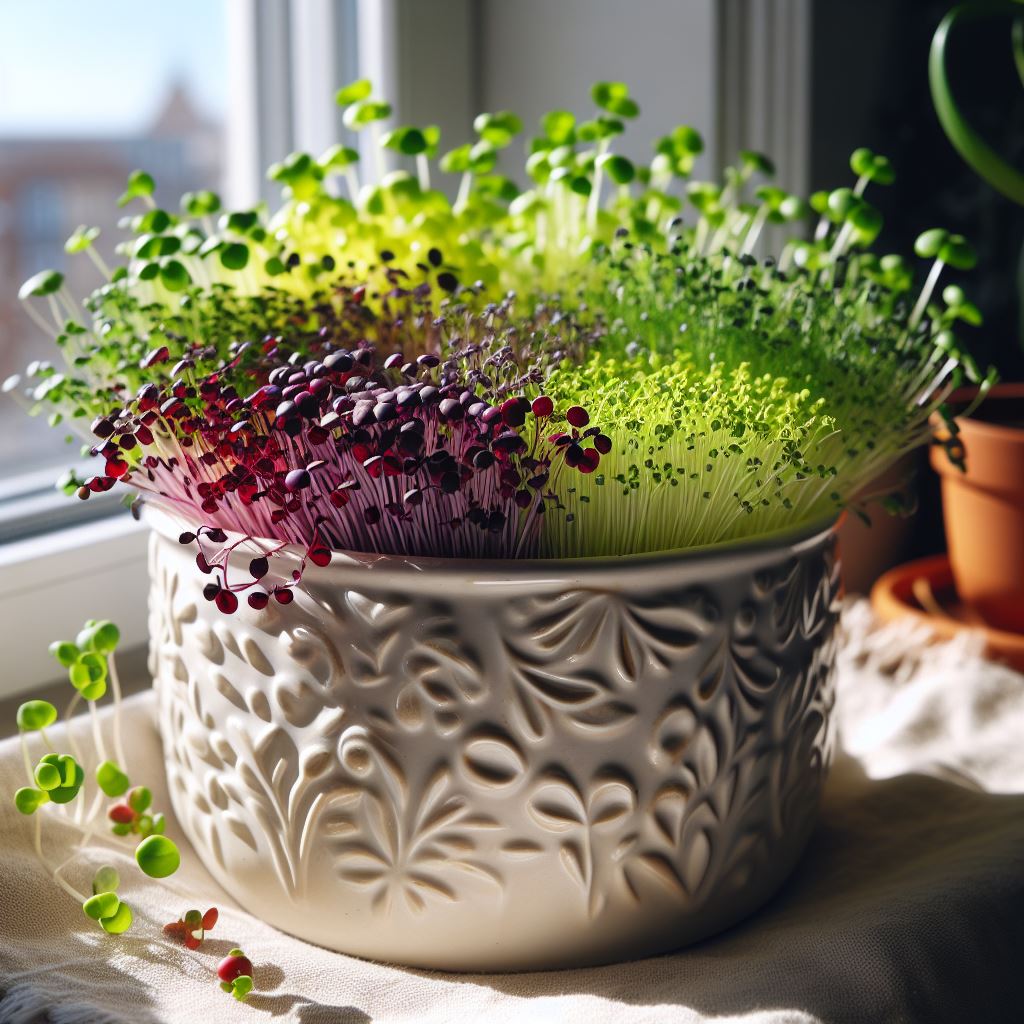
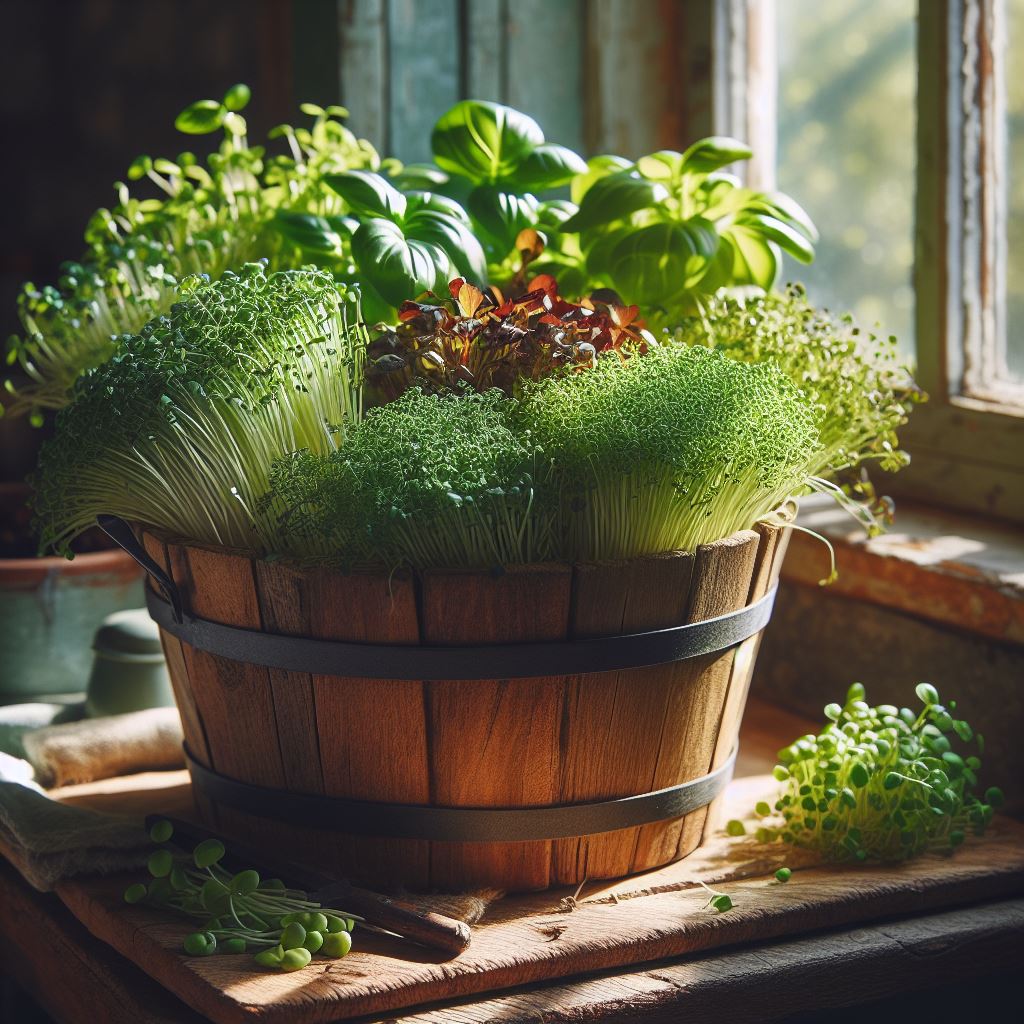
Microgreens are the young, edible shoots of various vegetables, herbs, and even grains. They are harvested at a very early stage, typically 7-14 days after seeding, when they’ve developed their first true leaves but haven’t yet formed their mature leaves. Unlike sprouts, which are consumed whole and typically grown in water, microgreens are harvested just above the soil line, offering a more complex flavor profile and a wider range of textures.
So, what makes these miniature marvels so popular? Here are just a few reasons to consider adding microgreens to your home gardening repertoire:
- Nutritional Powerhouses: Studies have shown that microgreens can contain significantly higher concentrations of vitamins, minerals, and antioxidants compared to their mature counterparts. A single serving of microgreens can provide a significant boost of essential nutrients like vitamins A, C, E, and K, as well as minerals like iron, magnesium, and zinc.
- Year-Round Availability: Unlike traditional gardening, which is often restricted by seasonal limitations, microgreens can be grown indoors all year long. This ensures a steady supply of fresh, flavorful greens even during the cold winter months.
- Convenience and Sustainability: Growing microgreens requires minimal space and resources, making it a perfect option for urban dwellers and those with limited gardening experience. The quick turnaround time from seed to harvest allows you to enjoy the fruits (or rather, greens) of your labor within a week or two.
- Flavor Explosion: Microgreens offer a more concentrated and often more intense flavor than their mature counterparts. A sprinkle of peppery arugula microgreens can add a delightful kick to your salad, while sunflower microgreens can add a nutty and slightly sweet dimension to sandwiches and wraps.
- Fun and Rewarding Experience: Growing microgreens is a fun and rewarding activity for people of all ages. Watching these tiny seedlings transform into flavorful greens in a matter of days provides a sense of accomplishment and a deeper connection to the food you consume.
Gathering the Essentials: Your Microgreen Growing Kit
Now that you’re excited about the prospect of cultivating your own microgreen haven, let’s explore the essential tools and materials you’ll need to get started:
- Seeds: The foundation of your microgreen adventure lies in choosing high-quality, organic seeds specifically labeled for microgreen production. Avoid using treated seeds, as these may not be safe for consumption.
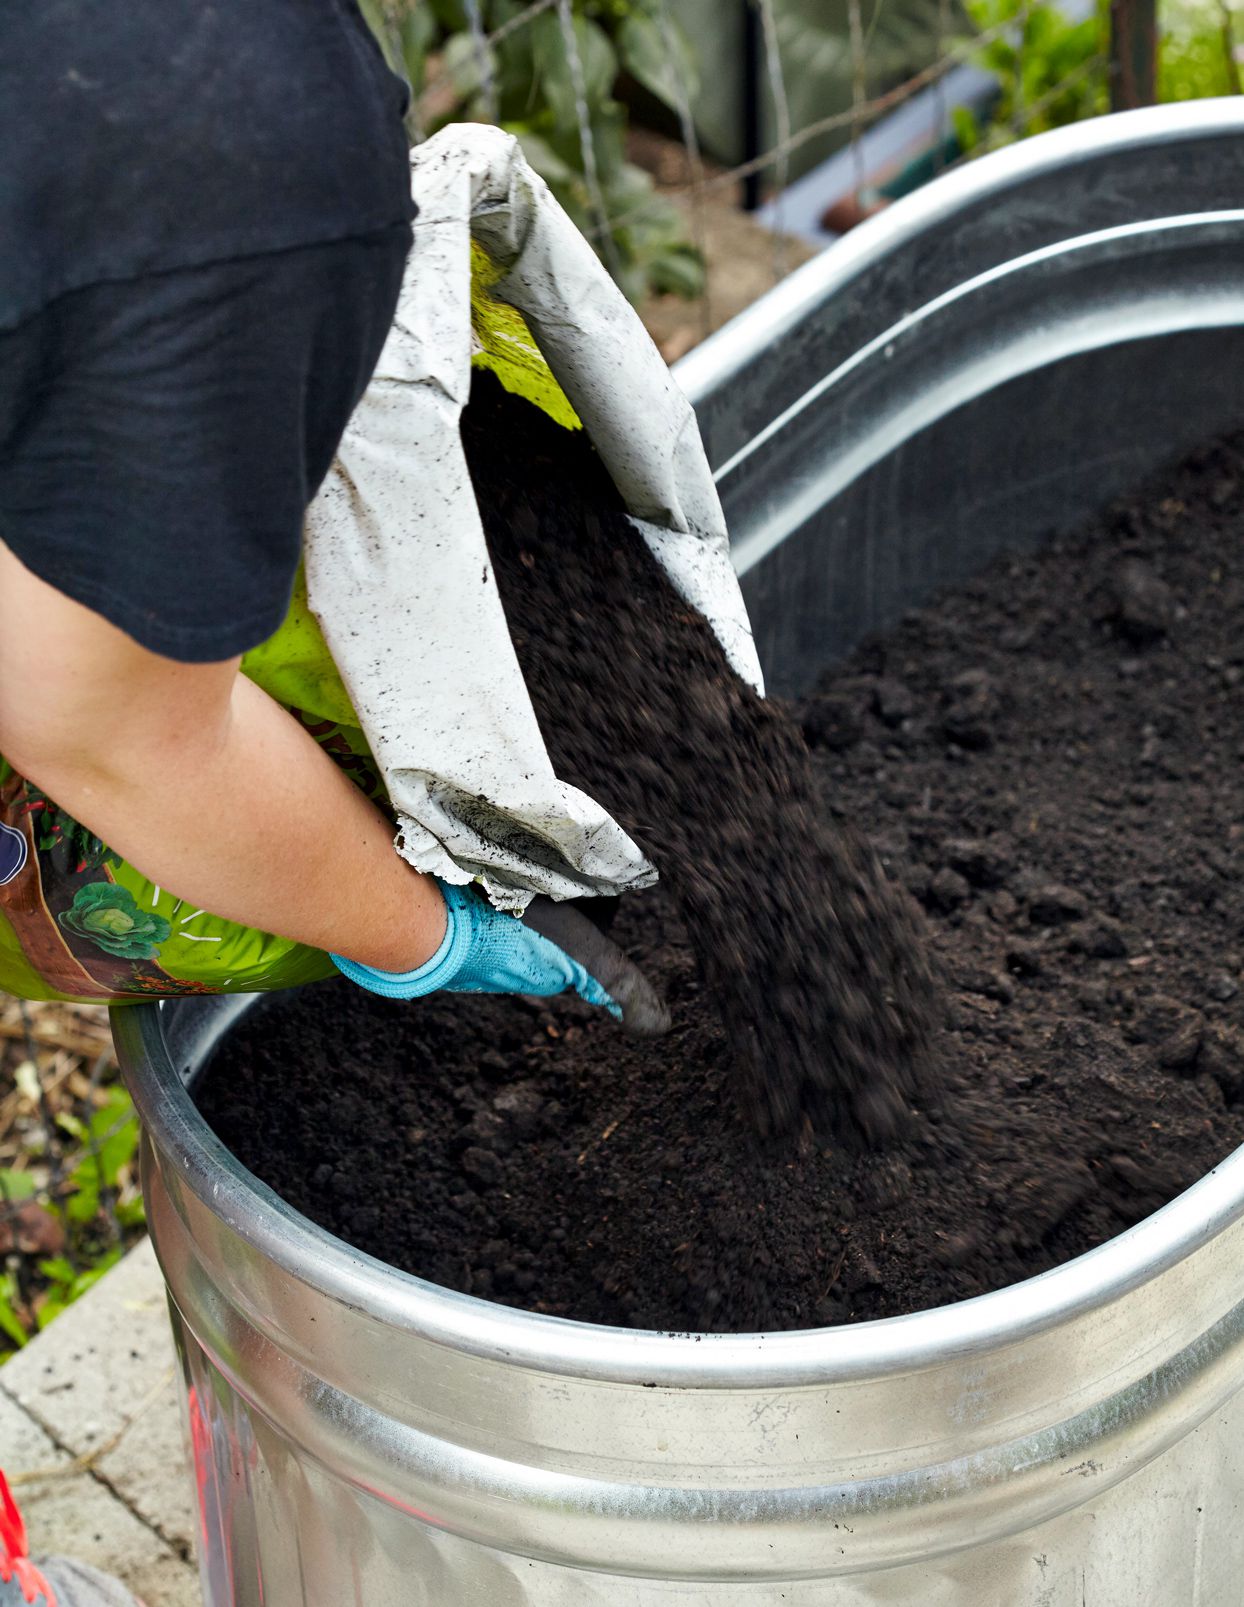
- Growing Medium: Several options exist for the growing medium in which your microgreens will thrive. Popular choices include:
- Seed Starting Mix: This soilless option is lightweight, sterile, and offers good drainage, making it ideal for beginners.
- Coconut Coir: This eco-friendly and sustainable option provides excellent drainage and aeration.
- Organic Potting Soil: Opt for a well-draining organic potting mix if you prefer a soil-based medium. Ensure the potting mix is free of pathogens and suitable for indoor use.
- Growing Containers: Shallow trays with good drainage holes are ideal for microgreen cultivation. Repurposed containers like food containers or even egg cartons (with drainage holes added) can also work well.
- Spray Bottle: A mister is essential for keeping the growing medium and seeds moist without overwatering.
- Light Source: Microgreens require adequate light for healthy growth, typically around 6-8 hours daily. A sunny windowsill can provide sufficient light during the day. However, if natural light is limited or during winter months, consider using grow lights to supplement the lighting needs of your microgreens.
- Scissors: Sharp scissors will be needed for harvesting your microgreens when they reach the desired stage.
Choosing the Right Seeds for Your Microgreen Journey
With a plethora of microgreen varieties available, selecting the right ones can be overwhelming. If you’re new to microgreen gardening, here are some popular and easy-to-grow options to get you started:
- Arugula: This peppery and slightly spicy microgreen adds a delightful kick to salads, sandwiches, and wraps.
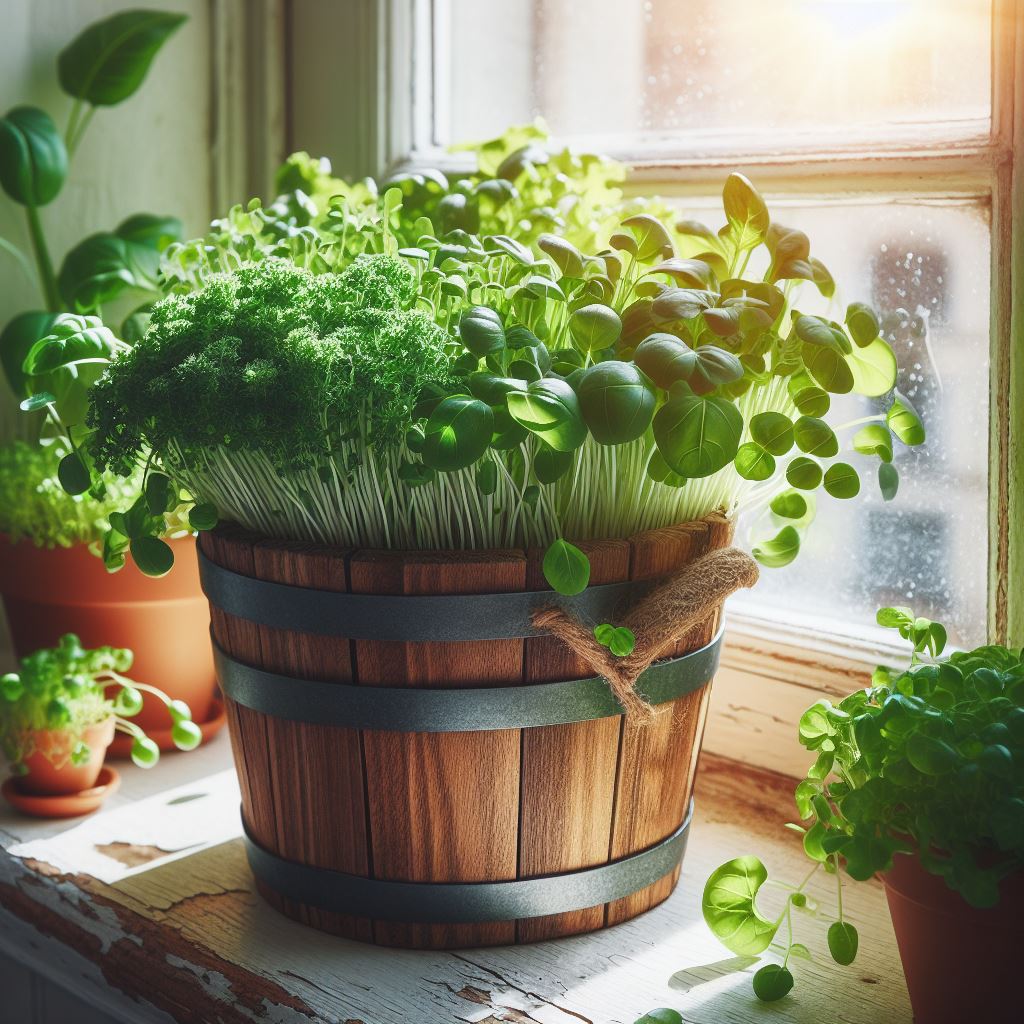
- Basil: Known for its sweet and fragrant flavor, basil microgreens are perfect for enhancing pizzas, pasta dishes, and caprese salads.
- Broccoli: These vibrant green microgreens offer a concentrated broccoli flavor perfect for adding a nutritional boost to stir-fries, omelets, or even smoothies.
- Kale: Packed with vitamins and antioxidants, kale microgreens boast a slightly nutty and earthy flavor that complements soups, stews, and roasted vegetables.
- Peas: Crunchy and slightly sweet, pea shoots add a delightful texture and vibrant green color to salads, sandwiches, and stir-fries.
- Radish: These peppery microgreens offer a zesty kick and a beautiful red hue, making them a perfect addition to salads, deviled eggs, and crudités platters.
Planting Your Microgreen Oasis: A Step-by-Step Guide
Now that you’ve gathered your essential tools and chosen your microgreen seeds, it’s time to embark on the exciting journey of planting your own microgreen haven! Here’s a step-by-step guide to ensure a successful and rewarding experience:
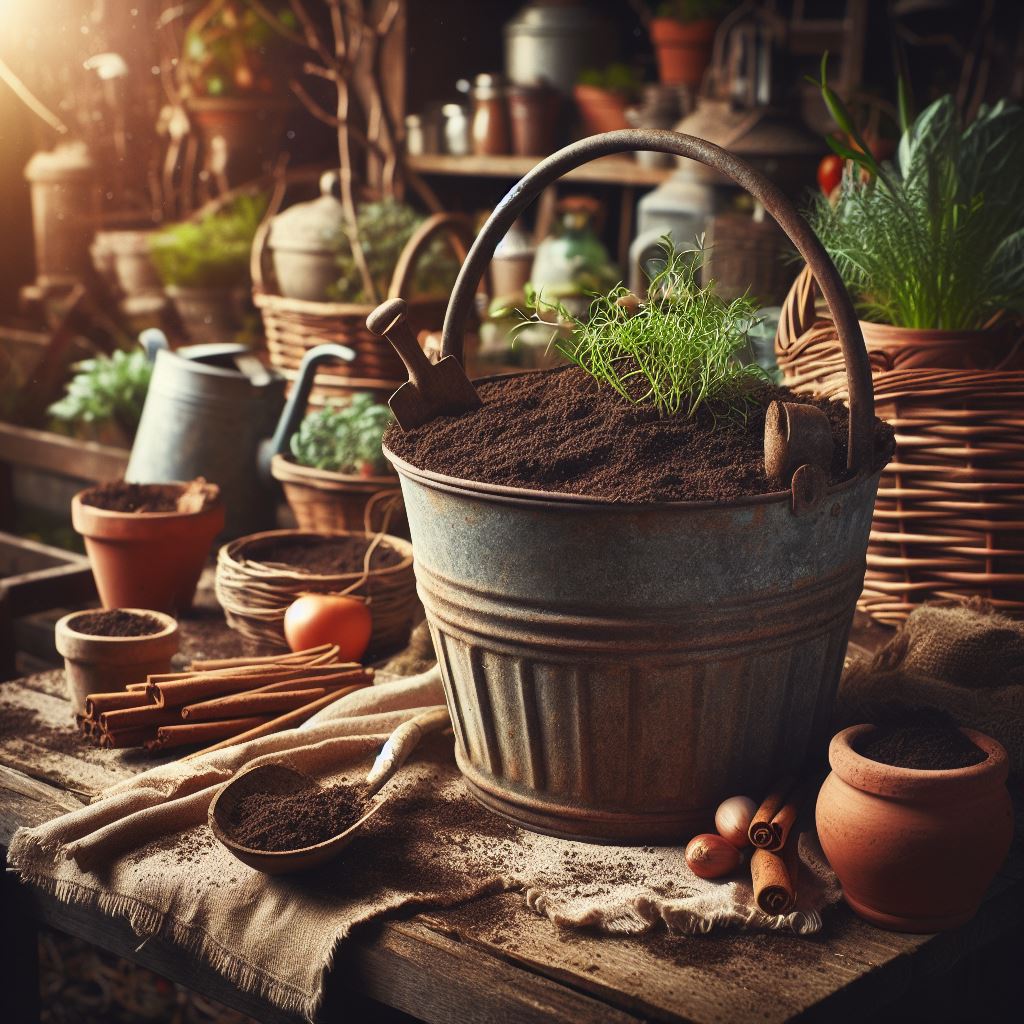
Step 1: Prepare the Growing Container:
If using recycled containers, ensure they are thoroughly cleaned and disinfected with a mild soap solution. Rinse them well and allow them to dry completely before use.
For soilless growing mediums like seed starting mix or coconut coir, follow the manufacturer’s instructions for pre-moistening. This typically involves adding water and allowing the medium to absorb it until it reaches a consistently moist but not soggy state.
Step 2: Fill the Container:
Fill your chosen container with the moistened growing medium, leaving about ½ inch of space at the top. Gently press down on the medium to create a level and smooth surface.
Step 3: Planting the Seeds:
Seeding density is crucial for successful microgreen growth. Avoid overcrowding the seeds, as this can lead to stunted growth and legginess (tall and weak plants). A general rule of thumb is to sprinkle the seeds evenly over the moistened surface of the growing medium, ensuring there’s enough space between each seed for healthy development.
The sowing method may vary slightly depending on the size of the seeds. For small seeds like arugula or basil, you can simply broadcast them over the surface. For larger seeds like peas or sunflower, you can press them gently into the growing medium, ensuring good contact.
Step 4: Watering:
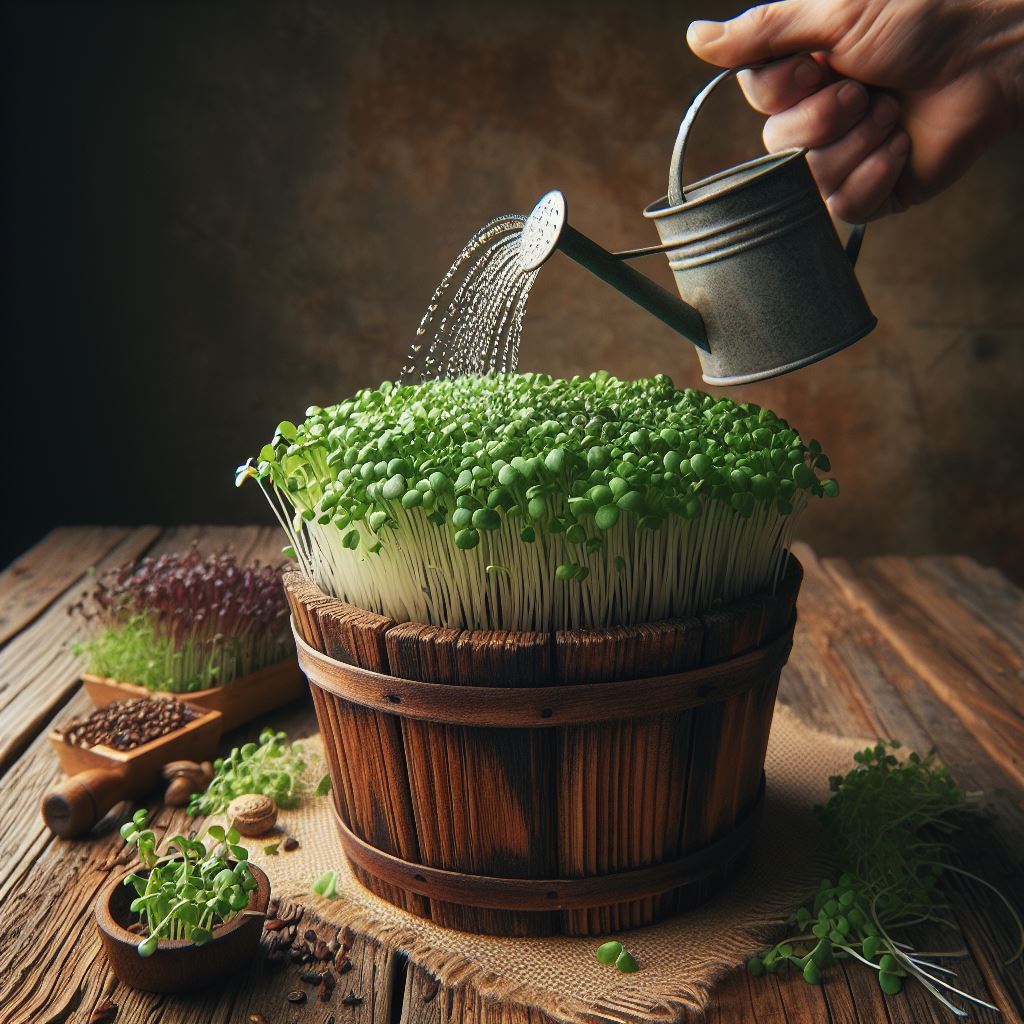
Maintaining consistent moisture is essential for successful microgreen germination and growth. However, overwatering is a common mistake that can lead to mold growth and seed rot.
Use your spray bottle to gently mist the surface of the growing medium and seeds until they are evenly moist but not dripping.
Step 5: Light and Temperature:
Microgreens require sufficient light for healthy growth. Ideally, aim for 6-8 hours of bright, indirect sunlight per day. A sunny windowsill is often a suitable location. However, if natural light is limited or during winter months, consider supplementing with grow lights.
Most microgreens prefer a moderate temperature range between 68-72°F (20-22°C). Monitor the temperature in your chosen location and adjust light source placement or use a fan for gentle air circulation if necessary.
Step 6: Maintaining Moisture:
Throughout the germination and growth stages, it’s essential to keep the growing medium consistently moist but not waterlogged. Check the moisture level daily and mist the surface as needed to maintain adequate humidity.
Step 7: Harvesting:
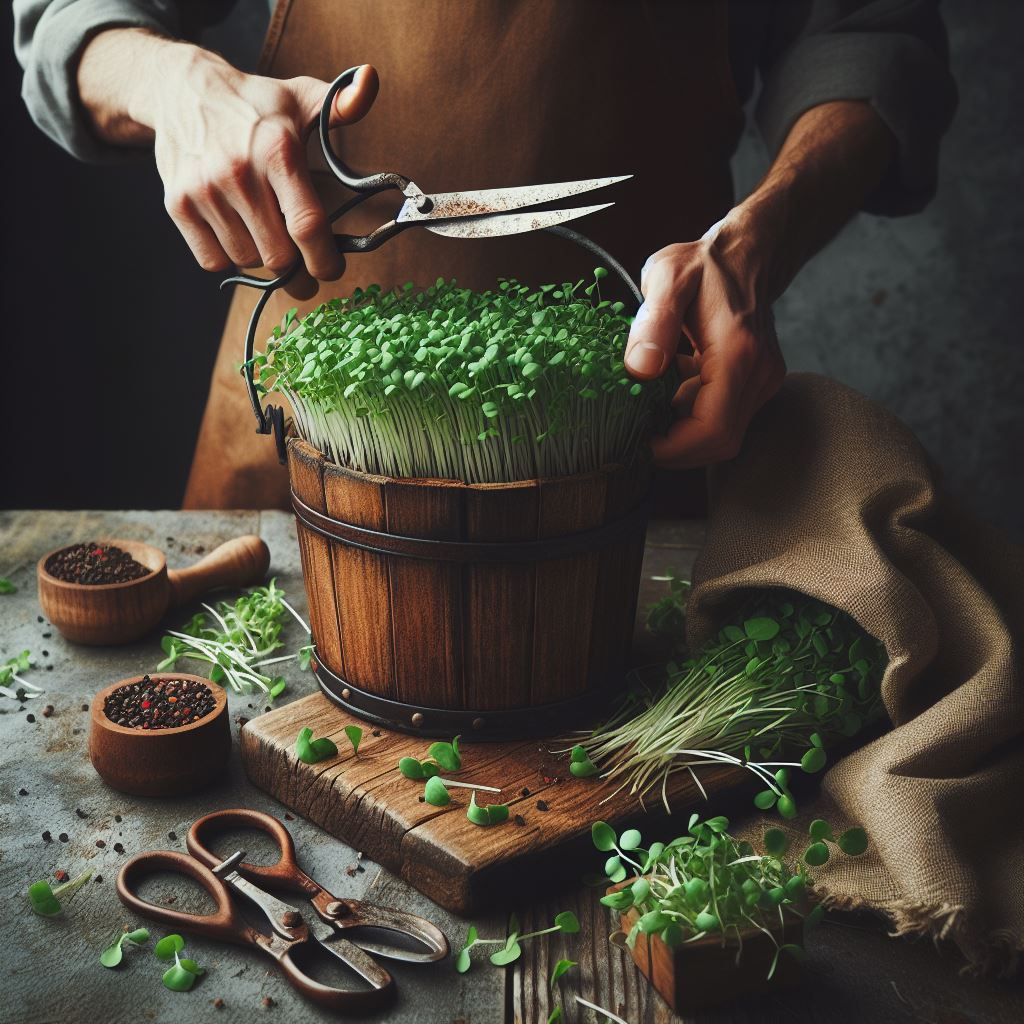
The magic of microgreens lies in their rapid growth! Depending on the chosen variety, your microgreens can be ready for harvest within 7-14 days of planting. The ideal harvesting stage varies slightly based on the specific microgreen type.
A general rule of thumb is to harvest when the first true leaves have developed and reached a height of about 1-2 inches. For leafy greens like arugula or basil, you can harvest them just above the soil line using sharp scissors. For some microgreens like peas, you can harvest the entire shoot just above the cotyledons (the first seed leaves).
Tips and Troubleshooting: Cultivating Success with Your Microgreens
As with any gardening endeavor, there are a few helpful tips and solutions to common problems that can ensure a successful microgreen harvest:
- Rotate the Containers Regularly: This ensures even growth and prevents your microgreens from leaning towards the light source. Simply turn the containers 180 degrees every day or two.
- Wash the Microgreens Thoroughly: Before consuming your homegrown microgreens, rinse them gently under cool running water to remove any dirt or debris. Pat them dry with a clean paper towel.
- Consider Using a Humidity Dome (Optional): A humidity dome can be helpful for retaining moisture, especially during the initial germination stage for delicate seedlings. You can create a DIY humidity dome by placing clear plastic wrap over the container with a few small holes poked for ventilation. Remove the dome once the seedlings have established and no longer require extra humidity.
Troubleshooting Common Microgreen Problems:
- Leggy Growth: This is characterized by tall, weak plants with pale leaves. It’s typically caused by insufficient light. Ensure your microgreens are receiving at least 6-8 hours of bright, indirect sunlight daily or supplement with grow lights.
- Mold Growth: Mold thrives in moist environments. Overwatering or poor drainage can lead to mold development. If you encounter mold, it’s best to discard the entire batch and start fresh. Ensure proper drainage in your containers and avoid overwatering.
- Slow Germination: Several factors can contribute to slow germination, such as improper temperature, low-quality seeds, or insufficient moisture. Ensure the temperature falls within the ideal range for your chosen microgreen variety (typically 68-72°F) and that the seeds are fresh and organic. Maintain consistent moisture but avoid overwatering.
- Fungus Gnats: These tiny flying insects can sometimes be a nuisance in indoor gardening. Keeping the growing medium moist but not soggy helps deter them. You can also try placing mosquito dunks (available at garden centers) in a small amount of water next to your microgreen containers.
Beyond the Basics: Experimentation and Exploration
Once you’ve mastered the fundamentals of growing microgreens, the possibilities are endless! Here are some ideas to elevate your microgreen experience:
- Experiment with Different Varieties: The world of microgreens offers a vast selection of flavors and textures. Try experimenting with different varieties like spicy radish microgreens, nutty sunflower microgreens, or even beetroot microgreens for a vibrant red color and earthy flavor.
- Create Flavorful Blends: Don’t limit yourself to a single variety! Experiment with creating custom microgreen blends to suit your taste preferences. For example, a blend of peppery arugula and sweet pea shoots can add a delightful complexity to salads.
- Microgreens as Culinary Garnish: Elevate your dishes to a whole new level by using microgreens as a finishing touch. Sprinkle them on top of soups, pizzas, pasta dishes, or even avocado toast for a burst of flavor and a vibrant pop of color.
- Microgreens Beyond Salads: The versatility of microgreens extends far beyond salads. Use them to add a nutritional boost to smoothies, stuff them into omelets, or even use them as a flavorful and decorative garnish for cocktails.
The Joy of Cultivating Flavor and Nutrition at Home
Growing microgreens at home is a rewarding and enriching experience. Not only does it provide you with a steady supply of fresh, flavorful greens year-round, but it also allows you to connect with the food you consume and appreciate the magic of nature’s growth cycle. It’s a fun and accessible activity for people of all ages and gardening skill levels. So, why not follow these simple steps and cultivate your own microgreen oasis today? With a little care and attention, you’ll be surprised at how quickly you can transform your windowsill into a haven of flavor and nutrition!