


I’ve always loved sitting outside and watching butterflies drift from flower to flower or bees buzz in perfect rhythm around blooming plants. It’s a simple reminder that nature has its own quiet order, and our role is to support it where we can. One of the best ways to do that is by creating a pollinator garden—a space designed to invite and sustain the creatures that keep our ecosystems thriving. The good news? You don’t need a degree in landscaping or biology to design one. With a little planning, you can create a pollinator-friendly layout that’s both functional and beautiful.
Step 1: Choose the Right Location
Sunlight is your biggest ally when it comes to designing a pollinator garden. Most nectar-rich plants thrive in at least six hours of direct sunlight each day. Walk around your yard and take note of the spots that catch the most sun, but also pay attention to natural windbreaks. Pollinators like to work in calm areas, so a hedge or fence nearby can help.
Accessibility is another factor I can’t recommend enough. Plant your garden somewhere you’ll enjoy watching it—near a patio, along a walkway, or even close to your vegetable patch, where the extra pollination will be a bonus.
Step 2: Plan the Layout & Garden Shape
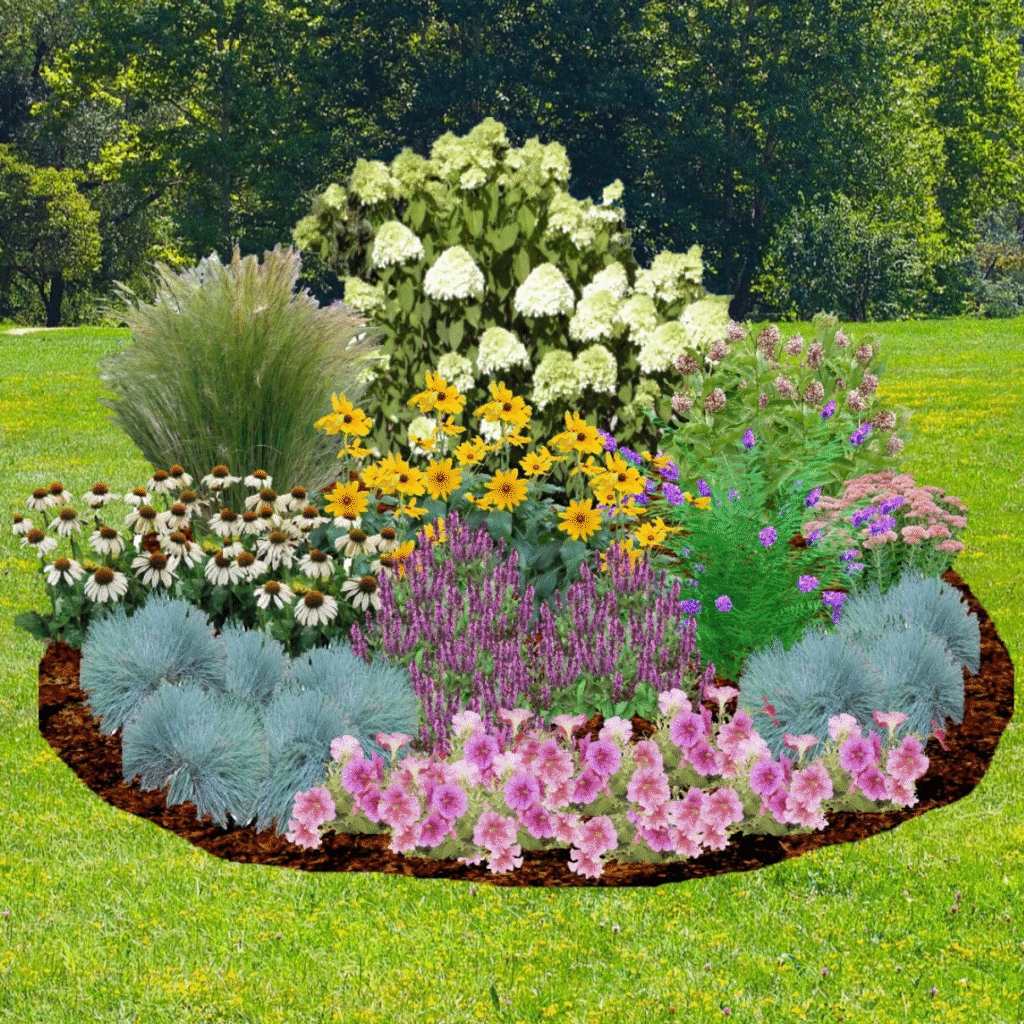
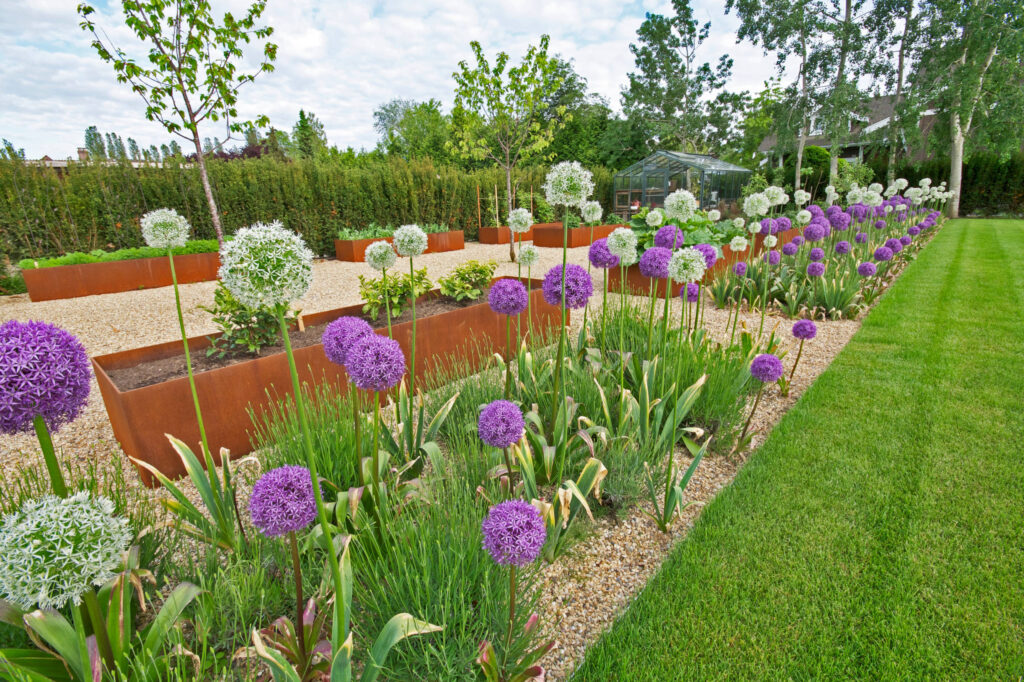
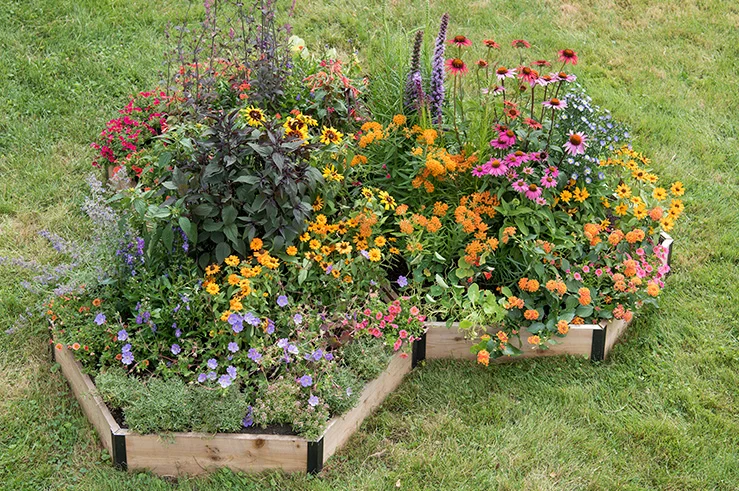
Pollinator gardens don’t have to be sprawling meadows. You can design one in whatever space you have available. An island-style bed works well in the middle of a lawn, while border gardens add charm along fences or walkways. Even container gardens can attract a surprising number of pollinators.
One trick I’ve learned is to plant in clusters rather than scattering individual flowers. A group of three to five of the same plant not only looks more intentional but also makes it easier for pollinators to find and feed. If you can, add simple pathways for access and to enjoy the space without stepping on your plants.
Step 3: Select Pollinator-Friendly Plants
Native plants are the heart of any pollinator garden. They’re adapted to your local soil and climate, and the pollinators in your area often depend on them. Beyond that, think about bloom times. You want your garden to provide food from early spring until late fall.
Here’s a seasonal mix to get you started:
- Spring: wild geranium, lavender, columbine
- Summer: bee balm, milkweed, coneflowers
- Fall: goldenrod, asters, sedum
Diversity is key. Different pollinators are drawn to different shapes and colors, so mixing daisy-like flowers, tubular blooms, and clusters creates a buffet for all.
Step 4: Provide Food & Habitat Diversity
Pollinators don’t live on nectar alone. Many need host plants for their young. For example, monarch butterflies will only lay eggs on milkweed. Adding shrubs and small trees can also provide safe resting and nesting spots.
Think of your garden as a layered habitat: tall plants and shrubs in the back, mid-sized perennials in the center, and ground covers at the front. This layered approach mimics nature and makes your garden more inviting.
Step 5: Add Water Sources
Pollinators need water, but not in the deep birdbath kind of way. They prefer shallow spots where they can land safely. A simple dish filled with pebbles and water works wonders, or you could create a tiny DIY puddling station with moist sand.
The key is to keep it clean and topped up. Stagnant water attracts mosquitoes, which nobody wants buzzing around their peaceful retreat.
Step 6: Create Shelter & Nesting Spaces
Shelter is just as important as food and water. Some bees, for instance, nest right in the ground, so leaving small patches of bare soil is a gift to them. Others prefer hollow stems, logs, or even bee hotels, which you can buy or make yourself.
Dense shrubs and grasses are excellent for giving pollinators protection from predators and the wind. By mixing natural and manmade shelters, you’ll provide safe havens for a wide range of species.
Step 7: Avoid Harmful Chemicals
This step is simple but often overlooked: skip the pesticides and herbicides. Even organic sprays can harm the very creatures you’re trying to attract. If pests become a problem, consider natural solutions like neem oil or encourage beneficial insects that do the work for you. Companion planting is another trick—certain plants naturally repel pests while drawing in pollinators.
Step 8: Maintain and Monitor Your Garden
A pollinator garden isn’t a one-and-done project. It’s a living system that needs a little attention. Deadhead flowers to encourage more blooms, mulch to conserve moisture, and divide perennials when they spread too much.
Keep an eye on invasive species—they can choke out the plants your pollinators depend on. I’ve found it helpful to keep a small notebook to track which plants thrive, when they bloom, and what pollinators visit. Over time, this helps you adjust your layout for even more activity.
Extra Tips for Designing a Beautiful Layout
A pollinator garden can be both functional and gorgeous. Try planting in color blocks for visual drama—bees especially love big sweeps of the same hue. Play with height: tall plants like sunflowers in the back, mid-level perennials in the middle, and low growers like creeping thyme in front.
You can also add features that make the space enjoyable for you. A trellis with climbing flowers, a rustic bench, or even decorative stepping stones make it a place you’ll want to spend time, not just a spot for insects.
Final Thoughts
Creating a pollinator garden isn’t about perfection—it’s about building a welcoming space that makes life easier for the small creatures we depend on. Each flower, water dish, and patch of shelter contributes to a cycle bigger than our own backyards. And while the bees and butterflies will thank you in their own quiet ways, you’ll also gain a garden that feels alive in every season. Start small, plant with intention, and watch as your yard transforms into a thriving haven.