

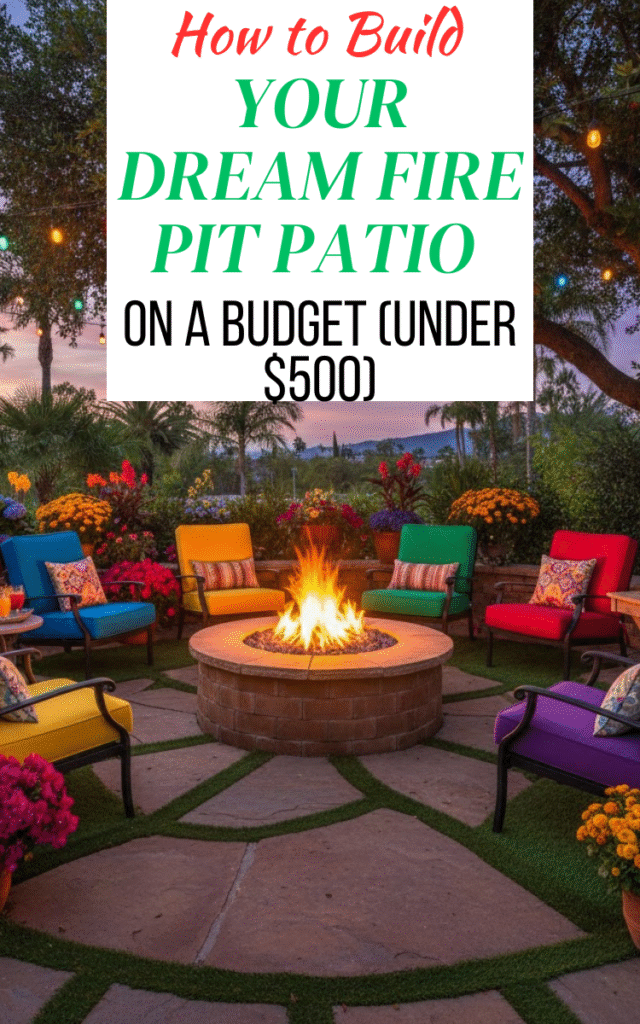
There are few things better in life than watching the sun set, hearing the gentle crackle of wood, and having a perfect s’more assembly line going with friends. That feeling of warmth and connection is exactly what I wanted for my own backyard.
But when I started looking at official hardscaping quotes, my cozy dream turned into a budget nightmare. A professional crew wanted thousands of dollars just to lay a few feet of stone and construct a simple fire pit. That sticker shock is what pushed me, and what’s likely pushing you, toward the DIY path.
This isn’t about cutting corners; it’s about making smart choices. I’m going to show you exactly how to bypass the “budget killer” costs associated with professional patios and high-end materials. We’re going to achieve a beautiful, safe, and functional fire pit area for a fraction of the cost, proving that your backyard oasis is well within reach—and definitely within your budget. Let’s get started on turning that patchy lawn into the best gathering spot on the block.
The Budget Reality Check and Material Hacks
If you’re building this patio on a budget, every dollar needs to work overtime. The key to staying under that aspirational $500 target (excluding seating) lies entirely in your material choices.
Setting a Realistic Budget
Hardscaping follows a simple cost rule: the prettier the material, the pricier the project. For our purposes, we’re aiming for:
- Materials (70%): This is the crushed stone, the base gravel, the blocks for the pit. This is where we save big.
- Base Prep (20%): Sand, water, and maybe a rental fee for the compactor.
- Tools (10%): The incidentals—levels, measuring tape, and safety gear.
The Budget Material Cheat Sheet
When you look at materials, focus on function, not fancy labels.
- Patio Surface Options (The Biggest Saver): This is the largest surface area, so savings here multiply fast.
- Tier 1 (The Cheapest): Crushed Gravel or Pea Stone. This is the ultimate budget hack. It drains perfectly, looks great, and is often the cheapest bulk landscaping material available. The catch? You must install a sturdy border (plastic landscape edging or cheap retaining bricks) to keep the stones contained.
- Tier 2 (Mid-Range Look): Standard Concrete Pavers. Skip the expensive interlocking or stamped styles. Look for standard square or rectangular concrete pavers. These often go on clearance or sale at the end of the season. A slightly imperfect paver covered in dirt looks exactly the same as an expensive one once you’ve tamped it down and added sand.
- What to Avoid: Skip natural flagstone, brick, or fancy segmented pavers.
- Fire Pit Structure Options: This is about heat resistance and safety.
- Tier 1 (The Cheapest): Concrete Landscaping Blocks (Dry-Stacked). The standard, curved retaining wall blocks are perfect. They are designed to withstand the elements and, when dry-stacked, look like expensive stone.
- Crucial Safety Note: Never use Cinder Blocks for the inner ring! Cinder blocks contain high moisture levels, and when exposed to the direct, intense heat of a fire, they can explode. Always use concrete landscaping blocks, dense retaining wall blocks, or fire-rated brick for the pit structure itself. Using a steel fire ring insert inside the blocks adds another layer of protection.
- Base Materials: Head to your local quarry or aggregate supplier instead of the big-box store. Using locally sourced crushed stone, often called scree or crusher dust, for your base layer can cut your base material cost in half compared to pre-bagged paver base mix.
Tool-Saving Tips
Don’t buy a tool you’ll use for 15 minutes. Rent or borrow the big stuff: a plate compactor and a heavy-duty wheelbarrow are easily rented for a day. The tools you might need to buy are basic: a torpedo level, safety glasses, a trowel, and a tape measure.

Safety and Site Preparation
Before you even think about swinging a shovel, you have to think about fire safety. This step is non-negotiable.
A. Safety First: Location, Location, Location
- Distance Requirements: Your fire pit patio needs space to breathe. The general rule is a minimum distance of 10 to 25 feet from any structure—that means your house, garage, fence, and any overhanging trees or low-lying shrubs. Check with your local municipality for any specific fire codes or setback rules; a quick phone call can save you a huge headache later.
- Overhead Check: Ensure you have clear sky above. No deck, roof structures, or tree limbs should be directly over the fire pit area.
B. Defining the Space
A comfortable fire pit patio needs to accommodate the pit, chairs, and walking space—without anyone feeling like they’re tipping into the fire. I recommend a minimum 10-foot diameter circle (or square) for four chairs and the pit.
Use stakes and string or even a long piece of lumber tethered to a central stake to define your perfect circular or square shape. Mark the perimeter with spray paint.
C. Excavation and Drainage
- Digging: You need to excavate the entire marked area to a depth of 6 to 8 inches to accommodate the base layers. This is the hardest part of the job, but absolutely critical. Remove all sod, rocks, and roots.
- Leveling and Slope: Use your level to ensure the excavated pit is relatively flat, but include a slight slope (about 1/4 inch per foot) away from any major structures to ensure rain water drains correctly.
The Build: Step-by-Step Construction
With the hard work of digging done, we move to the fun part: turning that muddy hole into a solid patio.
A. Laying the Foundation (The Secret to Longevity)
The base is the structure’s foundation—if it sinks or shifts, your beautiful patio will crack and become uneven.
- Base Layer: Fill the excavated area with 4 to 6 inches of your cheap, crushed stone or gravel.
- Compaction: This is the most crucial step. Do not skip it. Rent that plate compactor! Spray the gravel with water (to lubricate the stones) and run the compactor over the area repeatedly until the stone is rock-hard and no longer visibly shifting under the machine. If you skip this, your patio will settle unevenly.
- Leveling Layer: Spread 1 to 2 inches of paver sand or fine, crushed stone (the scree/crusher dust works well here too) over the compacted base. Use a straight 2×4 (a screed) to drag across the surface, leveling the sand perfectly flat. Do this carefully—this layer dictates how flat your finished patio will be.
B. Installing the Patio Surface
- Gravel Installation (The Easiest Option): If you went with gravel, install your retaining border (plastic edging or bricks) first, securing it with landscape spikes. Then, simply pour your decorative gravel (pea stone, etc.) inside the border and rake it smooth to a depth of 2-3 inches. Done!
- Paver Installation (If applicable): Start laying your pavers from the center of the patio and work your way outwards.
- Place them tightly against one another.
- Use a rubber mallet to lightly tap each paver down, ensuring it sits firmly in the sand. Check frequently with your level.
- If you need to make cuts for the edge, rent a wet saw. It sounds intimidating, but they are easy to operate, and you only need it for a few hours.
C. Constructing the Fire Pit Itself
- Inner Ring Placement: Place your steel fire ring insert (if using one) or mark the interior diameter of your pit in the exact center of the patio area.
- Dry-Stacking Blocks: Lay the first course of landscaping blocks around your inner ring. Use your level to make sure this first layer is perfectly flat and level, as it dictates the stability of the entire pit.
- Staggering: Lay subsequent courses, making sure to stagger the seams (like bricklaying) for maximum structural integrity. You typically need 3 or 4 courses high.
- Adhesive (Optional but Recommended): For long-term permanence and safety, apply a small bead of concrete adhesive (found in a caulk tube) between each layer. This locks the blocks together, making the pit rock solid. If your setup is temporary (e.g., if you rent), you can skip the adhesive for a simple dry-stack, but be aware it may shift over time.
Budget-Friendly Seating and Final Touches
The patio is built, but you can’t enjoy it without a place to sit! Don’t blow your savings on expensive outdoor furniture.
A. DIY Seating Solutions
- Log Rounds: If you or a neighbor recently trimmed a tree, large log rounds (2-3 feet in diameter, 18 inches high) make perfect, natural, and often free seating. They add a rustic charm that works perfectly with a DIY aesthetic.
- Cinder Block Benches: Stack two courses of cheap, decorative cinder blocks, then slide two 4×4 posts across the top openings. Add comfortable outdoor cushions, and you have a stylish, durable bench for next to nothing.
- Salvage: Constantly check local marketplace sites (Facebook, Craigslist, etc.) for “free” or “cheap” Adirondack chairs, especially in the off-season. A little sanding and a can of exterior paint can completely transform them.
B. Final Safety Checks
You’re almost ready for the first fire, but make these final checks:
- Immediate Access: Keep a fire extinguisher, a bucket of sand, or a garden hose charged and ready nearby.
- Containment: Always use a mesh screen or spark grate over the fire pit opening, especially on windy days.
- Curing Time: If you used any adhesive, allow the recommended curing time (usually 24-72 hours) before lighting your first fire.
Wrap Up
I remember the profound sense of satisfaction when I finally lit the first fire in my DIY pit. It wasn’t the thousands of dollars I saved that mattered most (though that was nice); it was the pride that came from building something beautiful with my own two hands. We moved from dreaming about cozy nights to having them, all thanks to a little bit of sweat and a lot of smart budgeting.
You’ve successfully navigated the planning, excavation, base laying, and final construction. You are no longer just a homeowner; you’re a hardscaper! Now, all that’s left is to kick back, enjoy the warmth, and celebrate your incredible accomplishment.
What did you decide to use for your patio surface—gravel or pavers? Let me know in the comments!