

If your backyard feels more like a sterile outdoor hallway than a living, breathing space, you’re probably missing the one thing that turns a patch of grass into a sanctuary: a “living” hedge. Most people run to the big-box store, grab twenty identical emerald cedars, and call it a day. Then they wonder why their yard is silent and their roses are covered in aphids because there are no birds or ladybugs around to do the dirty work.
I’ve planted my fair share of “green walls” that ended up being nothing more than expensive sticks in the mud. I once spent an entire weekend meticulously spacing out some trendy imported shrubs I saw in a magazine, only to have a single week of local frost turn them into brown skeletons. It was a total waste of a paycheck and my lower back. Since then, I’ve learned that if you want a hedge that actually works—meaning it stays green, feeds the bees, and hides you from the neighbors—you have to stop thinking like a landscaper and start thinking like a bird.
Best Native Shrubs for Bird Nesting and Privacy
When you’re looking for the best native shrubs for birds, stop looking for “perfect.” Nature loves a bit of a mess. I’ve found that the more “manicured” a hedge looks, the less useful it is to anything with wings. You want plants that offer what I call the “Triple Threat”: thick cover for nesting, flowers for the pollinators, and berries for the winter months when the ground is frozen solid.
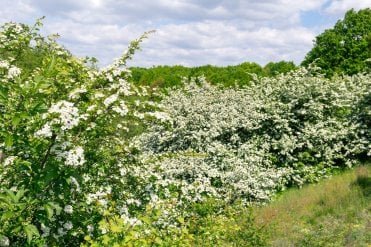
My absolute favorite for this is the Hawthorn. It’s got these wicked thorns that make it a nightmare to prune without thick leather gloves, but those same thorns are exactly why birds love it. It’s like a gated community for robins; no neighborhood cat is going to try and climb through that prickly mess to get to a nest. Plus, the white blossoms in the spring smell incredible, and the “haws” (the red berries) stay on the branch long after everything else has died back.
Another heavy hitter is the Serviceberry (or Juneberry). If you haven’t planted one of these yet, you’re missing out on the easiest win in gardening. It’s a North American native that handles almost any soil type I’ve thrown at it. The berries taste like a mix of blueberry and almond, and while I try to save some for my morning yogurt, the cedar waxwings usually beat me to it. I once tried to net my Serviceberry hedge to save the fruit, but I ended up untangling a very grumpy bird and decided then and there that the crop belongs to them.
Don’t overlook the Viburnum family either. Specifically, the Arrowwood Viburnum. It grows fast—and I mean “don’t-blink-or-you’ll-miss-it” fast. It creates a dense, multi-stemmed screen that blocks out the sound of your neighbor’s lawnmower while providing high-fat berries that birds need for migration. I’ve seen people spend thousands on fancy privacy fences that rot in ten years, whereas a good Viburnum hedge just gets stronger and more beautiful with age.
Flowering Hedge Plants for Bees and Pollinators
If your goal is to help the bees, you need to think about the “bloom gap.” Most yards have plenty of flowers in May and June, but by August, the place is a food desert. I’ve made the mistake of planting a hedge that bloomed all at once; it looked great for two weeks, and then it was just a wall of boring green for the rest of the year. Now, I mix my species so there’s always a “snack bar” open for the local bumblebees.
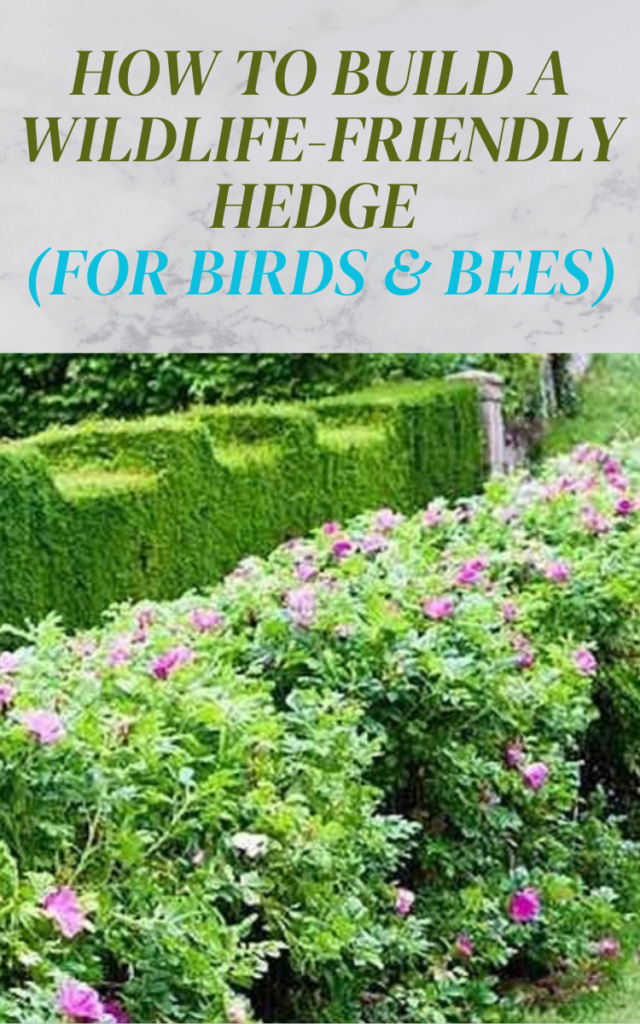
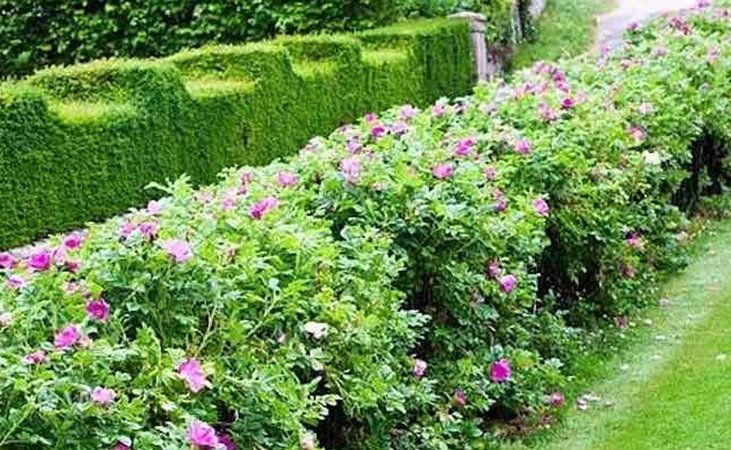
Wild Roses (like Rosa rugosa or Rosa virginiana) are a total powerhouse for a wildlife hedge. Forget those high-maintenance tea roses that need a chemistry degree to keep alive. Native wild roses are tough as nails. They offer wide-open flowers where bees can easily land and roll around in the pollen. By autumn, they produce massive rose hips that are packed with Vitamin C—good for you if you like tea, but even better for the squirrels and birds preparing for winter.
I also swear by Ninebark. The “Diabolo” variety has this deep purple foliage that looks stunning against green grass, but the real prize is the clusters of honey-scented flowers. I’ve spent many mornings with my coffee just watching the native bees swarm these bushes. It’s way more entertaining than anything on TV. The bark also peels away in thin layers (hence the name), which provides tiny little crevices for beneficial insects to hide in during the colder months.
Then there’s the Elderberry. Now, be warned: Elderberry wants to take over the world. The first one I planted in my “low-maintenance” corner grew six feet in a single season. But if you have the space, it’s a pollinator magnet. The flat-topped white flower clusters are basically landing pads for every butterfly and bee in the county. Just make sure you plant it somewhere it can be “wild.” If you try to keep an Elderberry clipped into a perfect square, you’re going to lose that battle every single time.
How to Plant a Wildlife Hedge Step-by-Step
Building a hedge isn’t just about digging a hole and hoping for the best. I used to think I could just “eye it,” but that’s how I ended up with a hedge that looked like a sine wave. A little prep work goes a long way, and your back will thank you for not having to redo the job in three years because the plants are too crowded.
- Mark Your Line: Use two stakes and a piece of bright string. Even if you think you can walk a straight line, you can’t. Trust me. I once planted a row of privet that slowly veered three feet into my neighbor’s property because I was too lazy to use a string. That was an awkward conversation.
- Clear a Wide Berth: Don’t just dig a hole the size of the pot. You need to clear a strip of grass at least three feet wide. Grass is a greedy neighbor; it will steal all the nitrogen and water before your new shrubs can get a sip. I use a sharp spade to flip the sod, or if I’m feeling patient, I lay down cardboard and mulch a few months before planting to kill the weeds naturally.
- The “Staggered” Method: This is the secret to a thick hedge. Instead of planting in a single straight line, plant in two parallel rows, “zigzagging” the plants. This fills in the gaps much faster and creates a much better windbreak. If you plant them 18 inches apart in this zigzag pattern, you’ll have a solid wall of green in half the time.
- Dig a $10 Hole for a $5 Plant: Make the hole twice as wide as the root ball but no deeper. If you bury the “flare” (where the trunk meets the roots), the plant will eventually suffocate and die. I’ve seen more shrubs killed by “deep planting” than by drought.
- Water Like You Mean It: For the first year, those plants are on life support. They don’t have the root systems to find water yet. I set up a simple soaker hose on a timer. It’s way better than standing there with a spray nozzle for five minutes, which usually only wets the top inch of soil anyway.
Quick Side Note: Skip the chemical fertilizers. When you’re building a wildlife hedge, you want to build the soil, too. I just toss a couple of inches of aged compost around the base and top it with wood chips. It mimics the forest floor, and the worms will do all the aerating for you for free.
Why a Mixed Hedgerow Beats a Monoculture
In the gardening world, a “monoculture” is just a fancy word for “putting all your eggs in one basket.” If you plant twenty identical Leyland Cypresses and one of them gets a fungus, they’re all going to get it. I learned this the hard way with a boxwood hedge that got hit by blight; within a month, the whole thing looked like it had been through a toaster.
A mixed hedgerow (often called a “tapestry hedge”) is much more resilient. By mixing three or four different species—say, some Hawthorn, some Dogwood, and maybe some Holly—you create a miniature ecosystem. If a pest likes the Dogwood, the Hawthorn is still there to keep the privacy screen intact. Plus, different plants provide food at different times.
From a design perspective, it just looks more “intentional” and less “suburban developer.” You get a changing palette of colors throughout the seasons. In the spring, you have the white and pink blossoms; in summer, the deep greens and purples; in autumn, the fiery oranges; and in winter, the structural beauty of the different bark textures and berries. It’s a year-round show that a single-species hedge just can’t compete with.
The Real Talk: What Can Go Wrong
Let’s be honest for a second: gardening isn’t always “sunshine and butterflies.” Sometimes it’s “mud and disappointment.” If you’re going to build a wildlife hedge, there are a few things that are a total waste of time and money, and I want to make sure you avoid them.
First, stop buying “fast-growing” hybrids that you see advertised on the back of magazines or in “too good to be true” online ads. Usually, these are things like the Willow Hybrid. Sure, they grow five feet a year, but they also have wood as soft as balsa wood. One heavy snowstorm or a decent wind, and your “instant hedge” will be lying across your driveway in splinters. Slow and steady wins the race when it comes to long-term privacy.
Second, don’t fall for the “no-prune” myth. Every hedge needs a haircut. If you let a wildlife hedge go completely wild, the bottom will eventually get leggy and thin out because the top is shading it. You have to prune the top slightly narrower than the bottom (think of a gentle “A” shape). This lets sunlight reach the lower branches so the hedge stays thick all the way to the ground. If the bottom gets thin, the rabbits and ground-nesting birds lose their cover, and the whole point of the hedge is gone.
Also, be careful with invasive species. For a long time, people planted “Burning Bush” or “Japanese Barberry” because they look great in the fall. The problem is that birds eat the seeds, fly into the local woods, and poop them out, where they take over and choke out the native wildflowers. I’ve spent more hours pulling Barberry out of my woods than I care to admit. Stick to natives; they’ve lived here longer than we have, and they know how to handle the local weather without becoming a nuisance.
Lastly, don’t over-mulch. I see people making “mulch volcanoes” where they pile wood chips six inches deep right against the trunk of the shrub. This is a death sentence. It traps moisture against the bark and invites rot and rodents who will happily chew on the bark under the cover of the mulch. Keep the mulch a few inches away from the actual stems.
Parting Wisdom
If you take away one thing from my years of digging in the dirt, let it be this: a garden that only serves humans isn’t really a garden; it’s just an outdoor room. When you plant a hedge that feeds the bees and shelters the birds, you’re plugging back into the actual world. It might take a season or two to fill in, but the first time you see a nest tucked away in those branches, you’ll know it was worth every drop of sweat.
Building a wildlife-friendly hedge is a bit of a marathon, not a sprint, but the rewards come back to you ten-fold in the form of a healthier, livelier yard. Plus, you’ll have a great excuse to ignore the weeding while you “observe the local fauna” with a cold drink in your hand.
What’s the biggest “oops” moment you’ve had while trying to plant for privacy or wildlife? Or maybe you’ve got a favorite native shrub that I missed? Drop your stories and questions in the comments below—I’d love to hear what’s working (or not working) in your neck of the woods!